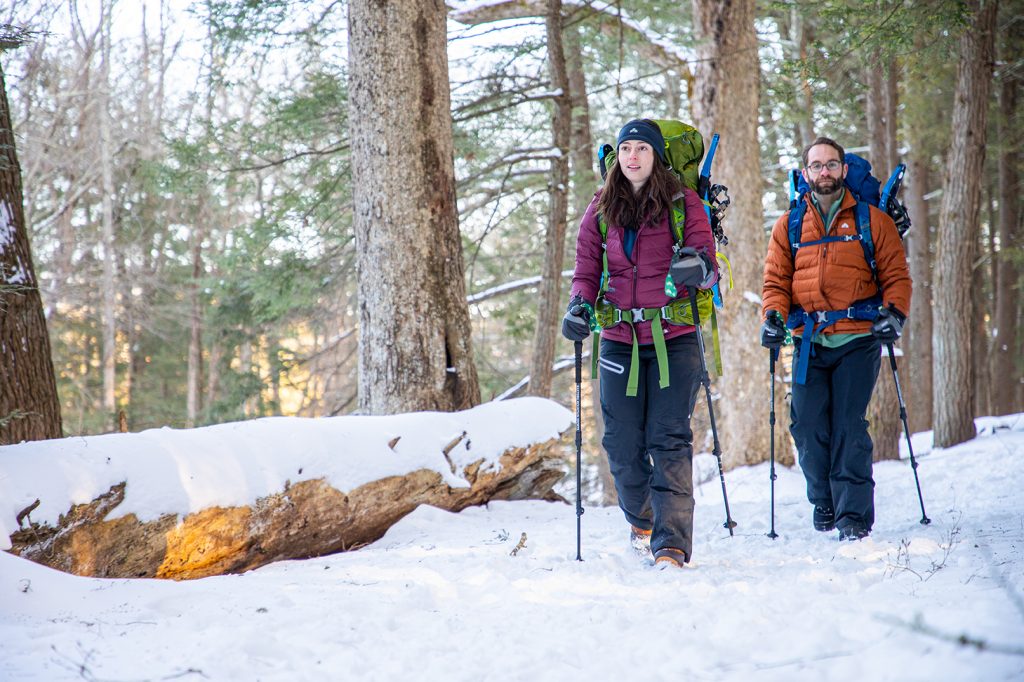
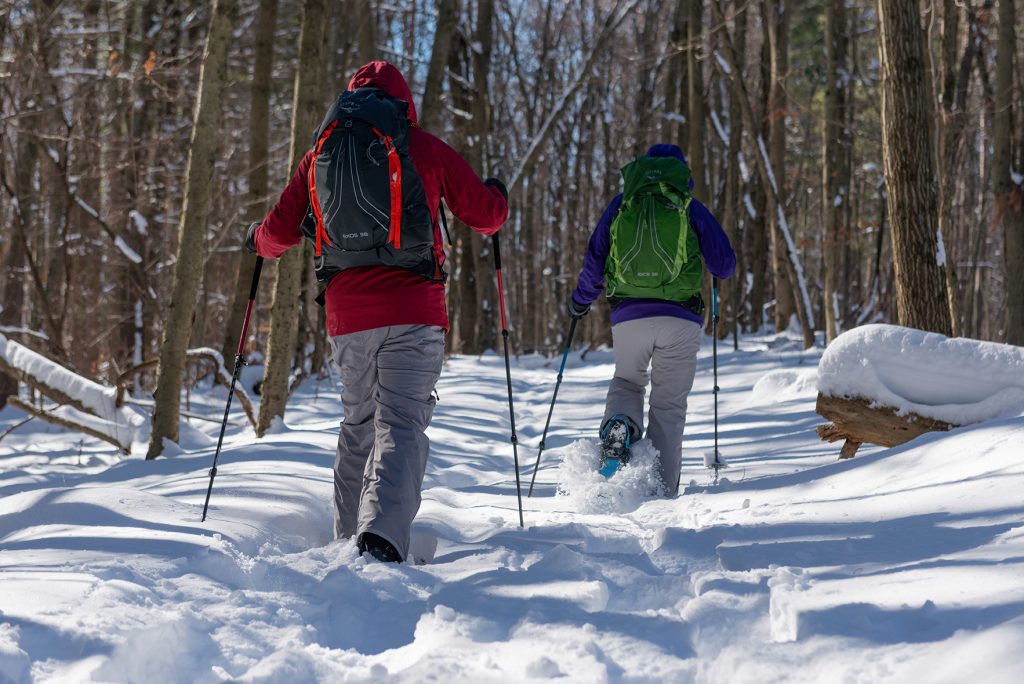
Whether you’re hitting a local trail or gearing up for a long day of hiking in the mountains, it’s critical to know how to appropriately dress and layer your clothing to stay warm and safe when exposed to the elements. While there’s no one-size-fits-all guide to layering for winter hiking, this four-step layering system can help you determine which clothing items to bring on your next winter outdoor adventure.
Four-Step Winter Layering Guide
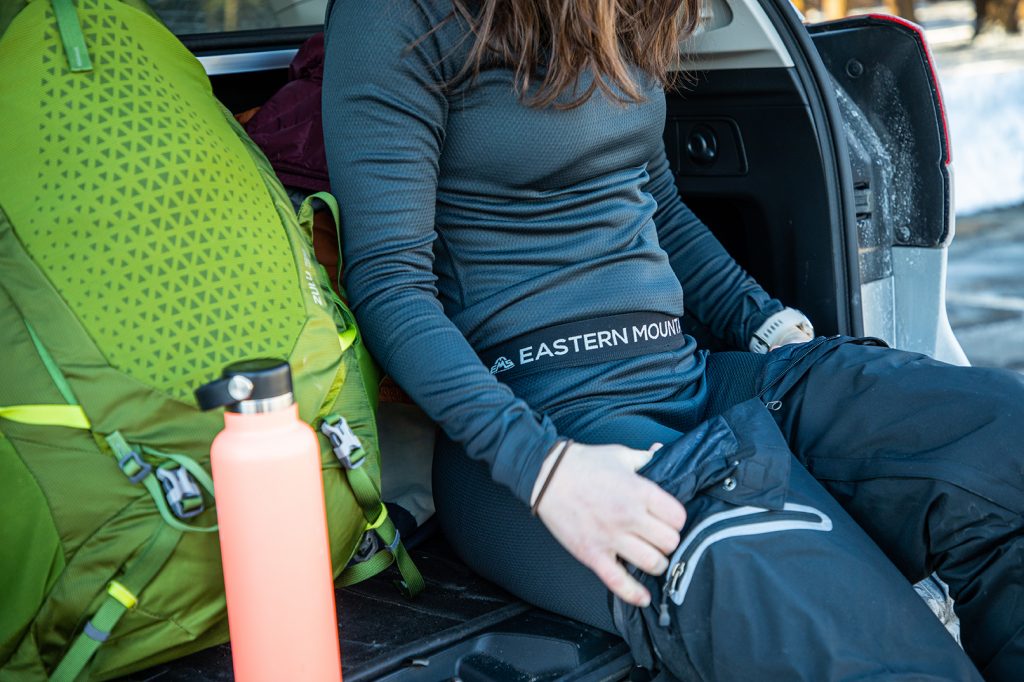
Step 1: Base Layer
The base layer is the foundation of the layering system. It is meant to pull moisture (sweat) away from your skin to keep you feeling dry and warm when out in cold weather. There are several things to consider when choosing a base layer that is right for your body and the sport you’re doing. This layer should fit snugly to your body but not so tight that it cuts off circulation. Base layers are most commonly made from synthetic material and merino wool.
- Synthetic base layers are durable, affordable, and extremely effective at moving moisture. The downside to synthetic base layers is that they can hold onto unwanted smells—particularly if you’re using the same layer for multiple days in a row, like on a multi-day Presidential Traverse.
- Wool base layers generally feel nicer against your skin and are highly resistant to odor-causing bacteria. Wool base layers can take longer to dry than their synthetic counterparts, which is something to consider, if, for example, you’re heading out on an especially energetic hike.
Avoid wearing cotton clothing during all cold weather outdoor activities (this includes underwear, socks, and bras). “Cotton kills” is a popular outdoor adage because the fabric retains considerably more moisture than materials like synthetics and wool, ceases to insulate when wet, and can leave you vulnerable to the cold.
Step 2: Midlayer
Midlayers help you stay warm by providing insulation while also delivering breathability. There are many options available to hikers, including puffies with active insulation, fleece, and merino wool.
- Active insulation midlayers are exceptionally packable and lightweight, making them a great option if the layer is as likely to be stowed in your pack as it is worn on your body.
- Fleece midlayers are a staple of winter adventures thanks to their affordability, availability, and comfort. Some fleece works better than others—for example, grid fleece generally outperforms traditional fleece—and typically takes up more space in your pack than an active insulation layer.
- Wool midlayers naturally fight odors and feel great, however, they’re heavier and normally more expensive than other options.
A few popular features to look for in an upper-body midlayer include hoods for additional protection against winter weather, big zippers for dumping extra heat, and thumbholes that help prevent layers from riding up and any gaps from forming between your wrist and arm.

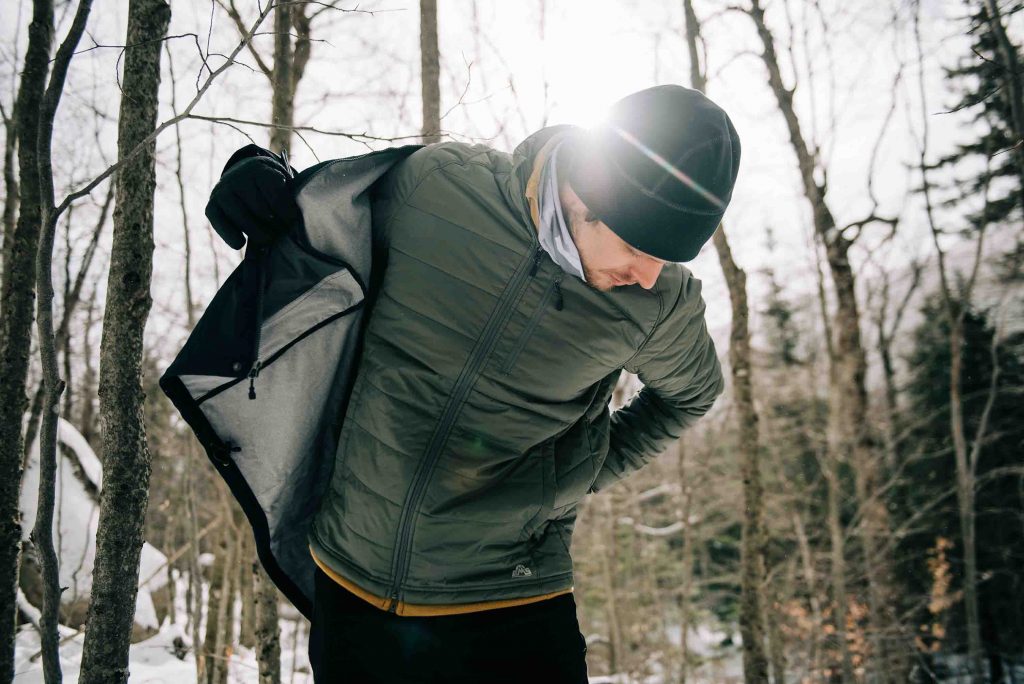
Step 3: Insulating Layer
Insulated jackets, or puffies, are intended to keep you warm. Puffies primarily use two different types of insulation: down and synthetic. While both down and synthetic insulation work by trapping your body heat in between their fibers, there are some noticeable performance differences between the two.
- Down insulation offers an exceptional warmth-to-weight ratio, is incredibly packable, and provides lasting performance—provided it’s well cared for. However, down loses its insulating power when wet and takes a long time to dry.
- Synthetic insulation is more water resistant than down and continues to insulate even when wet. Synthetic’s wet-weather performance comes at a cost, though—it’s commonly heavier and less packable than comparable down layers.
An insulated hood is a nice feature to look for in an insulating layer and can really help seal in warmth.
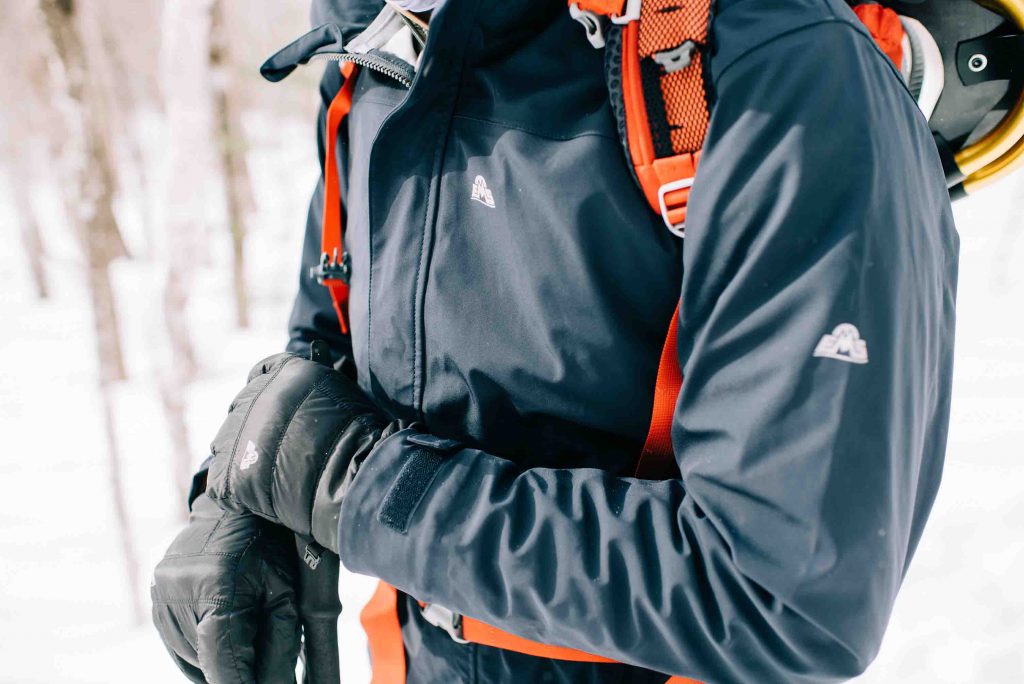
Step 4: Shell Layer
The shell layer protects from elements like wind, rain, and snow. This is a crucial piece of clothing in inclement weather or when wind and water are present. Staying dry helps keep you alive in dire situations. You’ll find a variety of different style shells, ranging from ultralight to super-durable to those engineered for maximum breathability or aimed at the ultimate protection against the elements.
Your shell layer should have enough room that it can fit on top of your other layers. Other jacket features winter hikers will want to consider include pit zips (for venting excess heat), glove-friendly zippers, and packability. For shell pants, full-length side zips are great, especially when you’re donning another lower-body layer while wearing crampons.
Cold Weather Accessories
The right layers lay the foundation for a successful winter hike, but having the correct accessories can make the difference between being cold and comfortable. A few accessories to consider adding to your winter hiking kit include:
- Winter hat: While the myth that we lose most of our heat through our head has been debunked, a winter hat does go a long way toward keeping you comfortable in winter.
- Balaclava/neck gaiter: A balaclava or neck gaiter helps protect sensitive areas—like your neck, face, and ears—from wind and cold.
- Mittens/gloves: Having multiple mitten/glove options is a smart strategy for winter hiking. A popular combination is to carry a lighter pair of gloves for when you’re on the move and generating heat and a super-warm pair of mittens to pull on when you’re stopped—kind of like a puffy coat for your hands.
- Socks: Many hikers move to a heavier sock in the winter for extra insulation. If you employ a thicker sock, just make sure your boots have enough room for it, otherwise, you risk disrupting circulation and increasing the odds of cold feet.
Notes About Winter Layering
Everyone is a bit different and the layers that work for one hiker may not work for the next. Don’t be afraid to tinker with your winter layering system to find out what works best for you!
Related Posts