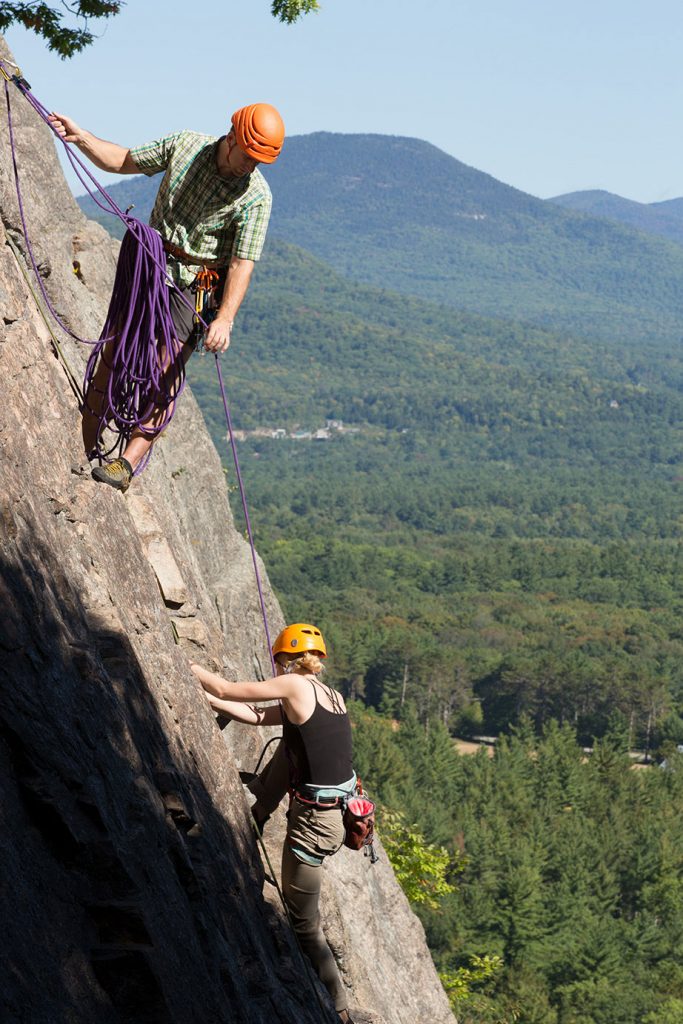
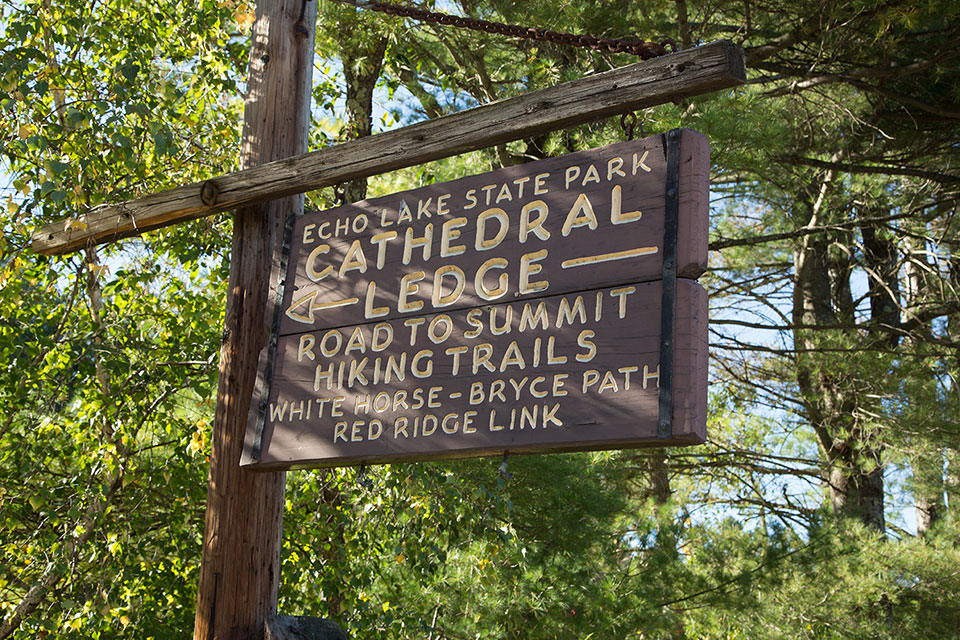
Building a climbing rack can feel overwhelming thanks to the multitude of choices and how quickly it gets expensive. Before you start pulling together your trad rack, take a look at what EMS Climbing School Manager, Keith Moon, carries. Keith gives an up-close look at the gear he carries for days climbing the long, multi-pitch traditional routes found at his local crag, Cathedral Ledge.
Two-Sling Climbing Rack System
Keith stores and packs his climbing rack on two slings. The first sling is for anchor building materials, quickdraws, alpine draws, belay devices, and locking carabiners. On his second sling, Keith carries both active (cams) and passive (stoppers) protection.
First Sling: Quickdraws & Belay Station Gear
On the first sling, Keith keeps his anchor-building materials, quickdraws, belay device, and loose carabiners. This includes:
- (1) 21-foot cordelette
- (1) 240-centimeter quad-length sling
- (4) quickdraws
- (4) alpine draws
- (4-5) locking carabiners
- (2-4) non-locking carabiners
- (1) guide-style belay device for multi-pitch climbing
Second Sling: Rock Protection
Keith’s standard setup for a day on Cathedral is about a rack and a half—a single rack of cams (from a #3 to a .1) with doubles in mid-range sizes supplemented with a set of stoppers. Listed out, Keith’s rack looks like this:
- (1) Black Diamond #3
- (2) Black Diamond #2
- (2) Black Diamond #1
- (1) Black Diamond .75
- (1) Black Diamond Offset .5-.75
- (1) Black Diamond .5
- (1) Black Diamond Offset .4-.5
- (1) Black Diamond .4
- (1) Black Diamond Offset .3-.4
- (1) Black Diamond .3
- (1) Black Diamond .2
- (1) Black Diamond .1
- (1) Stopper set
- (1) Nut tool
Instead of doubling up on the smaller cams, Keith mixes one offset with one traditionally sized cam. He finds the offsets work exceptionally well on Cathedral Ledge granite and give him more options for placing protection. Offset cams have two lobes smaller than the other two—blending two different size cams—and are known to work well in flared cracks and pin scars.
The only piece of gear on the second sling that isn’t a piece of rock protection is a nut tool—an essential item for removing nuts and occasionally cams from the rock.
Racking Up
Keith racks all of the gear (from both slings) on his harness. The contents of the first sling are racked on his harness’s rear two gear loops. The gear from the second sling is racked on the front two gear loops of his harness, with doubles distributed evenly between the two sides. This system keeps protection easily seen and accessible with either hand—both essential when trying to find a specific size.
When racking, Keith clips all his carabiners with the gates facing out. He’s found that cams and quickdraws ride better on his harness when the gates are clipped out, and it makes it easier to quickly grab the piece he wants.
With both slings emptied of gear, Keith plucks the spare non-locking carabiners from the back of his harness and turns the slings into two additional alpine draws. This bolsters his rack and ensures that everything he carries serves a purpose.
EMS Climbing School
Interested in learning more about how to build a climbing rack, want expert instruction in how to place gear, or simply want to cruise up a few Cathedral classics? EMS Climbing School can help! We offer courses in everything from an introduction to outdoor climbing to private sessions focusing on specific skills or climbing dream lines.
Related Posts