Technical ice, a long and varied slide climb, and a gnarly bushwhack combine for a fun romp up to one of the Adirondacks’ finest summits.
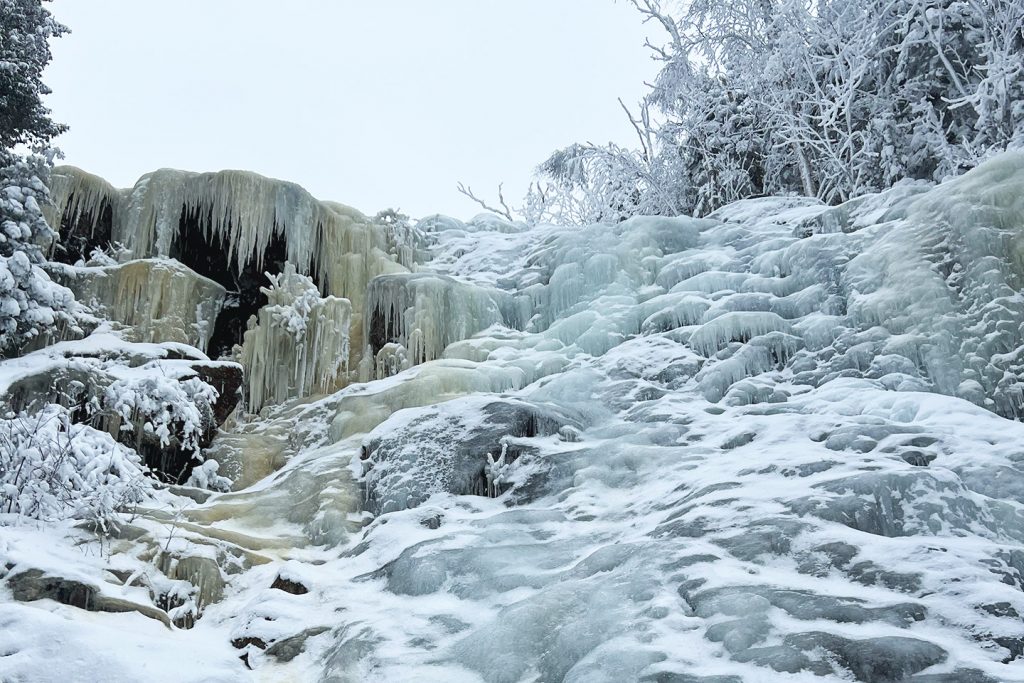
Rising from the isthmus between the lakes of the Adirondacks’ Cascade Pass, The Cascade cuts an alluring figure. Its 200+ feet of technical water ice is clearly visible from the road; so too is the 1,000+ feet of slide opened up by Hurricane Irene in 2011. The magnetism of this view has surely caused many an ice climber to momentarily drift across that double-yellow line on their way to Lake Placid.
So it may come as a surprise that such a beautiful climb, at such a scale, is also incredibly attainable—at its most difficult, The Cascade weighs in at a very modest WI2. Pair that with a summit trip and you’ve got a classic Adirondack day out that’s hard to beat.
Quick Facts
Distance: 4 miles round-trip
Time to Complete: Half-day
Difficulty: ★★★
Scenery: ★★★★★
Turn by Turn
From the Northway (I-87), take Exit 30 and head north on US-9. After 2.2 miles, take a slight left onto NY-73 west. Continue for 13.3 miles into the town of Keene, then take another slight left to stay on NY-73 west. From there, it’s 6.6 miles to the Cascade Mountain Trailhead parking area on the left.
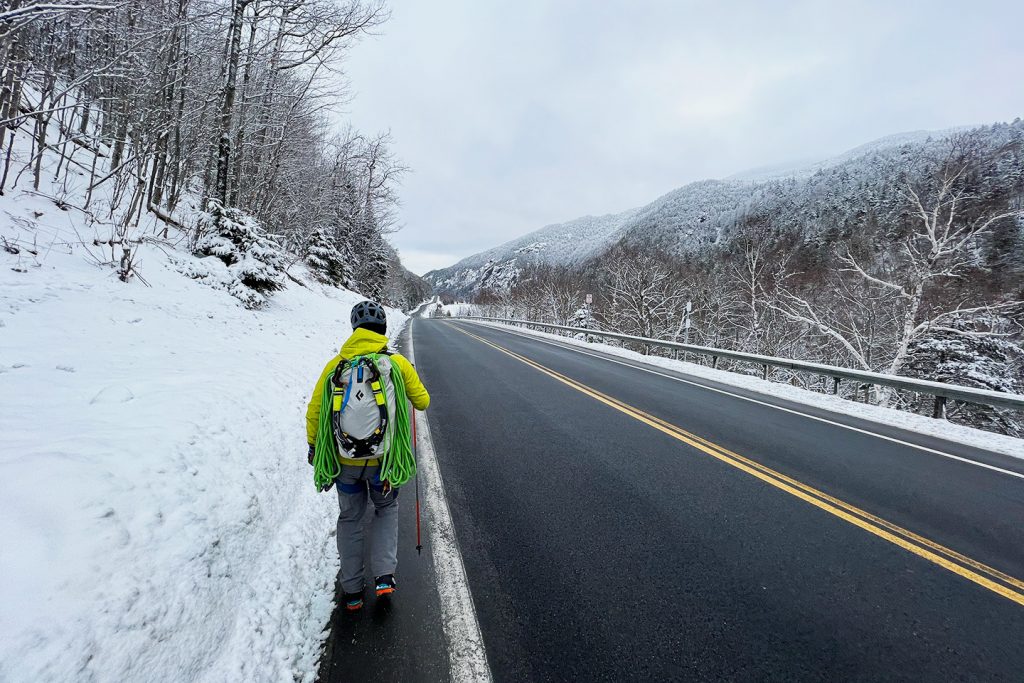
The Approach
Walk along NY-73 for 0.7 miles to the gated turn-off for the summer parking area that marks the isthmus between Upper and Lower Cascade Lake. Continue down the drive and through the parking area, entering the woods at the back corner of the lot at 0.9 miles. Continue through the trees, climbing gradually, all the while aiming for the very apparent cleft in the mountain to a frozen drainage. Find a flat area to put on your helmet, harness, and crampons—the approach is pretty icy from here to the base of the climb, where you can rope up at 1.0 miles.
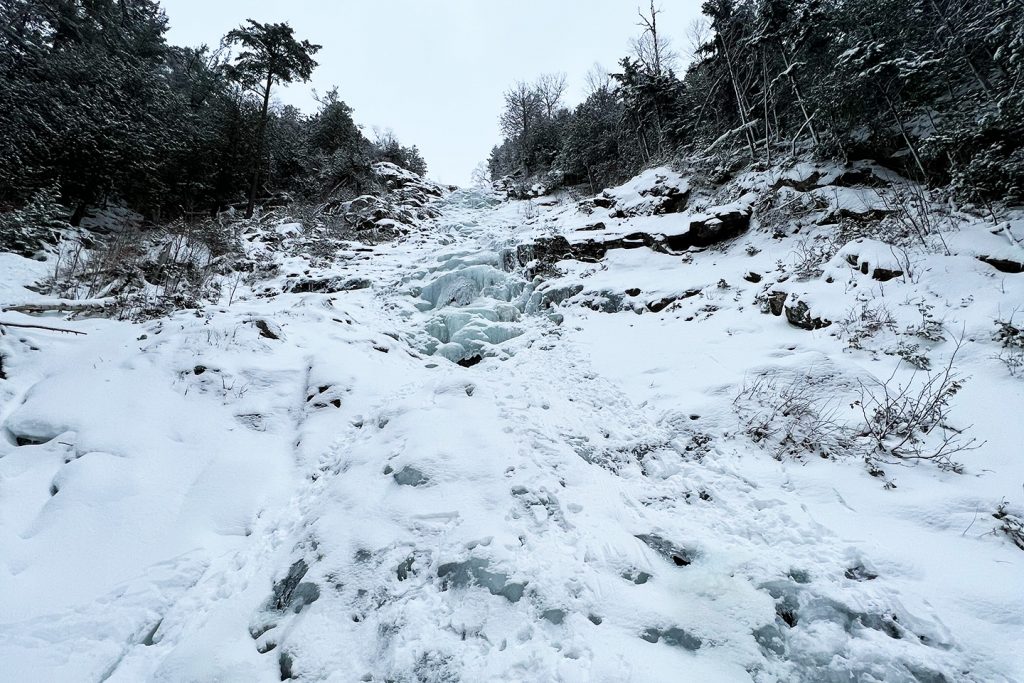
The Cascade (WI2)
With its aesthetic, pleasant climbing, easy grade, and chill approach, The Cascade has long been one of Cascade Pass’s most popular climbs and a veritable right of passage for many a new leader in the Adirondacks. The flow itself is wide and invites climbers to meander—and while it is doable up to the final headwall with a single 70-meter rope, following the path of least resistance makes for a multi-pitch affair.
Begin climbing the low-angle, stepped lower portion of the waterfall, placing screws as needed. Although the climbing is never particularly strenuous, there are many options for rest. About two-thirds of the way up, a particularly large, level area provides access to a tree, just off the flow, where you can build a belay.
From the tree, step back onto the ice and continue climbing over low-angle terrain and the occasional easy bulge until reaching a substantial ledge. A large boulder to climbers’ left provides the nearest option for a belay. Build your anchor—a 20-foot cordelette or the climbing rope itself is your best bet—and belay your partner up.
Awaiting you is a short but relatively steep headwall. It’s not visible from the base of the climb, and it’s not always clear from the road, but if this bit isn’t in, you have two options.
The first one is bailing, and a rappel anchor, on a tree, can usually be found to climbers’ left. This rappel descends Green Gully, another excellent route and a worthwhile alternative if the headwall isn’t looking especially nice.
The second option is scrambling up around the headwall, between a rocky overhang and some trees, to climbers’ left. The consequences of a fall here are significant, so remaining roped up is wise. Navigate around the rocks, up, and back to the right, carefully negotiating the slabby rocks—a little scary in low snow—to the obvious stream bed.
If the headwall is in, move closer to its base and build a belay (two or three screws) out of range of falling ice. Head on up and over it, belaying from a tree to climbers’ right.
The Slide
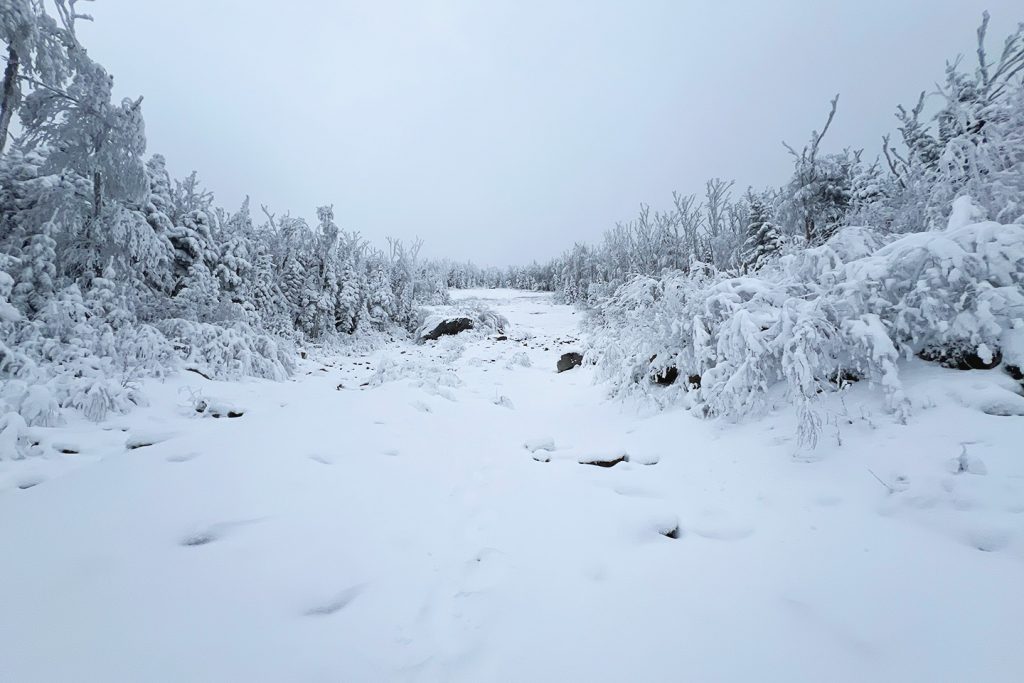
Between the technical ice climb and the slide proper, you follow the streambed that feeds the falls. In early or late season, care should be taken not to punch through the ice—it’s not terribly deep, but if you aren’t wearing gaiters the water can come up over the cuff of your boot and make the rest of the trip a bit of a bummer.
Keep on following the water up the mountain. There are a few occasions where the drainage forks—proceed by following the more open of the options. From here, there are two short technical headwalls (WI2–2+) that may require the roping up. Eventually, you’ll round a bend and see the slide itself. Remember that this is a slide, created relatively recently, and in high snow years presents an avalanche hazard.
Climb on, aiming for the top-right corner of the slide, as the grade steepens for the final hundred or so feet. At 1.5 miles, you’ll have reached the trees and the final segment of the climb: the bushwhack.
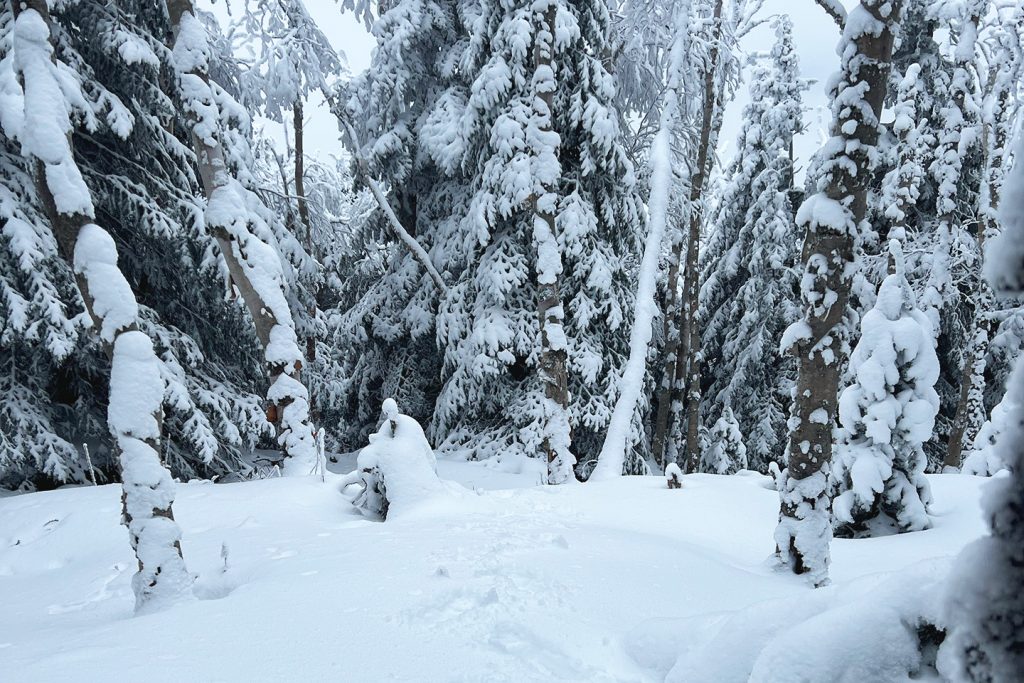
The Summit Bushwhack
Winter bushwhacking is a fickle beast, and no two days on an Adirondack summit in the season are the same. One day you may be cruising between the trees—the next, you may be tunneling through branches so frozen together with ice and snow it becomes the crux of the route. Keep this in mind as you enter the woods at the top of the slide. From here, the summit is just a quarter-mile away, but weather and snow conditions can conspire to make this feel a lot longer.
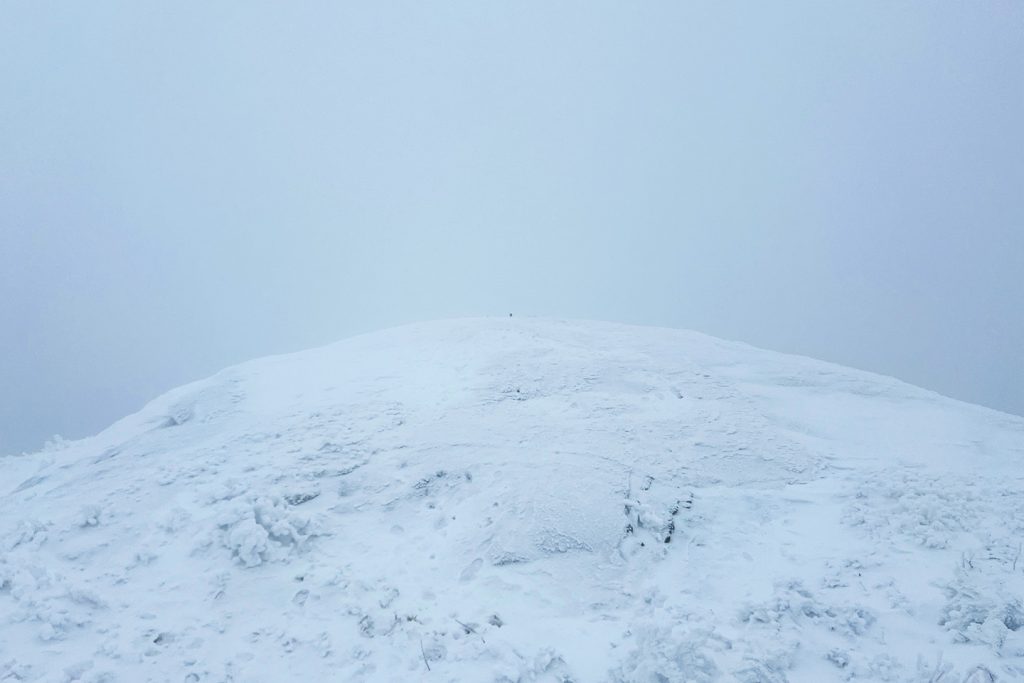
The summit is due east of this spot at the top of the slide—if the thickening tangle of trees would allow it, a compass bearing of 112º would deliver you directly there. As it is though, weave your way through the trees, following the path of least resistance. Generally speaking, so long as you’re going up, you’re doing it right.
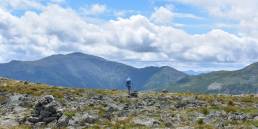
Eventually, at around 1.75 miles, the trees give way to an open, rocky summit area with stellar views in all directions. Weather permitting, this is as fine a place to take a breather as any—take it all in, knowing that from here on out, it’s just a walk in the woods.
The Descent
Cascade Mountain is a popular destination, so the wide-open summit is likely well-tracked, and finding the trail out will be a breeze. With fresh or windblown snow—or in inclement weather—it can be a bit of a challenge. Head south, skirting the rocky ledges here and there, aiming for a gap in the trees where the established and well-blazed Cascade Mountain trail will see you through the rest of the way down.
Hike on, as the trail descends moderately to the south, hooking to the right and reaching a junction with the Porter Mountain Trail at 2.25 miles. For all the peak-baggers out there, Porter Mountain’s 4,058-foot summit is just around the corner—a short side trip (1.2 miles out-and-back) will net you a second 46’er for the day.
Either way, continue down the wide, relatively gentle grade for another 1.75 miles to reach a staircase—one final bit of gain—that climbs back up to the parking area on NY-73.
The Kit for Climbing Cascade Mountain via The Cascade
- With low-angle, technical ice and a long, snowy slide to climb, you’re going to want a do-it-all ice tool like the Petzl Quark (adze/hammer).
- In that same vein, a do-it-all boot is going to serve you well on this one. The La Sportiva Nepal Cube GTX (men’s/women’s) is stiff enough for the technical bit and comfortable enough for the rest.
- A good pair of crampons is a must, and the Black Diamond Stinger is an excellent option for this and any of Cascade Pass’ other awesome climbs.
- Snowshoes (or skis) are required in the Adirondacks when there are at least eight inches of snow on the trail—with snowier conditions above, a pair of MSR Lightning Ascent Snowshoes are worth the weight on your pack while climbing down low.
- Any time you go ice climbing, you want to have an extra pair of gloves. With all the flowing water, deep snow, and sheer length, consider adding an extra extra pair of gloves, like the well-rounded Rab Storm Gloves, to your kit for this one.

Keys to Climbing Cascade Mountain via The Cascade
- Cascade Pass is home to some of the finest and most accessible climbing in the Adirondacks. If, on reaching the top of The Cascade, conditions aren’t to your liking, or you’re just not feeling up to a summit push, there’s a ton of climbing in the immediate vicinity. Three Flows (WI3-4), Sisters Left (WI3+/4-), and Sisters Right (WI4) are all fun and reliable nearby climbs to check out, and the very popular Pitchoff Right (WI3-4) and Pitchoff Quarry (WI4) areas make for excellent cragging with easy top-rope access.
- The mountains around Cascade Pass form a natural wind tunnel and on cold days, the parking areas along the lakes can be really cold. Gearing up in the car is not unheard of—just keep that belay jacket handy and hold onto your gloves lest the wind take them for its own.
- Just up the road, Lake Placid is a great place to base an Adirondack trip. For a bite and a beer, give Big Slide Brewery and Public House a look.
- Know what else you’ll find in Lake Placid? An EMS store! So if you forgot your harness at home (been there) or lost a glove to Cascade Pass’ aforementioned winds (done that) you’re covered.
Related Posts