With eight high peaks and 10 summits overall, breathtaking views, and rugged mountain trails, the Great Range Traverse is one of the toughest, yet most rewarding hikes in the Northeast.
The Great Range Traverse (or GRT) is undoubtedly part of the conversation around the toughest (and most rewarding) hikes in the Northeast. With a substantial hiking distance, a very solid elevation gain of over 9,000 feet, and covering miles of trail that take you through a variety of landscapes, this line along one of the ‘Daks most picturesque and rugged ranges is a life list item equal to the Presidential Traverse or Katahdin’s Knife Edge. Only one summit that you’ll cover doesn’t offer a view, and when you bag eight 4,000-footers and a shorter mountain with gorgeous viewpoints for most of the hike, you’ll quickly and easily lose yourself further into nature with every step. From dirt and roots to wet rocks, ladders, and cable routes, this hike truly has it all.
Quick Facts
Distance: 21.3 miles, point-to-point thru-hike
Time to Complete: 1-3 days
Difficulty: ★★★★★
Scenery:★★★★★
Fees/Permits: $10 shuttle from the Marcy Field Parking Lot
Contact: https://www.dec.ny.gov/lands/9164.html
Turn-By-Turn
Start from the Roostercomb Trailhead (44.185454, -73.786723), on route 73 in Keene Valley. From Exit 30 on the Northway, you will head west on 73 for approximately 10 miles, and the parking lot will be on your left. Arrive early, as parking spaces tend to fill up quick, and parking alongside the road can be dangerous to yourself and others and result in a ticket. Also, arriving early is important because this hike will most likely take at least 12 hours to complete. The earlier you start, the earlier you will finish!
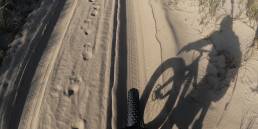
Starting off climbing.
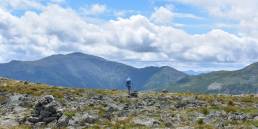
Even the beginning section of the GRT isn’t all that easy, with a very steady elevation gain (1,750 feet in total) from the parking lot to the summit of the Roostercomb. You’ll begin on the Roostercomb Trail, a nice trail that skirts the edge of a small, picturesque pond before you begin to climb. Around 1.9 miles in, you will reach a junction with the Flume Brook and Hedgehog Trails. To reach the summit, you’ll take a right at this junction and continue the last 0.3 miles along the Roostercomb Trail. This is a short and step climb at first, before leveling out and rewarding you with one or two fairly good viewpoints until you reach the fairly open and exposed summit at 2.2 miles (44.172718, -73.811523). The view here is a great start to the day, showing you multiple High peaks, including Giant of the Valley, Big Slide, and the beginnings of the Great Range with Lower and Upper Wolfjaw.
After the fantastic views on Roostercomb, it’s time to continue on your way. You’ll descend that final stretch of the Roostercomb Trail, and after 0.3 miles, you’ll reach the Hedgehog/Flume Brook Trails junction again. This time, you will turn right and begin heading up the Hedgehog Trail. Similar to the Roostercomb trail, there are essentially no lookouts or viewpoints, even as you approach the summit at mile 3.6 (44.159313, -73.810786) This mountain is the only one you’ll reach all day that has no view.
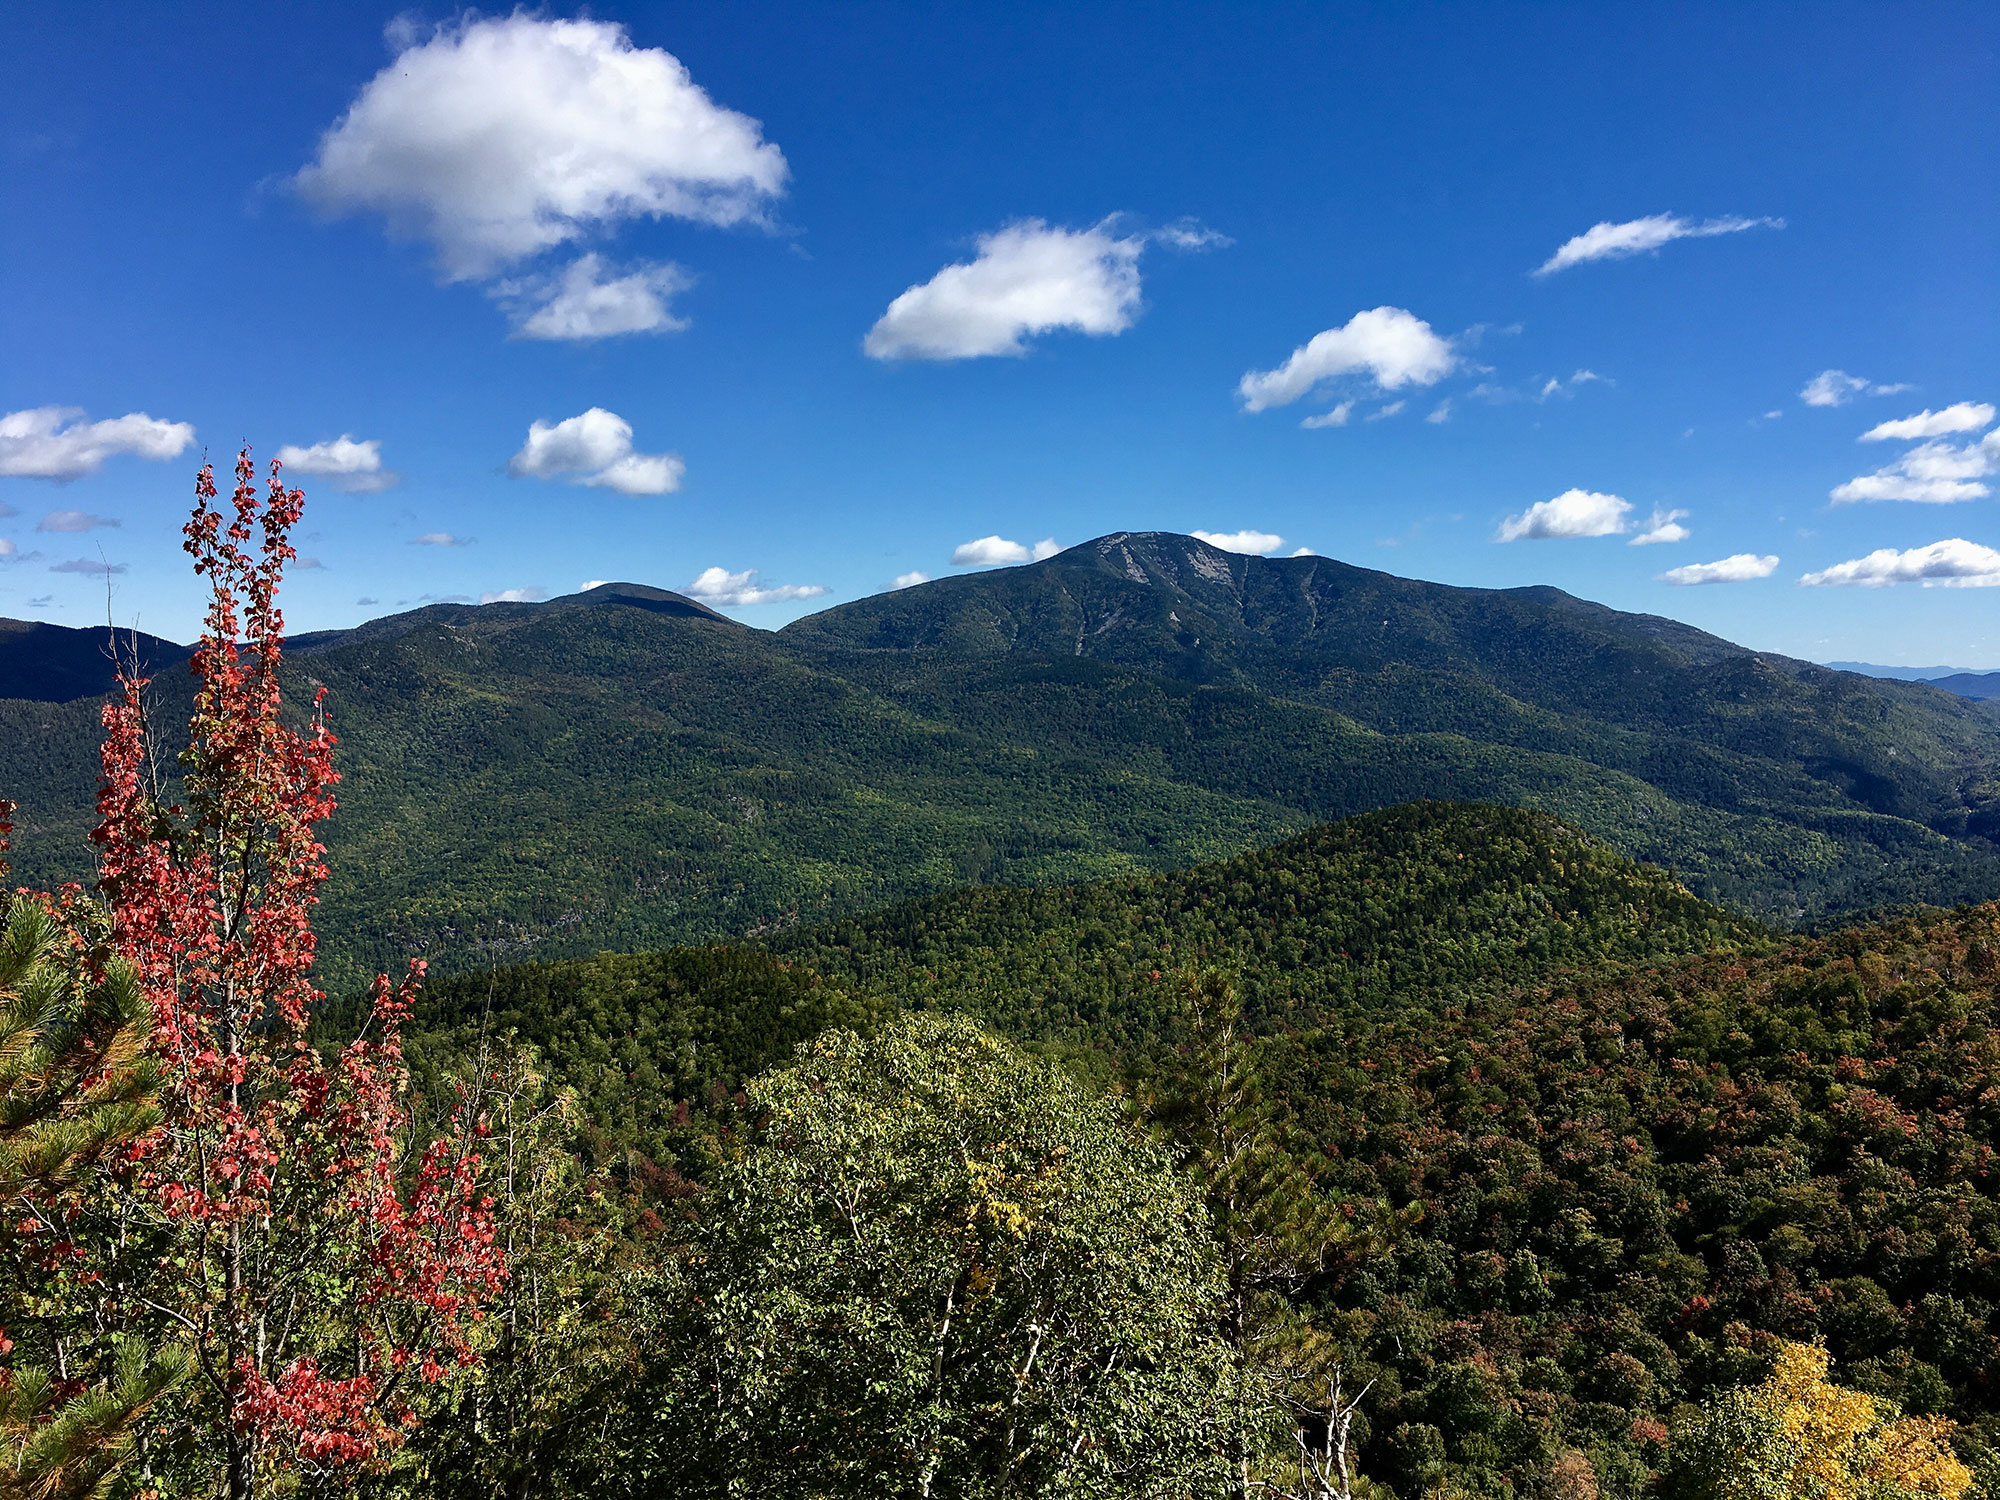
The first High Peaks.
After taking a brief rest on the summit of Hedgehog, it’s time to head over to your first official High Peak of the day. After about 0.4 miles along the Hedgehog trail heading towards LWJ, you’ll find yourself at an intersection with the W.A. White trail. You’ll continue ahead, but the W.A. White trail takes over for the Hedgehog Trail as you move towards Lower Wolfjaw. After another 1.1 miles or so, you’ll find an unobstructed lookout, giving you an great view of Lower Wolfjaw. A few moments later, and you’ll find yourself on your first 4,000 footer of the day, Lower Wolfjaw at mile 5.2(44.148090, -73.833092).
After taking in the scenery, it’s time to head over to Lower Wolfjaw’s big brother, Upper Wolfjaw. You’ll begin with a short but steep descent along the W.A. White trail to the Wedge Brook Trail junction. You’ll continue with some small descents and ascents for a few minutes until you reach another junction, this time with the Wolf Jaws Notch Cutoff Trail. At this point, the W.A. White Trail turns into the Range Trail, as you’re now on the Great Range and not leaving it any time soon! Soon after leaving this junction, you’ll begin a fairly steep climb up to the northeastern shoulder of Upper Wolfjaw. After this, the trail becomes less severe, but still has moderate gain as you come closer to your second 46er of the day. Finally, you’ll reach another junction. To your right you’ll see a (very) short spur trail to the summit (44.140386, -73.845249) at mile 6.3, which offers great, underrated views, including some of your next two high peaks. This is a good spot to drop your pack, eat some food, and let your legs dangle for a bit as you take in the scenery, since you’ve now covered over half of your elevation gain for the day!
The easiest peak of the day.
After a breather on UWJ, it’s time for your shortest section of the day, continuing along the Range Trail over to Armstrong. Although this is overall a fairly easy section of trail, there are a few spots that involve ladders, steep rockfaces, and roots that require your full attention when climbing. While there are not many viewpoints along this section, the trail itself offers some gorgeous sections of blowdown, serene woods, and a peaceful setting. After barely a half of a mile (at mile 7.0), you’ll step out onto a large ledge (44.134526, -73.849768), looking west towards Big Slide, Phelps, Tabletop, and more.
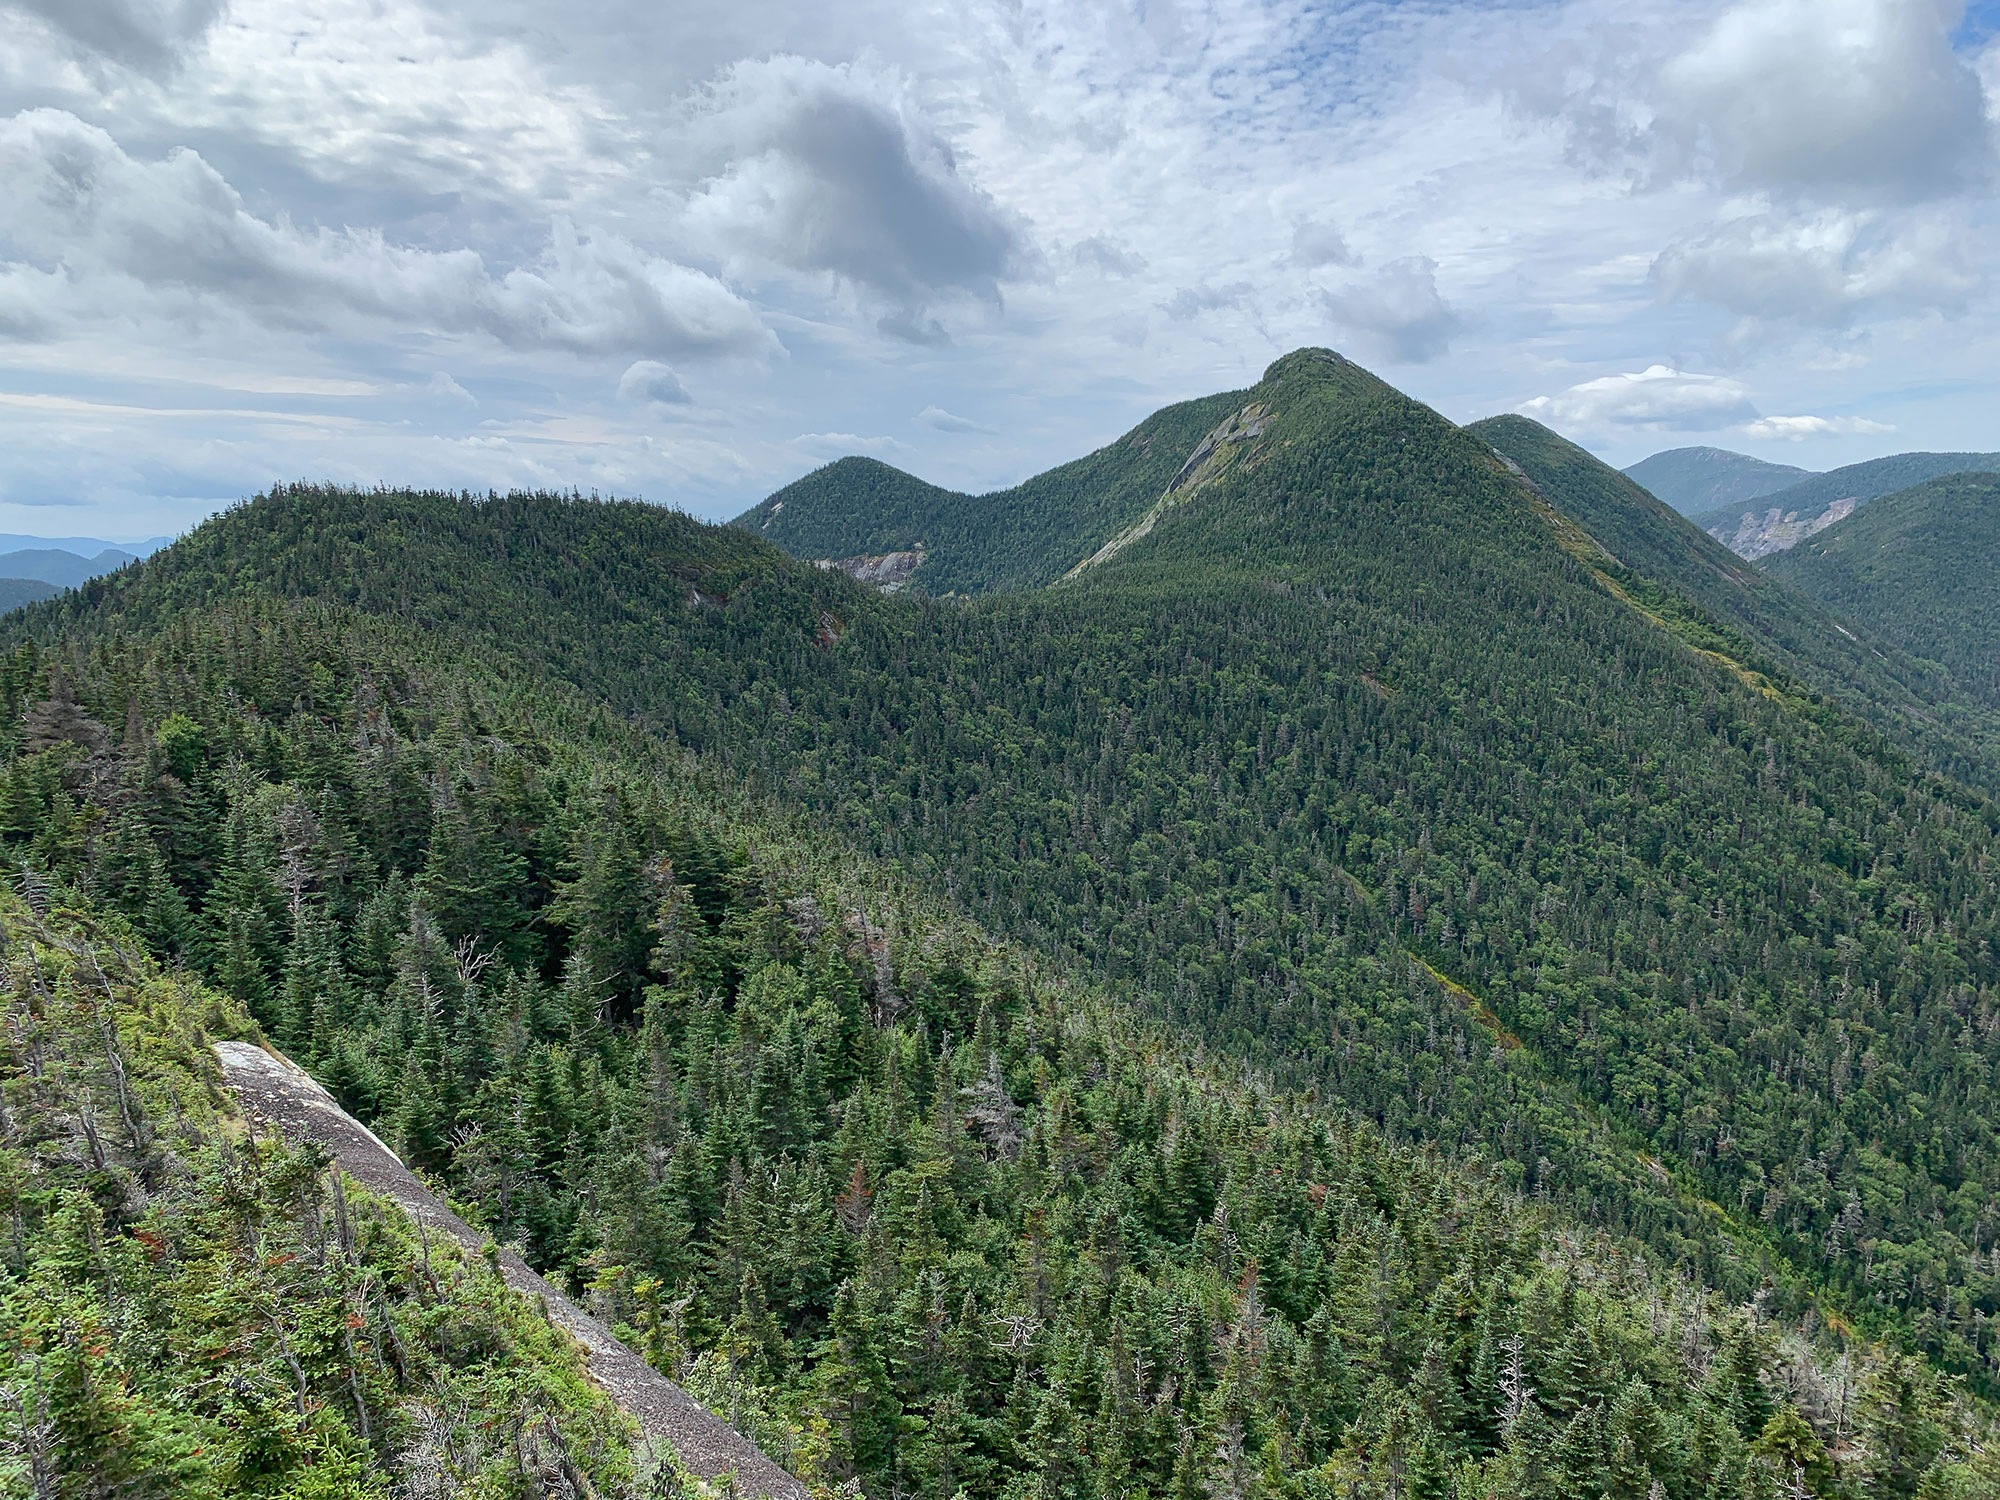
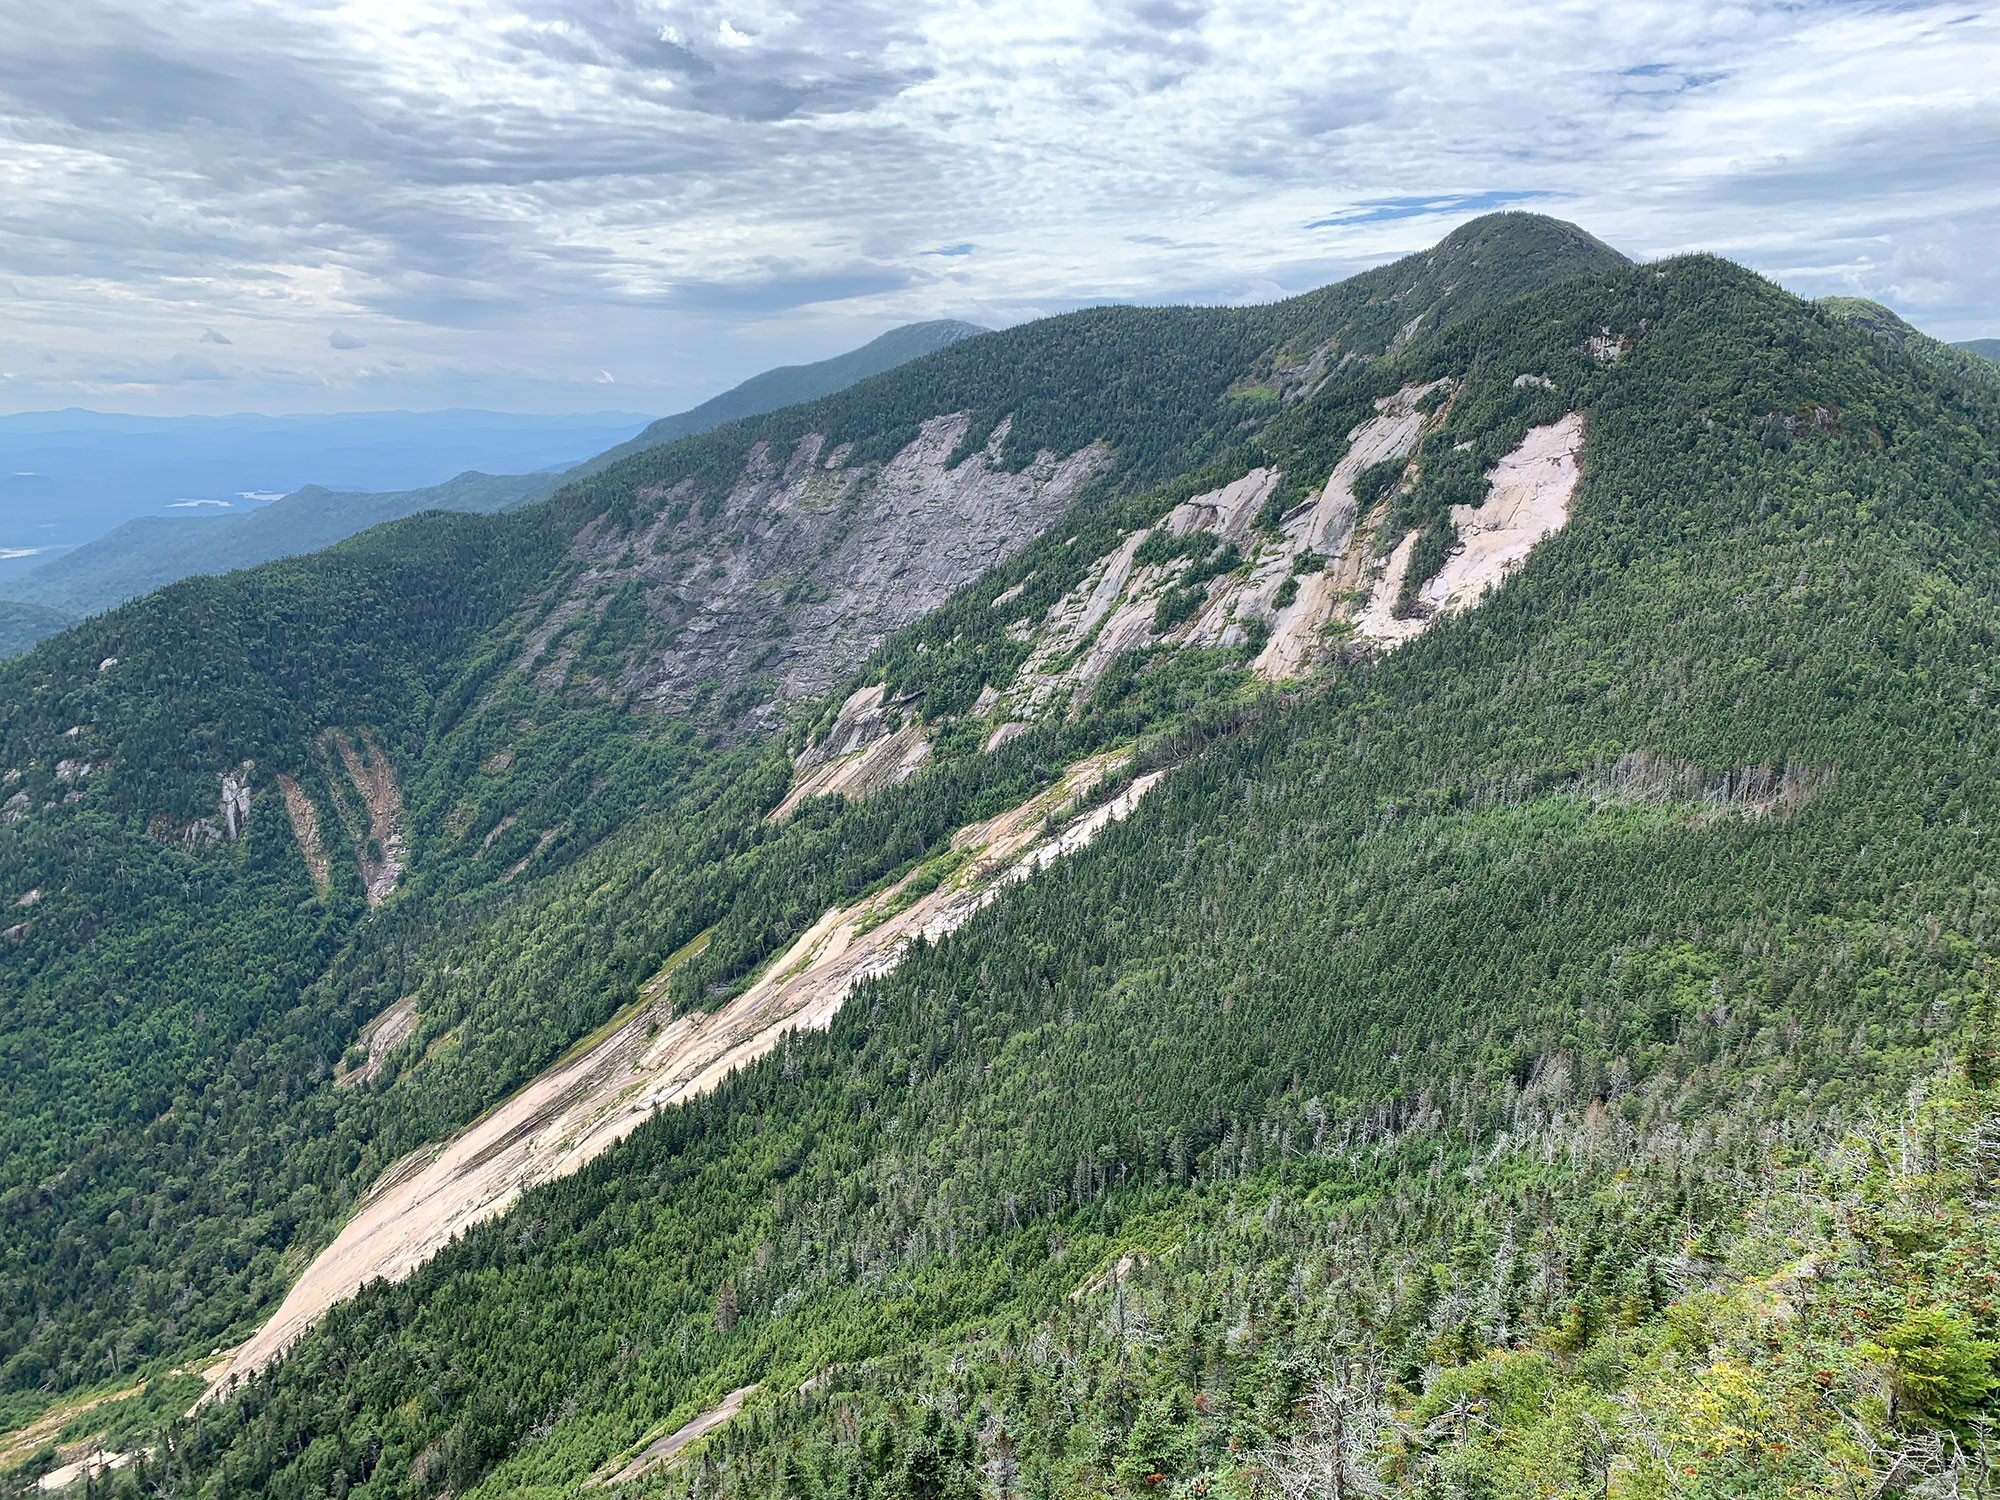
A top view.
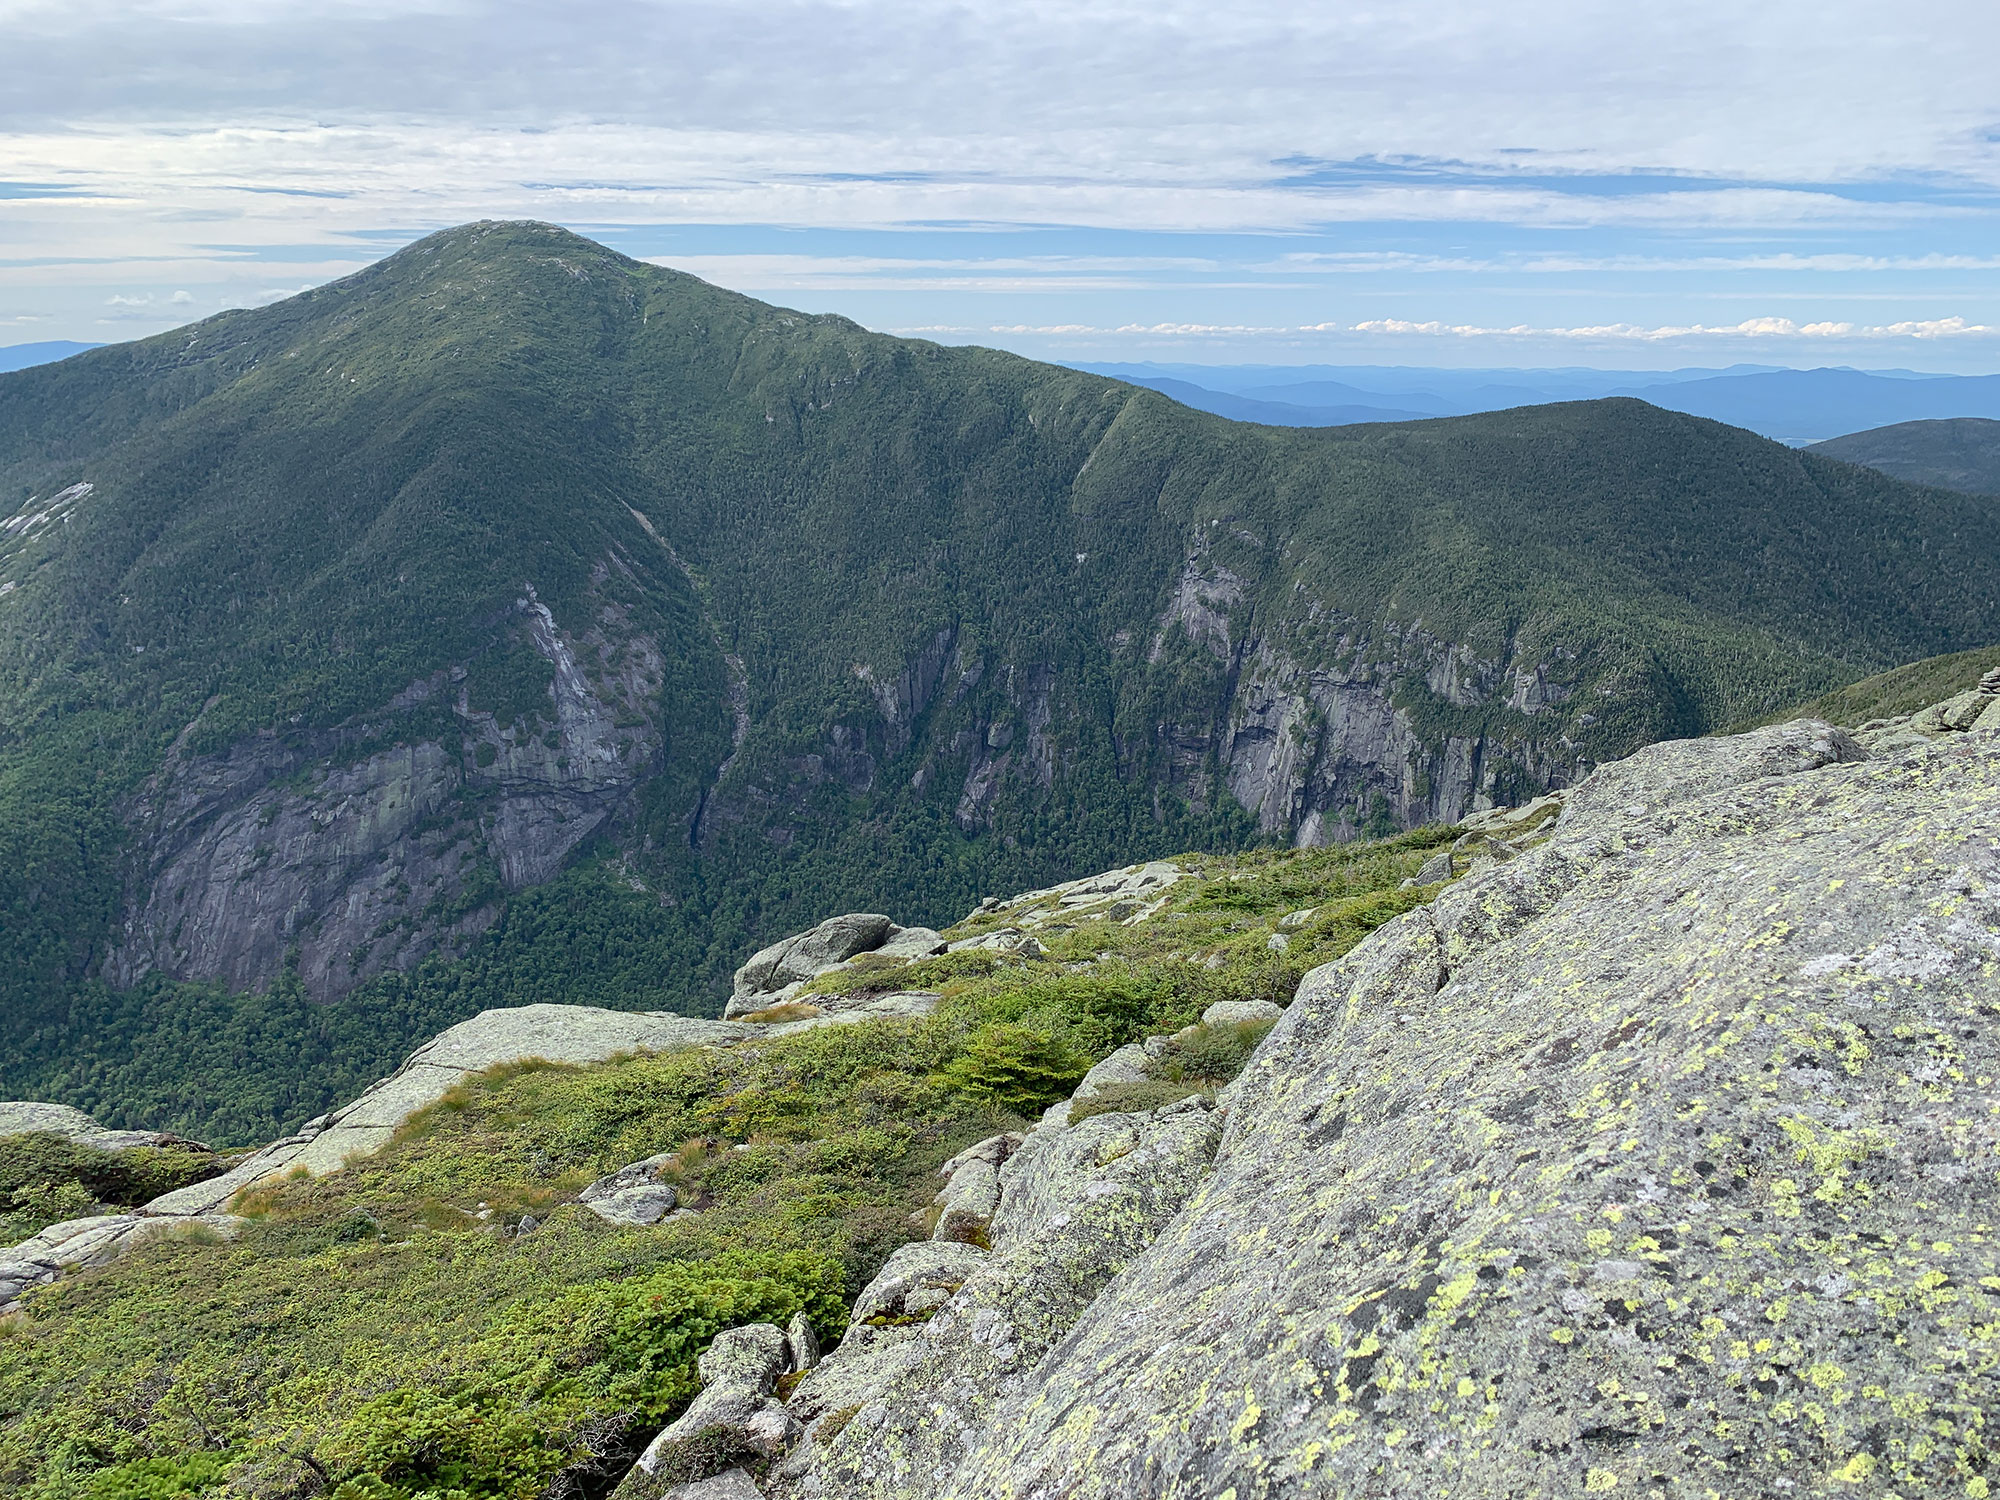
Begin to descend from Armstrong and head towards Gothics. The Range Trail between Armstrong and Gothics has some moderate descent, and moderate elevation gain, but in no time at all you’ll find yourself in a col between the two, in an area that is filled with blowdown, and gives a good view looking back towards Armstrong. You’ll continue along through this col and begin the short ascent to the summit, which offers multiple viewpoints along the way. After playing hide and seek with the treeline a few times, you’ll break out one final time and find yourself on the summit (44.127805, -73.857417) at mile 7.8. Often chosen as the best view out of all High Peaks, Gothics offers incredible 360-degree views that allow you to look back at where you’ve come from, ahead to where you’re going, and everywhere in between. This is a good spot to take a long break, as you’ve completed roughly two thirds of your elevation gain for the day, halfway through the high peaks of the hike, and you’ve got the biggest mountains coming up next!

Down the cables.
After a lunch break on Gothics, it’s time to keep pressing onwards. In what some may argue is either the most or least fun part of the day, as you continue towards Saddleback from Gothics, you’ll soon find yourself at the top of the Gothics cable route. This section of exposed rock face is very steep, so years ago metal bolts were installed, with a rubber-coated steel cable running through the bolts to allow hikers something to hold on to while they are ascending/descending this tricky section of trail. There are incredible views for a good portion of this trail, so although it is important to keep your eyes on the ground to pick your steps carefully, it is also advisable to take a break here and there and enjoy the scenery.
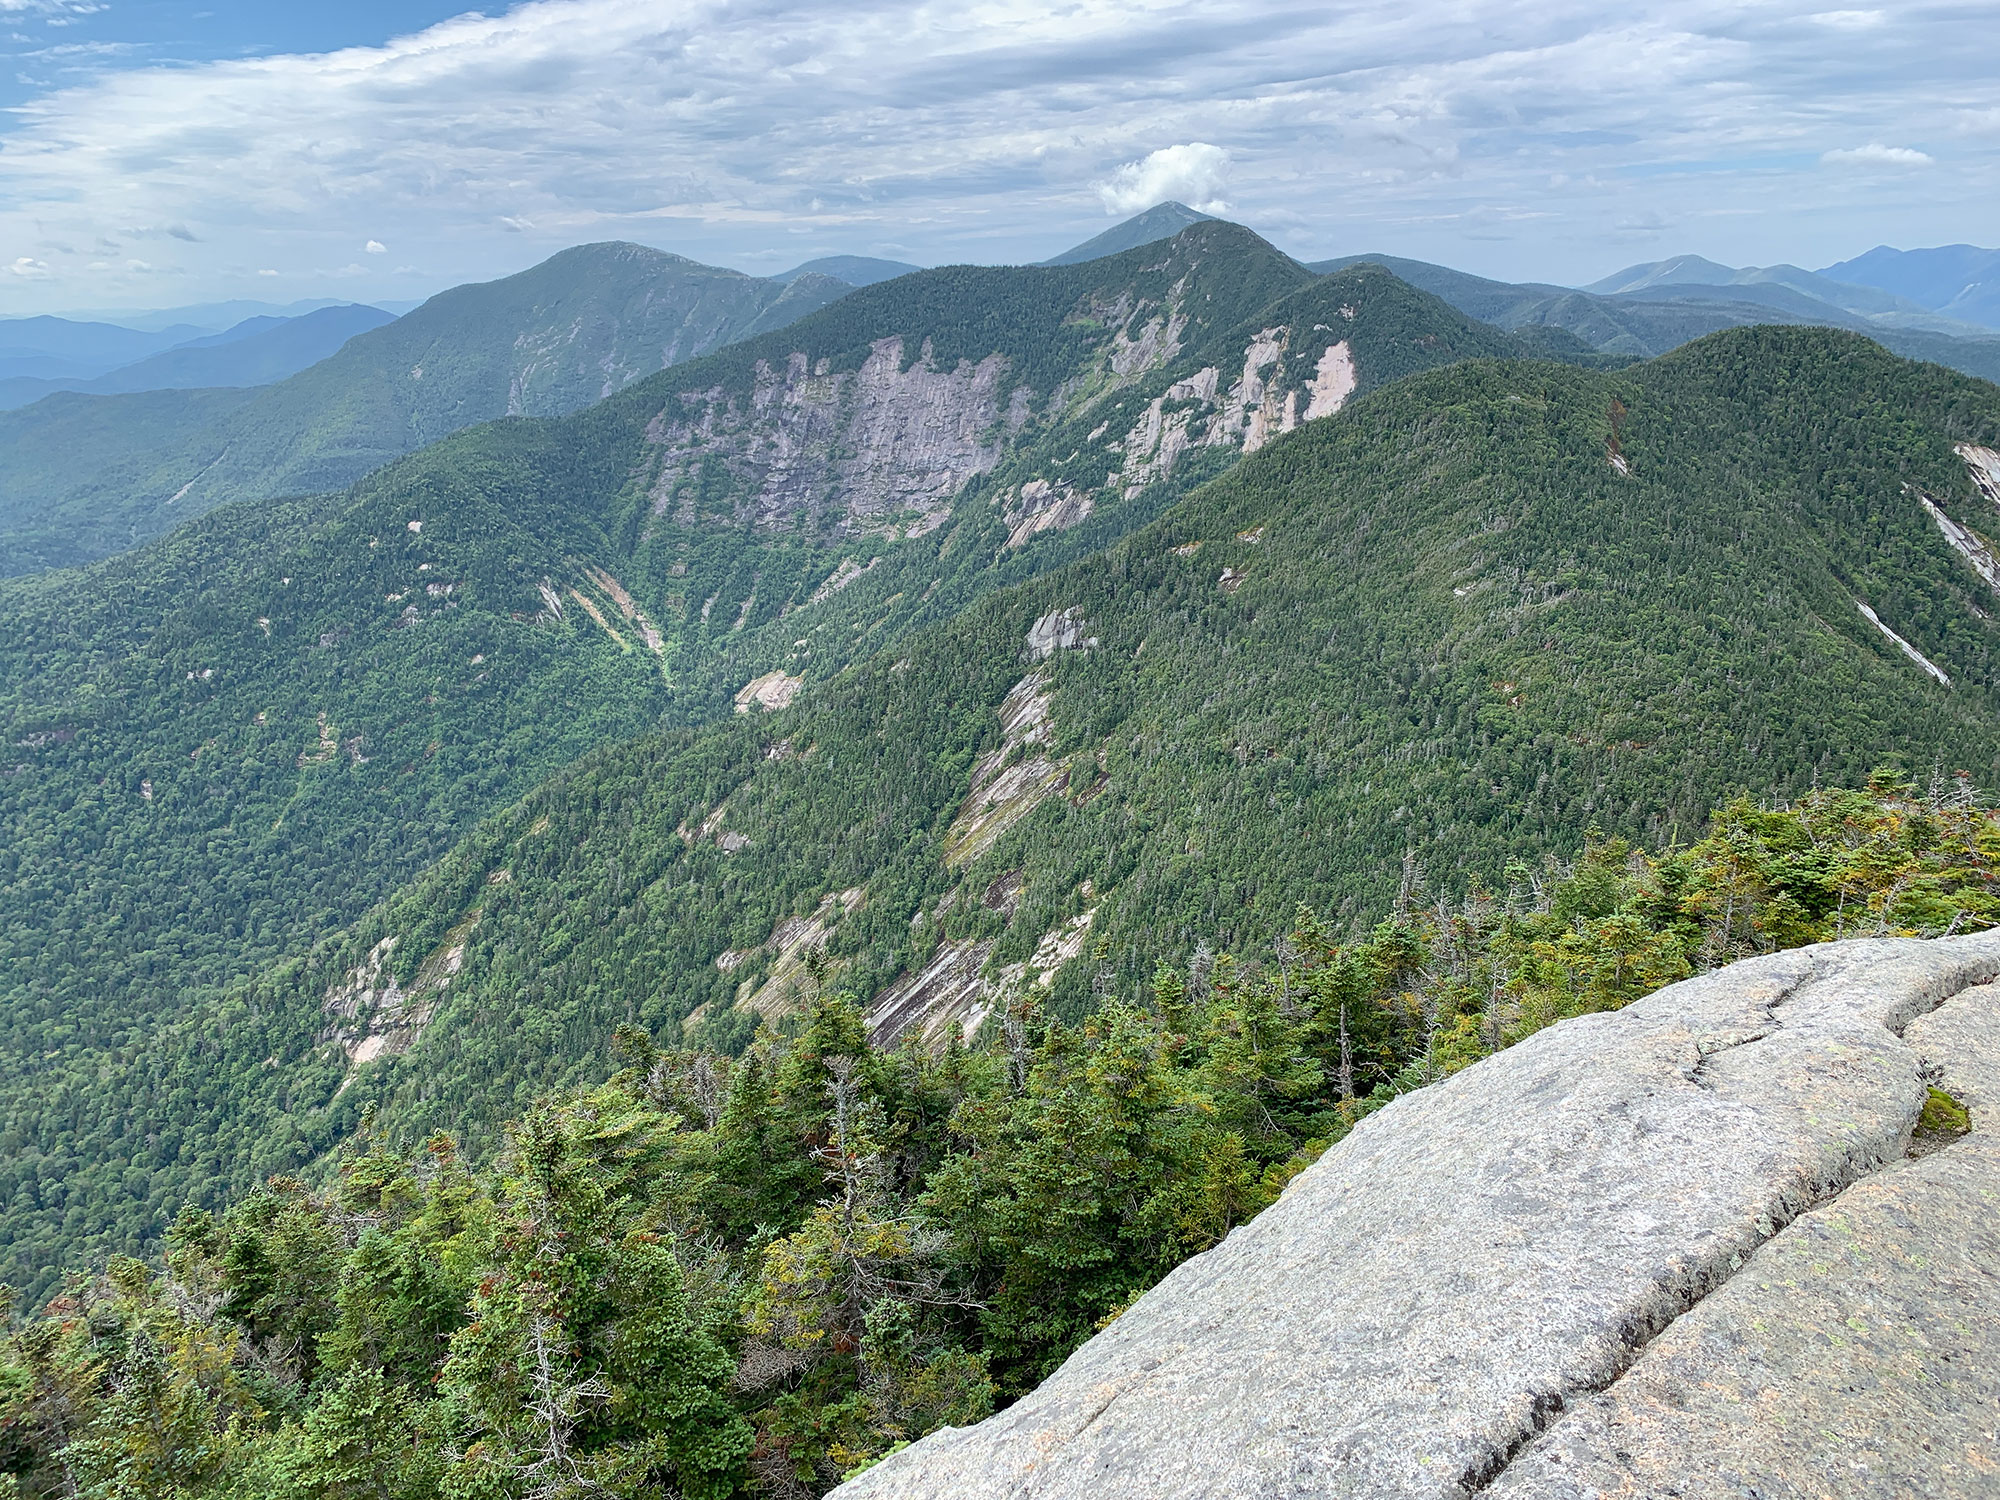
After taking yourself roughly 0.6 miles from the summit of Gothics, you will find yourself at a junction with the Orebed Brook Trail, in the col between Gothics and Saddleback. After continuing straight ahead at this junction, you’ll start climbing towards your next High Peak. This is a shorter, and fairly steep section of trail that offers limited views until you reach the summit. Around a mile of hiking from Gothics, you’ll break out from the trees and find yourself on a large, wide, exposed area of rock (44.126294, -73.875139) at mile 8.8. The view on Saddleback is fantastic, allowing you to look back at Armstrong and Gothics, as well as look ahead to Basin and Haystack.
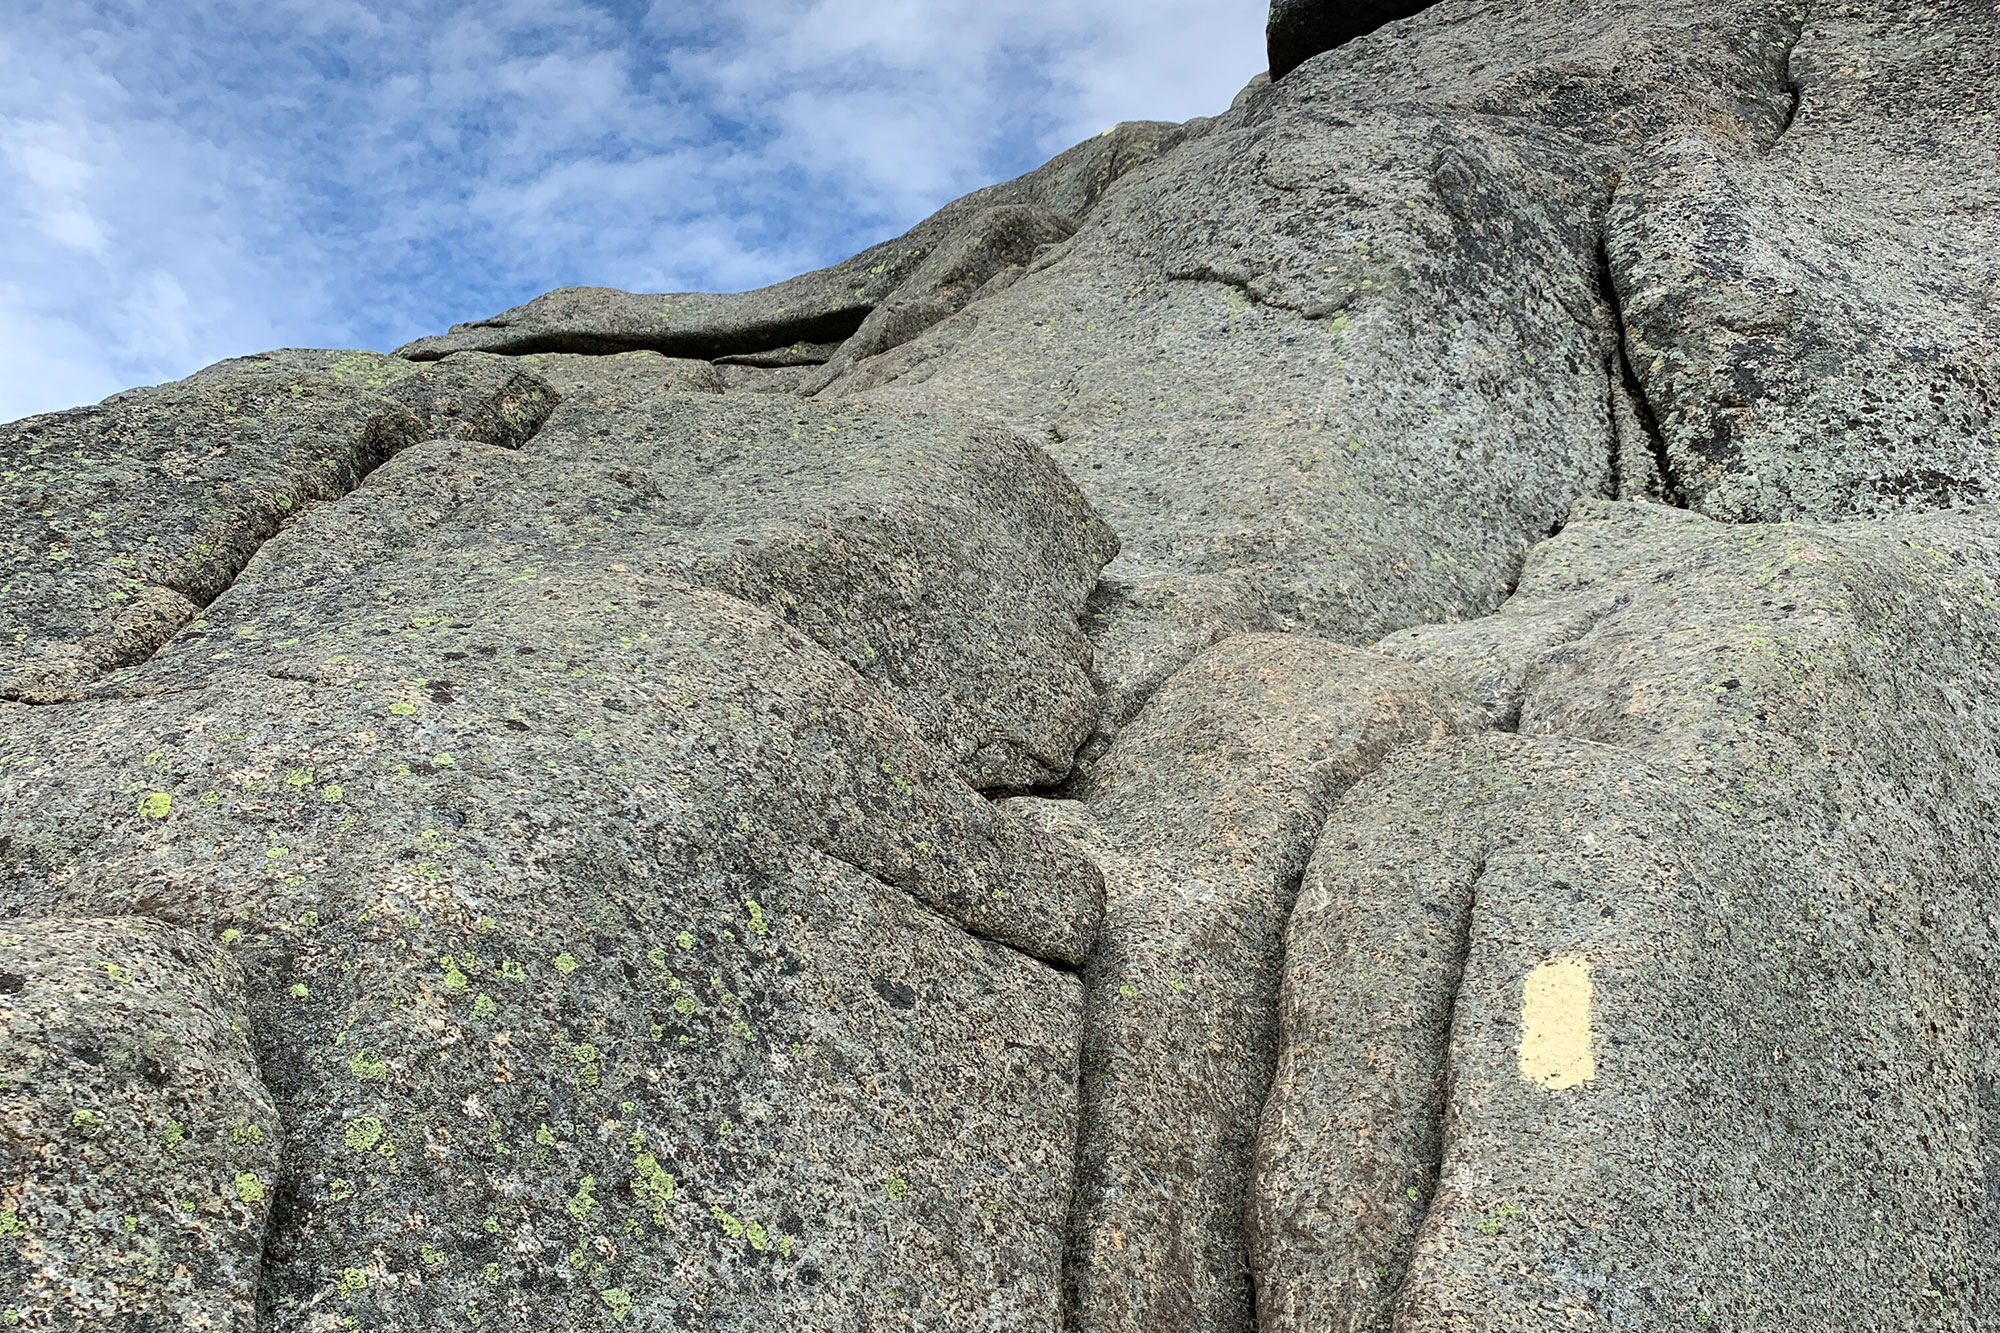
The Saddleback Cliffs.
As you leave the summit of Saddleback, you’ll have to navigate the trail carefully, as it follows along a gradual cliff edge for a few minutes. Following the yellow paint blazes on the exposed rock, you will then see that the trail takes a sharp left, heading down the infamous Saddleback cliffs. These cliffs can prove difficult to even the strongest, most experienced hikers, especially when you need to downclimb. It is very important to pick your hand holds and footholds carefully, keeping three points of contact at all times. Once you are at the bottom of the cliffs, you can look back at what you just descended, and feel proud, for it is no easy feat.
You will now have a fairly flat section of trail for a little while before you begin the ascent to Basin. First, you will have a climb up the shoulder of Basin, before you have a relatively level section before the final push to the summit. The trail in these sections is easy to navigate usually fairly dry, and easy on the legs. After the final climb at mile 8.4, you’ll find yourself on an open summit (44.121236, -73.886480), with incredible views of your final two peaks of the day, Haystack and Marcy.
A worthy subpeak.
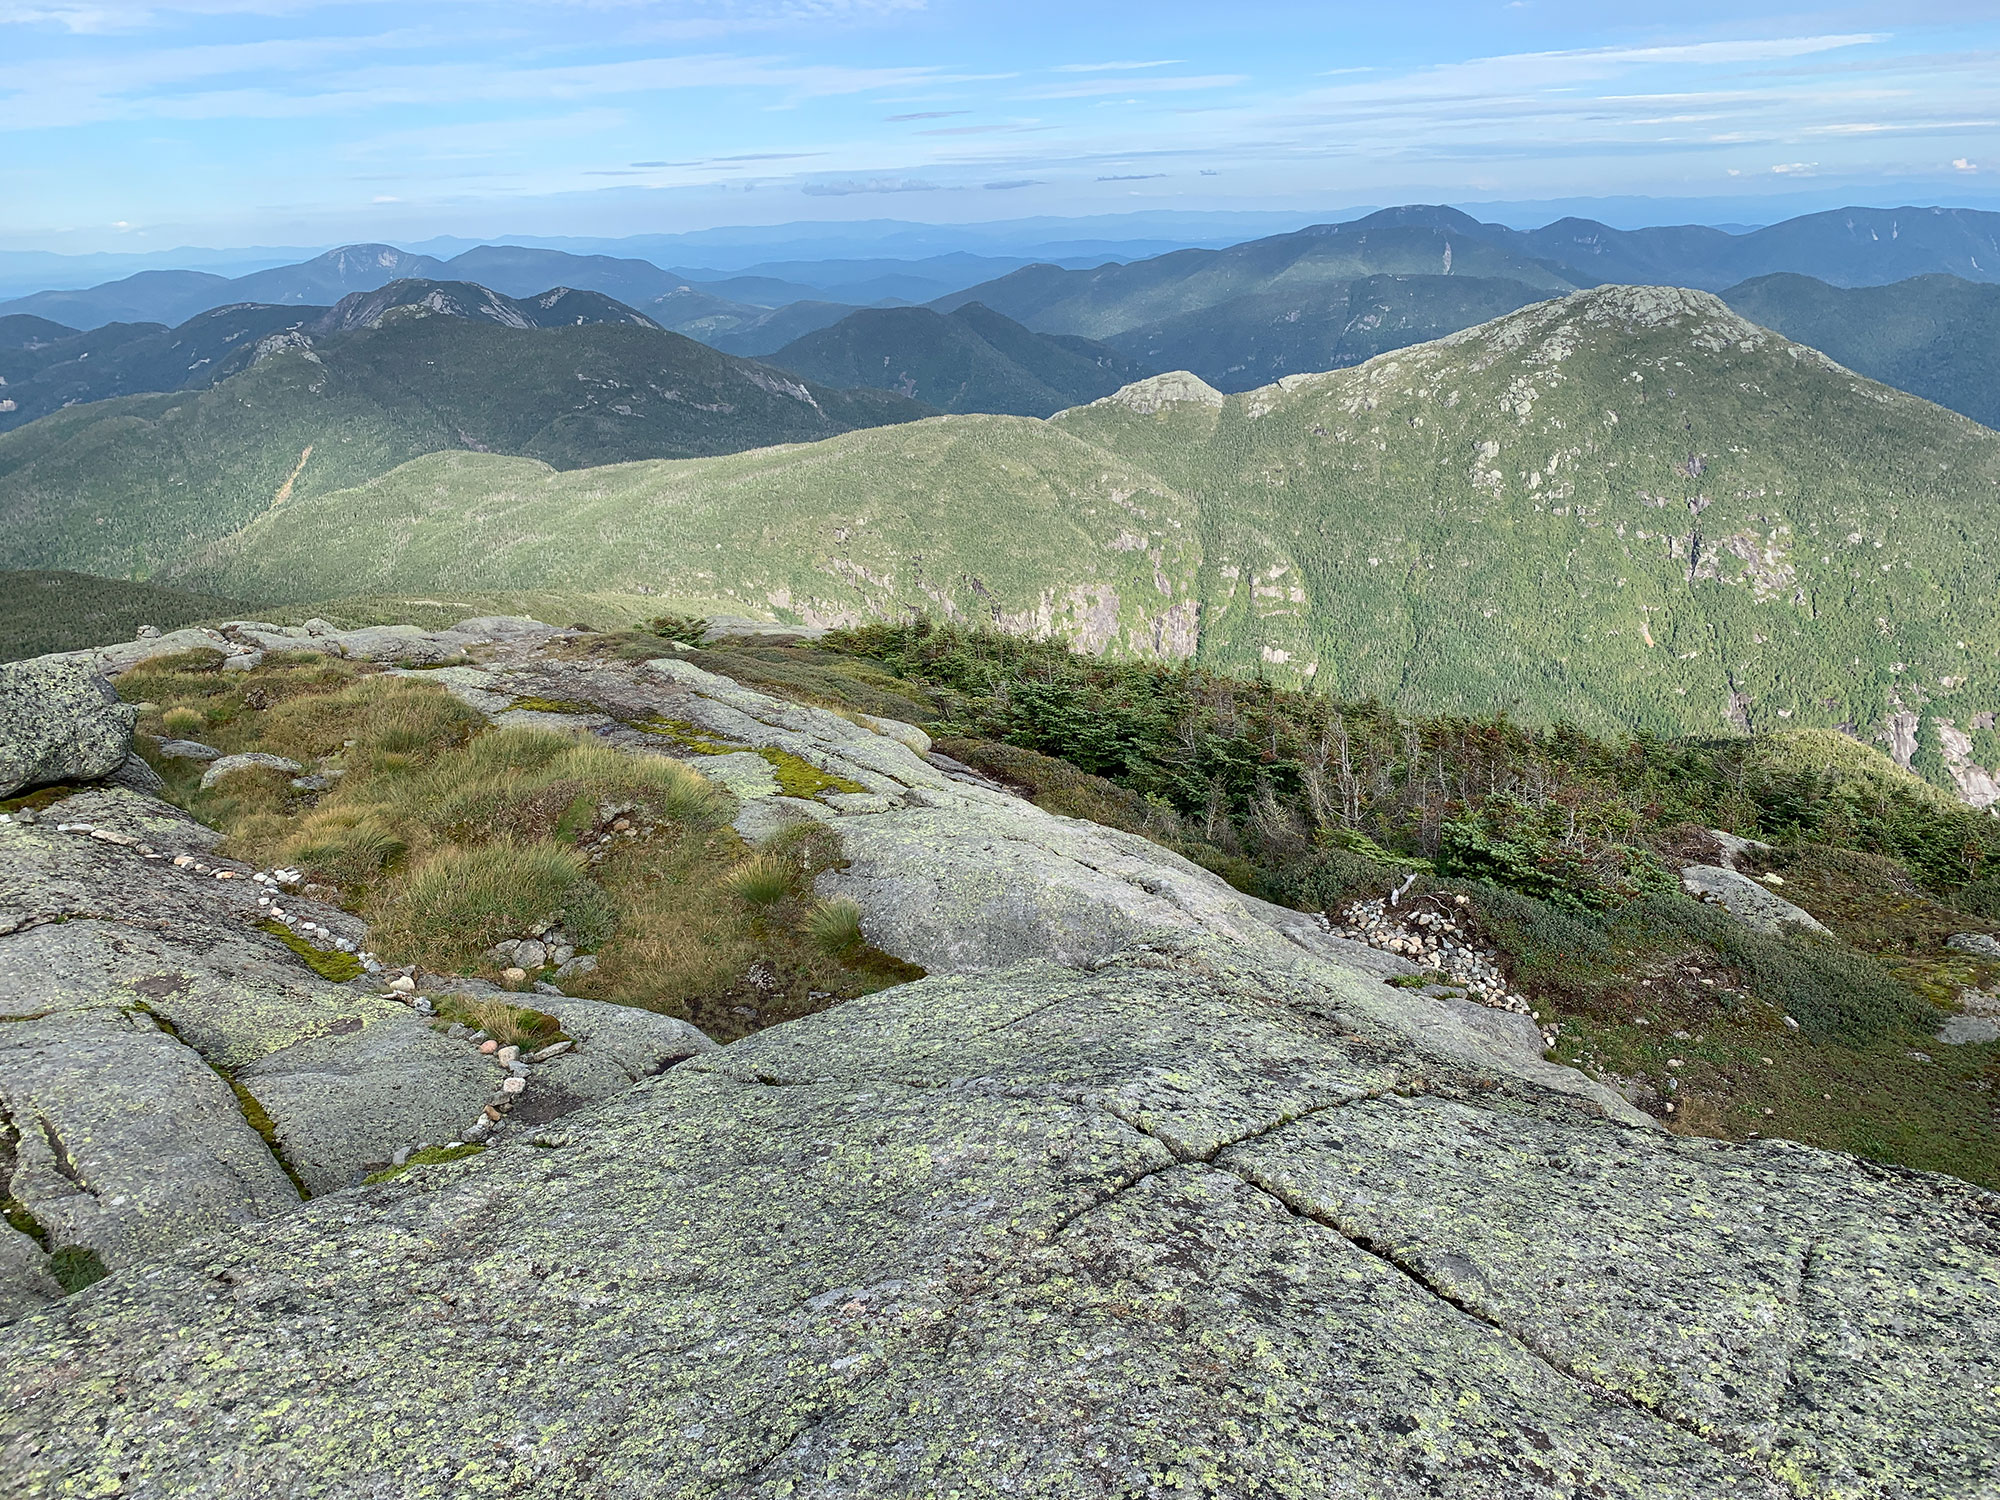
After leaving the summit of Basin, you’ll descend along the Range Trail until you find yourself in a col. You’ll have some fairly flat trail for a little while as you navigate the area between Basin and Haystack. At approximately mile 9.5, you will reach a junction with the Haystack Brook Trail (44.115188, -73.896464). This is a very important spot to remember, as it is your only definite water source for the entire trip until you are done with all of the ascent of the hike. Here at the junction, the Haystack Brook runs across the trail, and typically is flowing quite well year-round until it freezes over for the winter months. There is also a designated campsite in this area, if you decide to turn this into a 2 day trip!
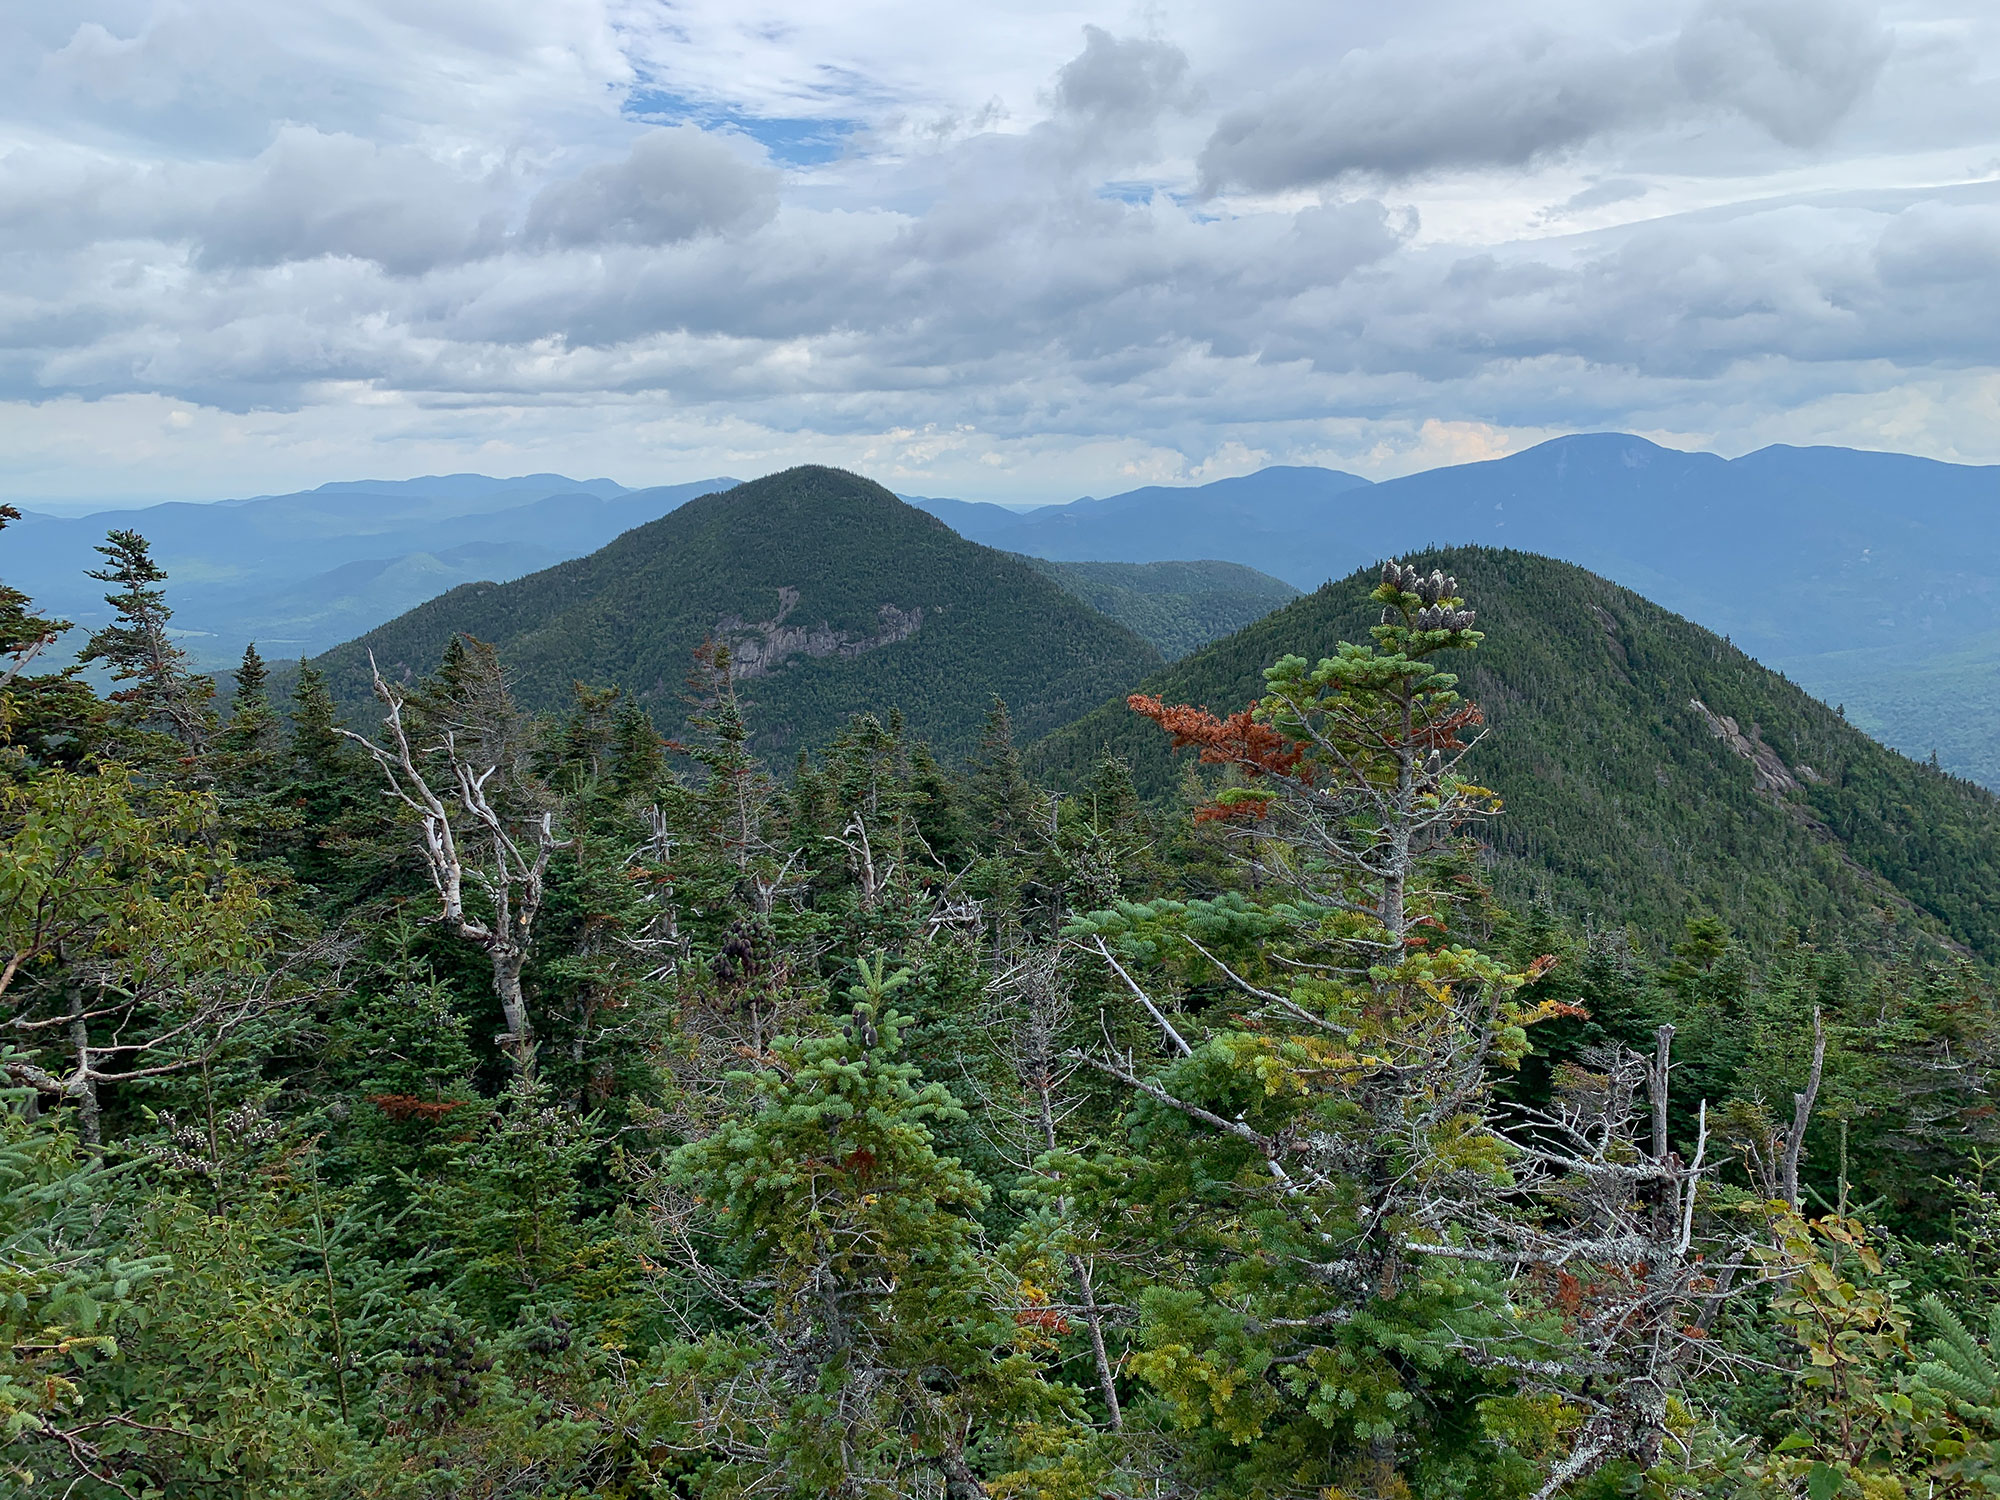
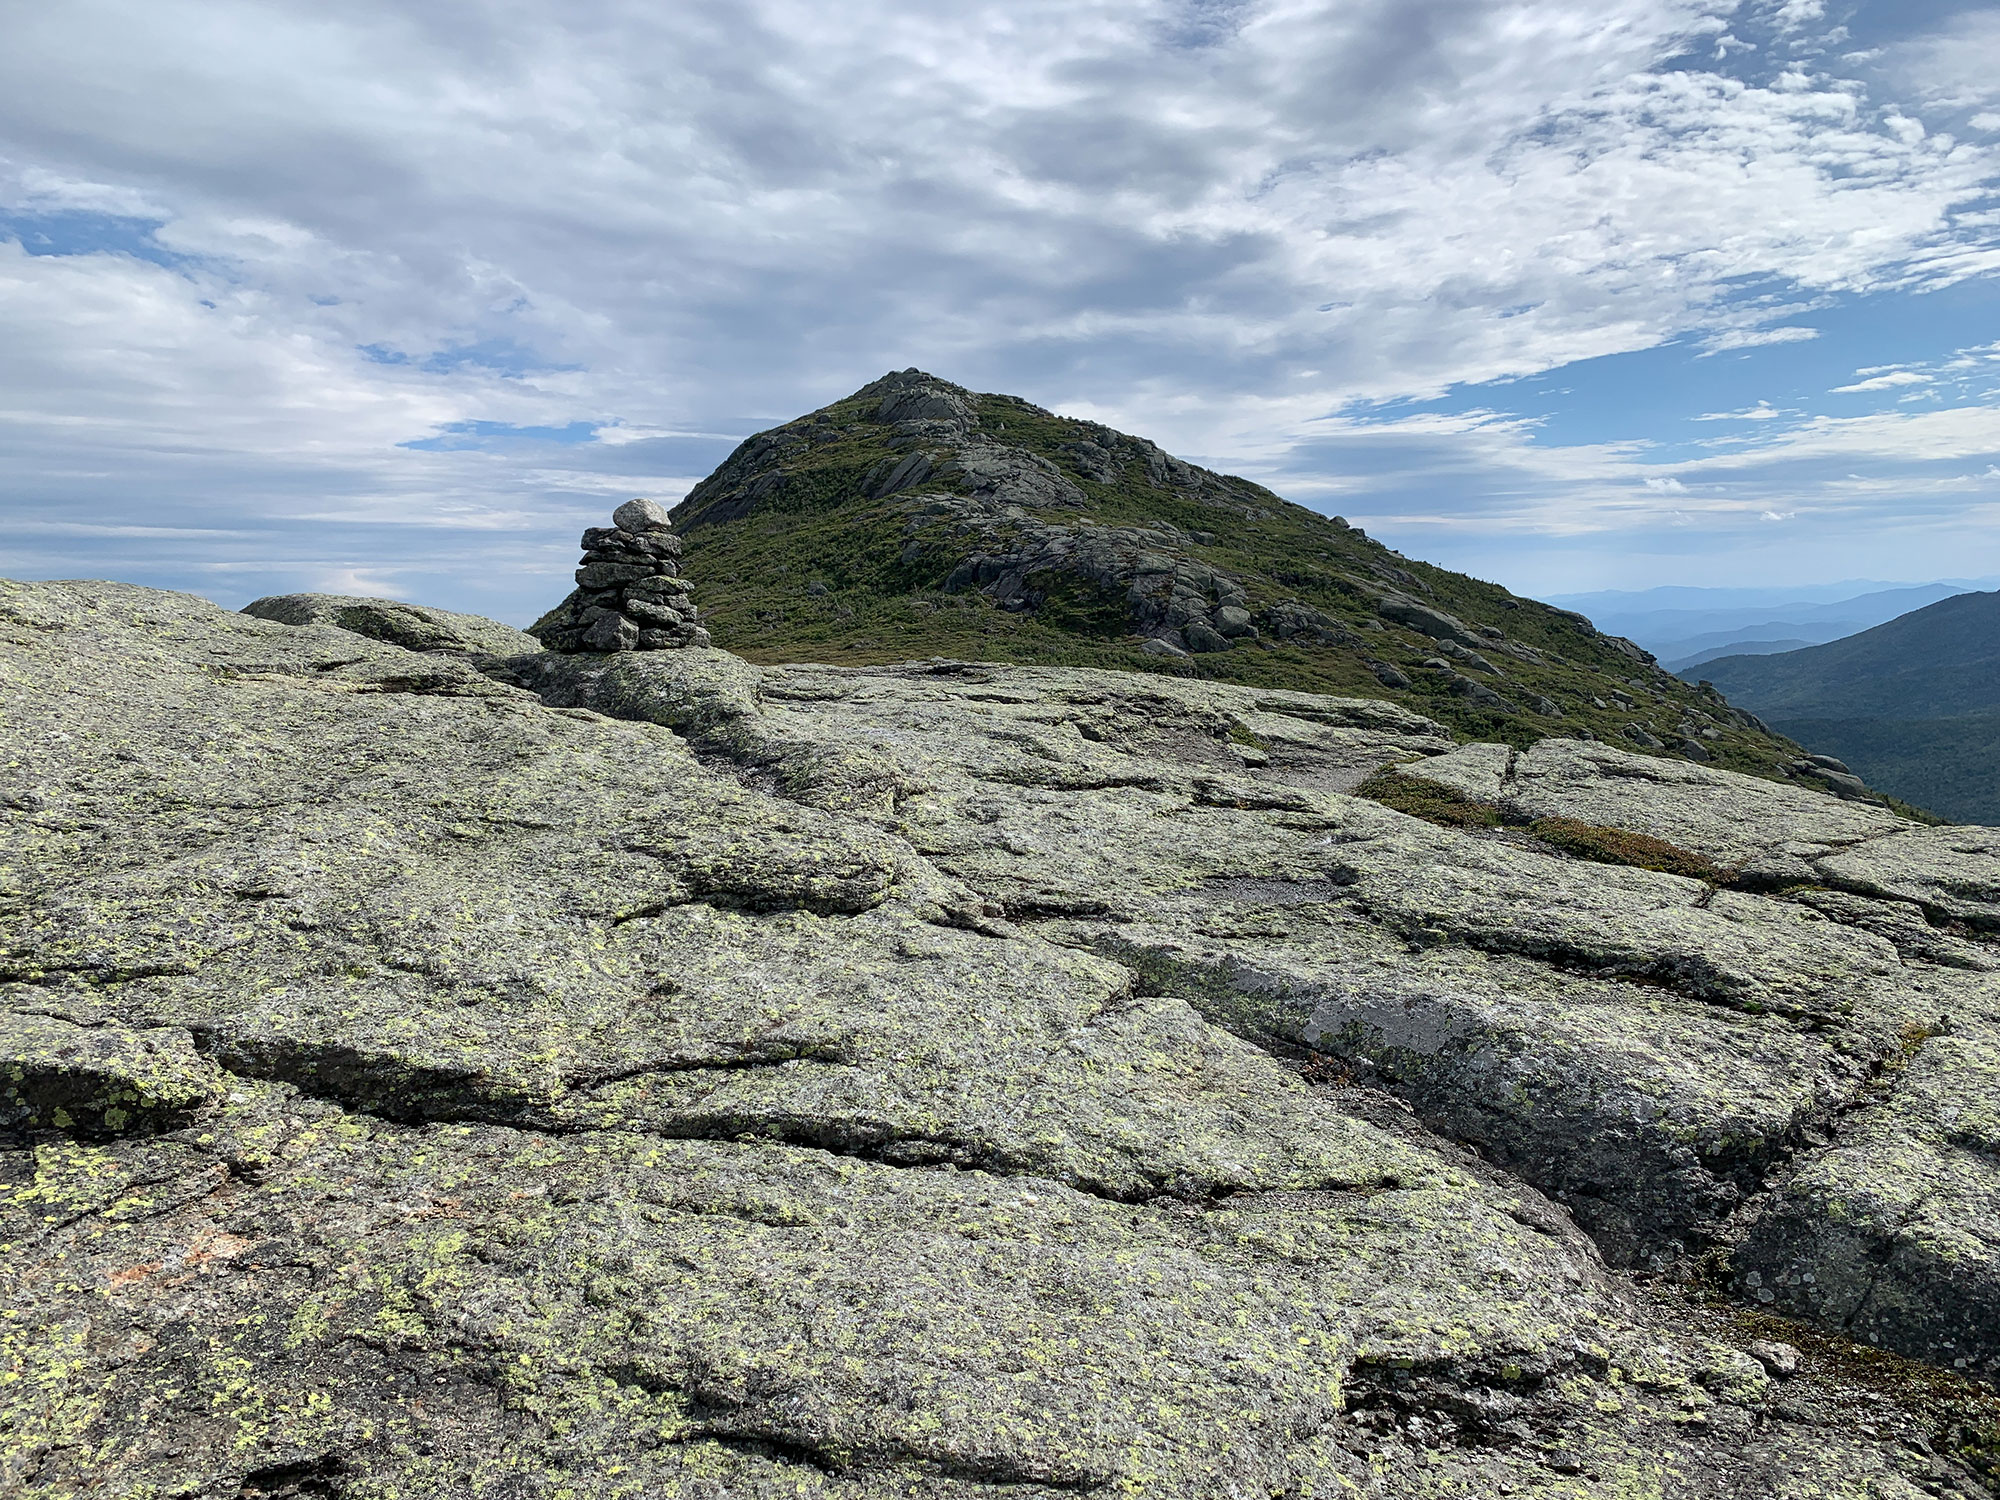
After using a filter or purifier to replenish your water stores, you will begin heading up the shoulder of Haystack, called Little Haystack. Here you will reach a junction, with the Range Trail continuing to the right, towards Marcy, but before you head that way you have to hit your seventh High Peak of the day. Little Haystack is a fairly big, completely exposed “hill” that you have to cover in order to continue towards the summit of Haystack. Little Haystack is only 0.5 miles from Haystack, but you do have a fair amount of elevation gain during that stretch of trail. From the second you begin climbing Little Haystack, to the moment you reach the summit of Haystack, you will have incredible views all around you. To your right is a breathtaking landscape that consists of Marcy looming over Panther Gorge, and to your left is a staggering panorama of jagged peaks jutting out of the sky, showing you what you’ve had to cover so far in the day to get where you are. Finally at mile 11.2, you will reach the Haystack summit (44.105761, -73.900672), the third highest peak in the state. This is a great spot to kick back and relax for a bit, because the views are just incredible, and you still have a fairly hard section of trail in front of you before you reach your final summit of the day.
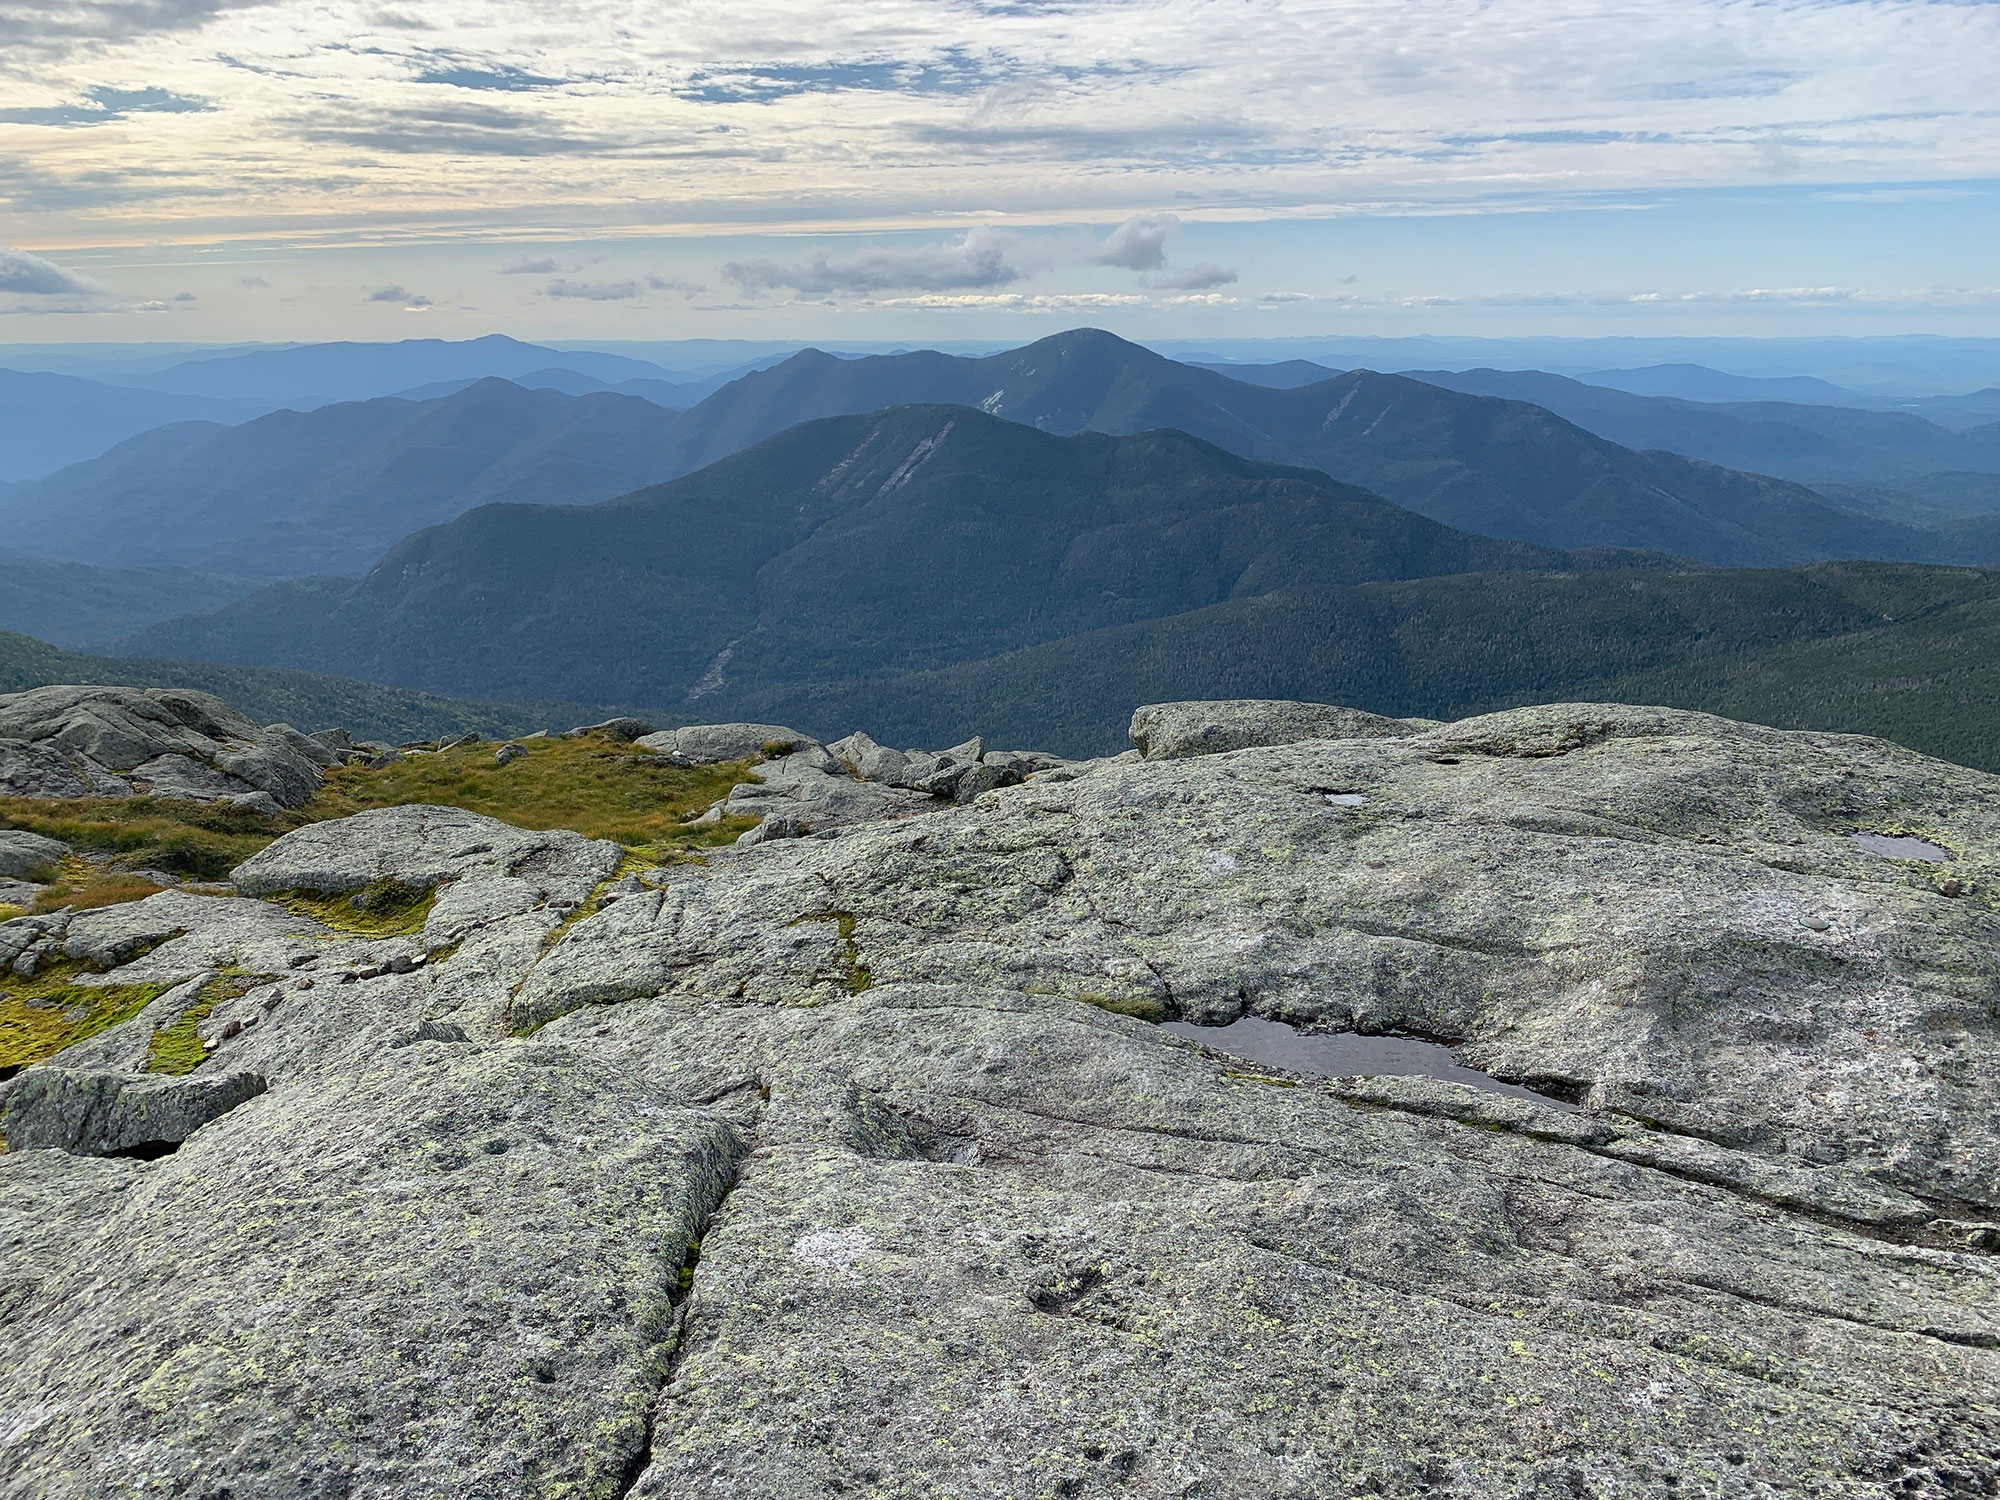
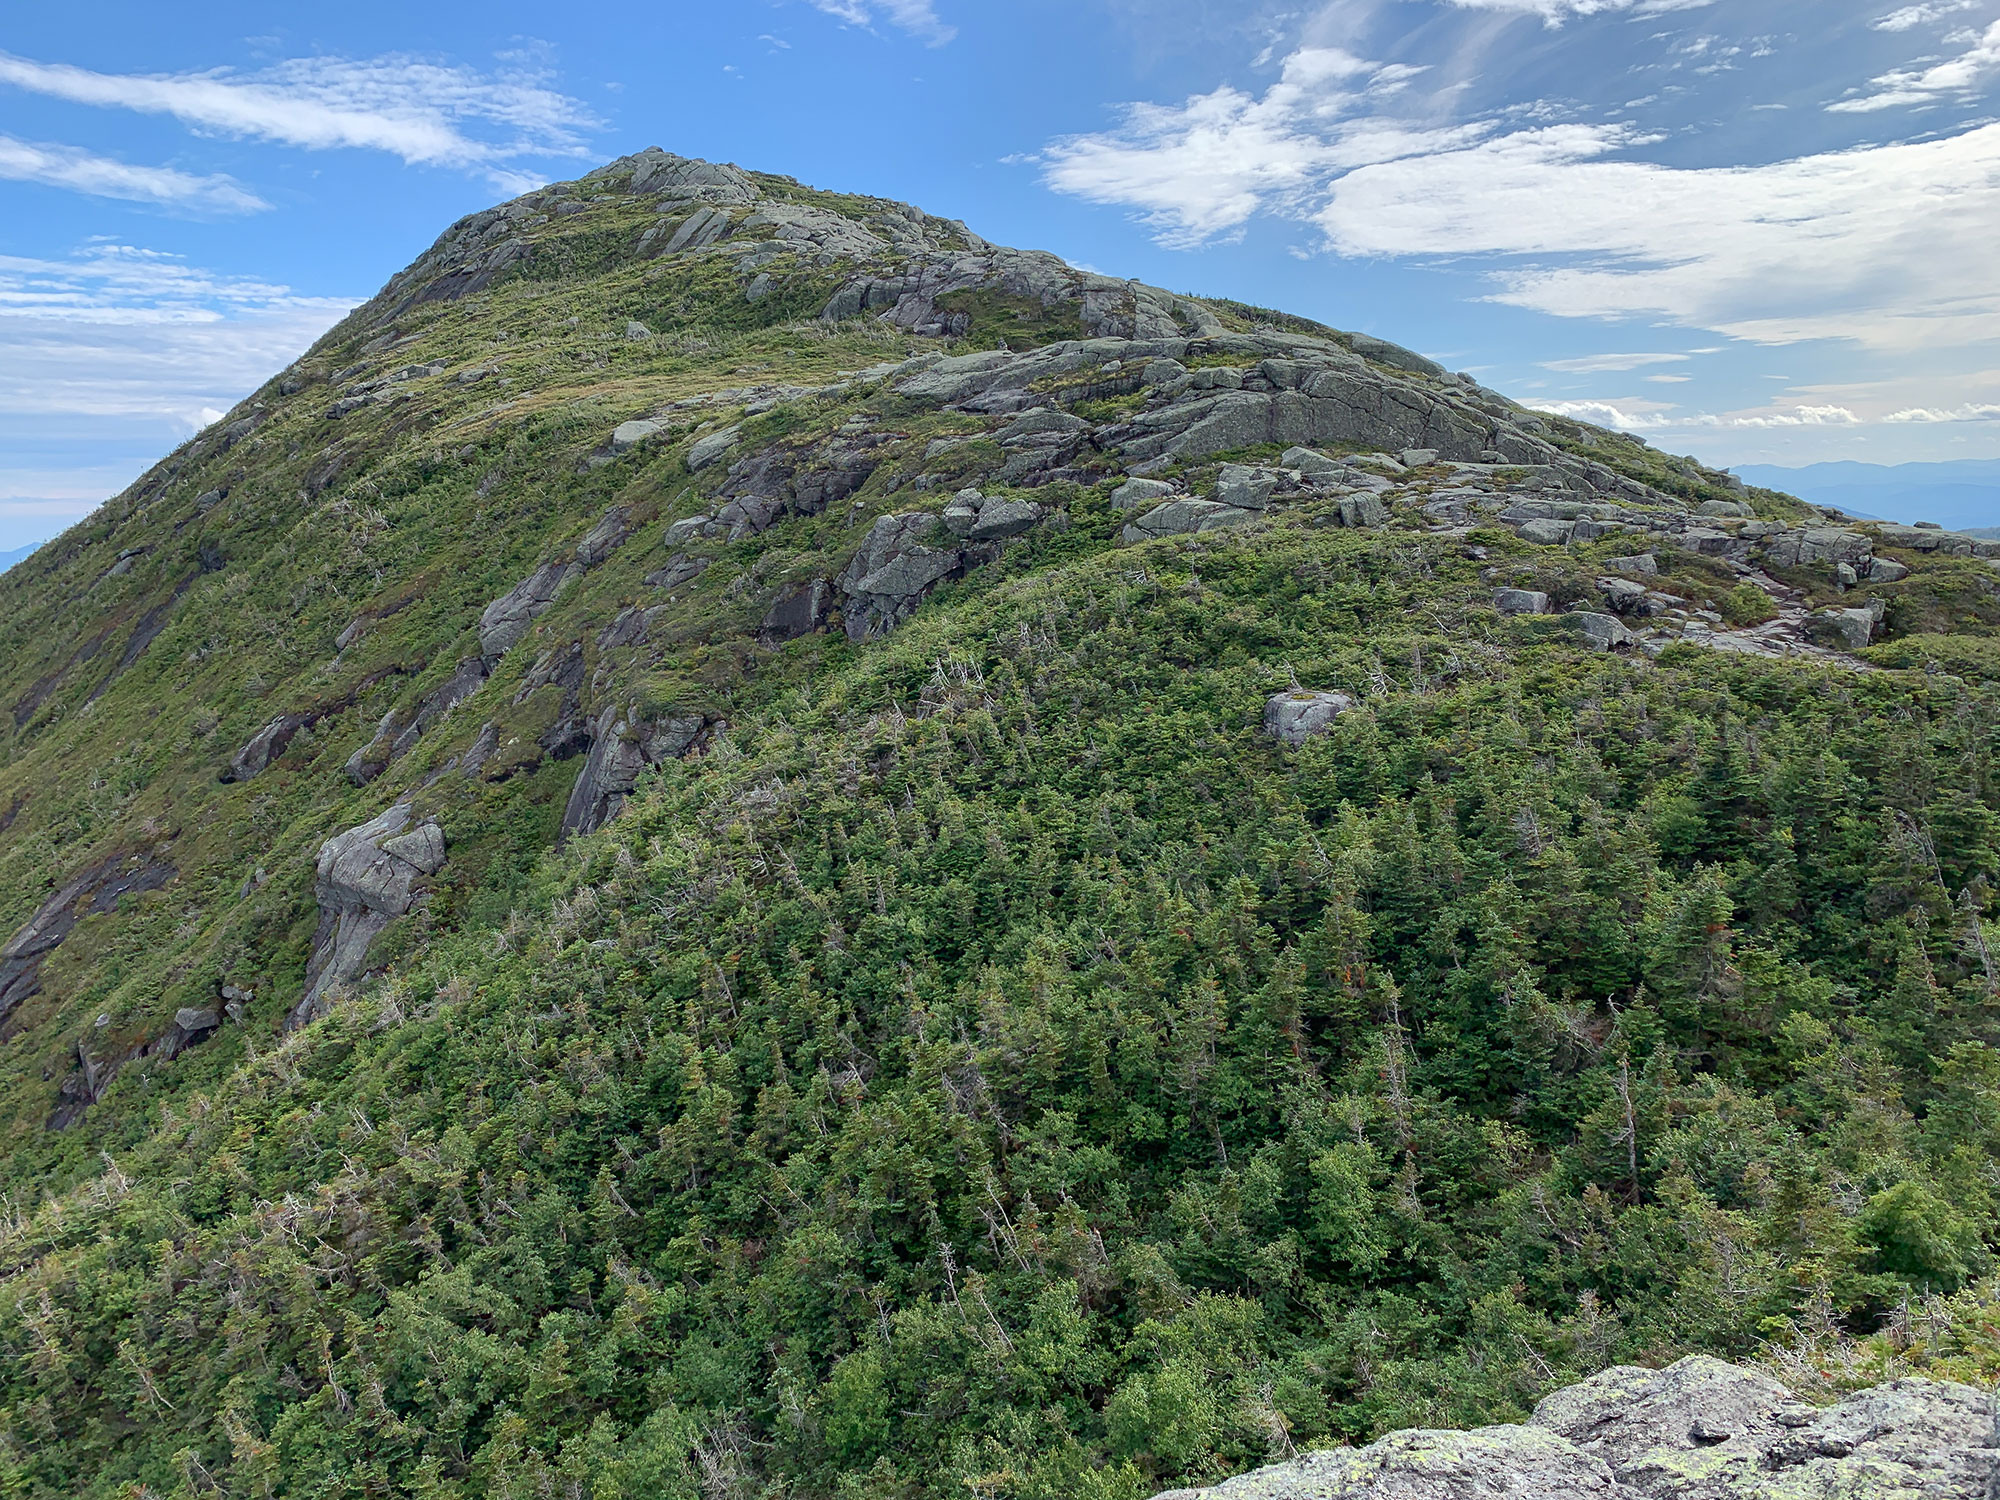
The high point.
Your final test of the day also leads you to the highest point in the entire state, Mount Marcy. Descend the 0.5 miles from Haystack to Little Haystack, which tends to go by fairly quickly. Once you go up and over Little Haystack, you’ll find yourself back at the junction with the Range Trail at mile 11.6. This stretch of trail goes between the Haystack Trail and the Phelps Trail, and can be difficult to navigate at times. It is technical, rocky, muddy, and has its fair share of ups and downs, so be careful during this time. After you reach the junction with the Van Hoevenberg Trail at mile 12.7, you’ll start to begin your final ascent towards Mount Marcy. This final half-mile of trail is moderately steep, but mostly exposed, with views to both sides of you as you make your final climb of the day.
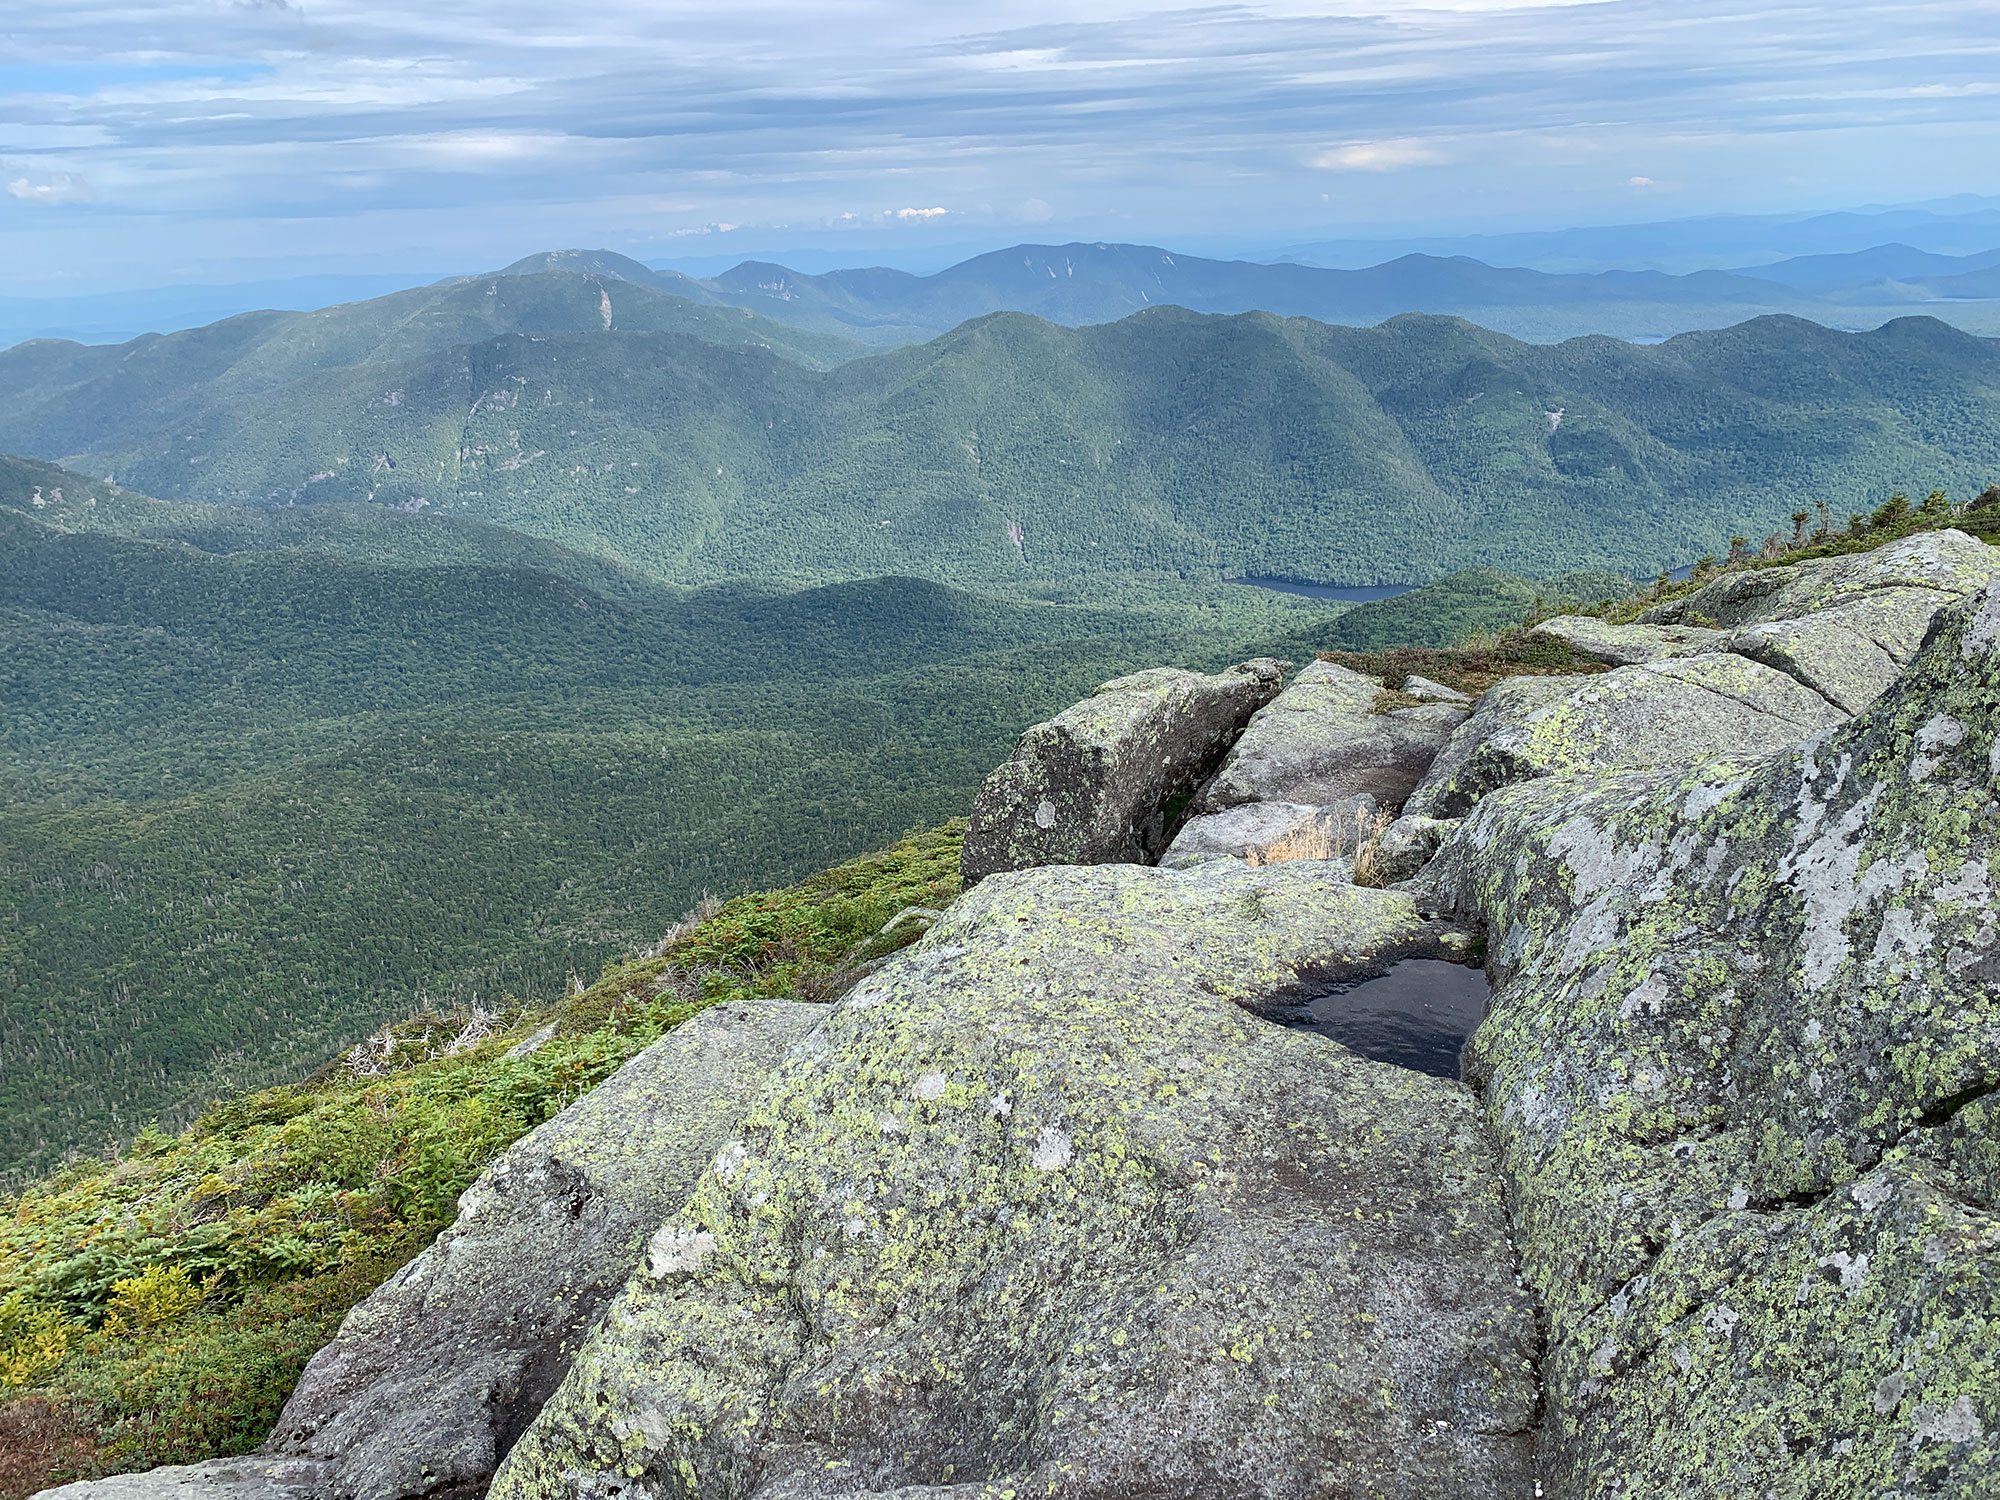
Finally, after 13.2 miles and ~9,000’ of elevation gain on the day, you’ll reach your final summit (44.112781, -73.923694). Mount Marcy’s Native American name was Tahawus, meaning “cloud-splitter.” This beauty of a peak certainly lives up to that name, as at any point in the day you may have blue skies down low but find yourself in the clouds on the summit. I highly recommend you take a good, long break here at the summit (weather permitting), as the hardest parts of your day are done. Eat a snack, have some water, and enjoy the views of every other mountain within visible viewing distance.
Down and out.
Now all that’s left to do it hike the last 8.3 miles down and out, to the Garden Trailhead. Leaving the summit, you’ll spend half of a mile on the Van Hoevenberg Trail before reaching the Phelps Trail junction. At this point, you will turn onto your final trail of the day, back onto the Phelps Trail. As stated before, the Phelps trail at this point is narrow, rocky, covered with roots, running water, and is highly technical. You will need to pay attention and plan every step in order to navigate some of the trickier stretches of trail safely. The next few miles will most likely have you cursing under your breath as you inevitably trip, catch your feet on roots, and stumble down the trail, but after roughly 3 miles of this, the trail becomes your best friend. Wide, flat, and well maintained, the remainder of the Phelps Trail is probably the easiest part of your day. With virtually no elevation gain, and a very gradual descent, you will usually find another little bit of energy to help push through to the parking lot. Finally, you will pop back out into the Garden Parking Lot at mile 21.5 (44.188896, -73.816312).
Pro tip: A shuttle runs from 7 a.m. to 7 p.m. during the spring, summer and fall months (check the Keene Valley website for more information<<Can we include a link? And does this go directly back to Rooster Comb or just to the airfield?))). If the day looks like it might take longer than expected, be prepared for an additional 2-mile road walk to the Roostercomb Trailhead.
The Kit
- Covering 20-plus miles with 9,000 feet or more of elevation is no easy feat, and regardless of how long such a trek can take you, you’ll need to make sure you are hydrated, but the longer day means you might need to carry along a water filter like the MSR Hyperflow to fill up along the way. This small, compact and lightweight filter can filter up to 3 liters of water per minute.
- As is the case with most trails in the Adirondacks year-round, there are many sections of standing water and mud along this trail, including between summits and descending from Marcy along the Phelps trail (which can often be flowing with water). In order to help conserve the environment and follow LNT practices, it is always best to go through the mud than try to find a drier way around, and waterproof footwear, like the Oboz Sawtooth II Mid hiking boots will definitely be your friend!
- The top trail runners in the world can do this traverse in just over five hours, but for most people out there, this trip will inevitably include a portion in the dark. As you should do every time you set out on a hike, make sure you have a headlamp like the Black Diamond Spot and extra batteries to make the trip safe!
- No one ever wants to have to spend an unexpected night in the woods, but especially with bigger, tougher hikes like the GRT, accidents and unfortunate events do occur. If something happens, you need to be able to survive a night in the woods, and an emergency bivy sack like the SOL Thermal Bivy goes a long way towards backcountry survival.
Keys to the Trip
- This hike will test even the most in-shape hikers, trail runners and backpackers, so it is vitally important to plan and be well prepared before you set out. If backpacking, make sure you have approved tent sites, with backups in case they are taken, chosen and marked on your map before you go. A good option that follows all DEC regulations regarding elevation and location is the Sno-Bird camping spot, located in the col between Basin and Haystack (44.115334, -73.895874).
- While it is common hiking knowledge to plan ahead for weather and various conditions, another thing to remember is that this hike is limited in comparison in the Northeast. It is a good idea to have hiked all or most of the mountains and trails beforehand to get the best idea of what conditions may be like, and how stringing them all together in one big day can affect you! It is also important to make sure you are physically fit enough to successfully complete such an endeavor, and a good strategy is to build up your mileage and elevations during hikes leading up to the big day!
- Be sure to fuel up before and/or after your hike! Depending on which direction you are coming from, the Old Mountain Coffee Company in Keene Valley is a great coffee spot, and is right across the road from Noonmark Diner. Other great options for post-hike eats are Big Slide Brewery and Wiseguys in Lake Placid. Of course, Stewart’s in Keene is always a great option both before and after a hike!
Current Conditions
Have you hiked the GRT, or even a piece of it, recently? Post your experience and the trail conditions (with the date of your hike) in the comments for others!
Related Posts