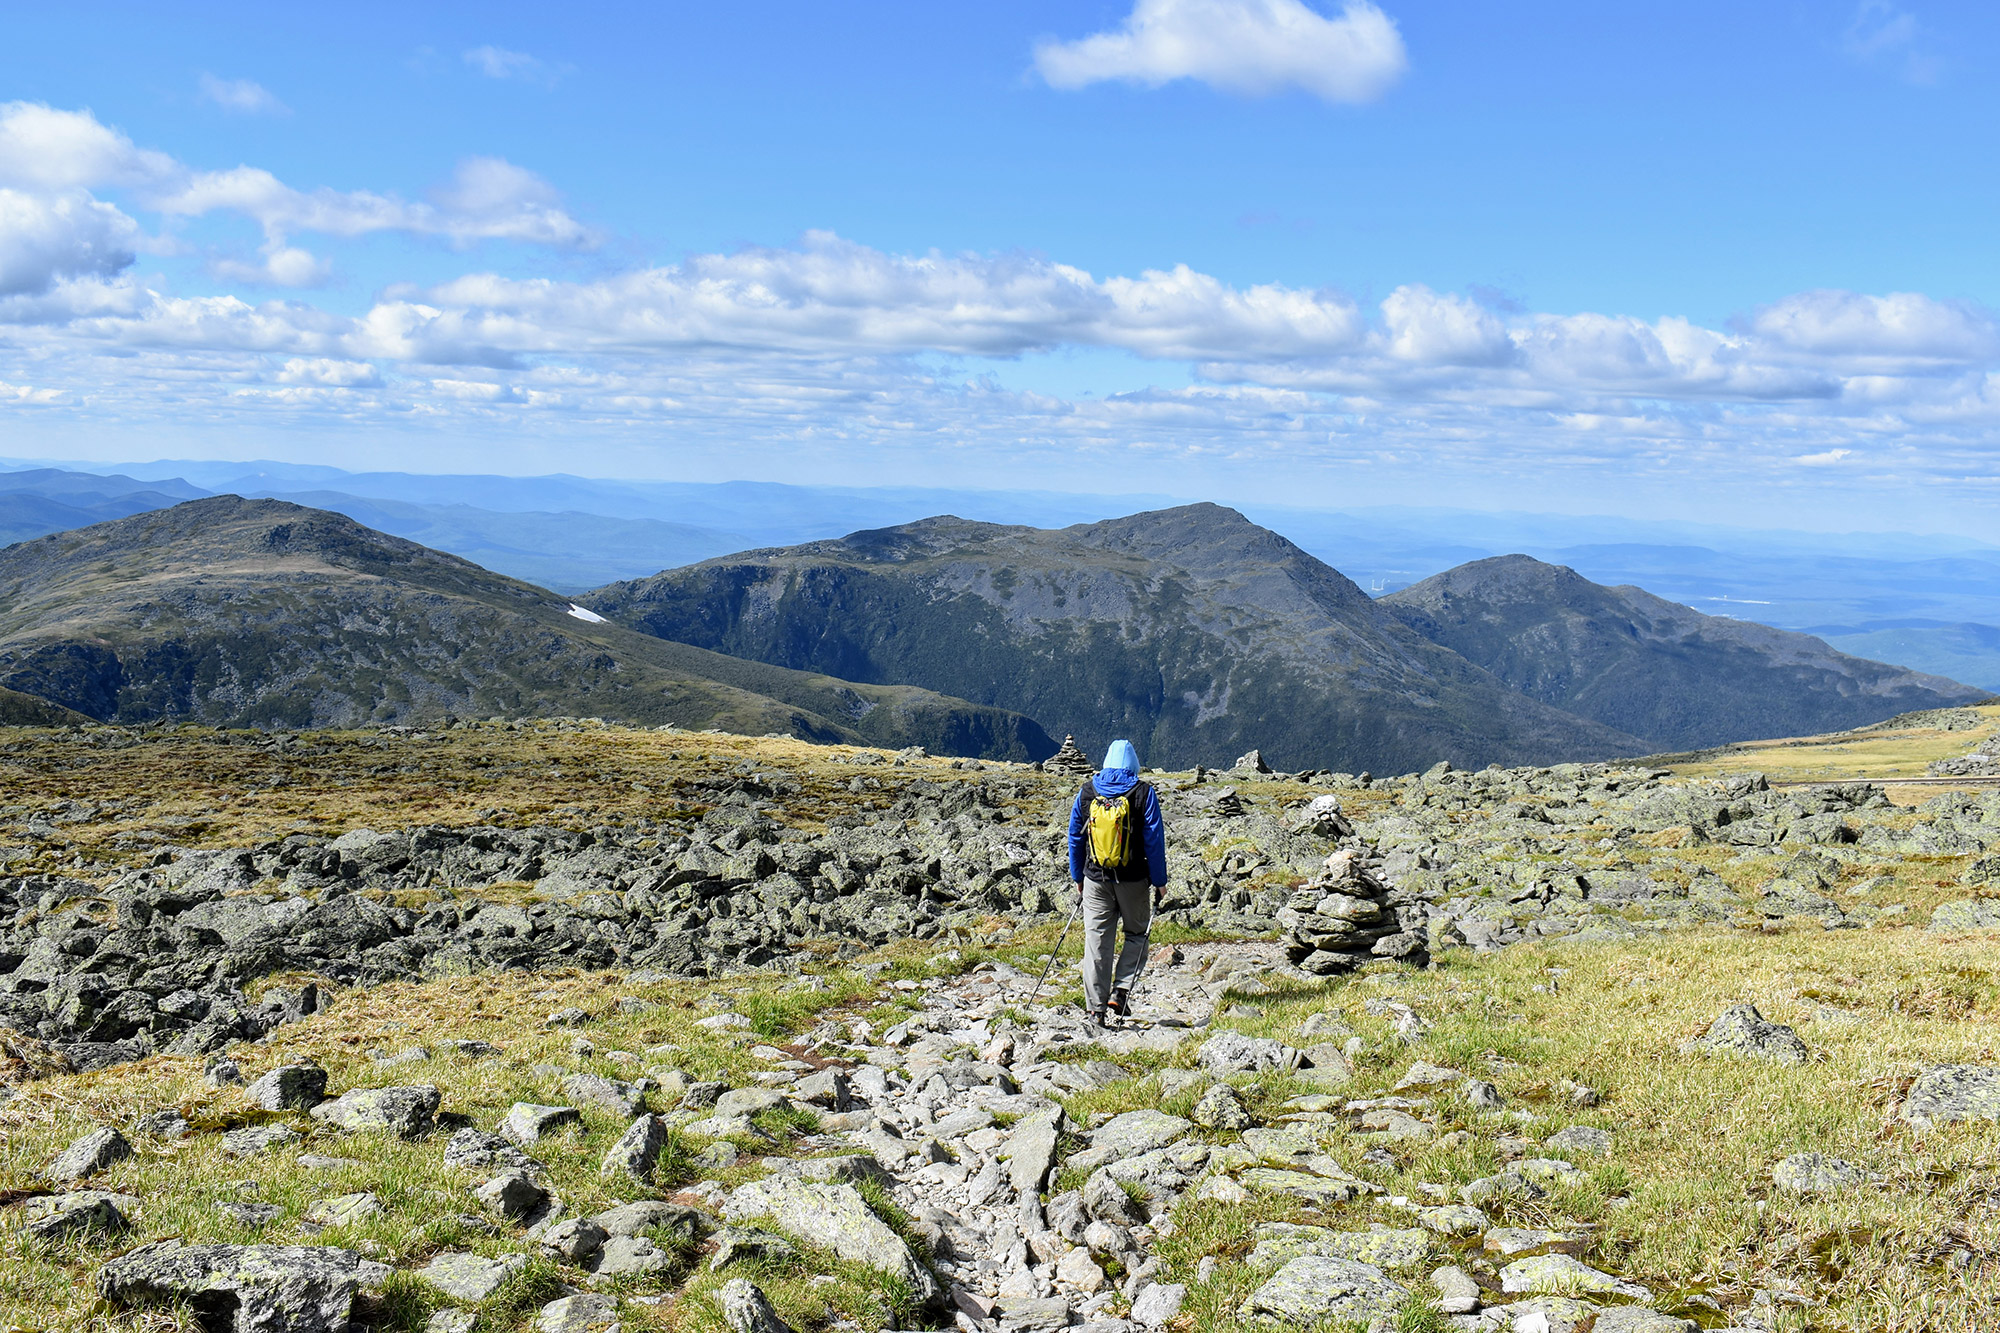
The region’s tallest peak, Mount Washington is a prize of the Northeast and one that can be climbed over and over by numerous different routes.
A long and notable history, the distinction of being New Hampshire’s tallest peak, and a reputation for being the “home of the world’s worst weather” are just a few reasons Mount Washington tops many peakbaggers’ lists. And, with routes varying from serene to scary, there are plenty of different paths to the peak.
Turn-By-Turn
Most Mount Washington day hikes start on either the east or west side. For starting on the east side with the Tuckerman Ravine Trail, Lion Head, or Boott Spur, hikers should park at the Appalachian Mountain Club’s Pinkham Notch Visitor Center in Gorham, just north of Jackson on Route 16. It’s about a 25-minute drive from North Conway to Gorham.
For a west side hike, such as the Ammonoosuc Ravine and Jewell Trails, hikers should park at the Ammonoosuc Ravine Trailhead. From Route 302, turn onto Base Road at the intersection of Bretton Woods and Fabyan’s Restaurant. The parking lot is on the right, several miles down the road. Confused? Just follow the signs for the Mount Washington Cog Railway.
Pro Tip: Get an early start. On most weekends, the lots at Pinkham Notch and the Ammonoosuc Trailhead fill up quickly. For Pinkham, there’s overflow parking just south of the Visitor Center and additional parking on the street.
East Side Trails
Tuckerman Ravine Trail
Quick Facts
Distance: 8.2 miles, round trip.
Time to Complete: 1 day
Difficulty:★★★
Scenery:★★★★
Fees/Permits: None
Contact: https://www.fs.usda.gov/recarea/whitemountain/recarea?recid=78538
Of all the routes to the summit, an ascent via the 4.1-mile, one-way Tuckerman Ravine Trail is perhaps the most sought after, as it climbs directly up the notorious glacial cirque and backcountry ski destination. Because snow and ice may cover the terrain from late fall to early summer—making it more of a mountaineering route than a hike—and due to its popularity, this trail may be busy when in prime condition.
Starting just behind the Pinkham Notch Visitor Center, the Tuckerman Ravine Trail begins rather benignly. The wide-yet-rocky trail gradually works its way up the roughly 2.5 miles to Hermit Lake and the base of Tuckerman Ravine. As a note, this section may be particularly busy, as Hermit Lake is a popular destination itself. Above Hermit Lake, the trail climbs a series of narrow, steep, and often slippery switchbacks that deliver hikers to the top of the ravine.
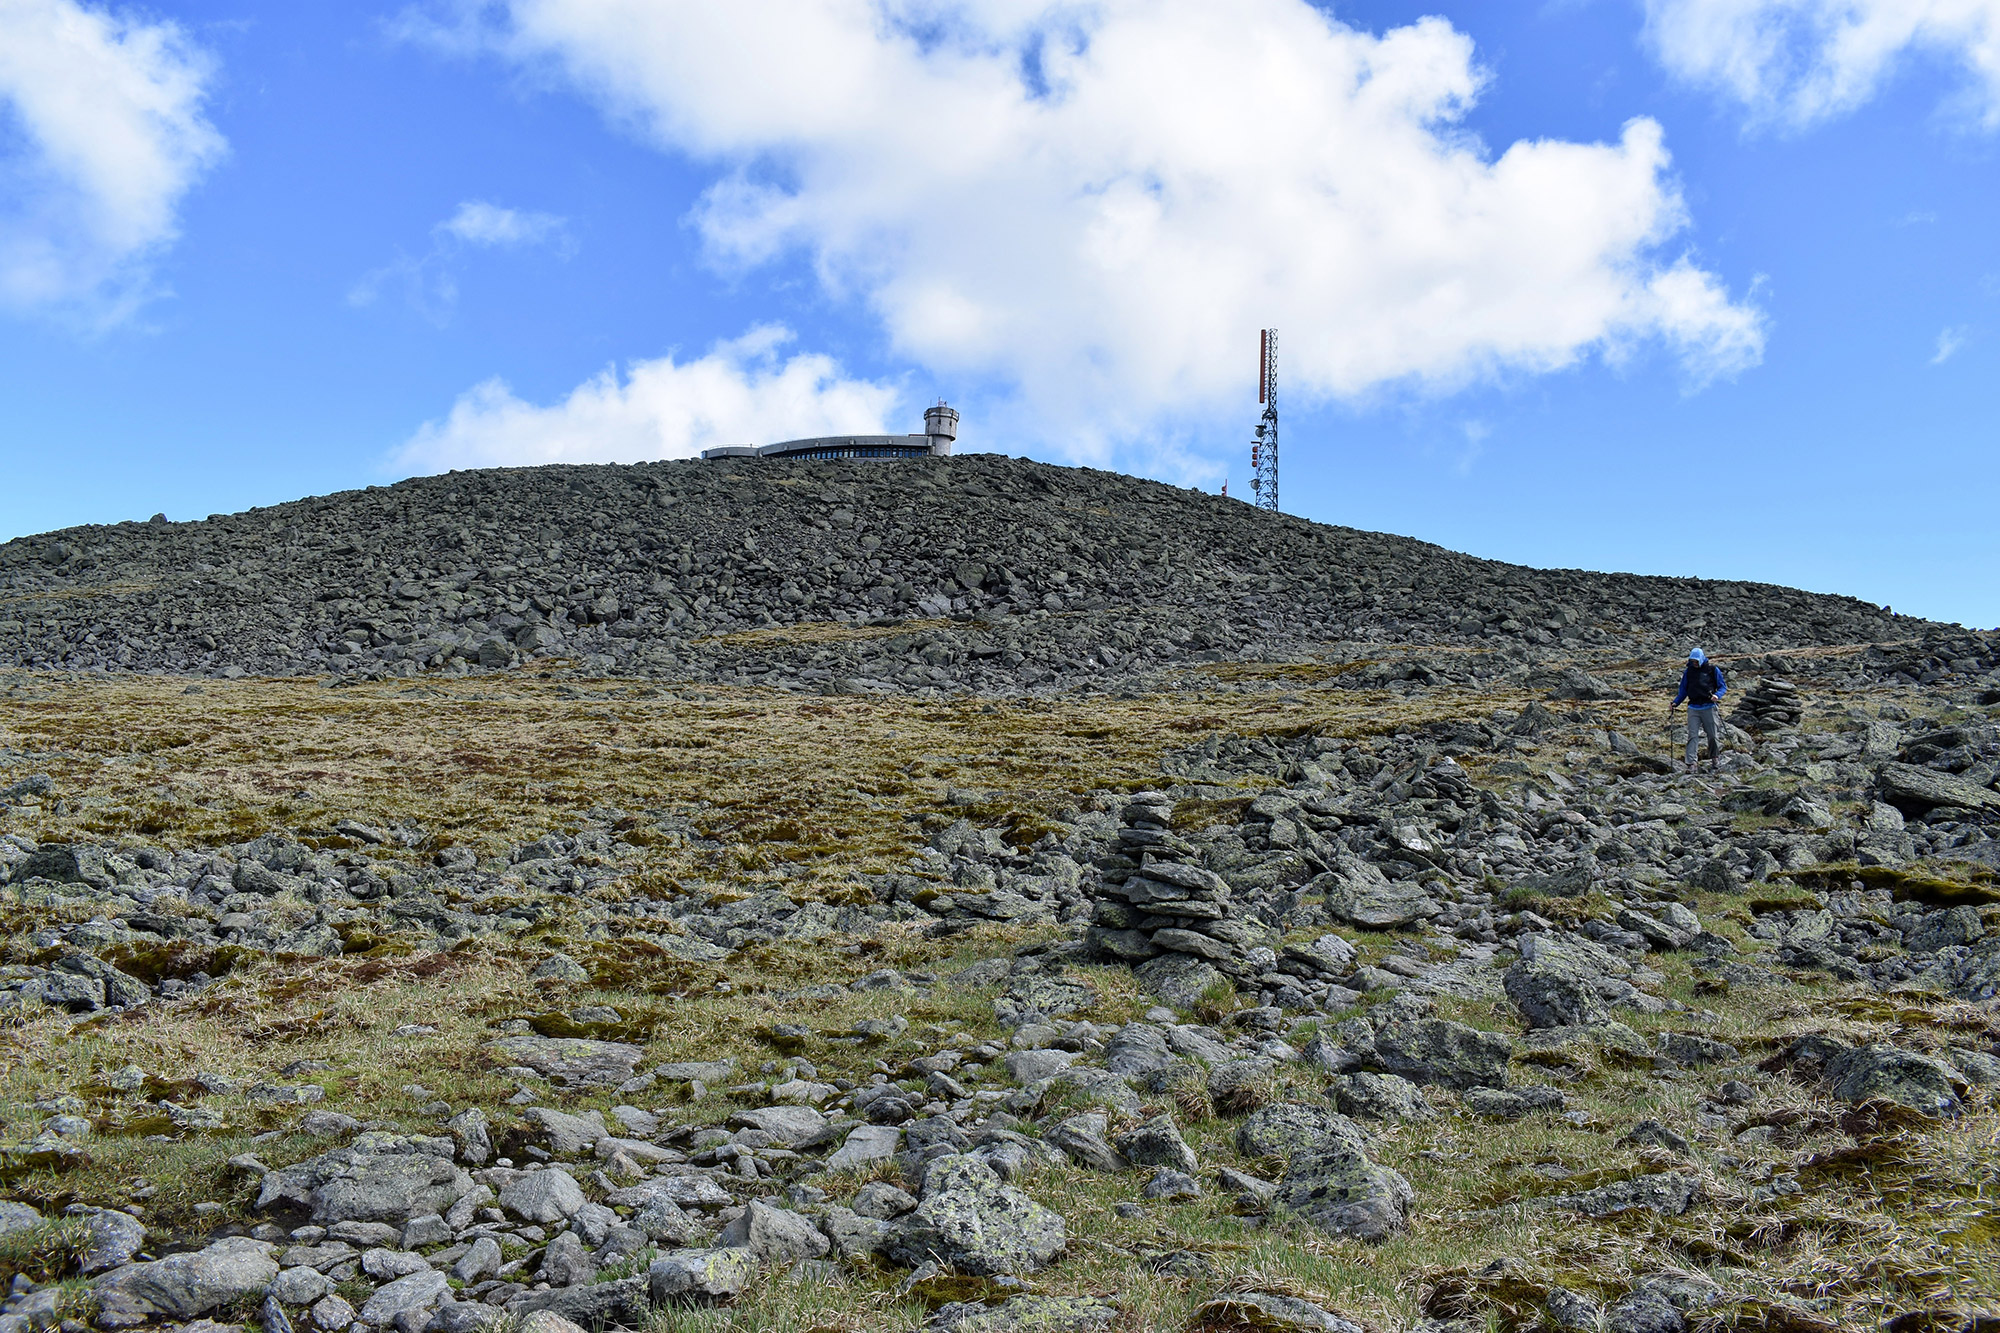
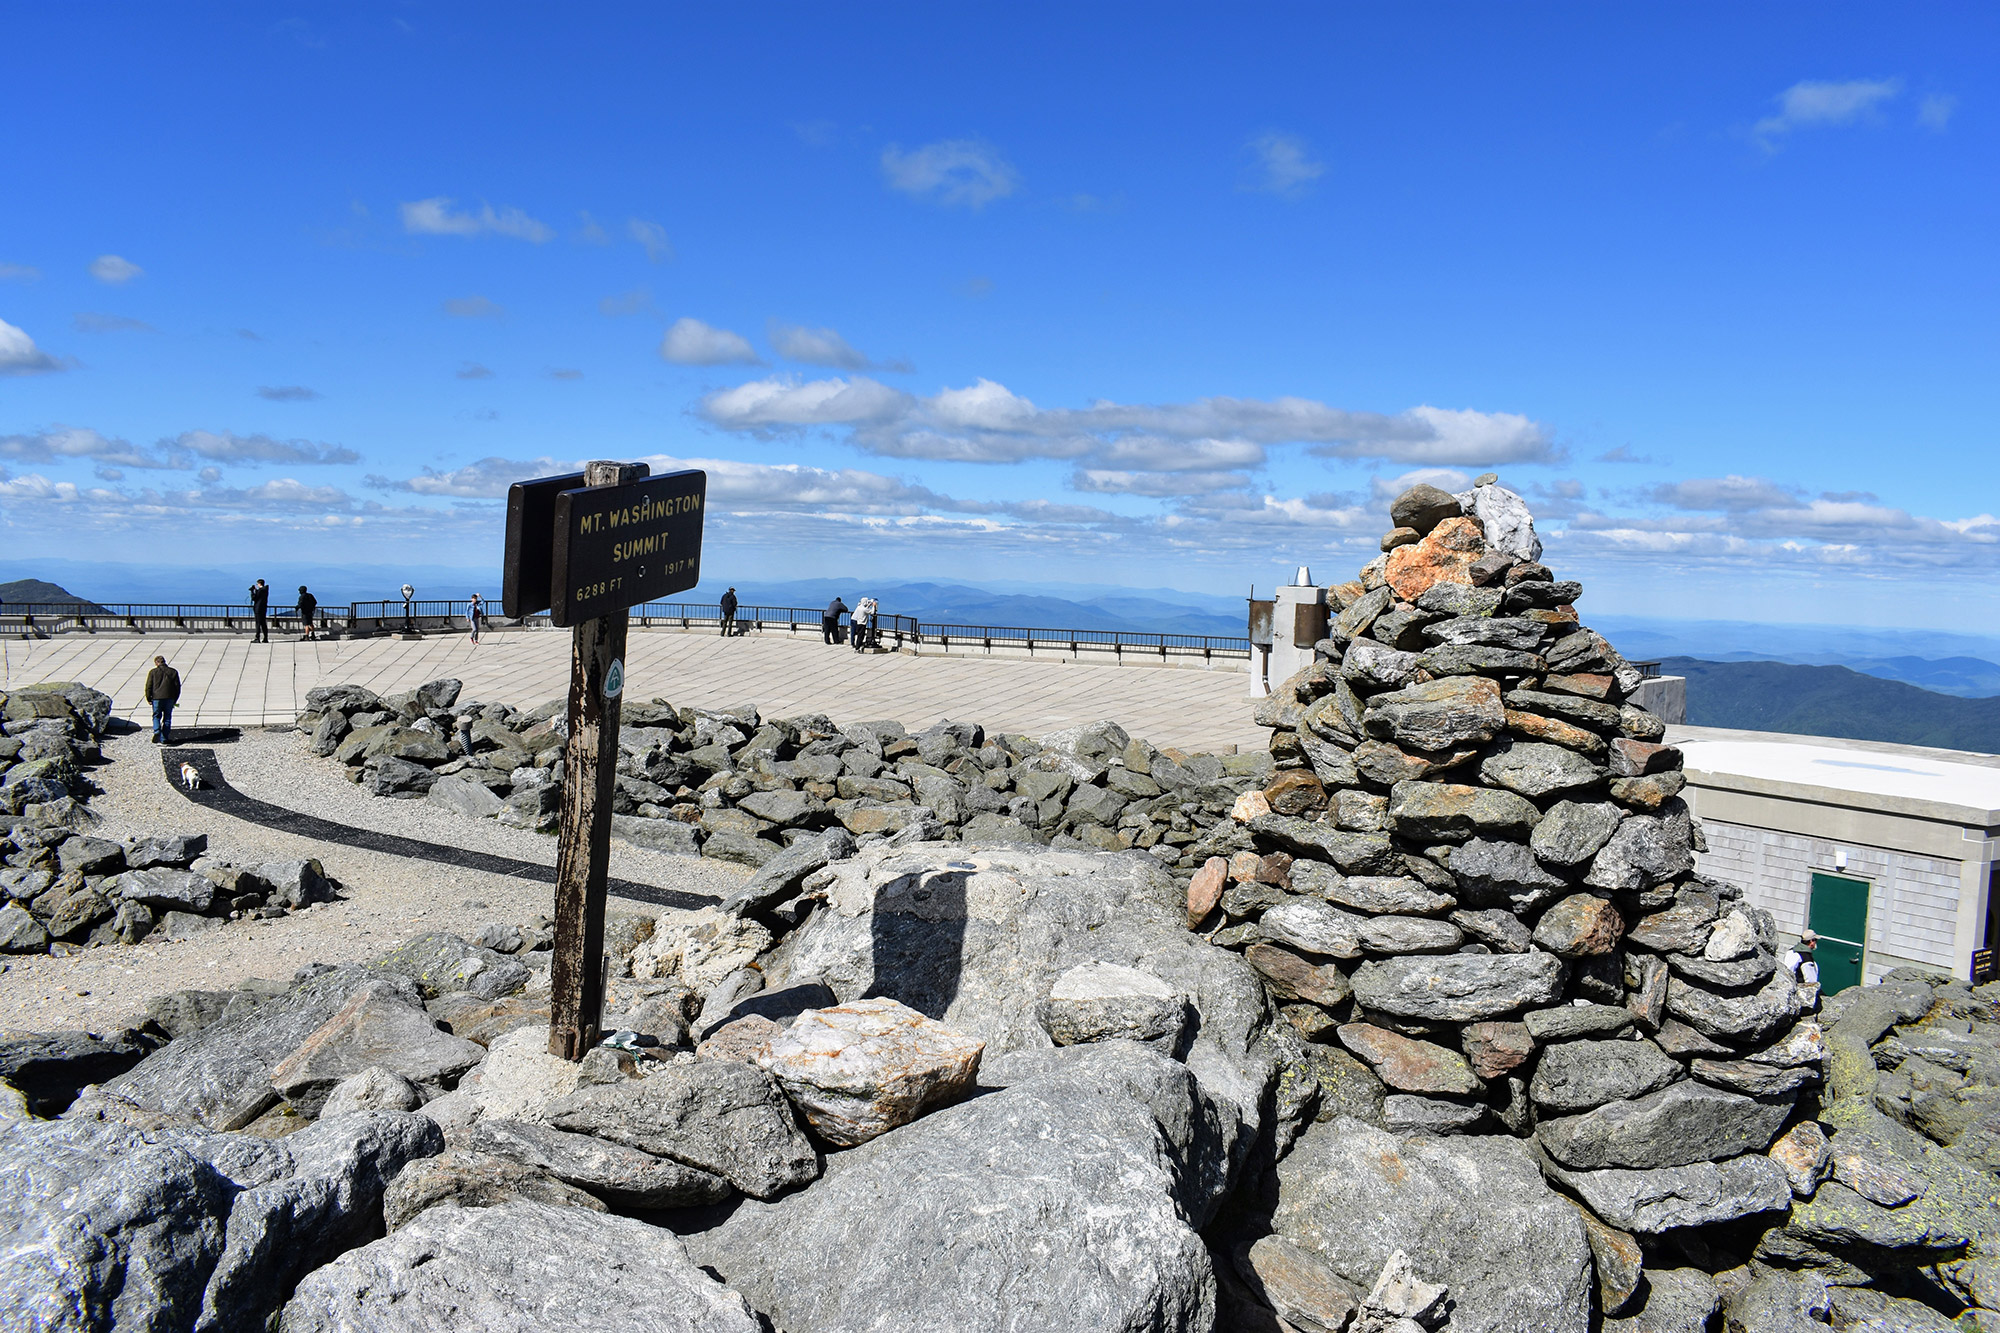
From here, the tops of the summit buildings come into view, and it may seem like the difficulty is over. However, you still have a long way to go. Arguably, the final mile of the Tuckerman Ravine Trail is its most challenging, as it involves as much rock-hopping as it does hiking. As you near the top, the sounds of the Auto Road get increasingly louder, and eventually, the trail runs into the road. Here, hikers tackle the ascent’s final challenge: a steep staircase that deposits you near the summit sign. Because of the trail’s steep and slippery nature, hikers should descend via the Lion Head Trail.
Lion Head Trail
Quick Facts
Distance: 8.4 miles, round trip.
Time to Complete: 1 day
Difficulty:★★★
Scenery:★★★★
Fees/Permits: None
The Lion Head Trail is a popular alternative to the Tuckerman Ravine Trail. The trip offers hikers less exposure, gives you a bird’s-eye view of the ravine, and gets you to the peak when the Tuckerman Ravine Trail’s conditions aren’t ideal. The trip up actually follows the Tuckerman Ravine Trail for large portions; however, it veers off to skirt the ravine’s northern edge, rather than ascend directly up it. Commonly thought to be one of the “easier” routes to the summit, the Lion Head gains roughly 4,200 feet of elevation along its 4.2 miles, and is challenging for even seasoned hikers.
Before leaving home, make sure you know which version of the Lion Head Trail—Summer or Winter—is open by checking the Mount Washington Avalanche Center’s trail information. While both leave from the Tuckerman Ravine Trail, the Winter route branches off shortly before Hermit Lake, and the Summer route starts at Hermit Lake. The latter is less steep and a bit quicker than the former. However, it also crosses an avalanche path, and is only open when there is no possibility of the snow sliding. Want to learn more about the Lion Head in winter? Check out this goEast article about it.
Above treeline, the Lion Head Trail affords an incredible view of Tuckerman Ravine from its granite ledges—if the weather allows, that is. If the weather doesn’t cooperate, and especially if it’s windy, be careful. A good gust could blow an unsuspecting person into the ravine. Yes, the trail is that close to the ravine’s rim! The Lion Head Trail rejoins the Tuckerman Ravine Trail at a well-marked junction for the final 0.4 miles to Washington’s summit.
Boott Spur Trail
Quick Facts
Distance: 10.8 miles, round trip.
Time to Complete: 1 day
Difficulty:★★★
Scenery:★★★★
Fees/Permits: None
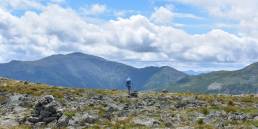
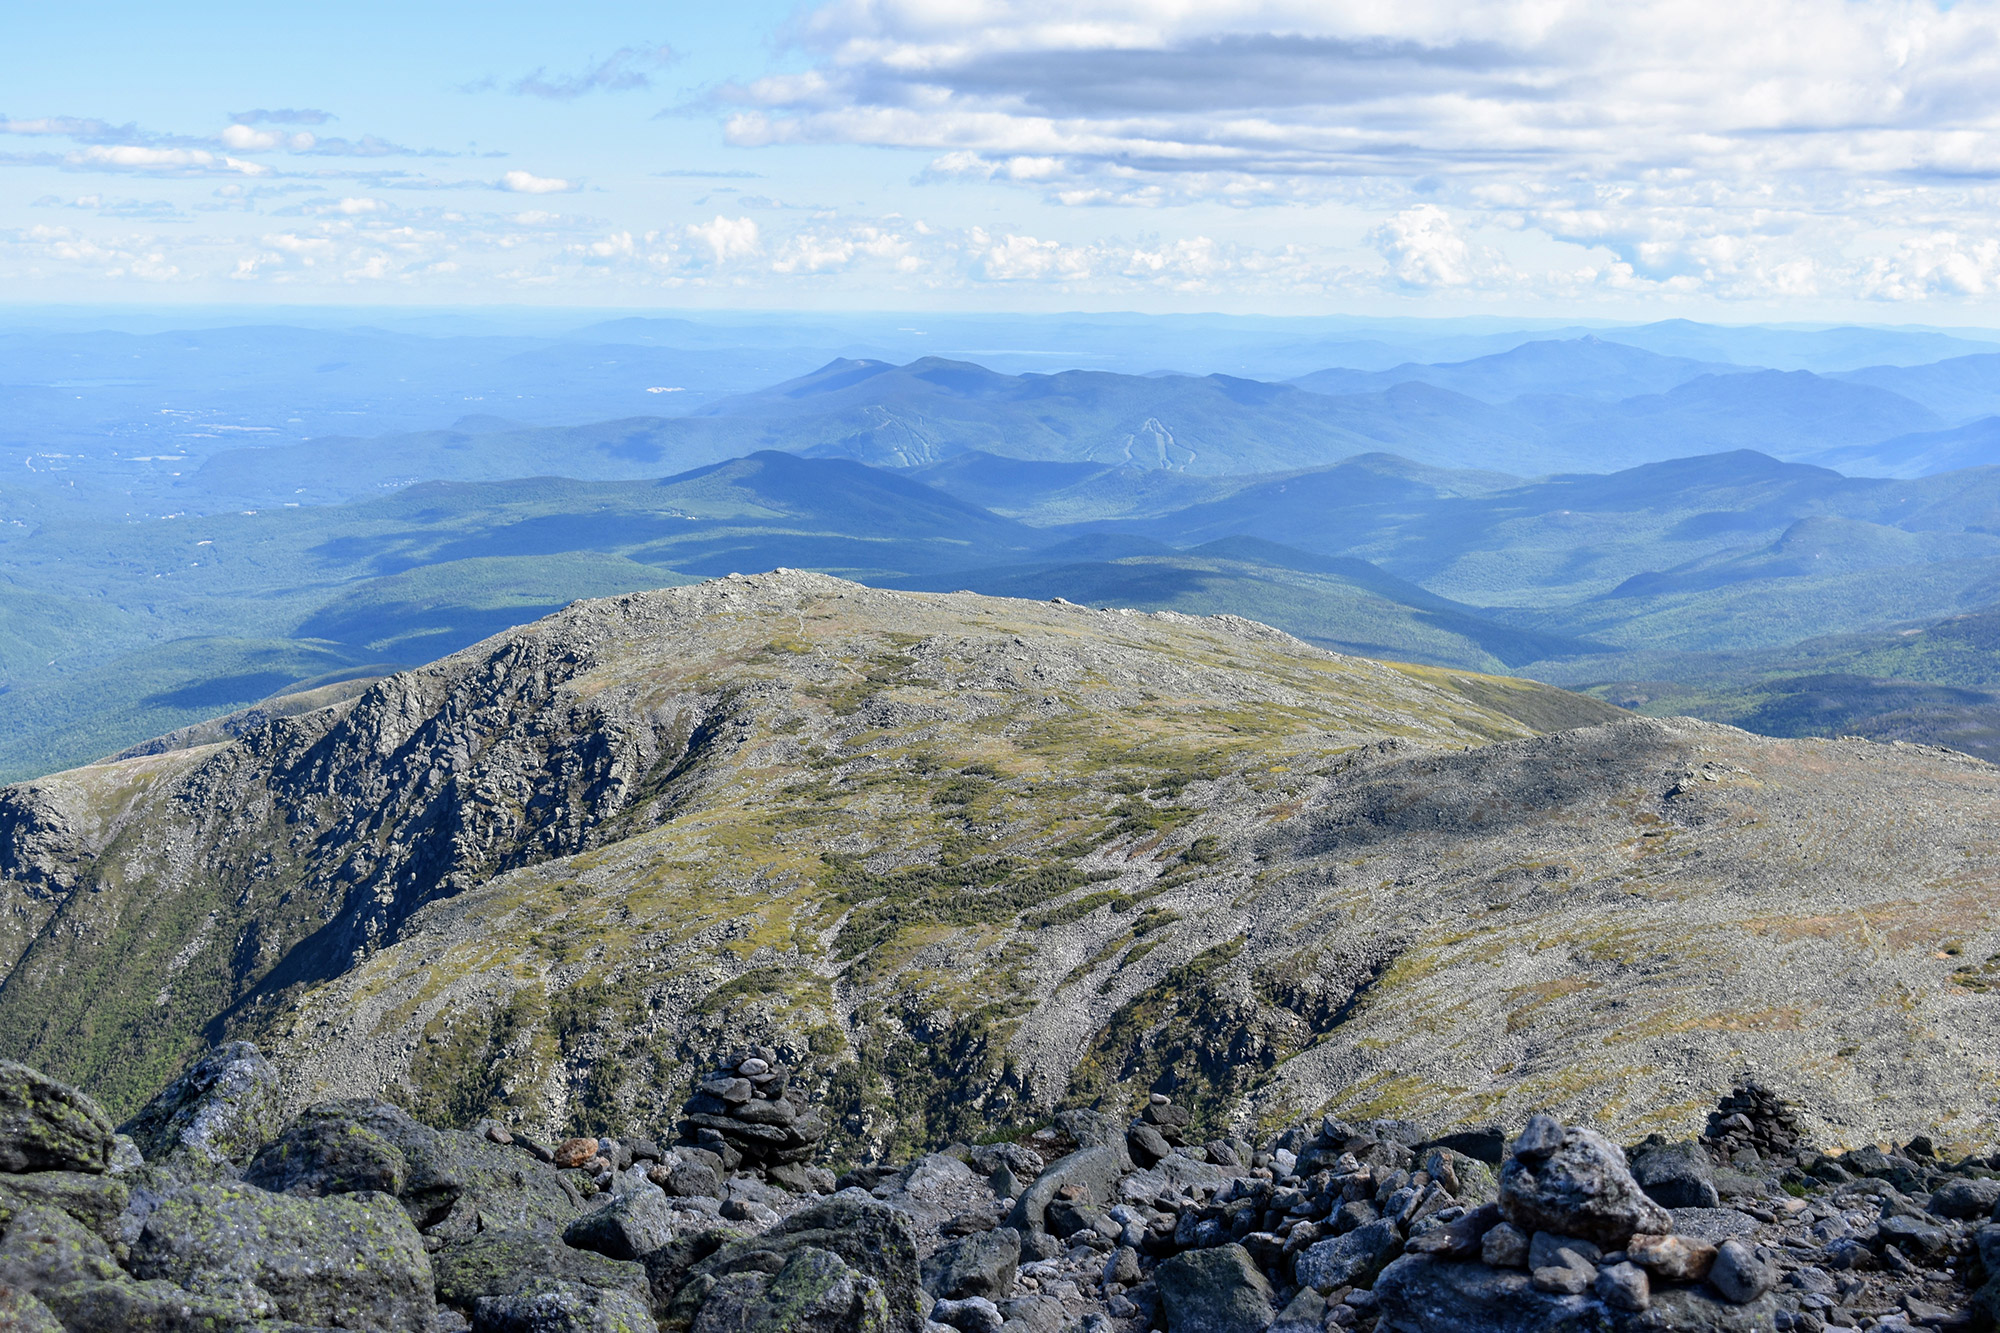
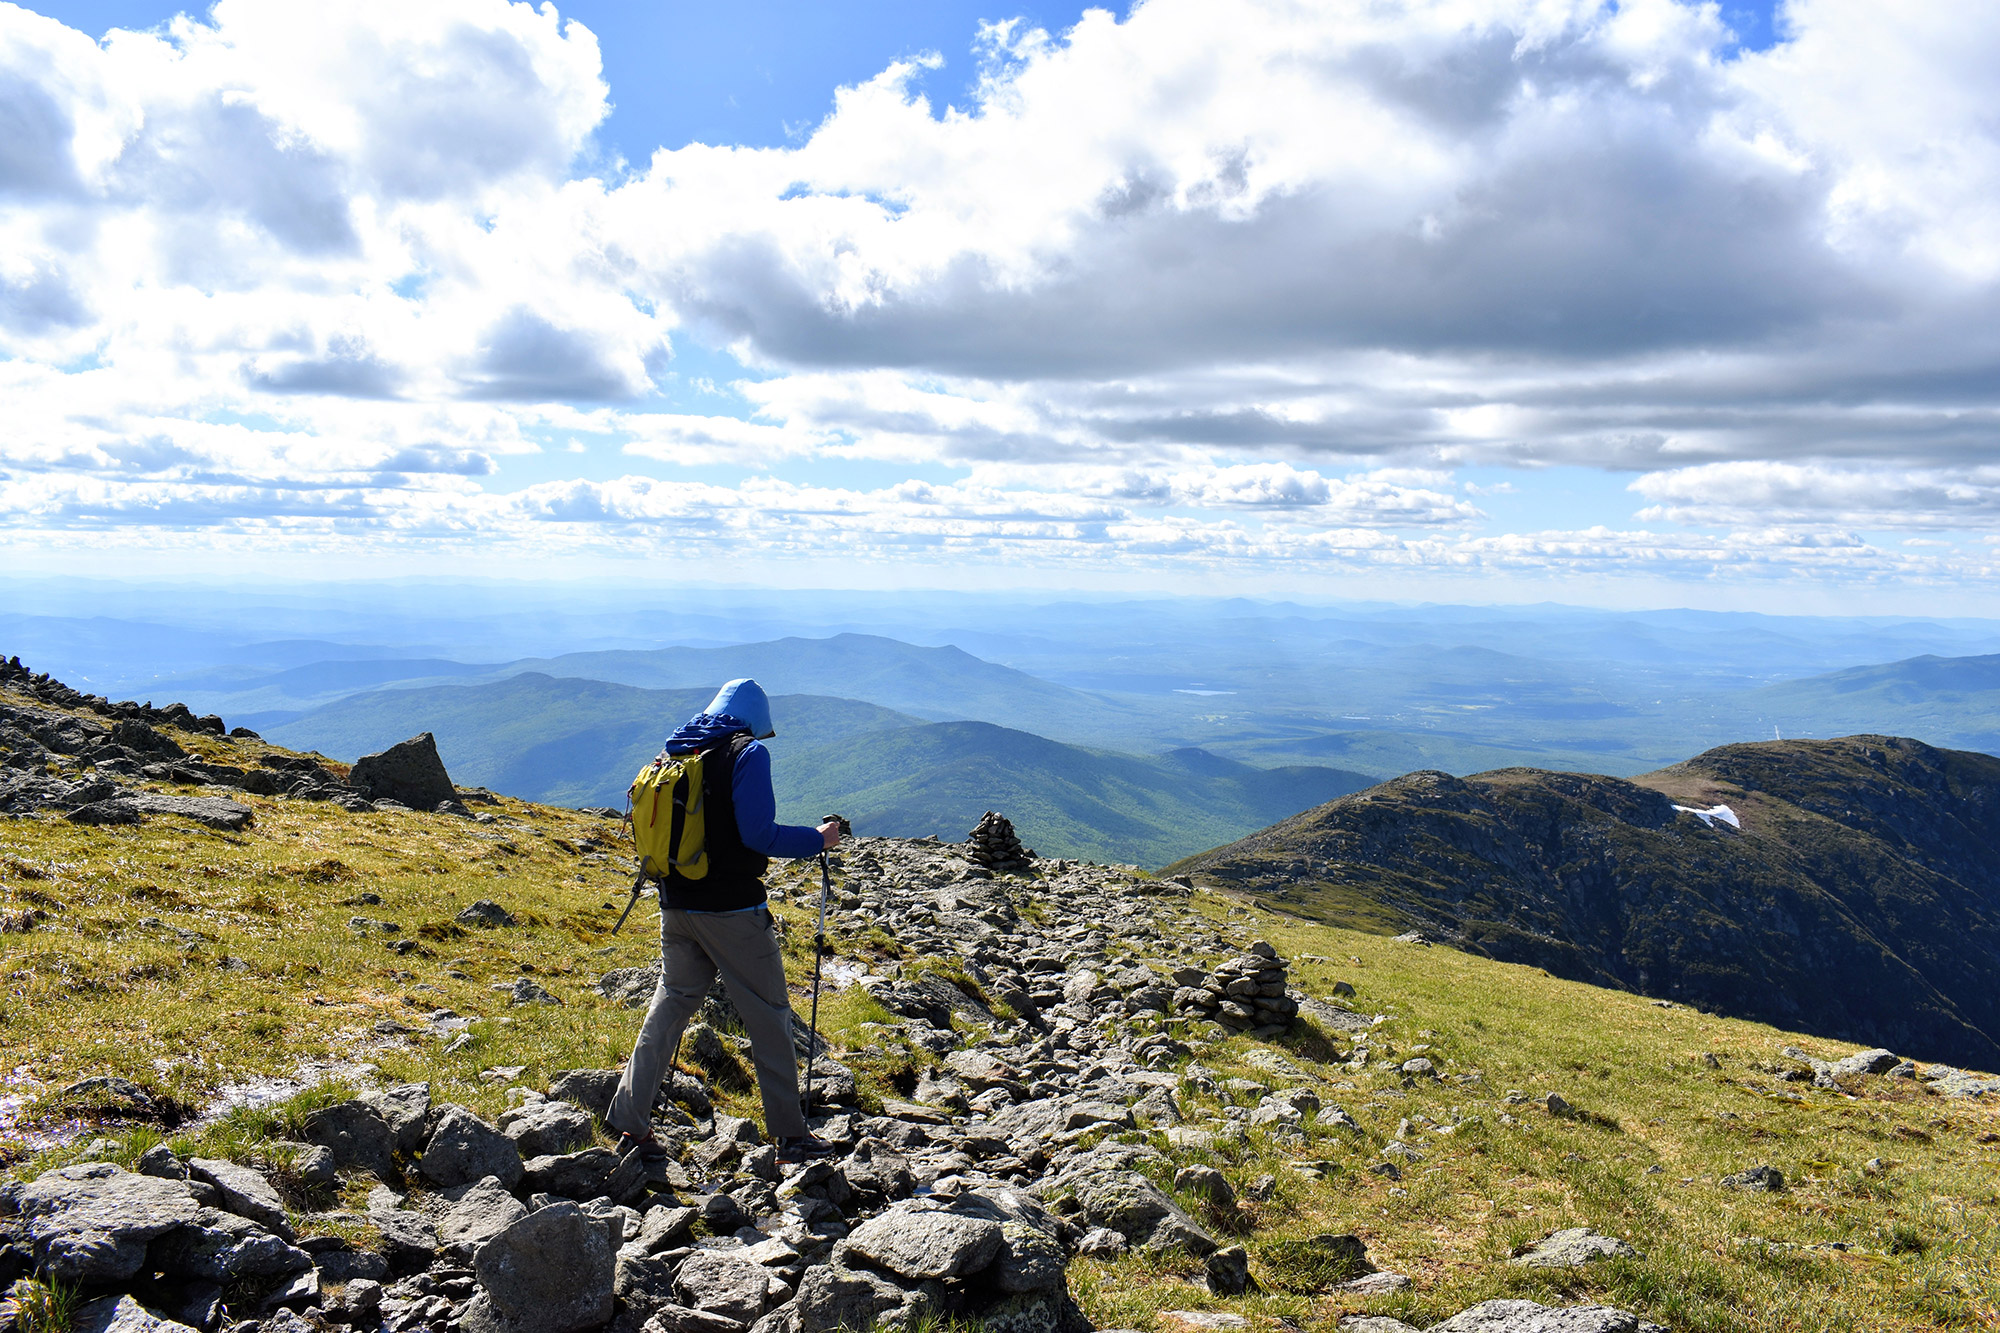
Looking for a little bit longer and less crowded hike up Washington’s east side? Check out the Boott Spur Trail, which climbs the ridge forming the southern side of Tuckerman Ravine. Once above treeline, hikers get spectacular views of Hermit Lake, Tuckerman Ravine, and, in the distance, Mount Washington’s summit cone as they ascend the steps of the Boott Spur, a 5,500-foot sub-peak of Mount Washington.
To access the Boott Spur Trail, hikers begin at Pinkham Notch and hike an easy 0.4 miles on the Tuckerman Ravine Trail. The Boott Spur Trail begins at a signed junction where the Tuckerman Ravine Trail makes a sharp right turn and begins climbing uphill. Hikers will quickly cross the John Sherburne Ski Trail and then climb forested terrain up the ridgeline. Above treeline, the trail summits Boott Spur and then traverses along the edge of Tuckerman Ravine, until it joins the Davis Path. From there, there’s approximately two miles of rock-hopping to the summit. Overall, climbing Washington via this route is 5.4 miles, with an elevation gain of 4,654 feet. And, since so much is above treeline, make sure to save it for a nice day.
Huntington Ravine Trail
Quick Facts
Distance: 4.5 miles, one way.
Time to Complete: 1 day
Difficulty:★★★★★
Scenery:★★★★
Fees/Permits: None
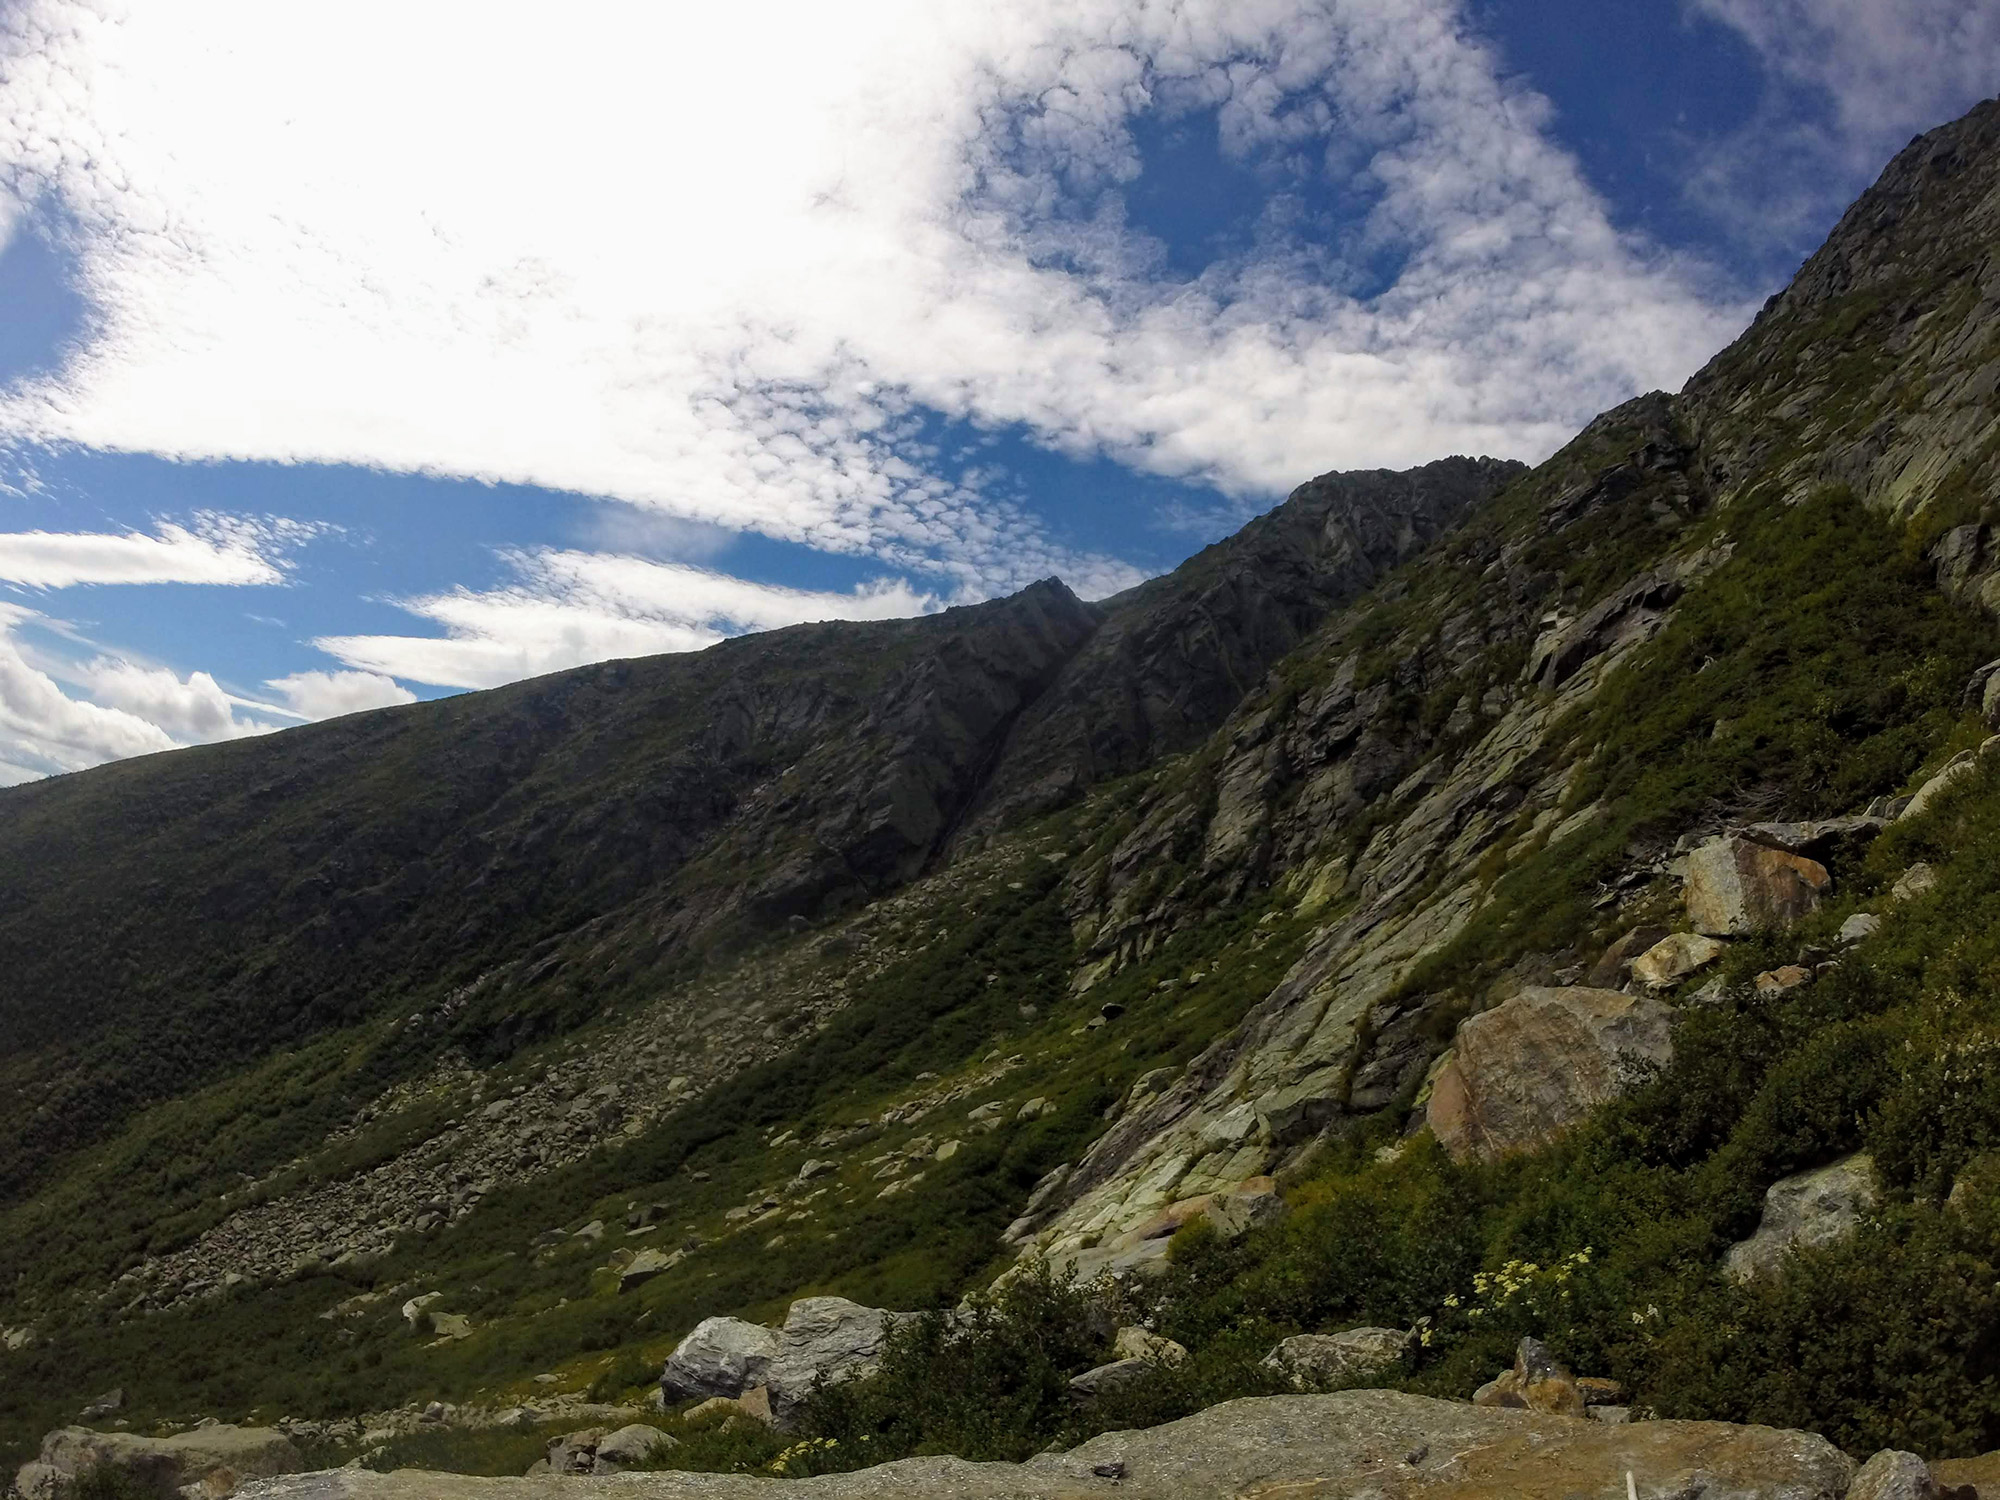
One of the White Mountains’ hardest and most dangerous trails, the Huntington Ravine Trail should only be attempted by experienced hikers who are comfortable with exposure. To get there, follow the Tuckerman Ravine Trail 1.3 miles to the junction with the Huntington Ravine Trail and then follow the trail 2.1 miles as it climbs 2,450 feet to the Alpine Garden. The trail initially climbs through forested terrain, before it reaches a junction with the Huntington Ravine Fire Road. It then enters Huntington Ravine, gradually transitioning from a trail to rock-hopping through the bottom of a huge open boulder field called “The Fan.” Navigating up, over, and around these boulders is fun and challenging.
After working through The Fan, continue on the Huntington Ravine Trail as it ascends steeply toward the top of the ravine. Some portions of the upper section require scrambling and rock climbing-like moves to ascend. These sequences have serious exposure and may be difficult to reverse if you get stuck or the weather deteriorates, so only attempt this route on nice days when the trail is dry. On a clear day, though, this section offers a fantastic perspective of the Huntington Ravine.
At 2.1 miles, the Huntington Ravine Trail exits the ravine and intersects with the Alpine Garden Trail. Hikers heading for the summit should continue on this moderate section for 0.3 miles until it ends at the Mount Washington Auto Road and the junction with the Nelson Crag Trail. From there, it’s 0.8 miles of rock-hopping on the Nelson Crag Trail to the summit.
Pro Tip: The Huntington Ravine Trail is hard enough to ascend. Don’t use it as your descent route.
West Side Trails
Ammonoosuc Ravine Trail
Quick Facts
Distance: 9 miles, round trip.
Time to Complete: 1 day
Difficulty:★★★
Scenery:★★★★
Fees/Permits: Ammonoosuc Ravine Trailhead is $5 a day
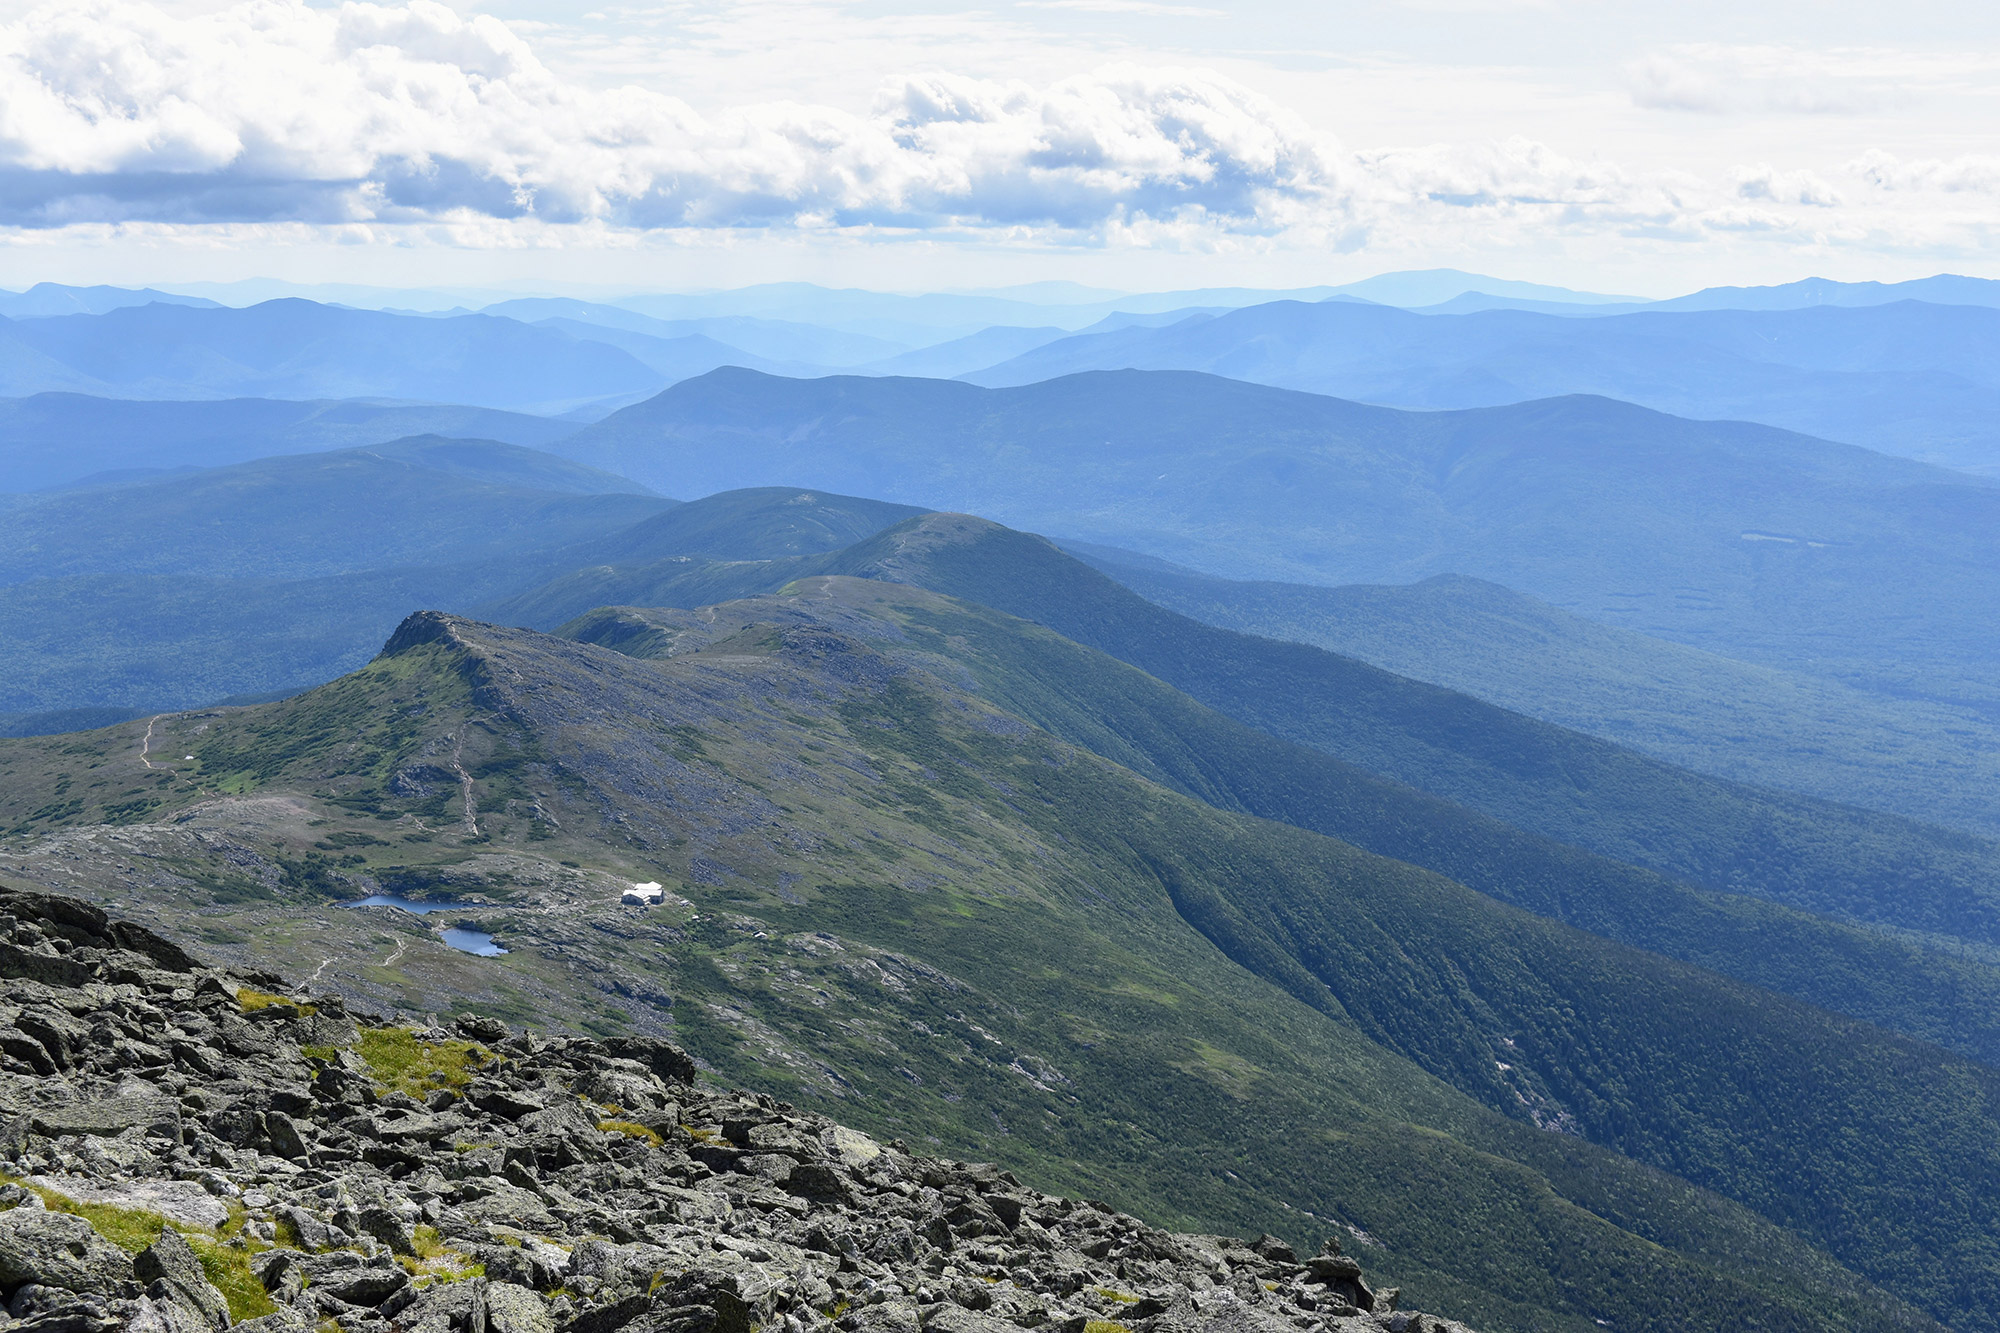
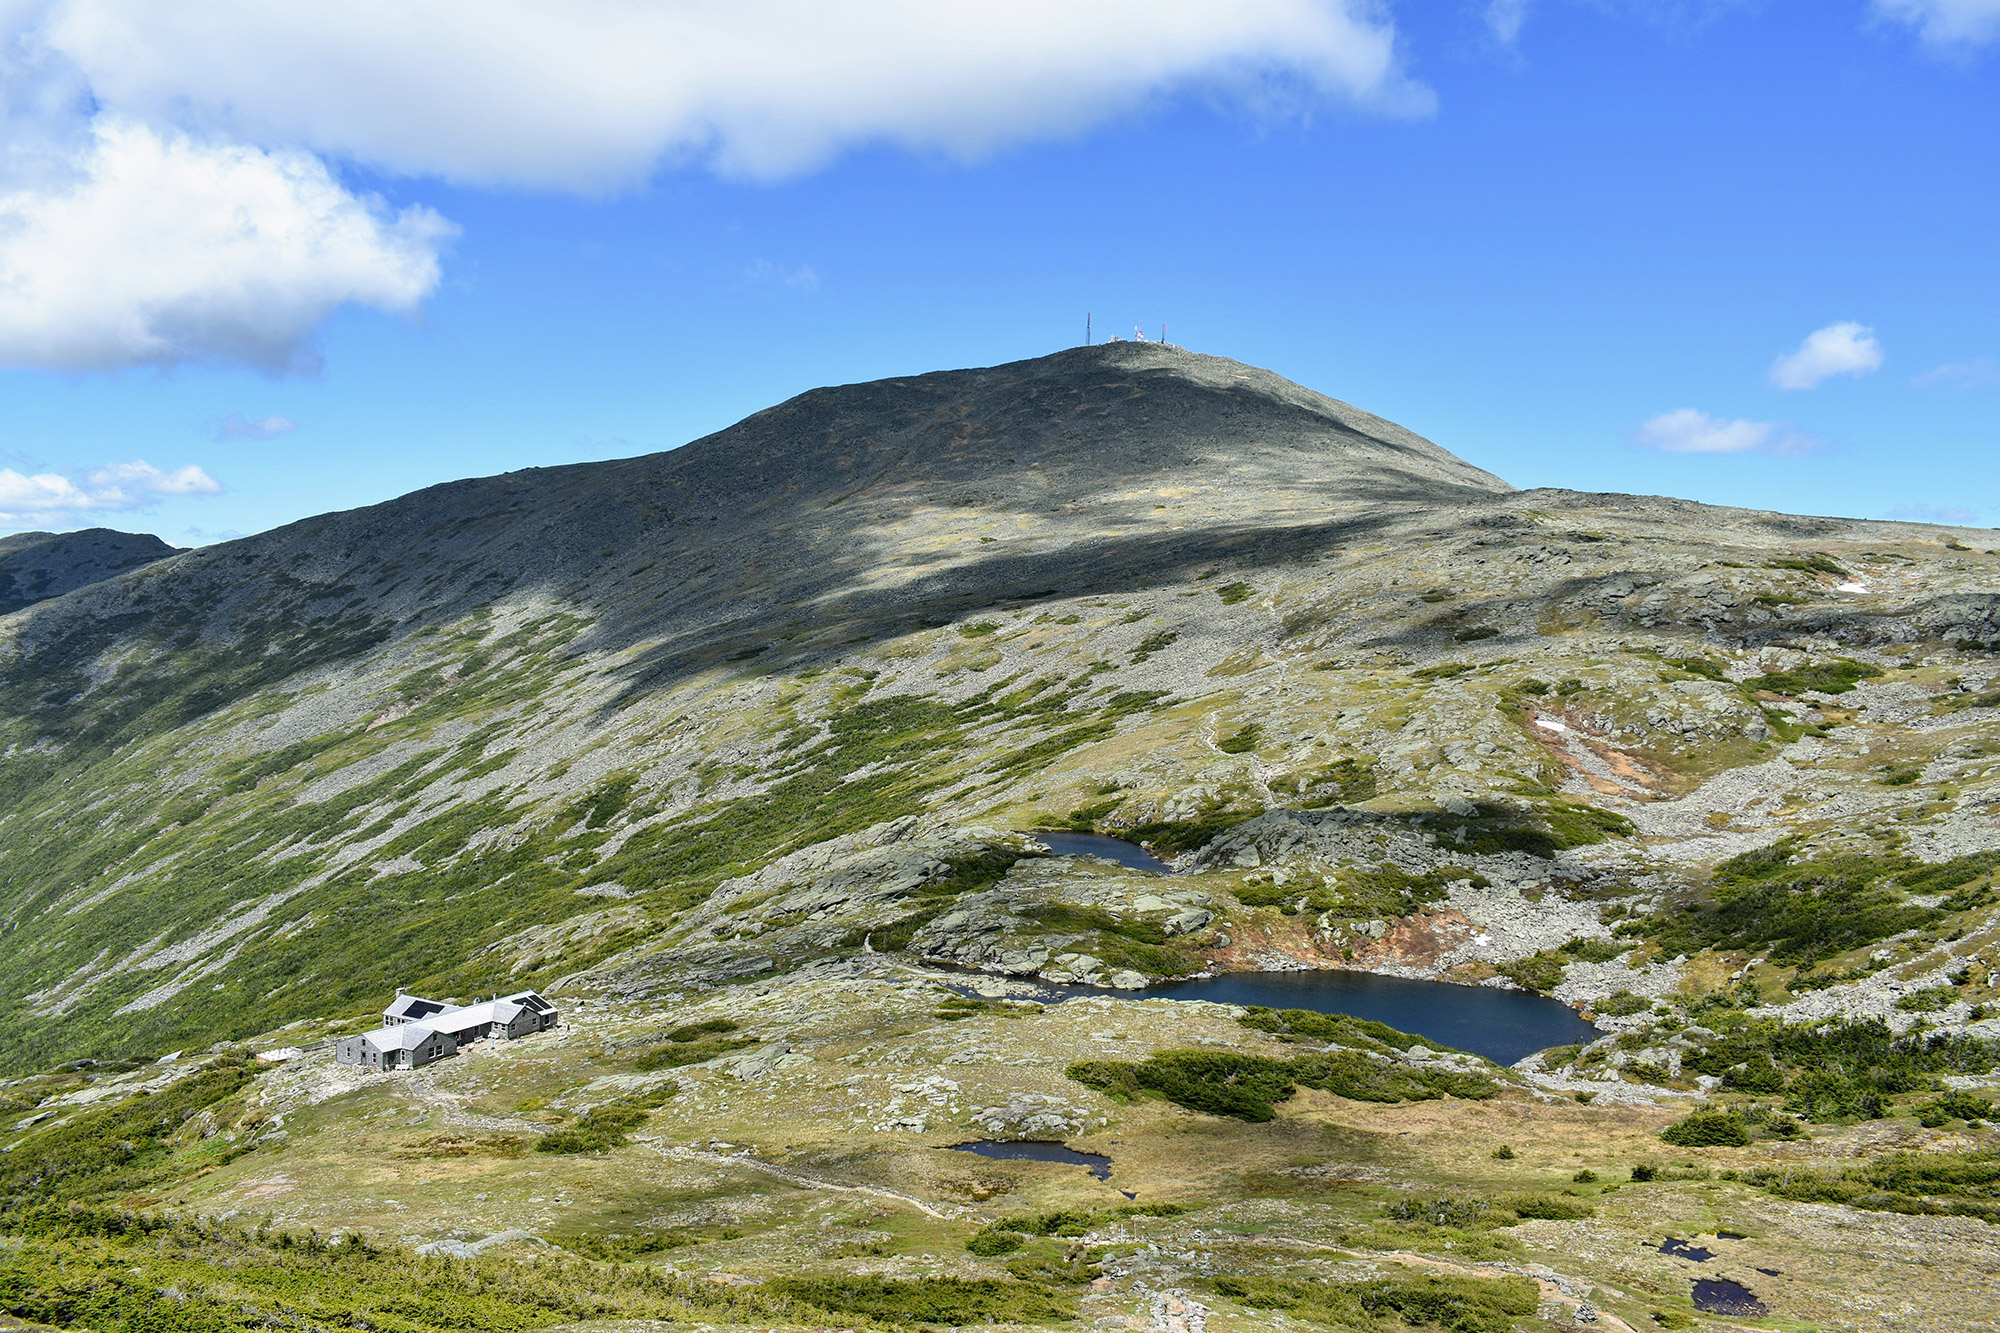
The Ammonoosuc Ravine Trail (“The Ammo”) is the quickest route up to the Lakes of the Clouds Hut (3.1 miles) and a beautiful way to start a hike to the summit of Mount Washington (4.5 miles). The trail follows a crystal-clear stream up the ravine, eventually climbing steeply as it passes several waterfalls. A little way before Lakes of the Clouds, the trail pokes above treeline, crossing a series of open ledges to the hut. These ledges offer hikers fantastic views of Washington’s summit cone and back west, and are a great place to catch your breath.
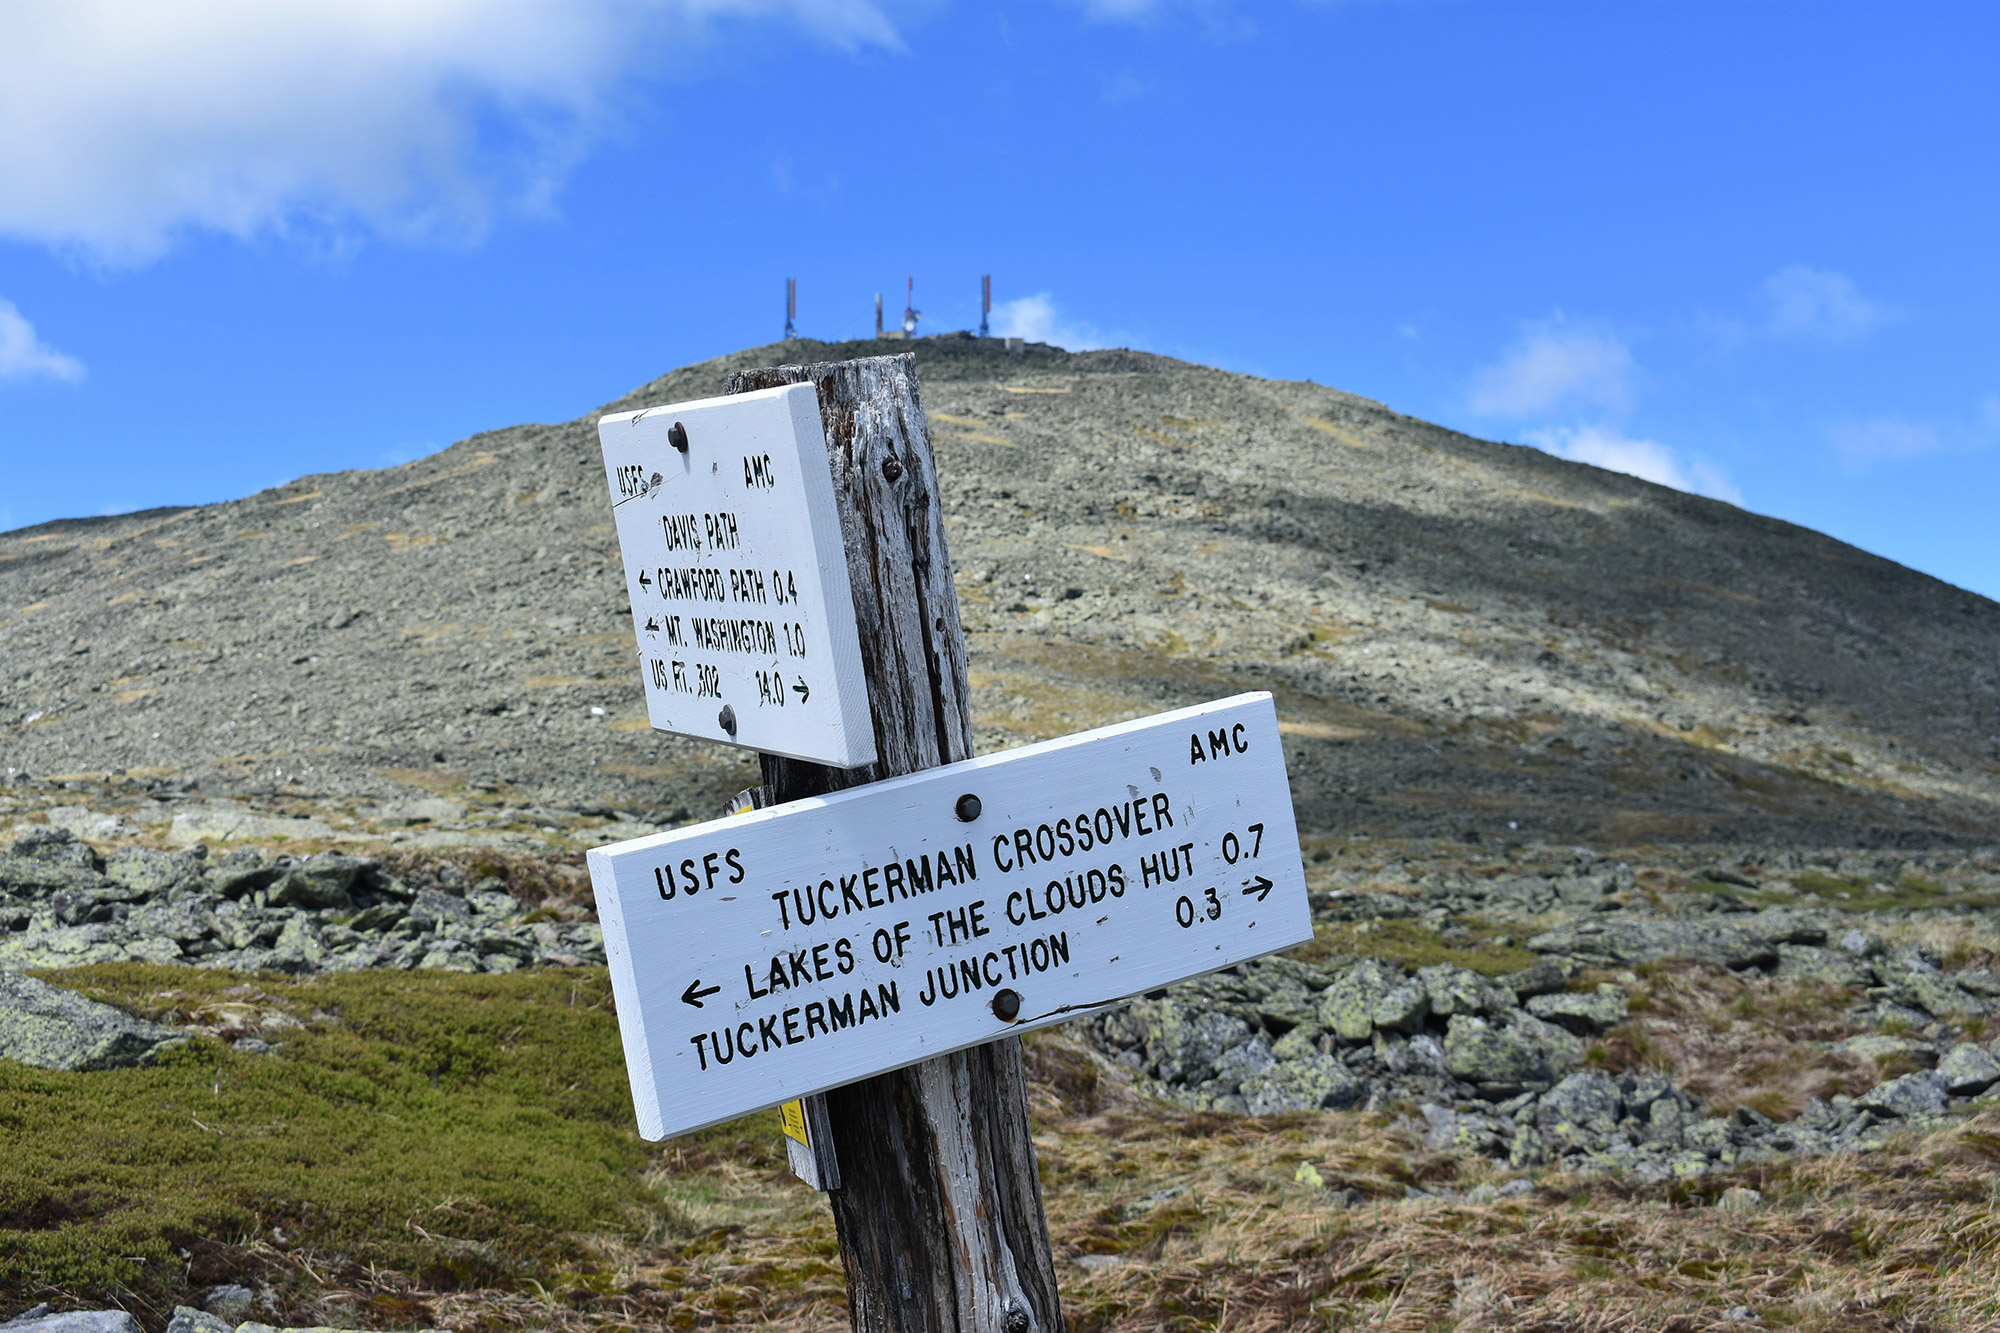
At the hut, refill your water bottles, grab a snack (the hut crew’s baked goods are delicious), and enjoy the views. When you’ve recovered, take the Crawford Path 1.4 miles up Washington’s summit cone. This portion is above treeline and open to the elements, so before you head up, reassess the weather and layer up. If the weather is deteriorating or you’re just too tired, the summit of Mount Monroe is a relatively easy, 0.3-mile side hike in the opposite direction. The views are almost as good, and it’s a lot less crowded.
Pro Tip: With replenishment opportunities at the Lakes of the Clouds Hut and again on the summit proper, this is the route for hikers looking to carry a lighter pack.
Jewell Trail
Quick Facts
Distance: 10.2 miles, round trip.
Time to Complete: 1 day
Difficulty:★★★
Scenery:★★★★
Fees/Permits: Ammonoosuc Ravine Trailhead is $5 a day
Another popular west-side route to Washington’s summit is the Jewell Trail to the Gulfside Trail. Although it’s a tad longer than the route via the Ammonoosuc Ravine (5.1 miles one way versus 4.5 miles) and has a little more climbing (4,000 feet of elevation gain versus 3,800 feet), overall it is a slightly easier route, as the Jewell Trail is neither as difficult nor as steep.
The Jewell Trail begins at a trailhead directly across the road from the Ammonoosuc Ravine parking lot and climbs gradually on moderate terrain (at least by Mount Washington standards) up an unnamed ridge on Mount Clay. Near treeline, the views dramatically improve, and the trail gets a little rockier as it nears the intersection with the Gulfside Trail at 5,400 feet.
From the junction, hikers have another 1.4 miles on the Gulfside Trail to Washington’s summit. After skirting Mount Clay, the Gulfside Trail hugs the upper rim of the Great Gulf, a massive east-facing glacial cirque framed by the summits of Washington, Clay, Jefferson, Adams, and Madison. Since it holds the Great Gulf Wilderness, New Hampshire’s smallest and oldest wilderness area, hikers should definitely stop to check it out.
Longer Options
If a simple ascent of Mount Washington isn’t challenging enough, you have numerous popular ways to incorporate summiting Mount Washington into larger hiking objectives. The most notable is the Presidential Traverse, the White Mountains’ classic point-to-point hike.
Of course, if a full Presidential Traverse seems too daunting, half Presidential Traverses are also popular. Typically, half Presidential Traverses start from the north (at Mount Madison) or the south (at Mount Jackson or Pierce), and hikers will work their way across the range, which culminates in an ascent of Mount Washington.
Another longer, more off-the-beaten path way is via the complete Davis Path. Originally built in 1845 as a bridle path, the Davis Path fell into neglect and disrepair before being re-opened as a footpath in 1910. Today, the Davis Path takes hikers roughly 14 miles over Mount Isolation, crossing over Boott Spur, and eventually joining the Crawford Path beneath Mount Washington’s summit.
The Kit
- It’s not uncommon for an ascent of Mount Washington to take longer than anticipated. So, bring a headlamp to avoid having to make a death-defying descent in the dark. We like the Black Diamond ReVolt.
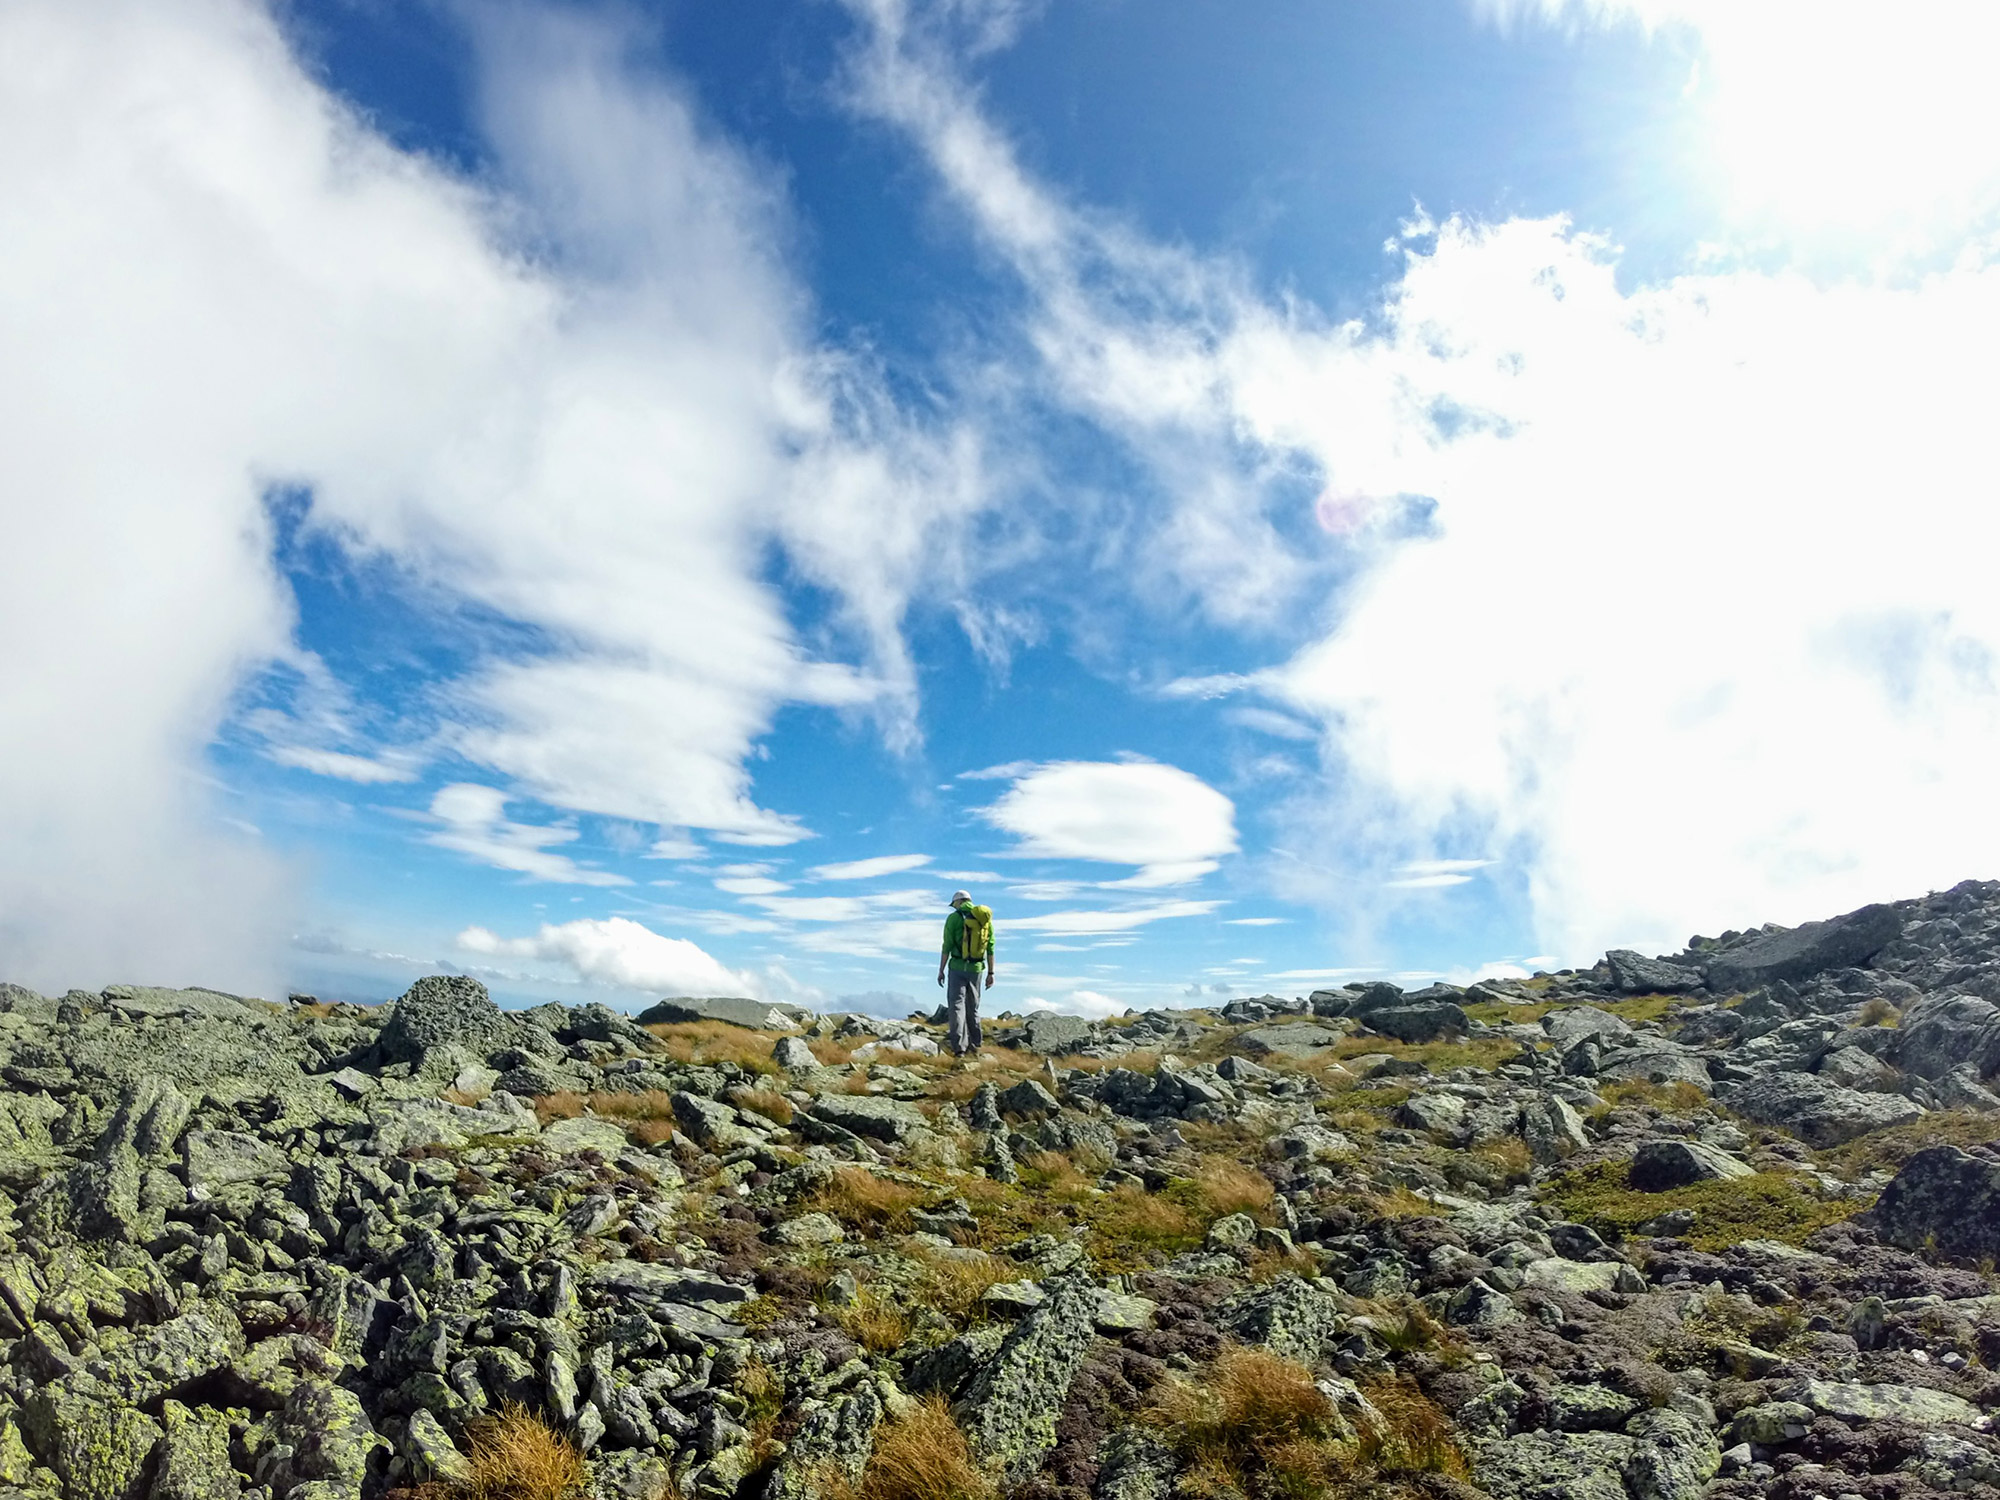
- Spending time on Mount Washington involves a lot of above-treeline hiking, which often leaves you exposed to the sun. The Black Diamond Alpenglow Sun Hoody (men’s/women’s) is an easy way to avoid getting sunburned on your trip.
- Mount Washington has a well-deserved reputation for being “home to the world’s worst weather.” Prepare for the worst by bringing a lightweight insulated coat, like the EMS Feather Pack Down Jacket (men’s/women’s).
- The record high temperature on Mount Washington’s summit is 72 degrees. Be prepared for a chilly summit by bringing a winter hat (we like the Smartwool NTS 250 Cuffed Beanie) and gloves (like the Black Diamond Midweight Windbloc Fleece), even on summer ascents.
- A cold Coke and a slice of pizza from the summit’s cafeteria have saved more than one trip for us, so don’t forget to bring your wallet with cash. Keep your outdoor cred and distinguish yourself from those who drove up or took the train with The North Face Base Camp Wallet.
- All of the trails on Mount Washington are rugged. Because of this, we always pack trekking poles, like the Black Diamond Distance FLZ (men’s/women’s), for added stability and to reduce the wear and tear on our joints.
Keys to the Trip
- It’s easy to get disoriented on Mount Washington, especially above treeline. Get the Waterproof White Mountains Trail Map, study your route beforehand, and then bring it along—just in case.
- After a big day on the Rockpile, east-side hikers can cool off with a cold pint from one of Barley & Salt’s 32 drafts on tap in North Conway, while west-side hikers can find cold brews at Fabyan’s Restaurant, conveniently located on the way back to Route 302.
- Or, stop into a local store, and pick up a six pack of Tuckerman Brewing’s aptly named Rockpile IPA to celebrate when you get home.
- Let your friends and family know about your successful summit by sending a postcard from the post office located on Mount Washington’s summit.
- If you’re leaving from Pinkham Notch, make sure to sign the climbing register inside the visitor center, just in case something goes wrong.
- Any trip to Mount Washington is going to be influenced by the weather. Check the Mount Washington Observatory’s Higher Summit Forecast to know what weather to expect, and read up on how to interpret their predictions.
Current Conditions
Have you hiked Mount Washington recently? Which route did you use? Post your experience and the conditions (with the date of your climb) in the comments for others!
Related Posts