Building your first trad rack can feel overwhelming. There are so many choices, it’s a big cash outlay to buy all at once, and it’s hard to know exactly what you’ll need. If you’re in the market for a trad rack right now, here are some things to keep in mind.
1. Know What You Need
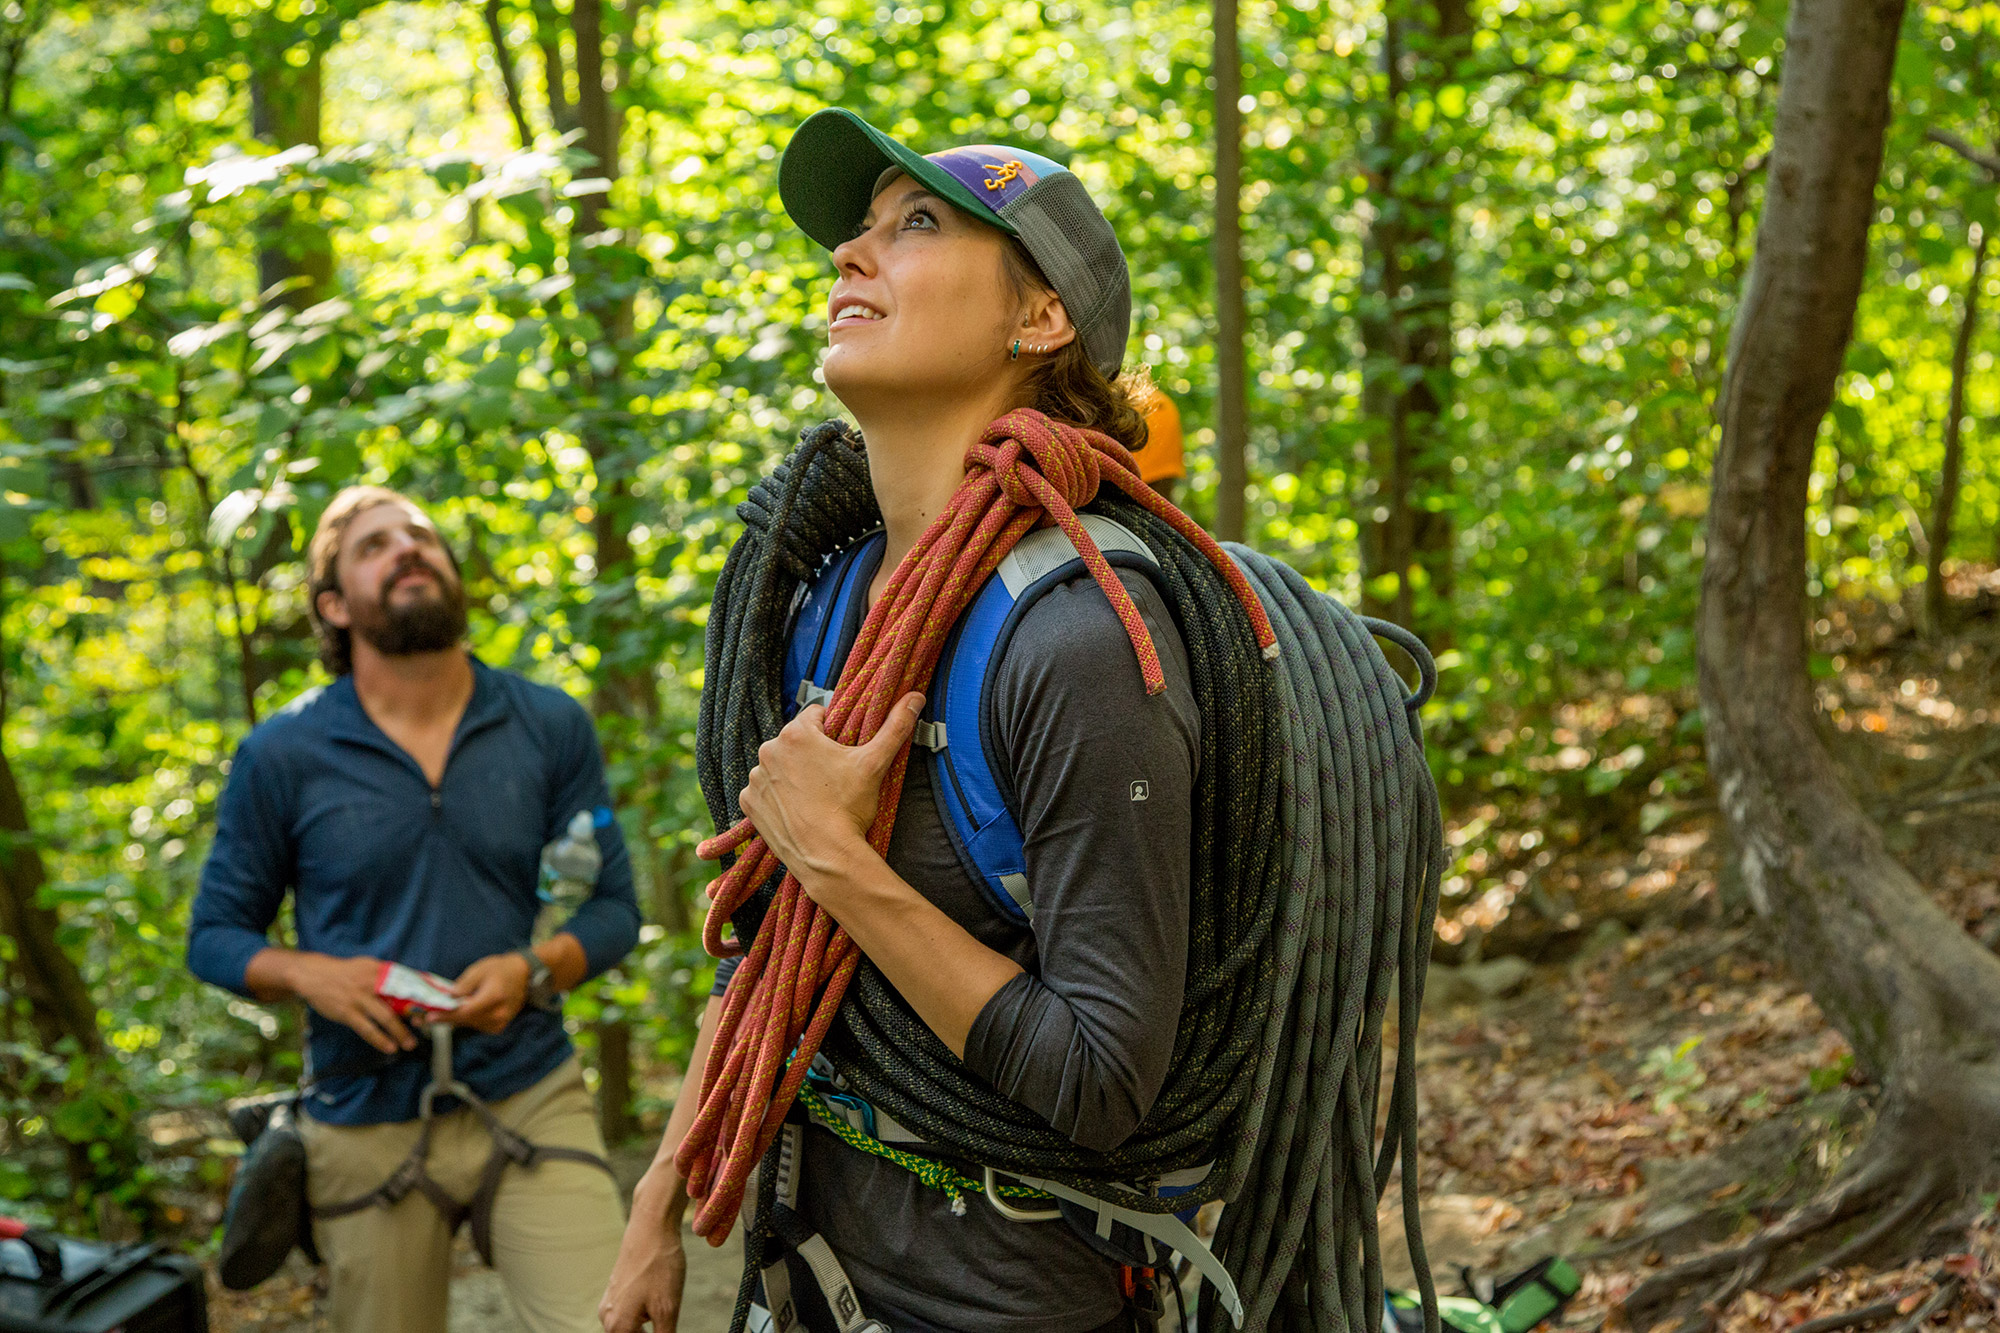
The specific gear you’ll need to protect yourself on a route—the “rack”— varies from climb to climb. That said, a basic trad rack starts with three general components: stoppers, cams, and draws.
2. You Don’t Have to Buy Everything at Once
It’s fine to build your trad rack a few pieces at a time. Several nuts here, some discounted cams there and the expense bar won’t seem as high. Moreover, if you watch for when manufacturers introduce an updated model—like Black Diamond just did for its C4 cams—you can often find the older, perfectly good model on deep discount.
3. Try a Variety of Brands
While many established trad climbers are particular about the brand of their gear, what works best for them may not suit your needs. Before you commit to buying a full size run of cams or nuts, try out a variety of brands to find out what you like best.
4. Borrow
One way to get a feel for the various brands is to experiment with someone else’s gear. Next time you’re at the crag, grab pieces from friends’ racks and place a few of them. Are some easier for you to place than others? Even better, find someone you trust whose gear you can use regularly before committing to buying a rack yourself. This is one of the biggest advantages to finding a mentor.
5. Where Are You Going?
Think about where you’ll use your rack. A standard desert rack is different than a standard rack for sending a classic like the Northeast Ridge of the Pinnacle on New Hampshire’s Mount Washington. Do a little research (a few Google searches or prowling Mountain Project forums will suffice) about what is required for your area or desired climbing destinations.
6. Approach Secondhand Gear Cautiously
Don’t skimp. Avoid secondhand gear unless you know exactly how it was used and by whom—and even then, you should carefully inspect it (actually, you should inspect all gear, even newly purchased). While gear is expensive, if you intend to trad climb, pay your dues. Climbers get in trouble when they try to be cheap. Nothing is more valuable than your life.
7. Think About How Your Gear Overlaps
Understanding how various types of pieces cover overlapping sizes will allow you to build a more versatile and cost-effective rack. Tri-cams are key here. They can be placed passively like a nut or actively like a cam, allowing them to do double duty as your larger nuts and smaller cams. For this reason, Camp’s 0.5 Tri-Cam Evo is a staple of many a Northeast climber’s rack.
8. Get Good at Placing Nuts
Nuts are much less expensive than cams, which means you can purchase 4 to 5 of them for every cam. They also weigh a lot less, so you can carry 3 to 4 for every mid-sized cam, giving you a lot more options for placing gear and building anchors. Additionally, you won’t feel as bad if you have to leave a couple nuts as part of a bail anchor if you end up on a route that’s too hard for you.
9. The Necessity of a Nut Tool
Yes, nuts are cheaper than cams—but leaving them behind on a climb because they got stuck can add up fast (and is poor form). Add a Black Diamond Nut Tool to the end of your rack for freeing passive protection, grabbing triggers on cams placed too deep, and popping celebratory beers at the end of the day. It won’t take long for the nut tool to start paying for itself.
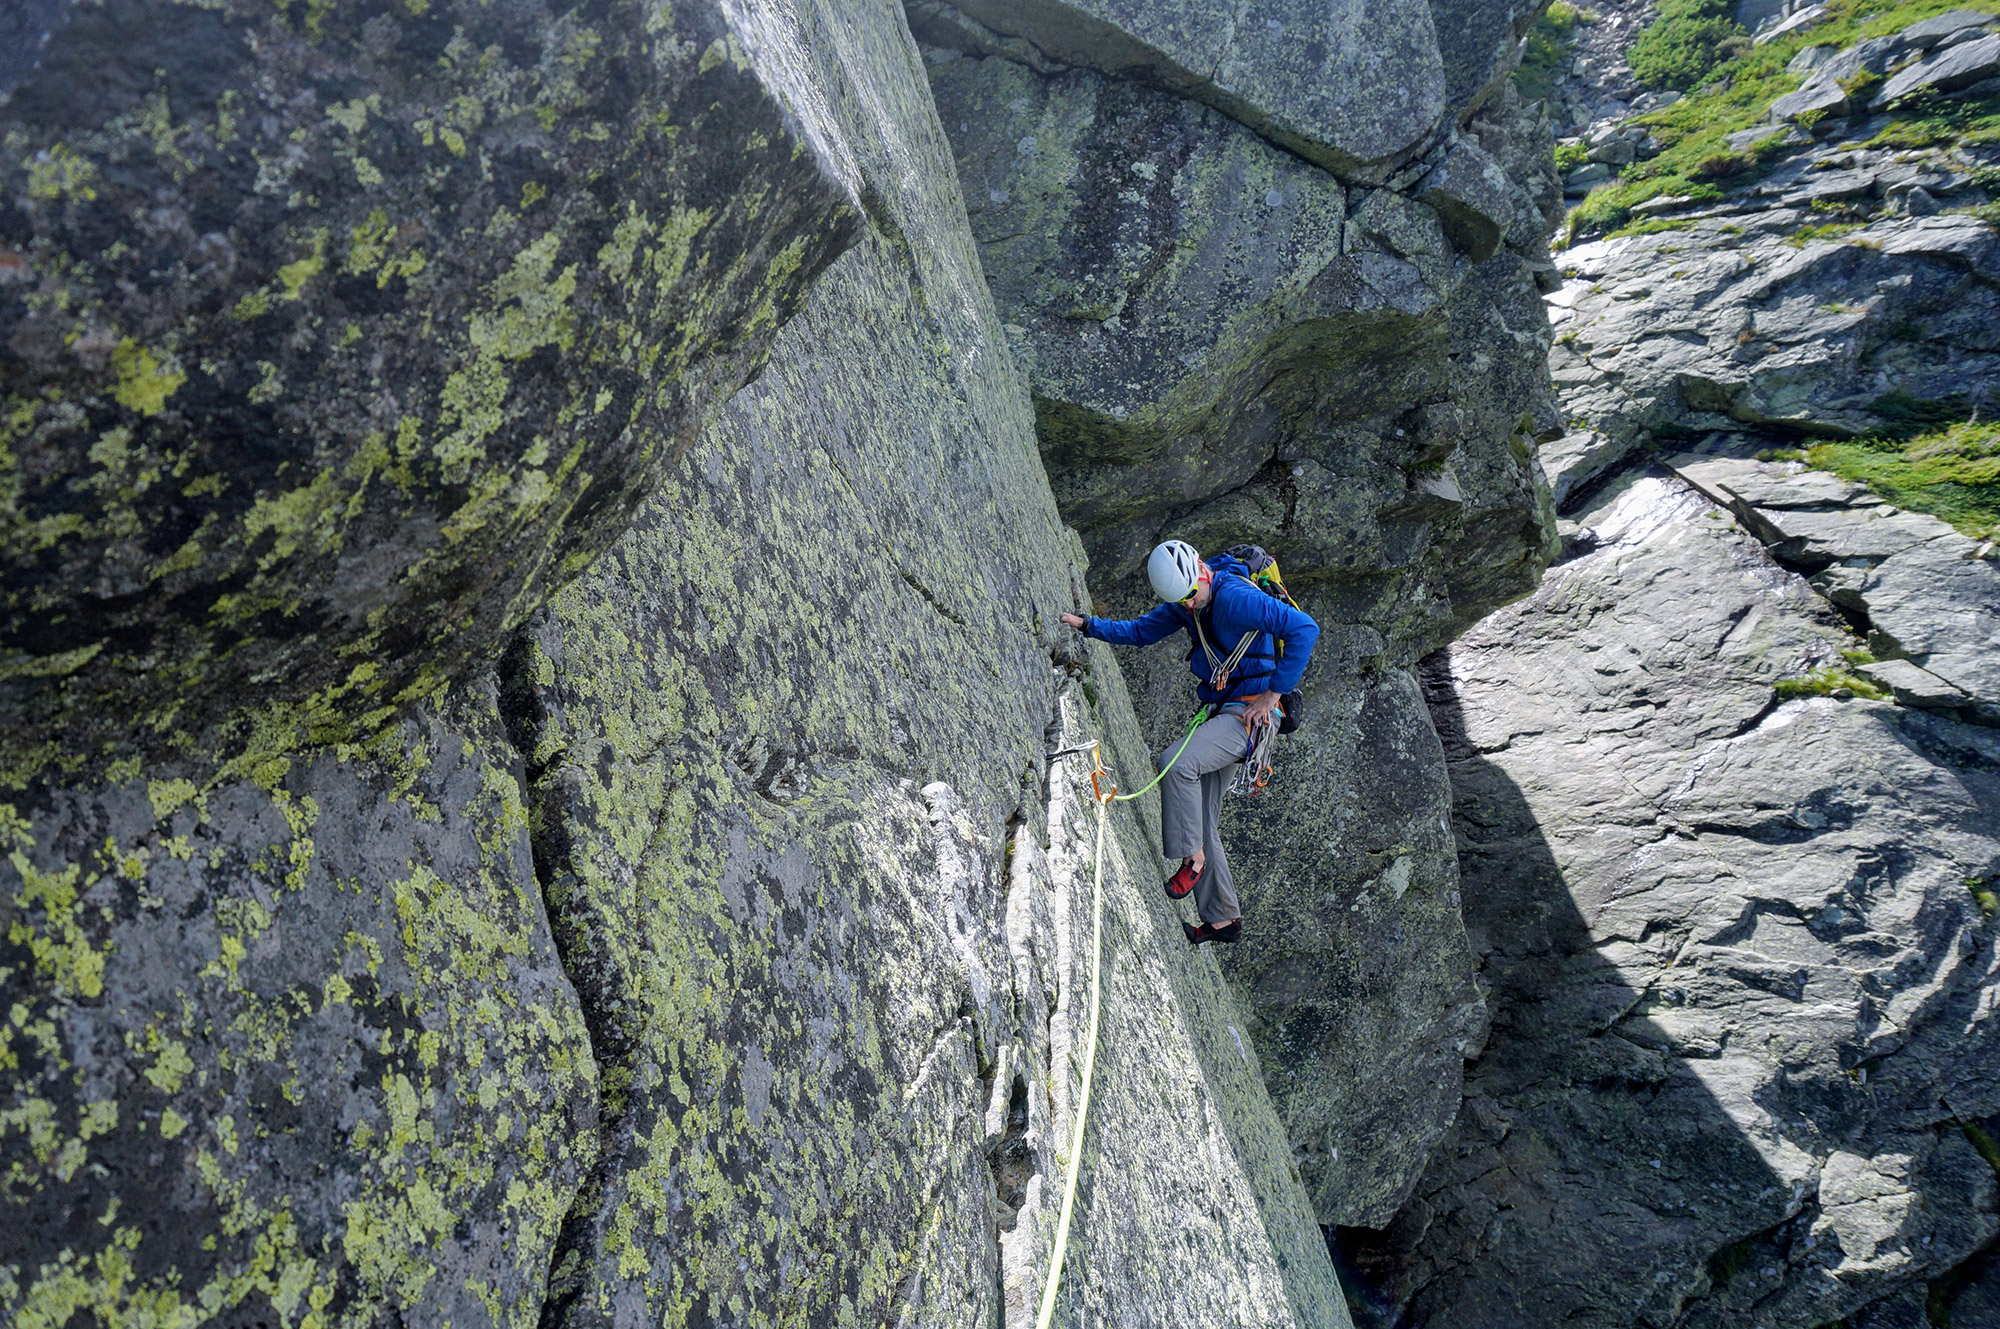
10. Don’t Forget the Alpine Draws
A trad rack is more than just nuts and cams. The third critical component is the draws you’ll use to attach the gear to the rope. Sure, you can probably “get by” with your sport draws, but the first time you climb a wandering route, you’ll really appreciate how the extra extension of an alpine draw really helps cut down on rope drag.
11. What Goes Up Must Come Down
The shiny cams and nuts used to protect climbers as they move up the rock draw the majority the attention when building a trad rack; however, many traditional climbs in the Northeast require a climber to rappel. The addition of a simple autoblock to your rack is a great way to back up rappels and protect yourself on the descent.
12. Practice, Practice, Practice
It’s natural to dream of owning a massive Yosemite rack and to have a gear room overflowing with cams, but seasoned trad climbers will tell you that the art of trad climbing is doing more with less. Trad gear is heavy and awkward to carry—learning how your gear works and being proficient at placing it allows climbers to carry less and climb more. The best way to do this is to find a rock (you don’t even need to be able to climb it) and begin placing as much gear as possible.
13. Check Your Head
Helmets (the Petzl Sirocco is a long-time favorite) might be passé for the bouldering, sport climbing, and top roping crowds (even if it shouldn’t be), but the potential for dropped gear and loose rock make it essential for trad climbers. After all, a climber’s best tool is their head (okay, and strong fingers).
Do you have a gear tip for new trad climbers that we missed? If so, leave it in the comments!
Related Posts