

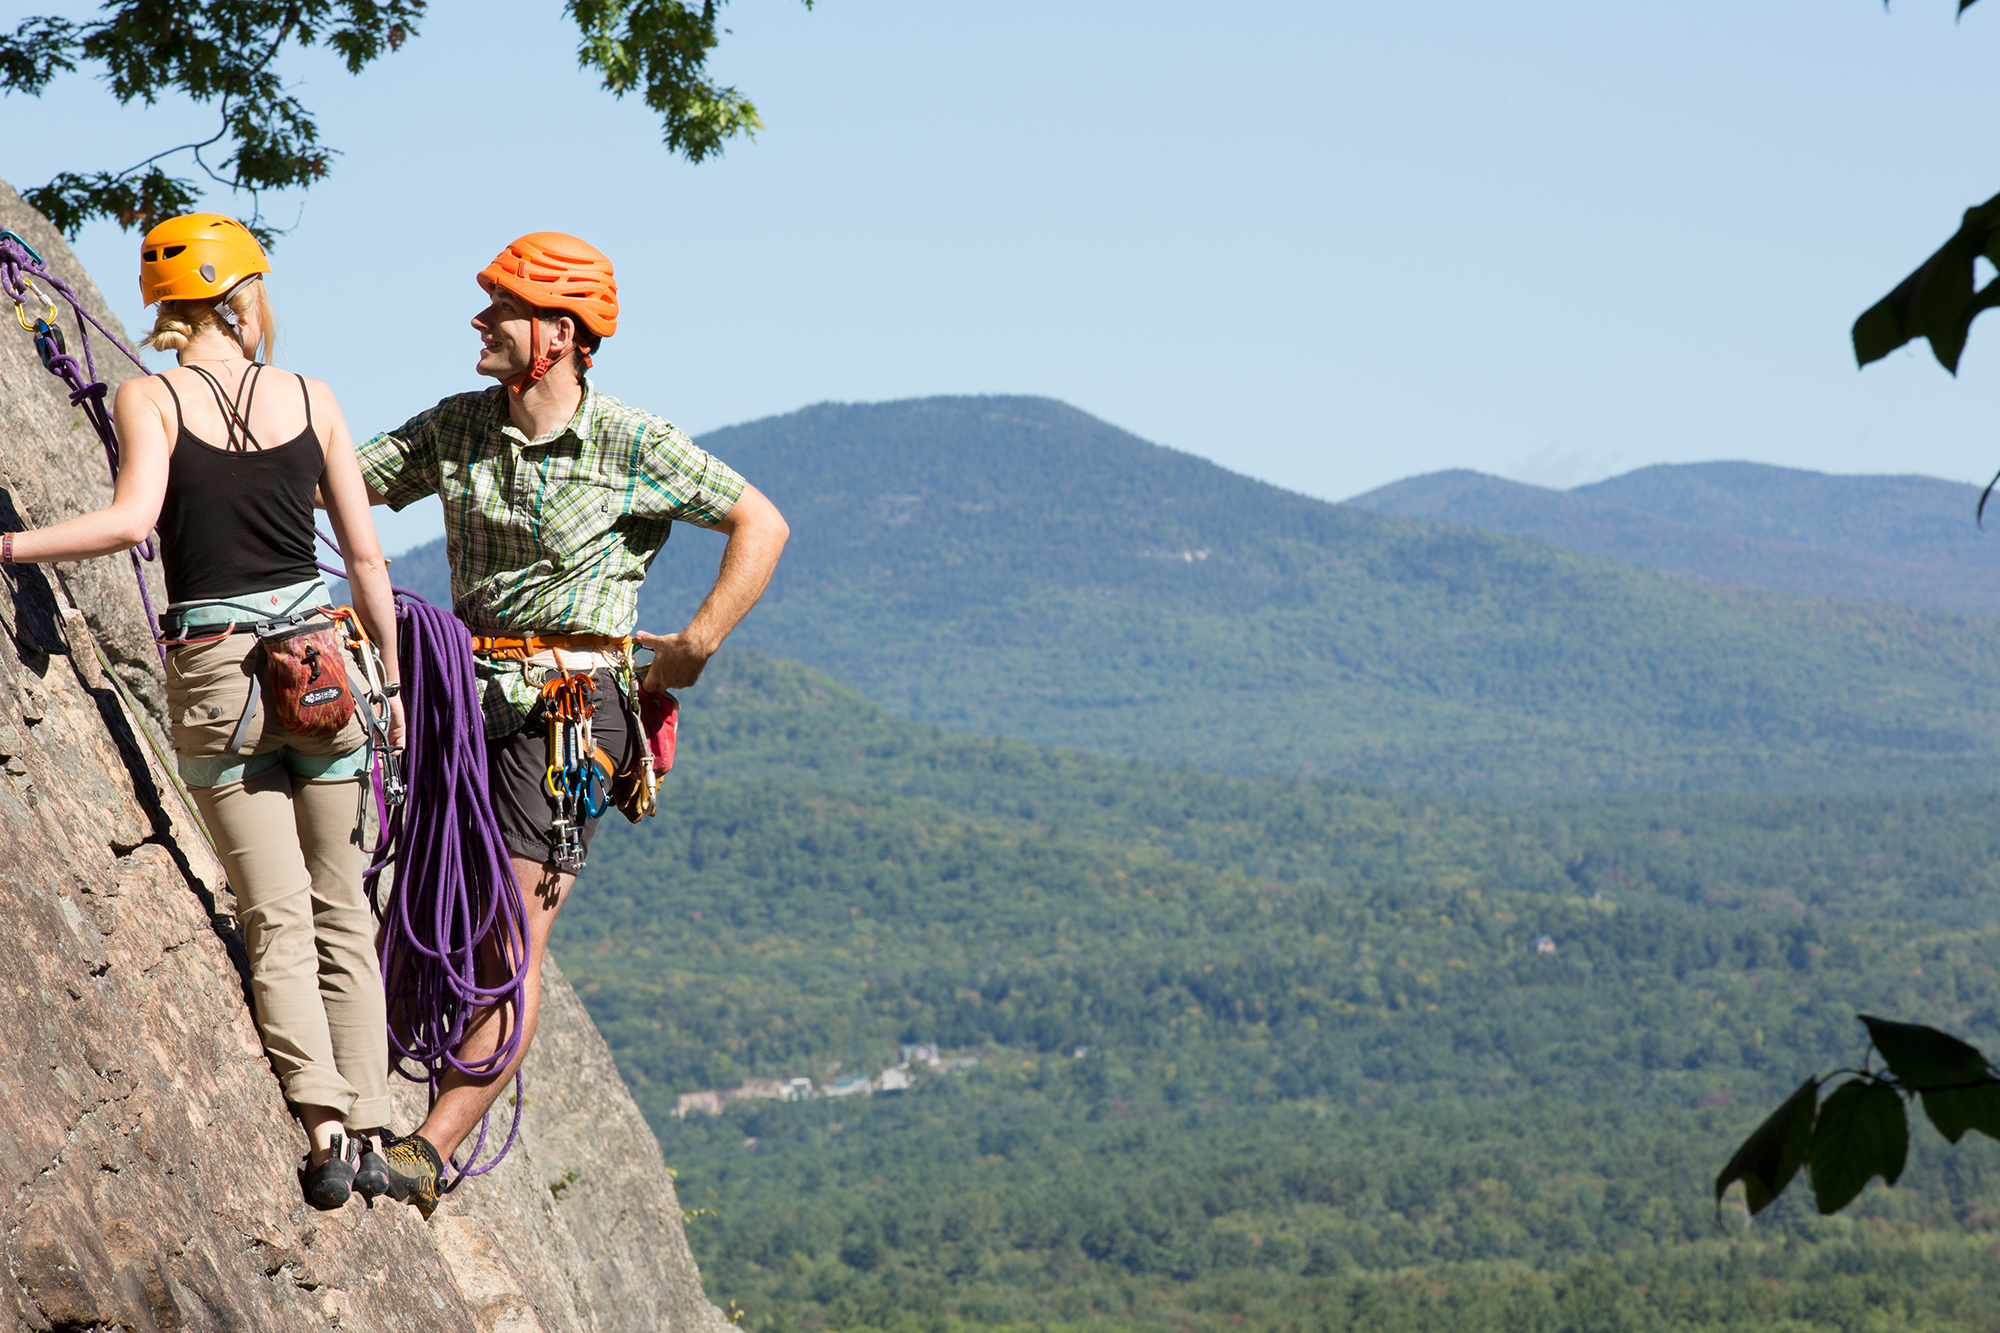
It’s been said many times that “trad is rad.” But, figuring out what you need to get started in traditional (or “trad”) climbing can be difficult. With that in mind, we have developed this checklist, so you can begin building your multi-pitch kit and get out there.
The Rack
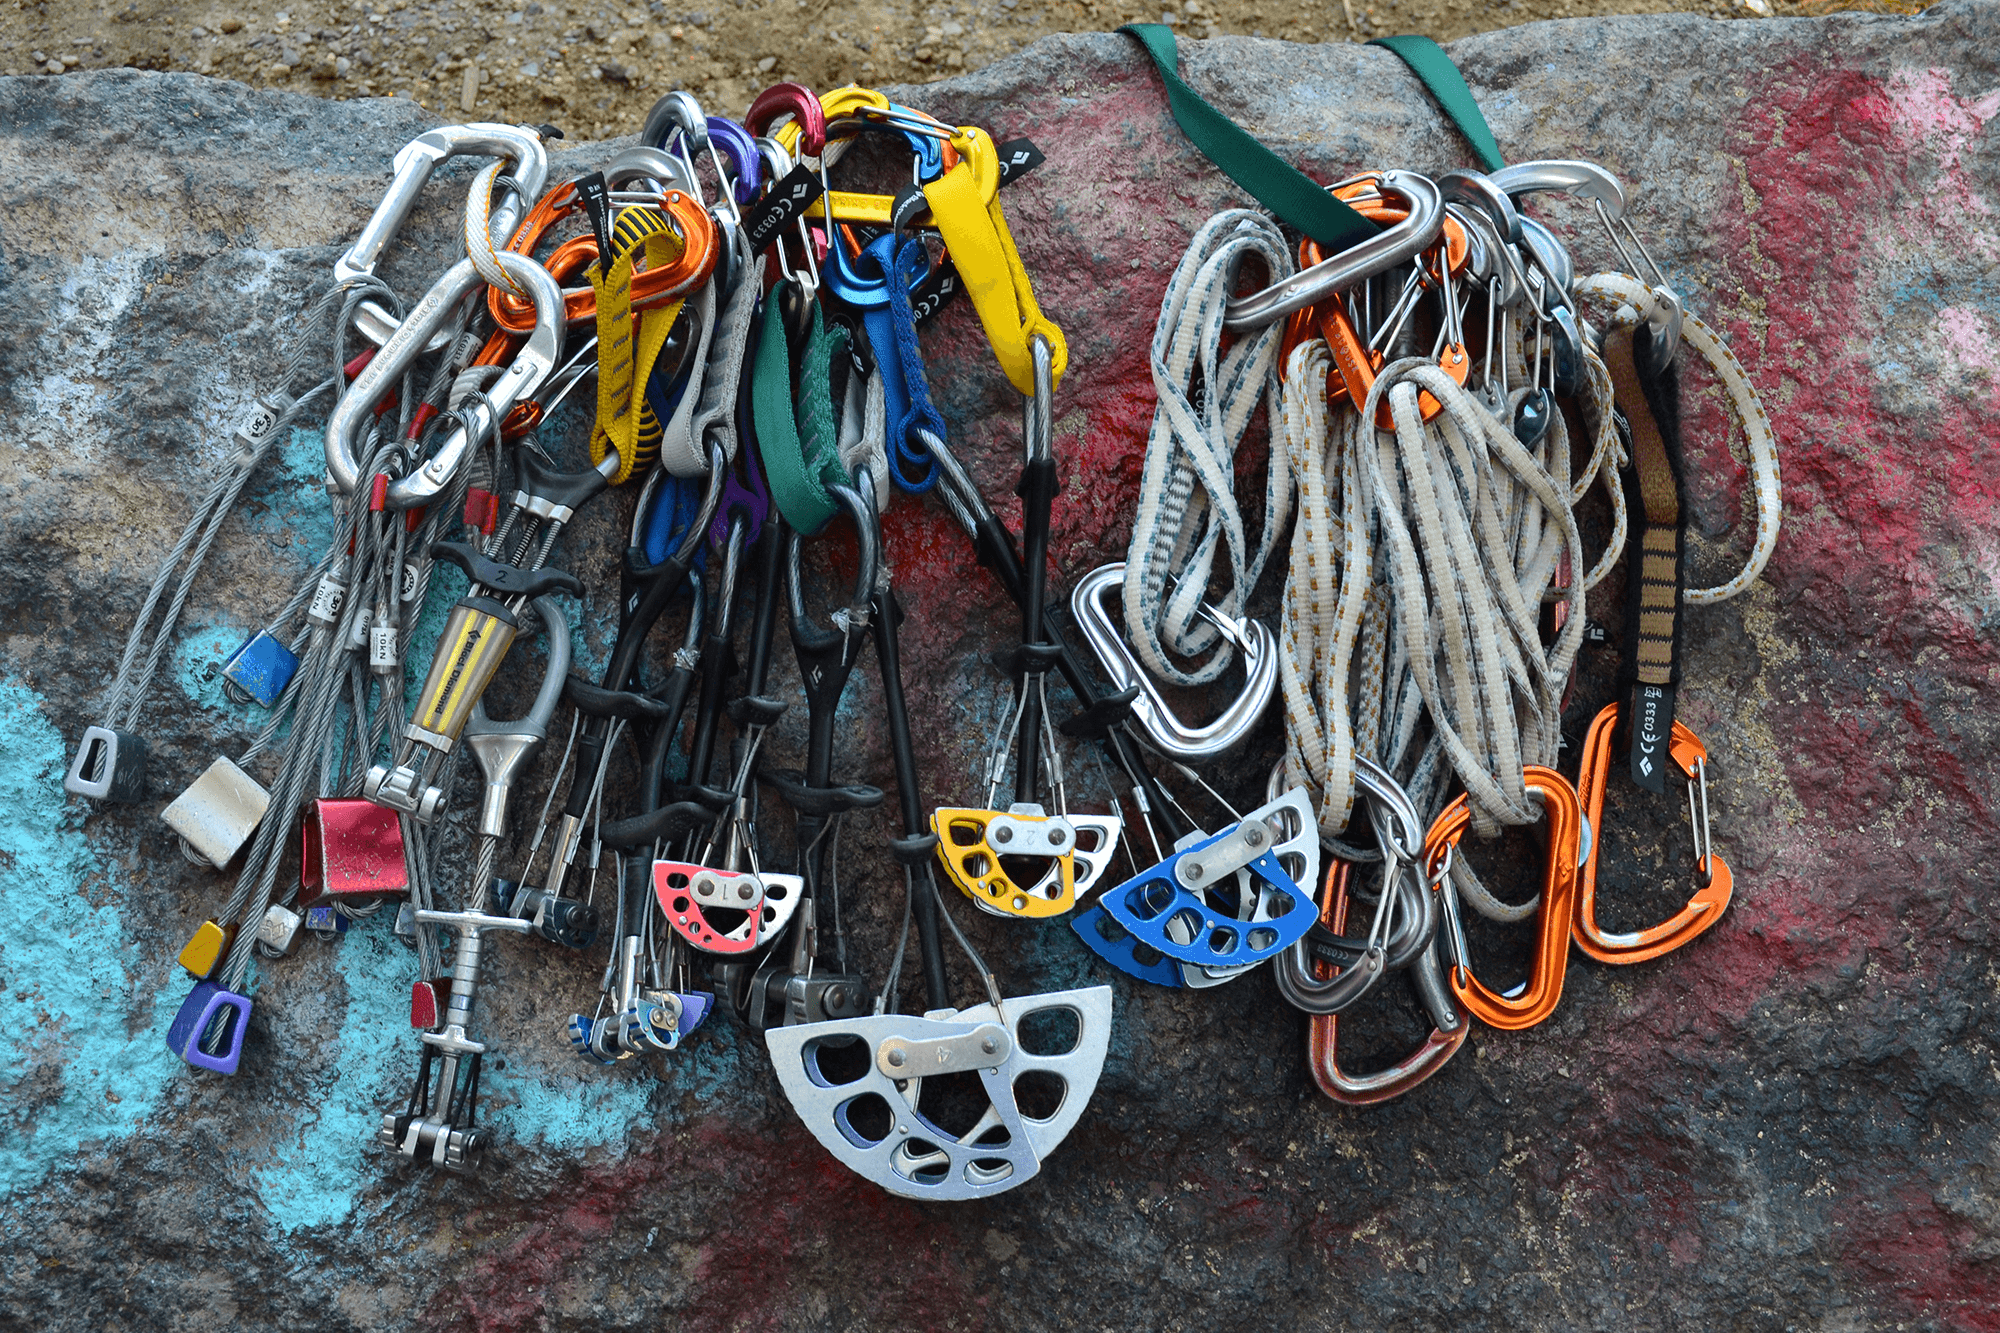
The specific gear you’ll need to protect yourself on a route—the “rack”— varies from climb to climb. That said, most racks have three general components: “stoppers,” “cams,” and “alpine draws.”
Stoppers
Stoppers—sometimes referred to as nuts or chocks—are a great place to start for beginners looking to build their racks and learn the finer points of placing gear. Named after the machine nuts British climbers slung to protect their climbs, today’s iterations are much more advanced, with some being developed with special shapes for specific applications. Climbers place them in the rock’s constrictions, and when loaded, like in the event of a fall, they remain wedged in to protect the climber.
Beginners may want a complete set, like the Black Diamond Stoppers, which include 10 ranging in size from 4 to 13. Most rack their stoppers on one or two non-locking biners. Although they’re a bit heavier, we like to rack ours on traditional oval biners, like the dependable Black Diamond Oval. Doing so makes it easy to pull on the carabiner to help set the nut. For those unfamiliar, this means tugging in the direction from which the nut might pull, thus making it less likely to shift.
Cams
In the event of a fall, cams, a multi-lobed device, exert an outward force on the rock. You typically place them in a rock’s cracks or fissures, and because of their mechanics, they provide “active protection.”
Although numerous manufacturers produce camming units, or simply cams, Black Diamond Camalot C4s are the standard. Most will want these starting at size 0.3 and ending at size 3. A set of C4s along with a stopper set should provide enough protection to safely ascend many introductory trad routes while giving climbers an opportunity to assess what else they might need.
Most rack their cams on individual, non-locking biners. For the super-organized, many companies make color-coded ones to match the cams, like the CAMP Photons, making it easier to find and grab the one you need off your harness.
Alpine Draws
Alpine draws—specifically, dyneema slings with two carabiners doubled into a quickdraw and used to connect gear to the climbing rope—offer incredible versatility. You can use them as a standard quickdraw, or extend one to reduce rope drag on wandering routes or to lessen the rope’s pull on placed gear.
Having between 10 to 12 alpine draws is a good starting place. You can either make them yourself by buying individual slings and biners, or get them pre-configured, like the CAMP Mach Express Dyneema.
Supplementing the Basic Rack
Depending on where you climb, you’ll want to supplement this basic rack with gear appropriate to where and what you climb. One of our favorite rack supplements, micro cams work for smaller, tighter-fitting placements. We both are fond of Black Diamond’s Camalot C3s and X4s and routinely carry C3s in sizes 1 and 2 and X4s in sizes 0.2 and 0.4.
Getting multiples of some cams is also a good idea. For example, climbers who frequent the Gunks (or other areas where not every anchor is bolted) might want to double-up on popular cams like the 0.5, 0.75, and 1. Similarly, climbers heading to Indian Creek may want to get several of the same size due to the cracks’ uniform nature.
Climbers going to Whitehorse or other Northeast slabs should also consider adding a few tricams. This somewhat-hybrid tool can be placed passively like a nut or actively like a cam, and, featuring slings instead of stems, may substitute spring-loaded cams in horizontal cracks. Their unique shape often makes them the best way to protect slab climbs featuring small pockets. A well-worn Pink 0.5 Tricam, for instance, can be found on many a Northeast climber’s rack.
Finally, climbers anticipating leaving gear for rappel anchors should consider adding a few extra stoppers. Nuts are much less expensive, so the pain of leaving a few behind to build a bomber anchor won’t have you skimping on safety.
Personal Gear
Building anchors, belaying a second, cleaning a route, and descending all require specialized gear. Here’s what we commonly carry:
Belay/Rappel Device
For any route where you’ll be belaying from the top of the pitch and later rappelling, consider a multi-purpose belay device with assisted braking, like the Black Diamond ATC-Guide or Petzl Reverso 4. Although these cost fractionally more than a traditional model, they are far more versatile, allowing climbers to belay a leader from the bottom, top-belay two seconds simultaneously with assisted braking, and make full-length rappels. We carry ours on a dedicated large, locking biner, like the Petzl William Screw-Lock.
When climbing as a party of two (or of three in caterpillar style), we often bring along a Petzl GRIGRI. Although some consider this excess weight, we like it because it expands our raising and lowering options and, equally important, makes top-belaying much, much easier. If your arms and shoulders have ever gotten more of a workout top-belaying a second with an ATC-Guide-like device than from the actual climbing, you’re probably already a convert.
Nut tool
A good nut tool, like the Black Diamond Nut Tool, is a small investment that pays for itself. It makes removing protection placed by the leader easier, and helps ensure you finish with all the gear you began with. As an added bonus, some have built-in bottle openers for post-climb beers.
Lockers (one big and assorted small)
Along with the locking biner for the belay device, we each carry three to four additional locking biners, especially on multi-pitch trad climbs. You can attach them to the anchor, connect them to a rappel back-up, or pair them with your ATC-Guide or Petzl Reverso to belay a second in “guide” mode.
Hollow Block
Another fantastic tool, a hollow block, helps with backing-up rappels or lowers, ascending the rope, or building a haul system to aid a struggling second. It handles nicer than the traditional prusik cord and is also easier to work with.
Cordellette
Used for building an anchor at the end of a pitch, a cordellette is a length of a 7mm or 8mm cord tied in a loop using a double fisherman’s knot. Trad climbers planning on multi-pitch routes generally carry two to three per rope team.
Carrying the Gear
Harness
It’s crucial that aspiring trad climbers find a harness that racks the gear while still being comfortable. An all-around model with two gear loops per side makes a solid starting point. These offer enough padding for all-day comfort, with enough gear loops to accommodate the equipment needed for a multi-pitch route.
We’ve both enjoyed using the Black Diamond Aspect Harness. But, fit is personal, so visit your local shop and try a few before you buy one. And, make sure you feel no discomfort. A little pinch or rubbing in the store only gets worse as the hours tick by on your first multi-pitch route.
Gear Sling
While many choose to rack their gear on their harness, some EMS Climbing School Guides swear by their gear sling. It takes the weight off your hips and keeps harness-bound cams from obstructing your view of your feet. Climbers can choose between using slings designed specifically to hold and organize your gear, like the Metolius Multi-Loop, or using a climbing-rated nylon model that can be repurposed if need be.
Helmet
If you’re going trad climbing, you should plan on wearing a helmet. Whether it’s people climbing above you, gear handling, the occasional loose rock, or exposure, your head is constantly under threat.
Today’s are light, breathable, and relatively inexpensive. Buy one before going out to the crag to keep your head safe and to avoid looking like a newbie. A favorite of ours is the Black Diamond Vector.
Shoes
The climbing shoes best suited for multi-pitch trad climbing tend to be more comfortably shaped and have a looser fit than those for other climbing disciplines. Introductory trad climbers should avoid the pointed toes and aggressive downturns found in many of today’s sport climbing and bouldering shoes, opting for one that can easily be stuffed into cracks, smeared on slabs, and, most importantly, worn for extended periods of time.
The Little Things
- Consider investing in a multi-pitch pack, ideally one with room for water, snacks, a guidebook, or topo, and built to withstand the activity’s rigors. The Black Diamond Speed 22 is a longtime favorite of ours.
- Water bottles can be hard to access and easy to drop. Thus, make sure your pack holds a hydration bladder.
- It’s surprising how much cooler it becomes once you get a rope length or two off the ground. A lightweight and packable windshirt, like the Mountain Hardwear Super Chockstone, not only helps fend off a chill, but also stands up to rubbing against rock.
- Make sure to bring the guidebook, so you don’t waste time looking for a route. On multi-pitch routes, we’ll photograph the relevant approach information, route description, and topos on our phones and leave the book in the car or at the base.
- Time can get away from you during a long day. A small headlamp like the Black Diamond ReVolt (just remember to keep it charged) and a couple of energy gels stashed away might save you.
Use this list when assembling your rack, and you’ll be well on your way to enjoying the freedom, fun, and fear that come with trad climbing. Is there a piece of trad gear you can’t live without? We want to hear about it! Leave us your recommendations in the comments.
Related Posts


[…] climbers need a harness with gear loops large enough to accommodate such gear as cams, nuts, and draws. The harness should have enough space for the equipment and carry the weight comfortably. For this […]