Some of the most beautiful scenes I’ve experienced outdoors have been spent in seclusion, watching the sun rise and set while the sky erupts in a multitude of colors. There truly is nothing more magical than the world quieting down for the night as the sun sets—except, perhaps, watching and listening as it comes alive again and the sun peeks out from beyond the horizon.
As is often the case with these and other magical moments, trying to accurately capture it in a photograph can be difficult. However, you can usually come quite close by remembering a few key tips and tricks.

1. Stick with it
When it comes to outdoor photography, the most important thing to keep in mind is that dedication and perseverance are the keys to helping you get the perfect shot. This can sometimes be tough (I know it is for me) because it means you will almost always be losing a good deal of sleep. Driving to or from your destination, hiking time, and other factors all have to be taken into account, but you’ll rarely regret it.
Hiking in the dark is also a big component of getting mountaintop sunrises and sunsets, and if you can find some people crazy enough to go with you, the trip will be much more enjoyable. There’s a special kind of magic that takes over as you sit and watch, and forget about just how tired you are or will be later.
2. Not all sunsets and sunrises are the same
Not every quest for the perfect shot will result in even a mediocre sunset. For instance, before one recent hike up New Hampshire’s Mount Moosilauke, I checked the weather forecast and decided it would be a good day to catch the sunrise on top. During the entire drive there, I had clear, starry skies and was getting very excited for the sunrise. About halfway up the trail, however, a thick fog suddenly rolled in, and didn’t clear until I was almost back to my car—an hour after the sun had already risen. But, that failed attempt didn’t stop me from catching a sunset near my house later the same day, and boy, was it worth it. Weather and conditions change rapidly, but persistence eventually nets you a shot you never thought was possible.
3. Look at the clock
For planning your trip or hike, a key factor to take into account is the actual time of the sunrise or sunset. You can usually get this information from many different sources, including weather apps on your phone or online. I tend to use mountain-forecast.com and Weather Underground.
Realize, however, that the sunrise or sunset doesn’t always happen at that specific time. Colors can begin erupting across the sky up to an hour before the actual sun crests over the horizon in the morning or starts to set in the evening. As a good rule of thumb, get to your destination roughly an hour beforehand, and stay up to 30 minutes afterwards.
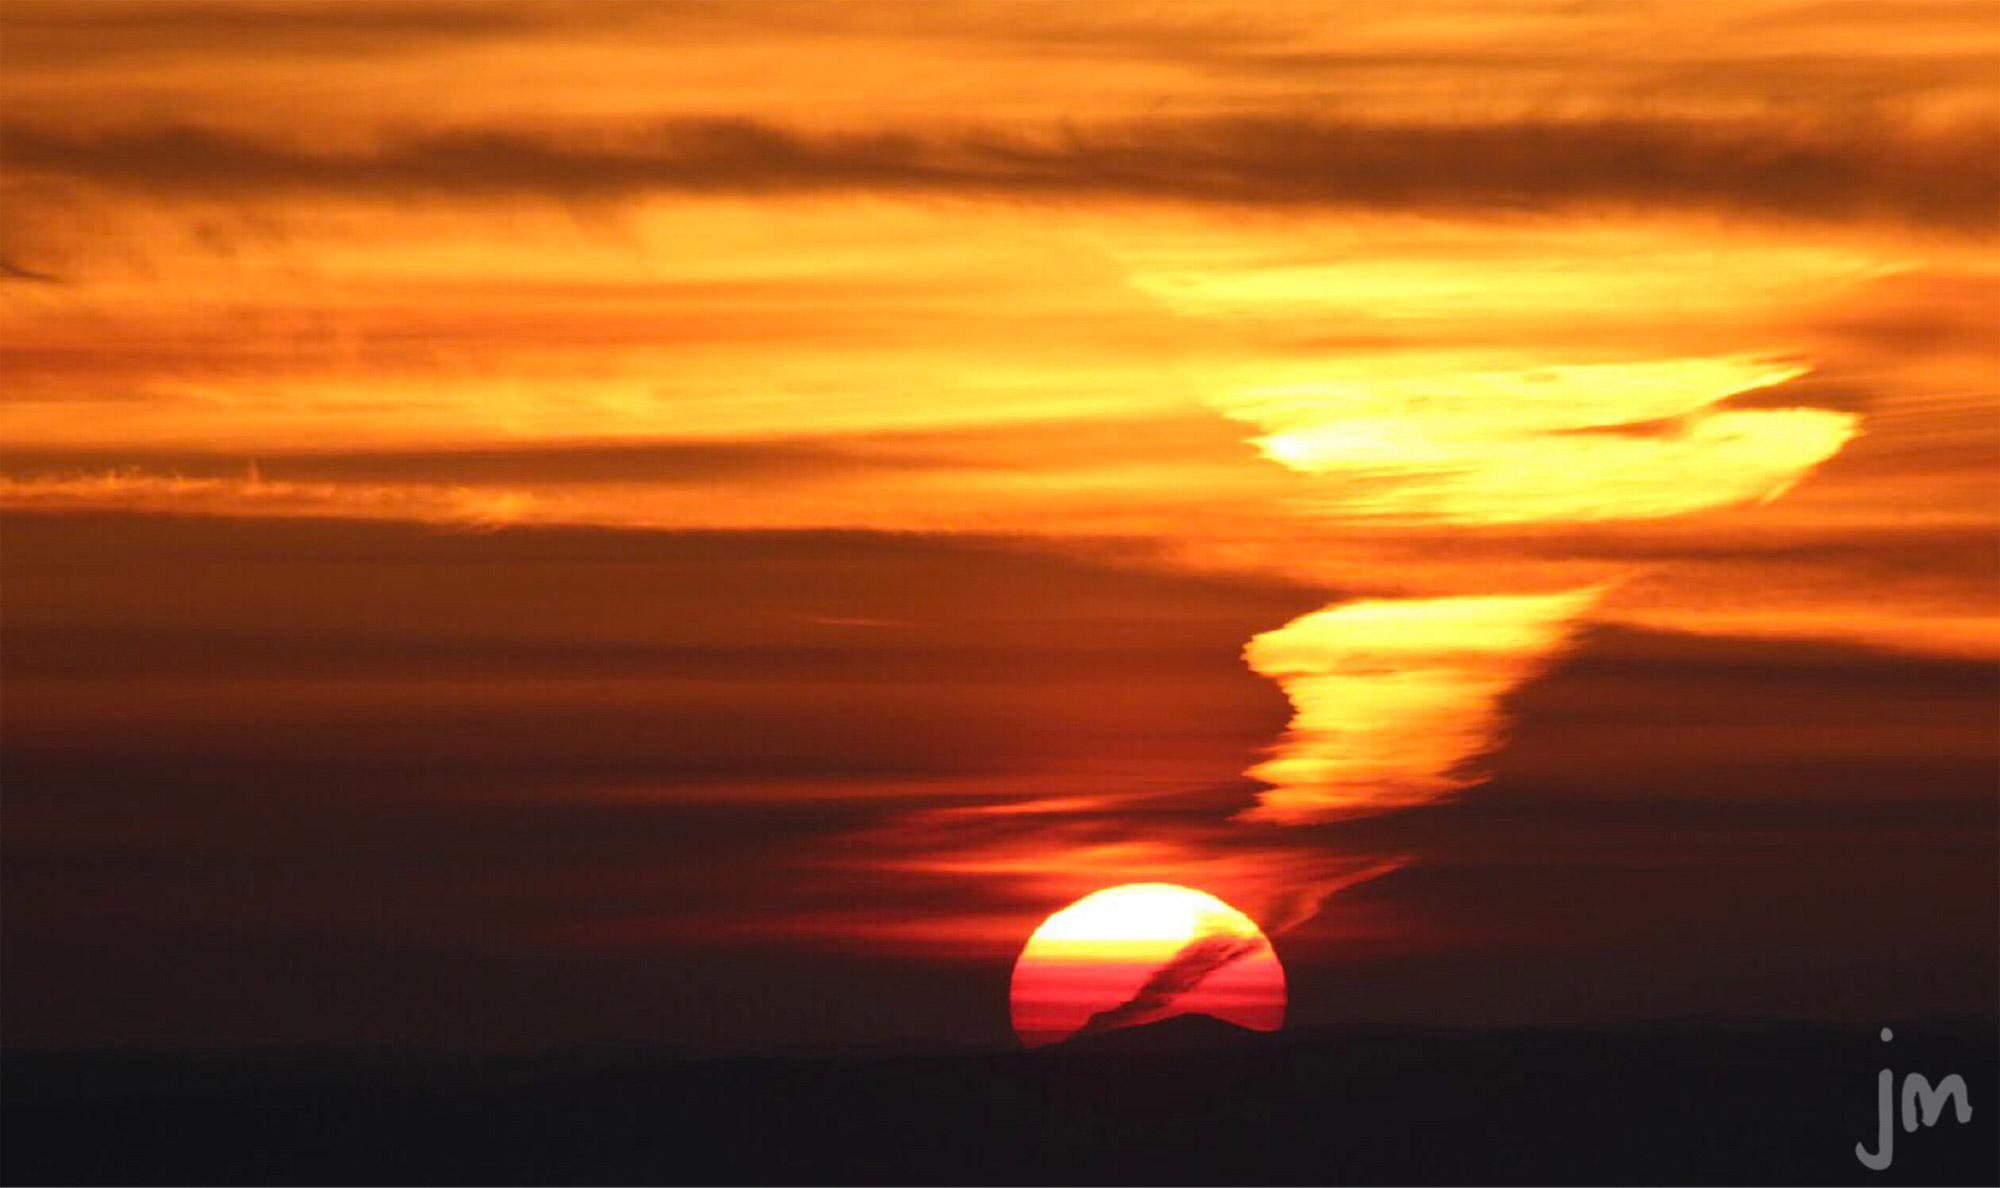
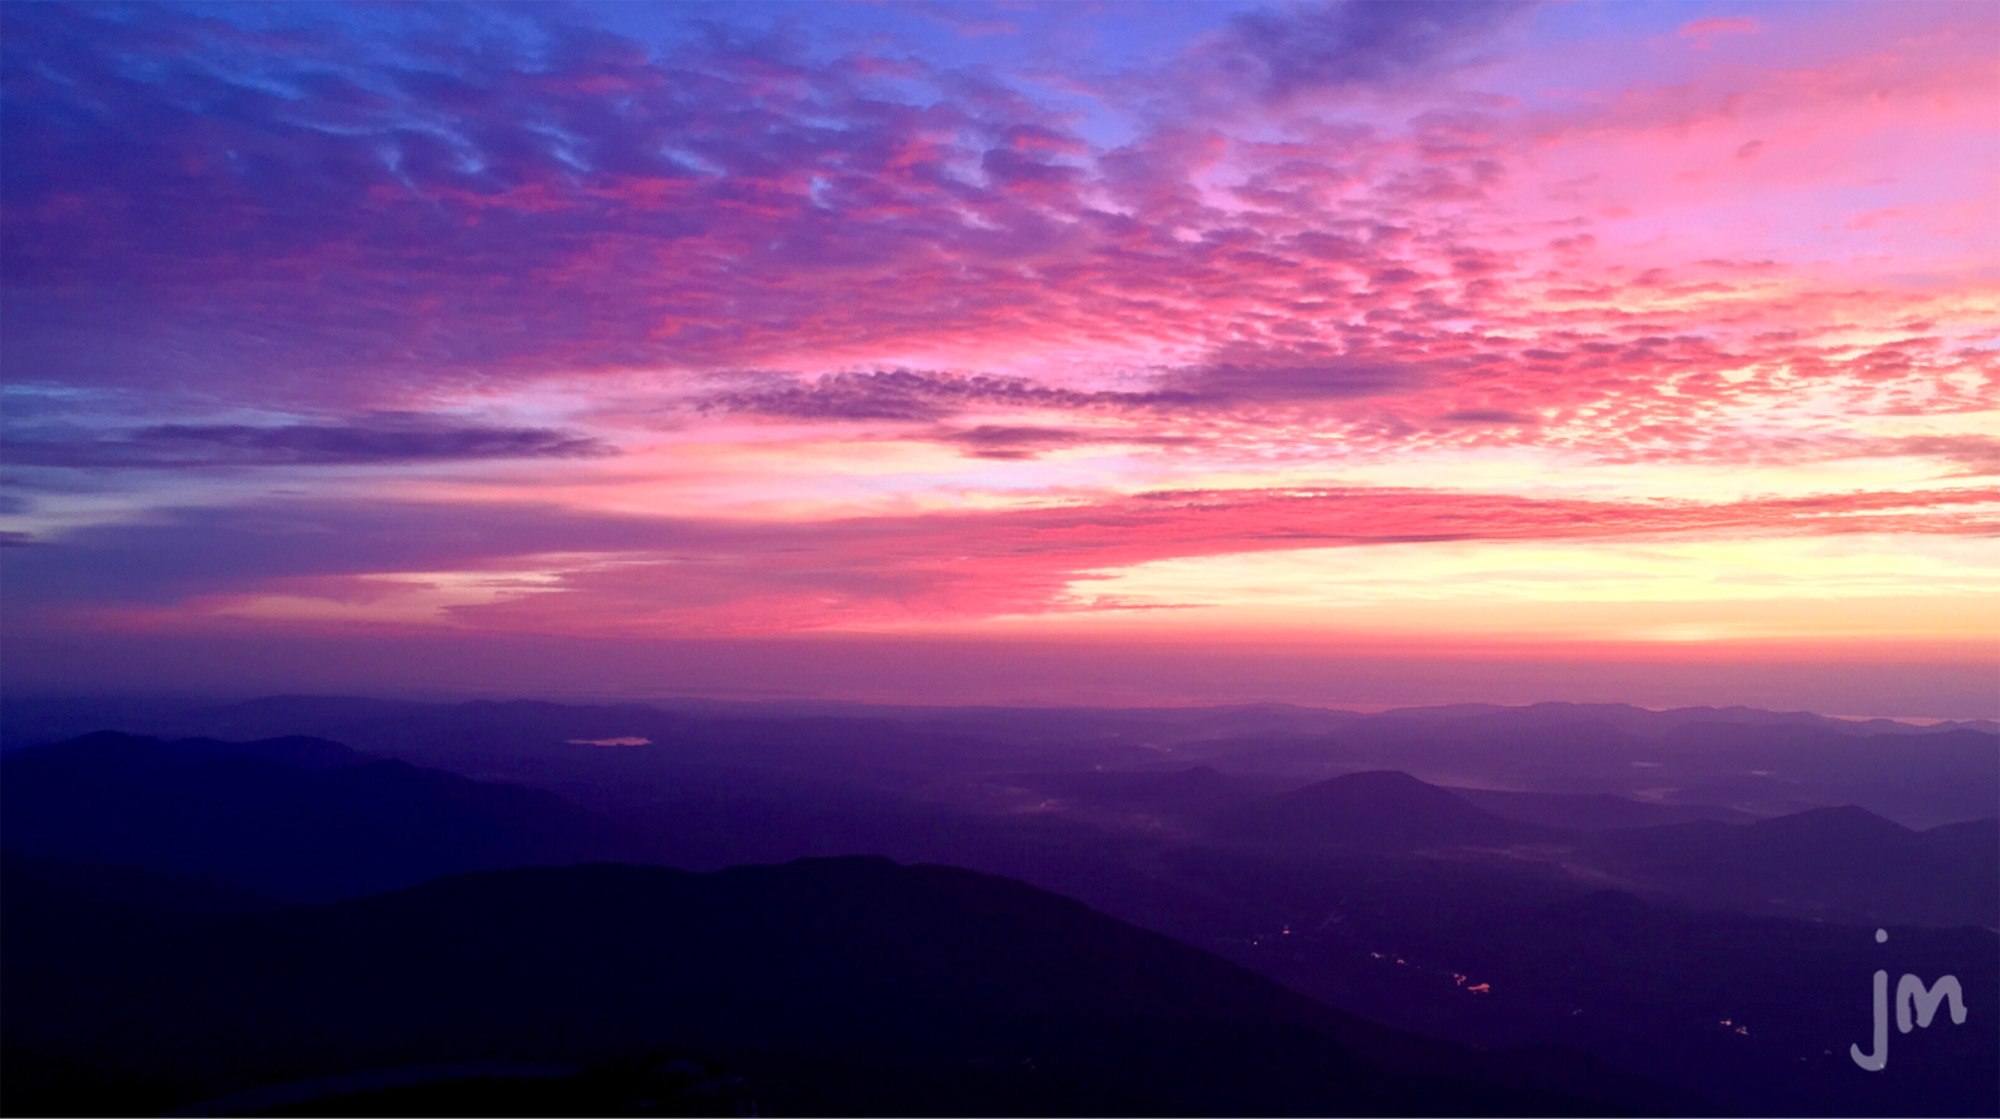
4. Clouds are your friends
As one of the trickier things about shooting at dusk or dawn, those colors that everyone seeks can erupt across the sky and fade in as little as 30 seconds. So, you need to be aware and ready to shoot at any time, and never forget that clouds are your friends. Clouds reflect the scattered light particles to create astounding color combinations.
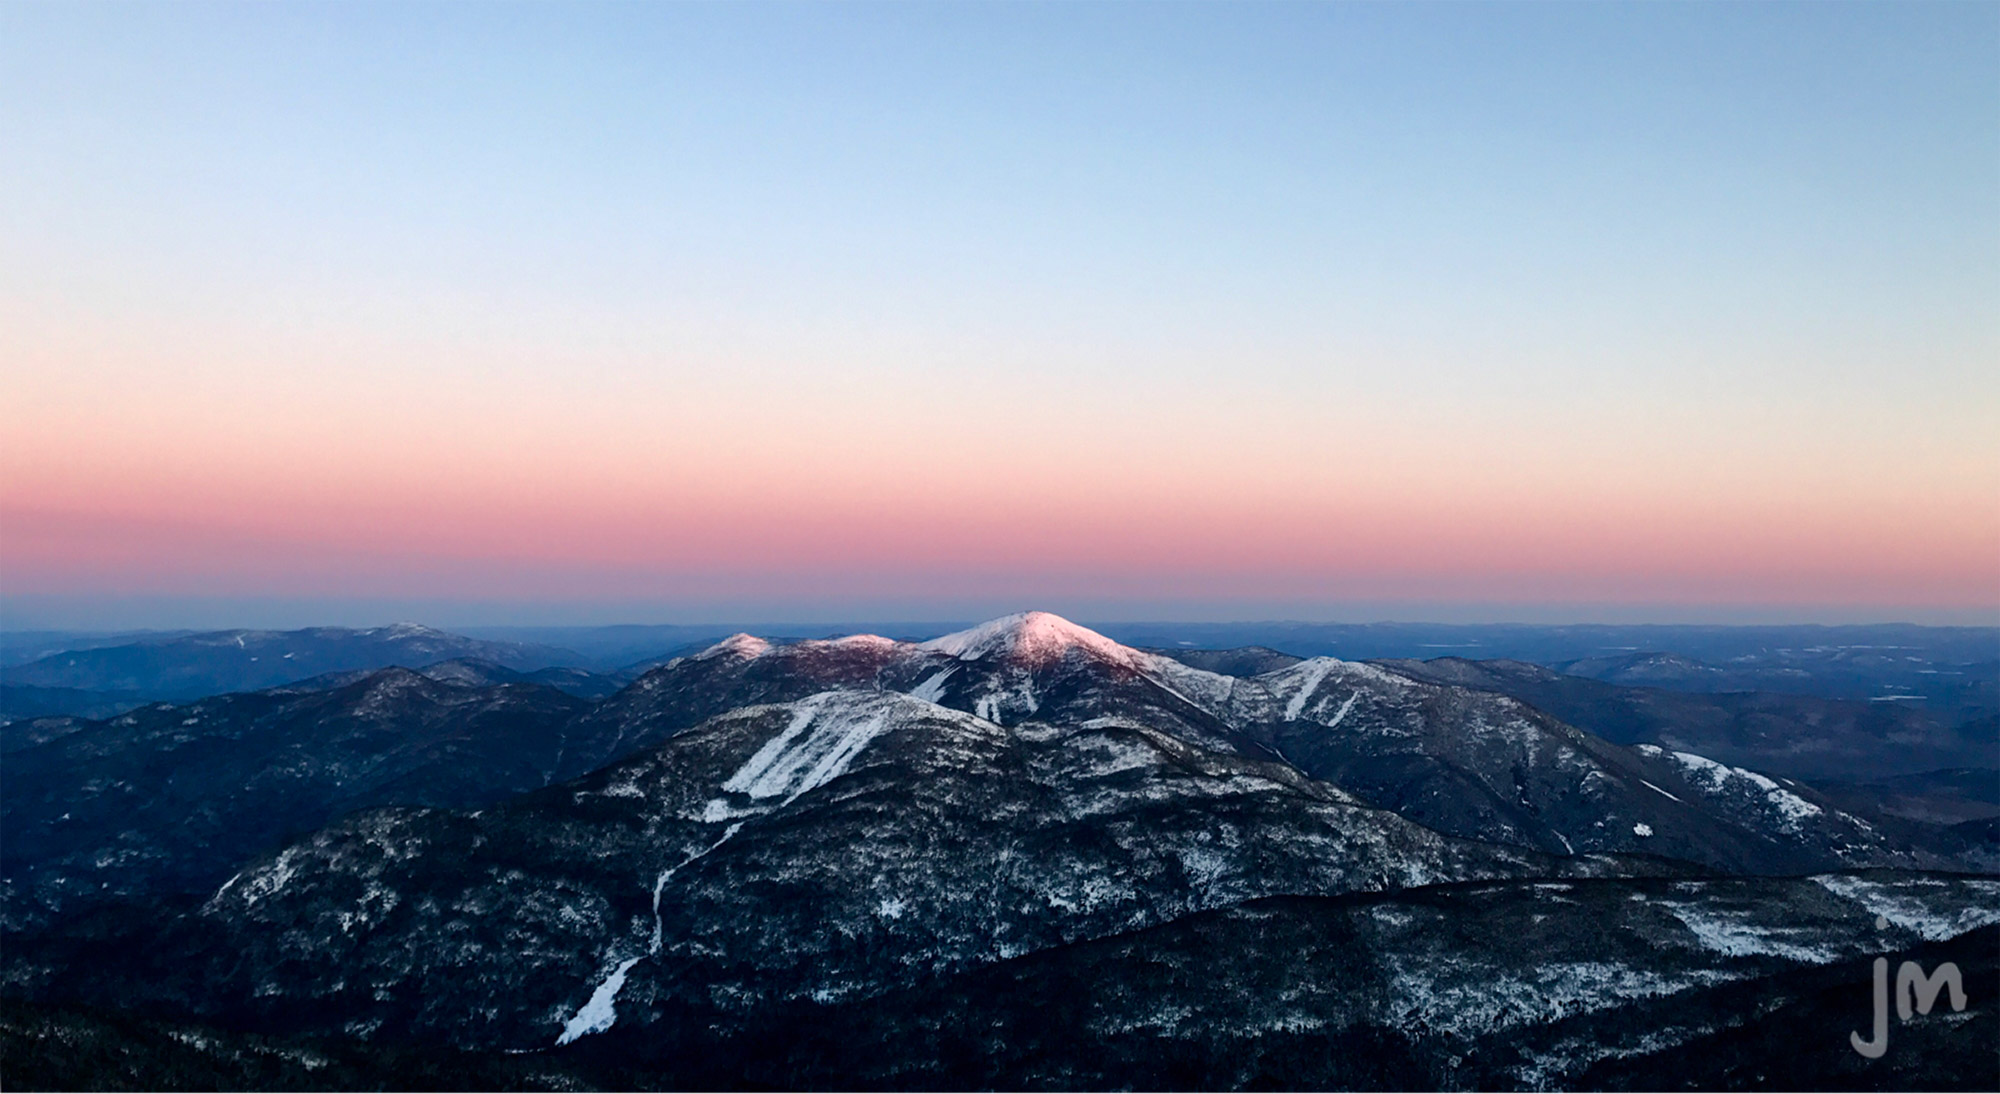
The most amazing sunrises and sunsets I’ve ever seen have occurred on slightly cloudy days, and the colors seemingly came from nowhere and disappeared just as fast. Don’t forget to look behind you, away from the sun, to catch a glimpse of the alpenglow, which is when subtle blues and pinks fill the sky.
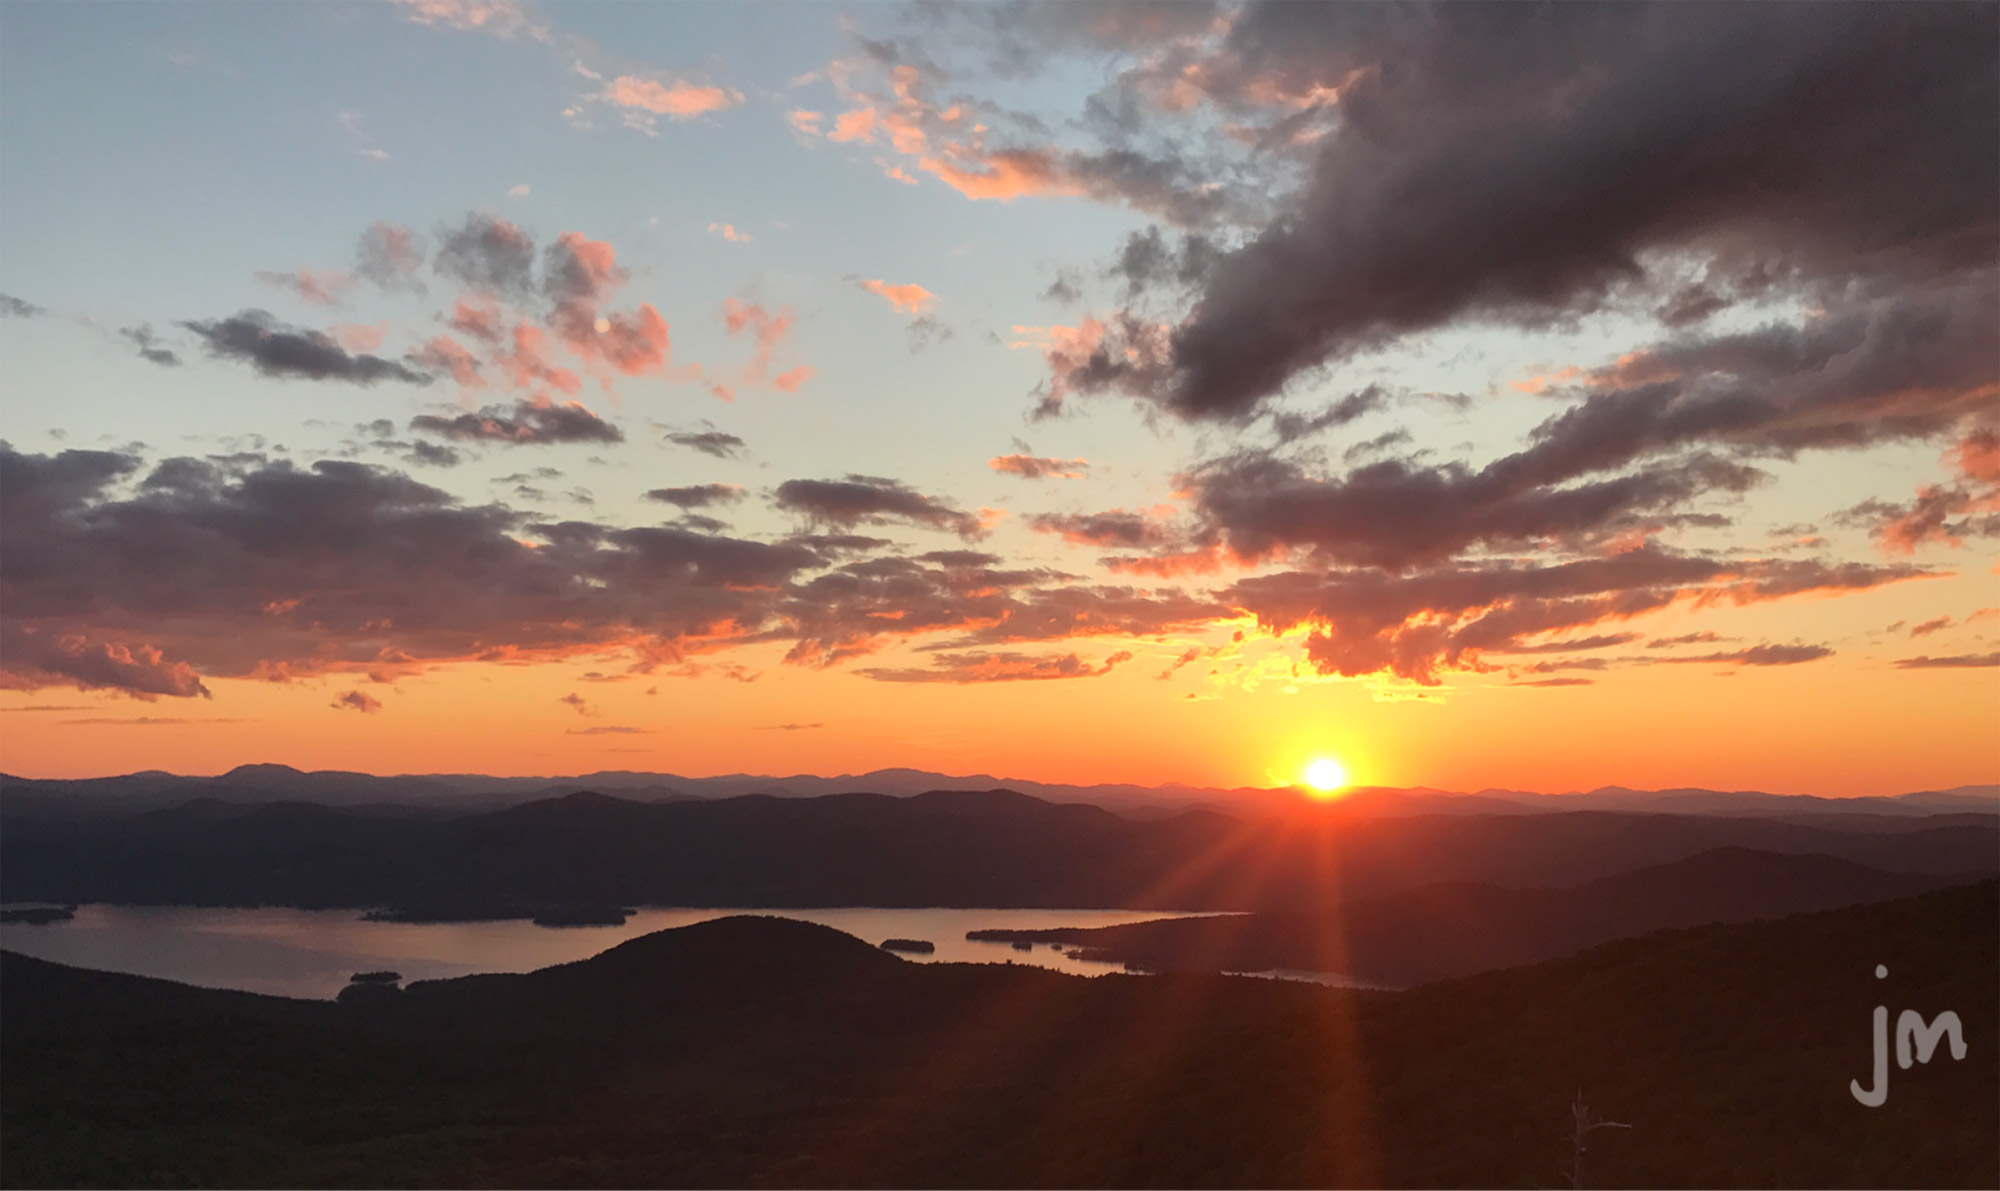
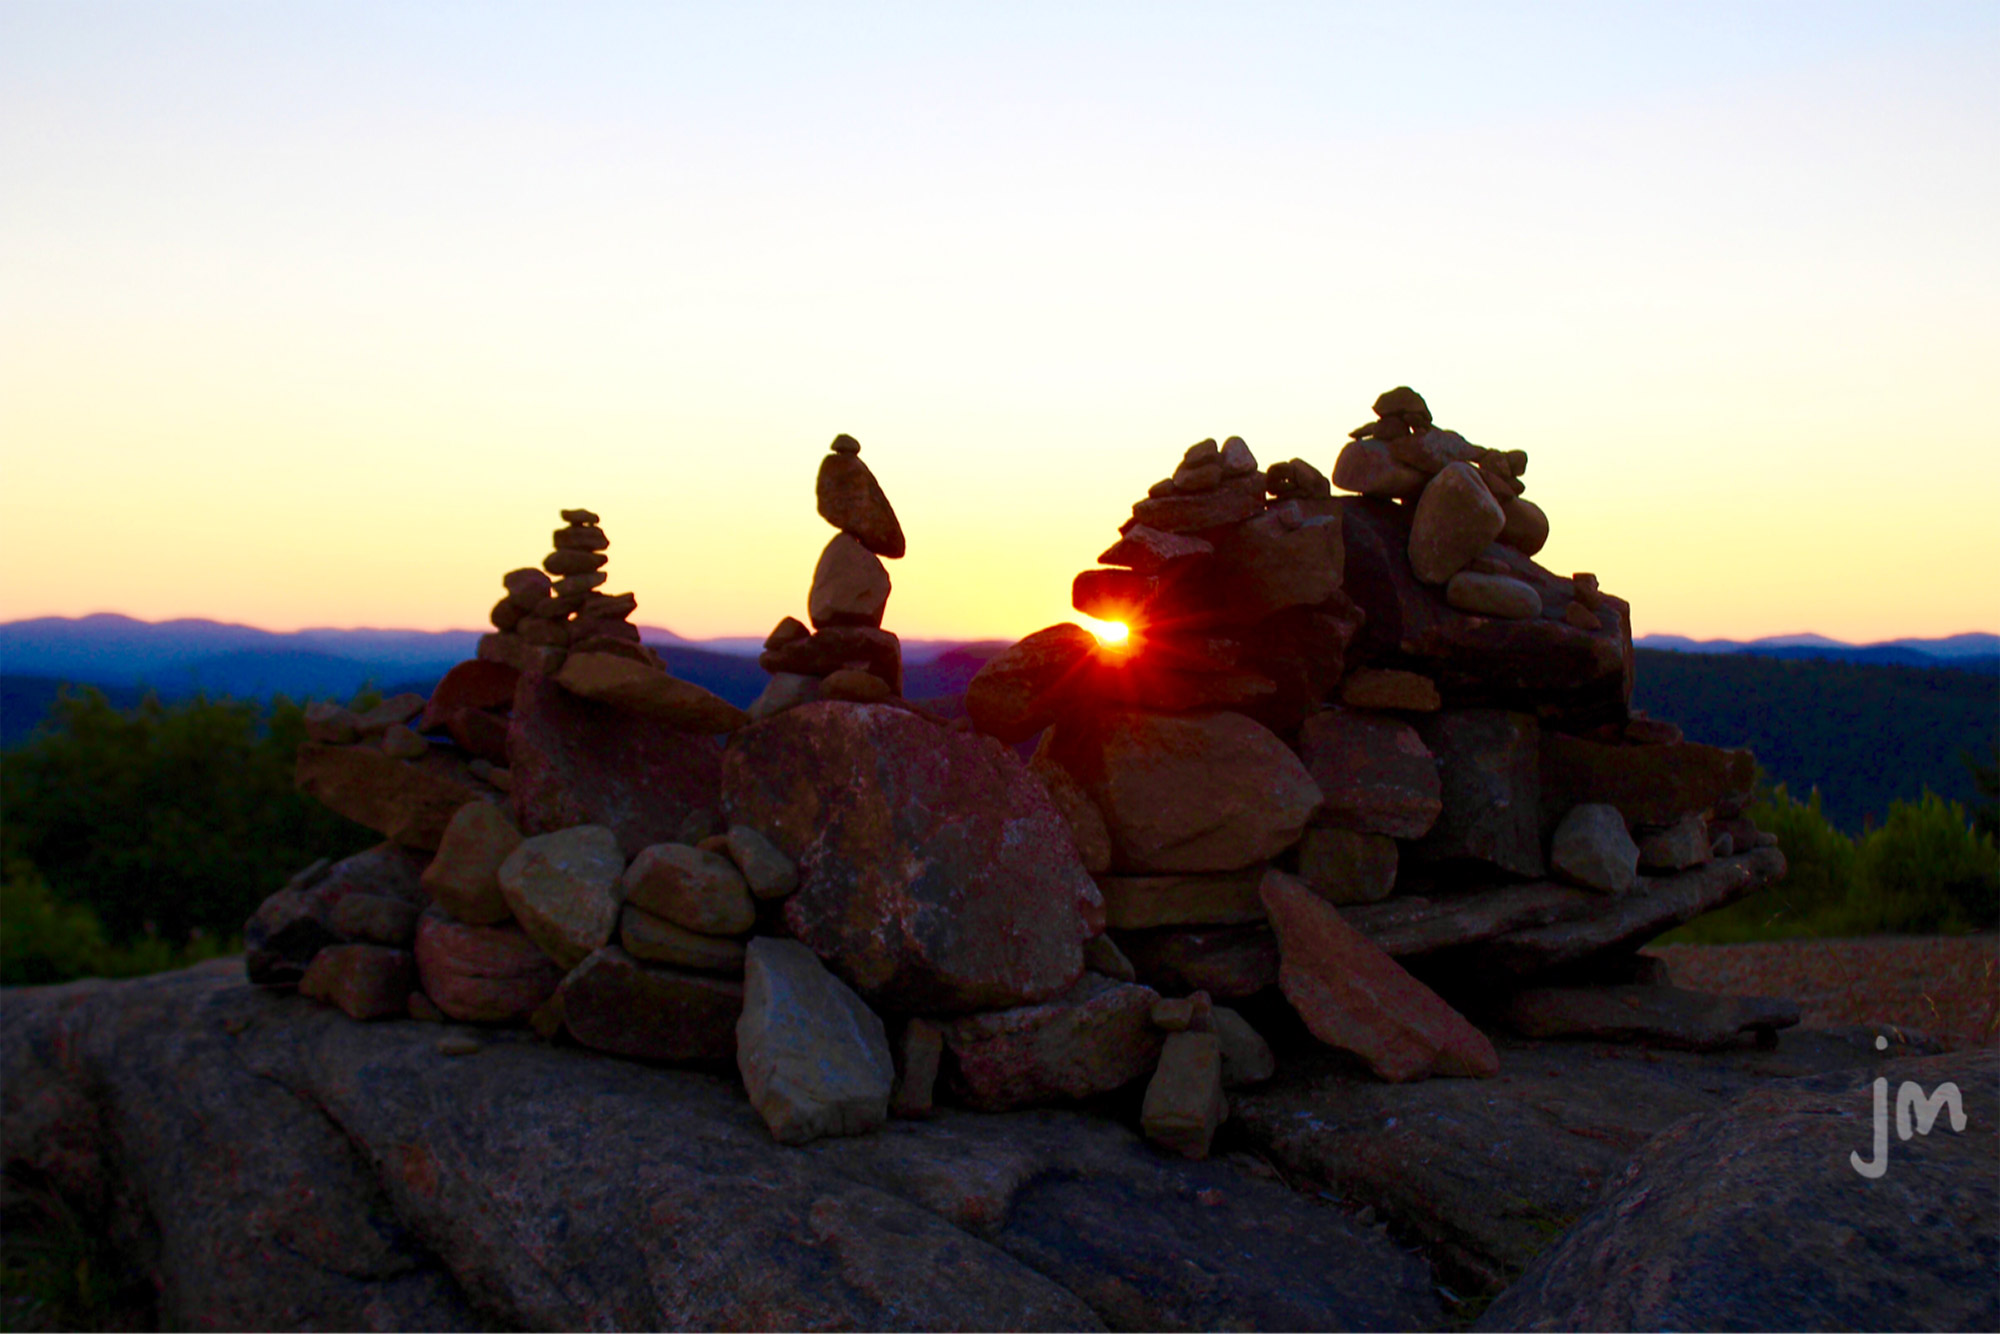
5. Adjust for the sun
Keep in mind that shooting with a phone in the direction of the sun will typically result in some sort of flare, unless you center and focus directly on it. However, since most colors tend to appear either just before the sun emerges from the horizon or just after it sets, it’s easy to avoid flares. If you are using a DSLR, you can oftentimes create a starburst or sunburst effect with the sun’s rays, which adds some uniqueness to your shot. Finding innovative ways to frame this burst can give you a shot unlike anyone else’s.
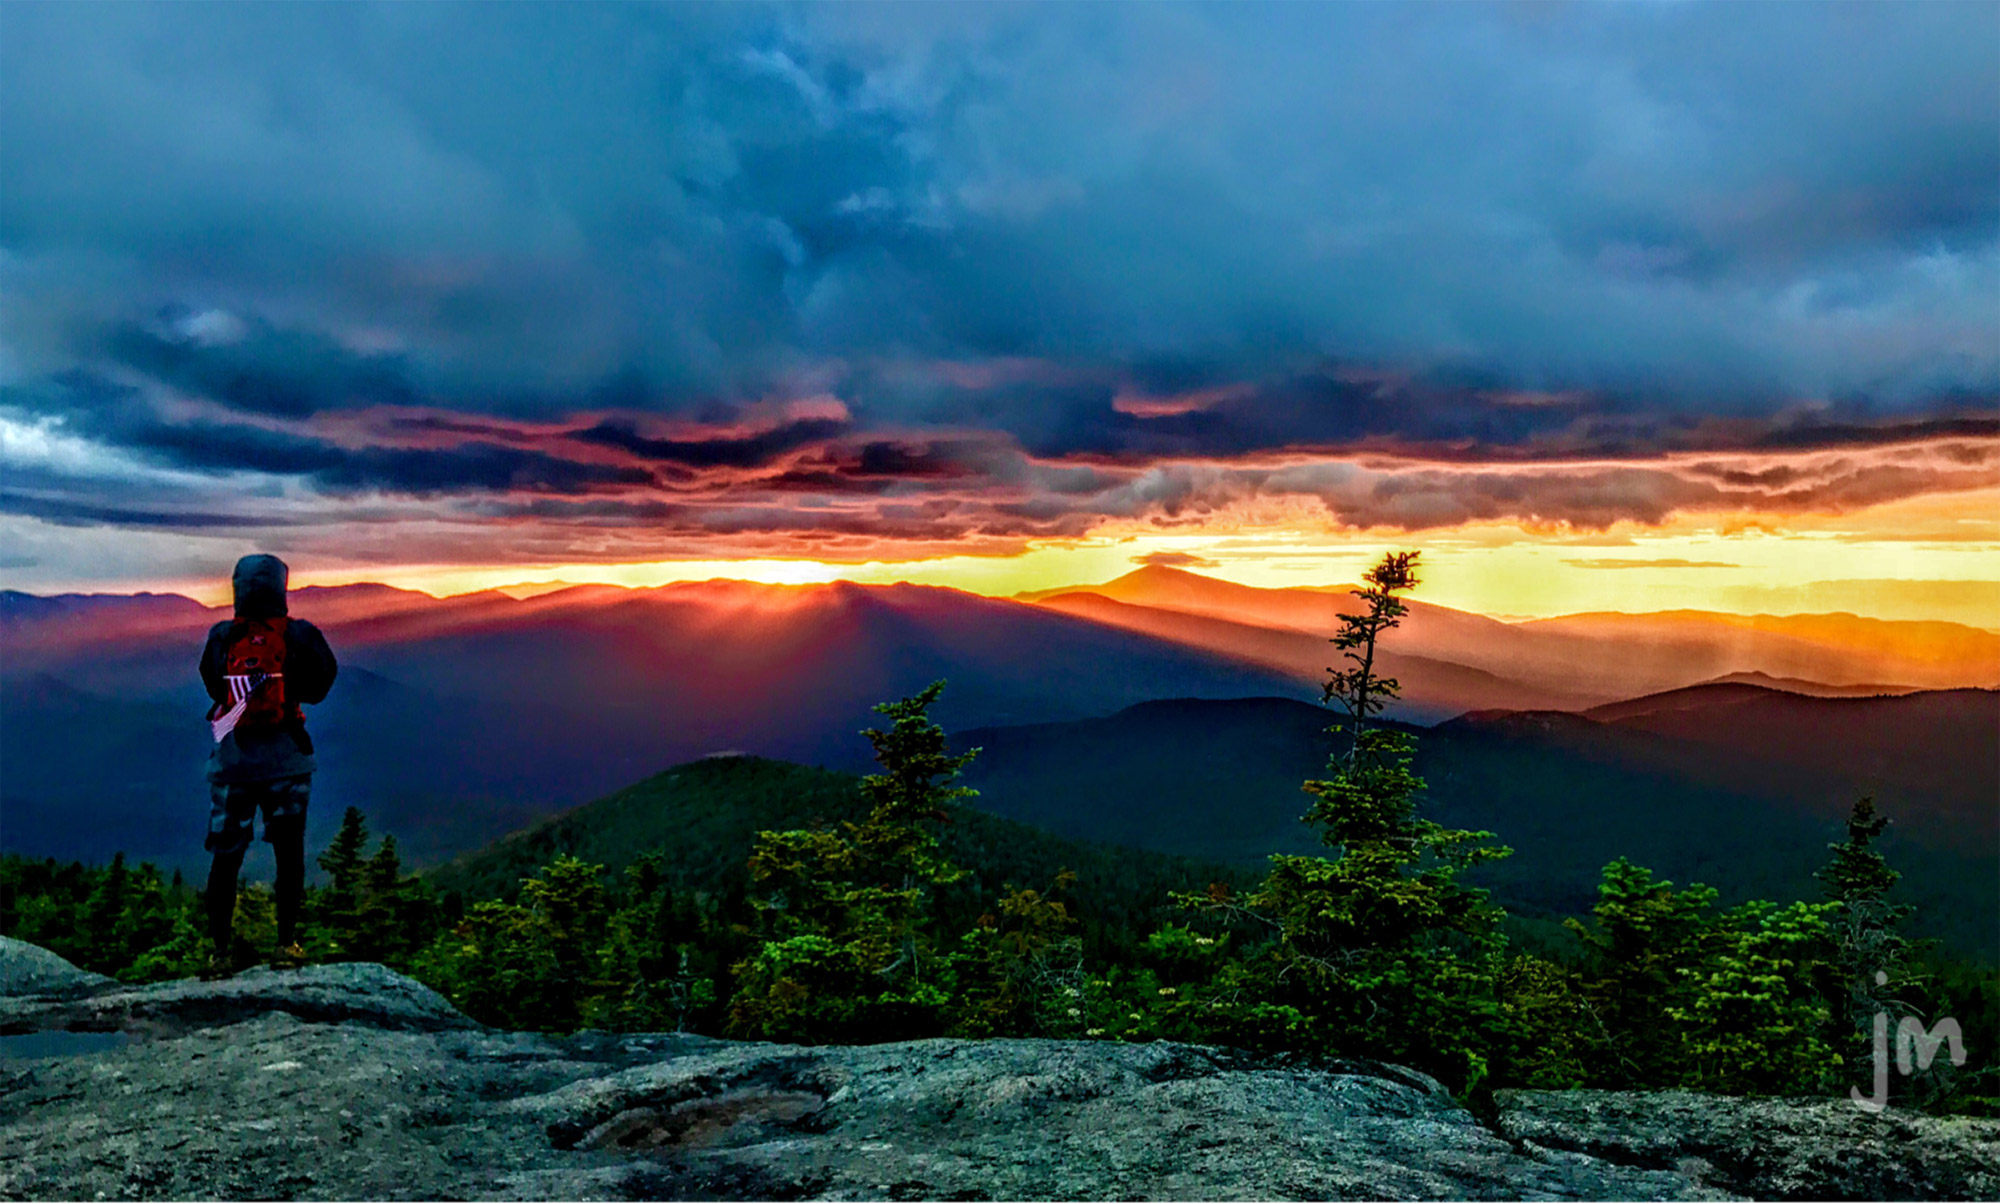
6. Don’t forget the foreground
Remember your rule of thirds. Breaking your view into three parts, both vertically and horizontally, and then using those imaginary lines to align items and frame your shot allow you to capture more aesthetically pleasing photographs.
Sunrises and sunsets are great for creating silhouetted shots of fellow hikers, photographers, and friends. Focusing on the sky behind your subject allows you to capture the beauty of the scene while adding your companion’s silhouette to an already-fantastic image.
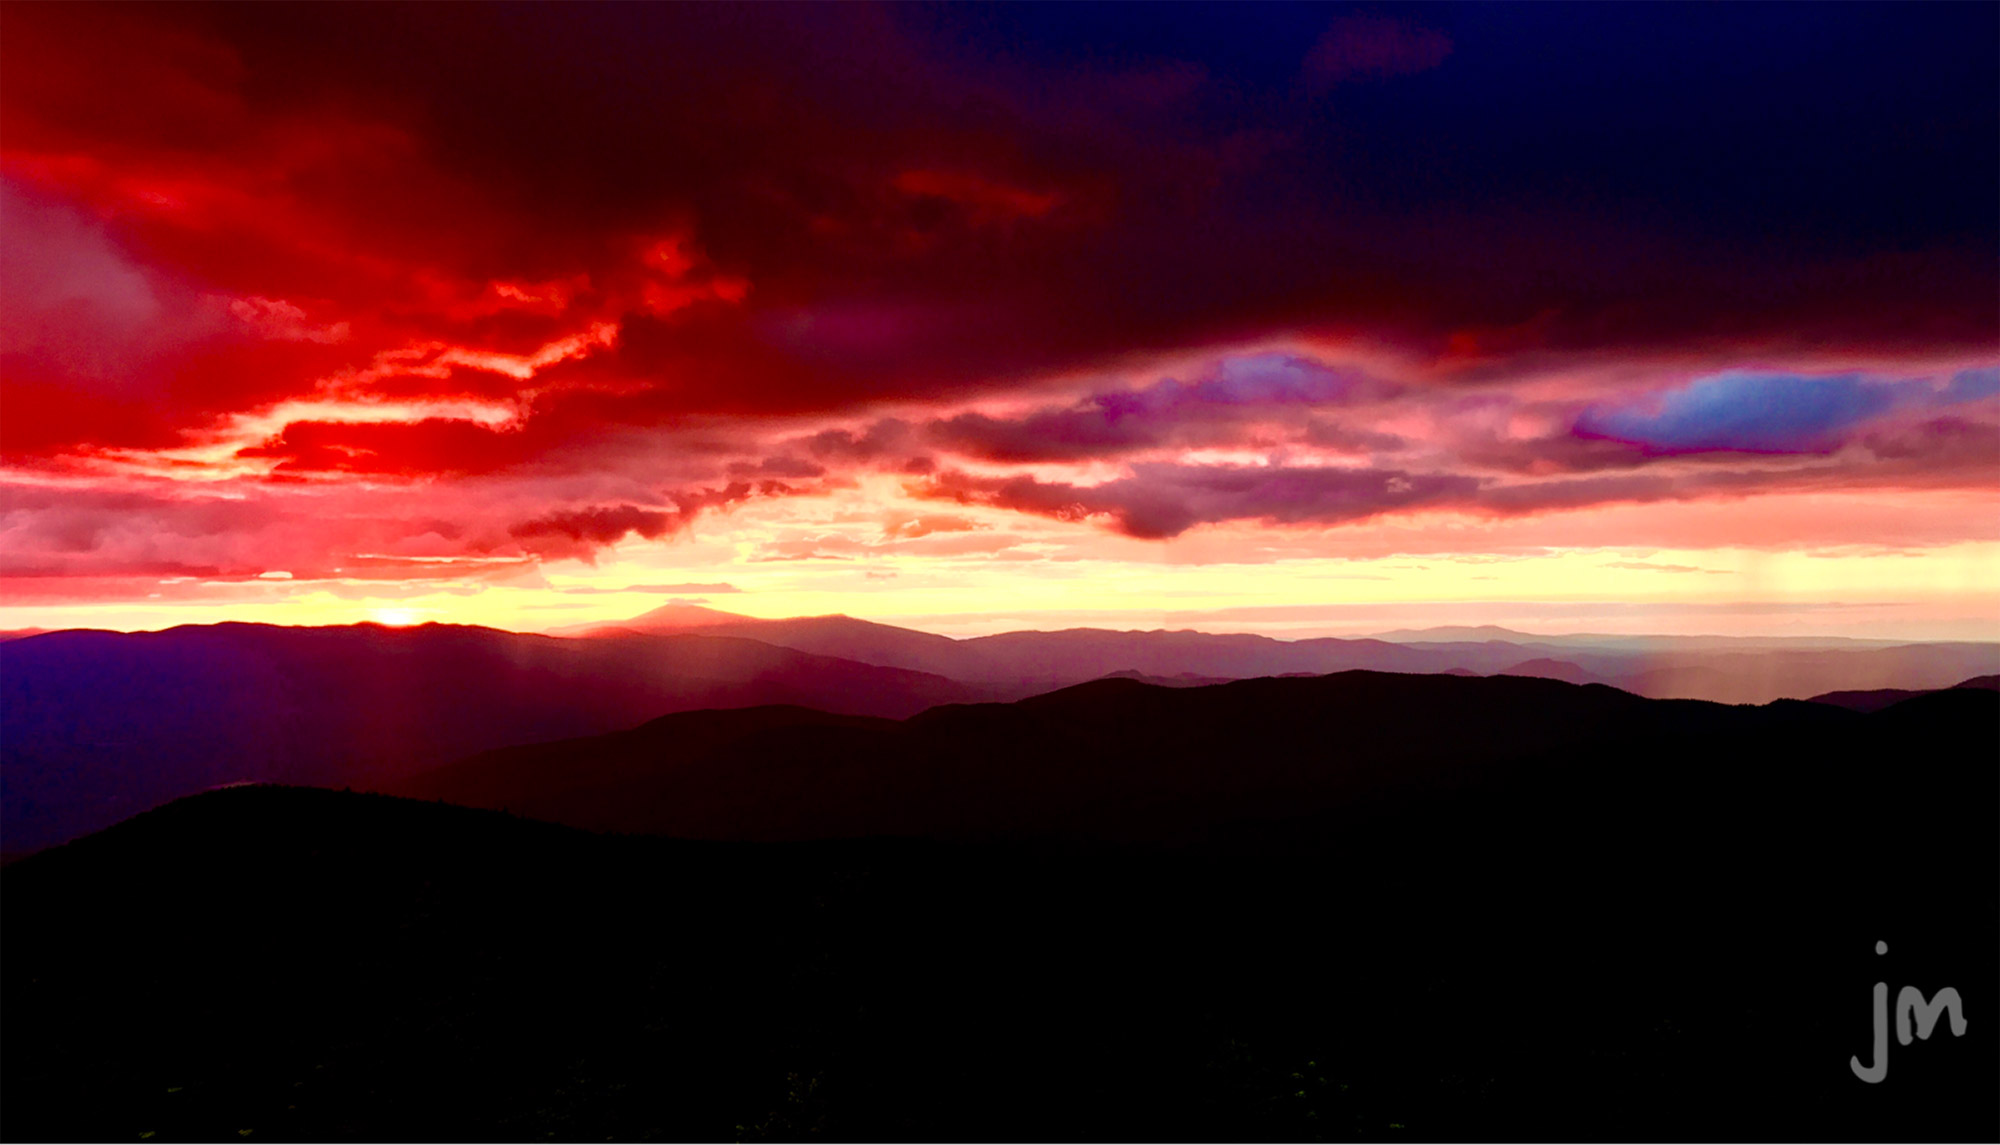
7. Keep the editing light
It’s important to try to keep editing to a minimum. While it’s very difficult to shoot a photograph that completely matches how your mind remembers the moment, slight adjustments to the image’s overall brightness and color can usually help you come close. Many times, people will want to increase the saturation quite a bit, but this typically results in an image that looks very unrealistic and not what you were originally going after.
All photos credit: Joshua Myers