For the last few years, I’ve been doing a lot of hiking, much of it solo and in the winter. Whether you’re hiking with a group or on your own, there are several key steps you can take to stay warm, dry, and ultimately safe on the trail. However, when solo hiking, the responsibility of your safety falls squarely on your shoulders, which brings to mind the old saying, hope for the best and plan for the worst.
The Challenge of Hiking Solo
The biggest challenge of solo hiking is that if something should happen, it’s up to you to either extricate yourself from the situation or request and facilitate help. No matter if you’re conducting a self-rescue or waiting for the cavalry to arrive, a few key pieces of gear can make the difference between triumph and tragedy.
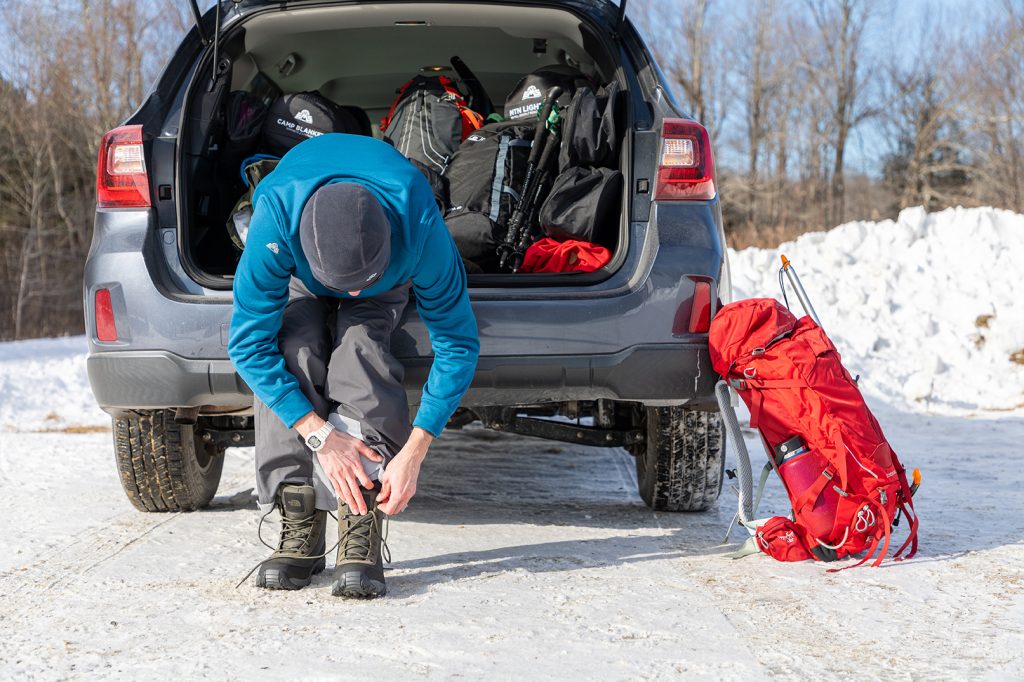
I hate to imagine being stuck in the woods and knowing that there was something that could make a dramatic difference if I hadn’t left it behind or decided against grabbing it the last time I was at an outdoor store. Because of this, before hitting the trail I always spend a few minutes to make sure I have the appropriate gear for the outing I’m preparing to undertake—taking extra care to ensure I carry the gear I need and leaving behind the stuff I don’t.
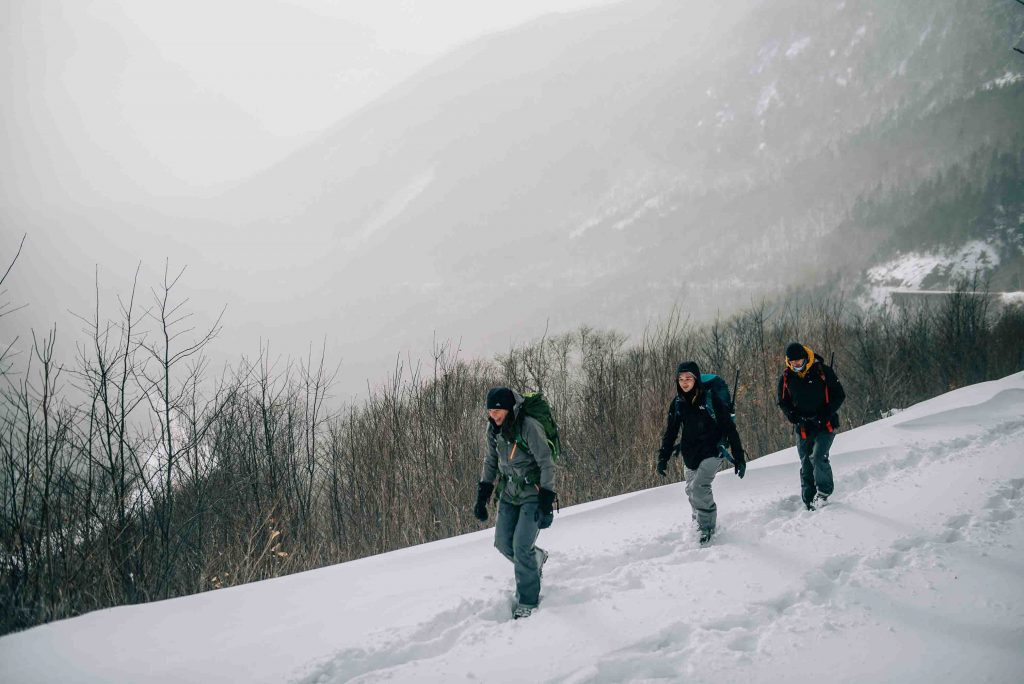
While solo hikers have the responsibility to carry all their own safety gear, those going in a group can split the burden. Just make sure to coordinate who is bringing/carrying what before hitting the trail.
10 Tips for Safe Winter Hiking
1. The Right Layers
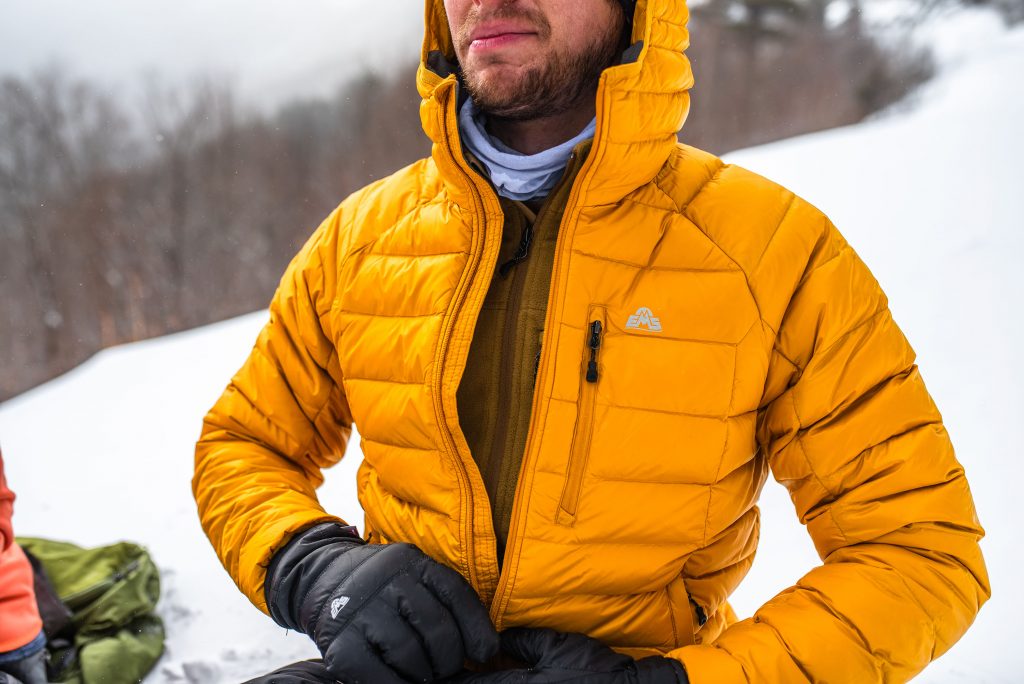
For me, a successful winter hike (which means coming home safe) begins with having the right layers. I always wear wicking, breathable layers and pack both a puffy coat and puffy pants. If the weather is colder than anticipated or I need to wait for help, those puffies are worth their weight in gold, much less the few extra ounces they add to my pack. I also make sure to carry a hardshell, which blocks both rain and wind.
2. Appropriate Accessories
I like to carry a variety of accessories, which allow me to adjust to changing conditions. I typically pack one or two extra pairs of gloves, usually a combination of something lighter and windproof with something heavier, warmer, and waterproof. I also pack a winter hat and neck gaiter.
3. First-Aid Kit
I carry a small first-aid kit with all the essentials for treating common injuries, including ibuprofen and aspirin along with an assortment of band-aids and bandages. I also have a SAM splint, a few ski straps, and some medical tape. In the summer, I also add an Epipen to my first-aid kit, since I’m allergic to bees—while not winter-specific, it’s a good illustration as to how I’m always tinkering with my kit so that it’s suited to whatever adventure I’m going on.
4. Other Equipment
I like to carry both a headlamp and a flashlight. It gets dark in the winter and the redundancy gives me peace of mind and options if I happen to get benighted. I also pack a small power bank, just in case I need to charge my phone, inReach, or headlamp. On cold-weather hikes, I make sure to have a few hand and foot warmers available—they’re a great morale boost on frigid days and awesome if you need to warm up quickly.
There’s always a pocket knife, either on my person or in my bag. A knife with both a serrated and flat edge is ideal. The serrated edge is useful for cutting rope or sawing small branches while the flat edge is great for everything from slicing food to cutting bandages.
Lastly, I carry a whistle. Lightweight, compact, and inexpensive, a safety whistle is invaluable if you need to call for help or signal to rescuers. It’s louder than shouting and won’t give out like your voice.
5. A Lighter or Firestarter
I always carry a lighter when winter hiking, just in case I need to start a fire. A lighter, along with a pocket knife and a little skill makes it easy to start a fire in the backcountry. A kit like the SOL Fire Lite Kit in Dry Bag makes it even easier if you don’t trust your ability to get one going au naturel.
6. Food and Water
Remember that while you might not feel as thirsty in frigid winter temperatures as you do in the blazing hot days of summer, cold, dry air strips the water from our bodies faster than warm, humid air. I opt for a water bottle(s), rather than a hydration bladder in the winter. They’re less likely to freeze and more versatile. If I need to heat water, it’s much easier to use a bottle. Empty water bottles also provide excellent storage, particularly for electronic and personal items you want to keep dry in a pinch.
You burn a lot of calories in the winter—you’re not only fueling your adventure but also your inner furnace. The colder it is, the more calories you burn to stay warm. Sugary high-calorie foods are a simple way to boost energy and heat. High-tech foods like gels and chews work great. So do low-tech options like candy from the checkout aisle of the supermarket. Whatever you choose, pack foods that won’t freeze and store them close to your body.
7. Sleep System
Whenever I’m winter hiking, I pack a small emergency shelter to overnight in, just in case. An ultralight tarp offers shelter from heat-sucking snow, wind, and rain and can be mounted in a variety of configurations using everything from trekking poles to tree branches. A tarp can also protect you and another person, you and your gear, or you and your four-legged hiking buddy.
8. Have a Plan, Share It, and Stay In Touch
Whether I’m going out for a two-hour loop on my local trails or heading north to bag a 4,000-footer, I make sure to let someone know where I’m going, what I’m doing, when to expect me back, and how to contact me—whether it’s through my cell phone or inReach. This way, if anything goes sideways and I can’t be contacted, rescuers have a headstart on finding me. In an emergency, even minutes saved can be the difference between triumph and tragedy. This is even more true in the winter.
9. Know the Lay of the Land
Apps like Gaia or having a photo of a map on your phone are handy for negotiating new and old trails alike. Of course, that presumes your phone is working. Cold weather shortens the life of batteries, like those found in your phone. I always try to pack a paper map or grab one at the trailhead (if one is available) before hitting the trail. Not only is knowing where you are helpful but having specific trail names can save your life if you need to direct rescuers to your location. Plus, if you don’t use it, they make great keepsakes.
10. Practice Makes Perfect
Your winter hiking kit—from the layers you wear to the gear you carry—should evolve as you gain experience. After a hike, reflect on what worked, what didn’t, and what you can improve upon. Test your kit in a variety of conditions to gain a better understanding of how everything performs and look for unnecessary items to trim.
I remember in my younger days as an EMS employee being wowed by the new jackets, shirts, and pants I unboxed and saw my favorite athletes wearing in videos and magazines. At the time, I bought, carried, and used that gear, never realizing that the three-layer Gore-Tex coat an alpinist was using in the Himalayas might be overkill (expensive, heavy, not very packable) for the specific activities I was doing at the time.
What Works For You
In the end, find what works for your winter hiking and continue to refine your system as you gain experience. I’m once again reminded of the saying hope for the best, plan for the worst, or perhaps better said is hope for the best, plan to keep yourself safe.
Related Posts