


Challenge yourself on one of the Northeast’s most classic mountaineering routes and nab a winter ascent of the tallest peak in the region.
Mount Washington is the pinnacle of winter mountaineering in the Northeast, and the Lion Head Winter Route is the trail of choice for many looking to summit this iconic peak. Everything from the route’s steep, icy terrain to the mountain’s notorious “worst weather in the world” will challenge mountaineers. Depending on the day, you could find yourself huddling behind one of the summit’s buildings, trying to escape the wind, or proudly posing in front of the summit sign while taking in grand views of the Presidential Range.
Quick Facts
Distance: 8.2 miles, out-and-back
Time to Complete: 1 day
Difficulty: ★★★★
Scenery:★★★★★
Turn-By-Turn
Getting There
Parking for the Lion Head Winter Route is at the Appalachian Mountain Club’s Pinkham Notch Visitor Center in Pinkham’s Grant, just north of Jackson on Route 16. It’s about a 25-minute drive from North Conway or Gorham.
Gearing Up
The Pinkham Notch Visitor Center is a great place to get ready. The gear room in the basement has tables and benches that are perfect for getting organized, tying your boots, and doing last-minute gear checks. It also has bathrooms and a water fountain, and you can purchase snacks and meals upstairs.
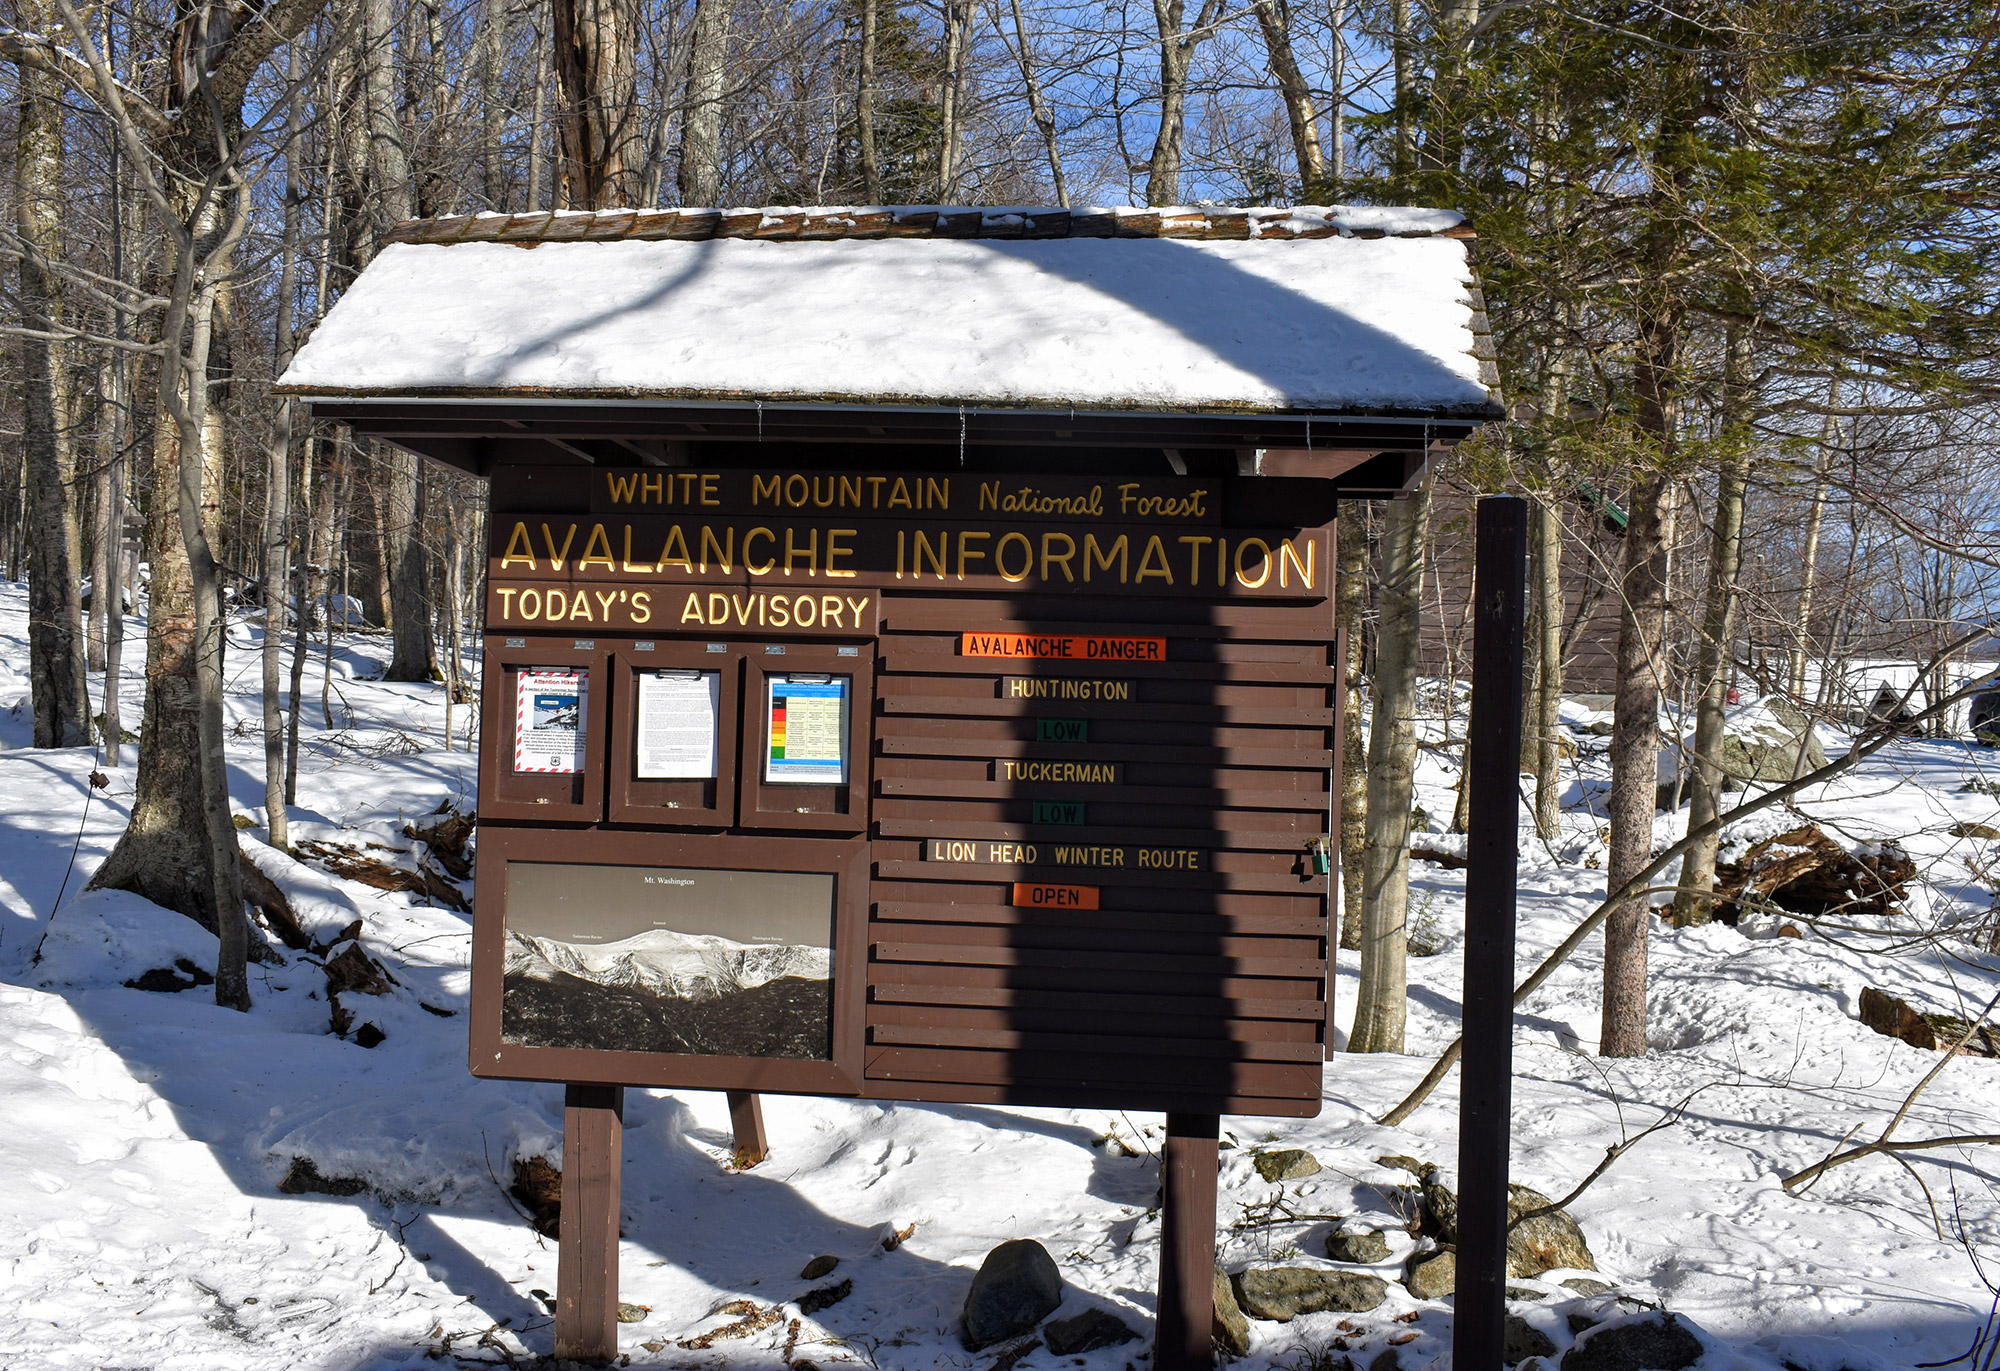
Equally important, the AMC posts the Mount Washington Observatory’s daily High Summits Forecast and the Mount Washington Avalanche Center’s daily avalanche forecast on a cork board in the visitor center’s basement. Make sure to read both! While you’re there sign the winter hiker register too.
Starting Out
To get on the trail, leave the basement and follow the sidewalk toward the Pinkham Notch Visitor Center’s main entrance. Continue past the entrance and around the back of the building to the large sign marking the beginning of the Tuckerman Ravine Trail, which you’ll take for the first 1.7 miles and more than 1,000 feet of elevation.
The easy-to-follow Tuckerman Ravine Trail begins as a very rocky dirt road and is wide enough to allow side-by-side hiking. Depending on the weather, trail conditions range from ice-covered rocks to packed snow. In most cases, starting in MICROspikes is a good idea.
From the Visitor Center, the trail is moderate for the first few minutes and then begins to climb consistently. As it climbs, an occasional path cuts off to the left, heading over to the Sherburne Ski Trail. A bit higher up there is also a signed cutoff to the right for the Huntington Ravine Trail. Hikers should ignore all of the cutoffs.
Trees protect this portion of the trail, keeping the wind and wind chill at bay. Although the trees limit the views—especially compared to the awesome ones you’ll get once you’re above treeline—the Tuckerman Ravine Trail does pass a few scenic spots as it climbs out of the valley. The most notable are the two bridges that cross the Ellis River and the Cutler River and the waterfall—or icicle, in this case—Crystal Cascade. It might be tempting to dig out the camera, but don’t stop—you have a long way to go, and the days are short this time of year.
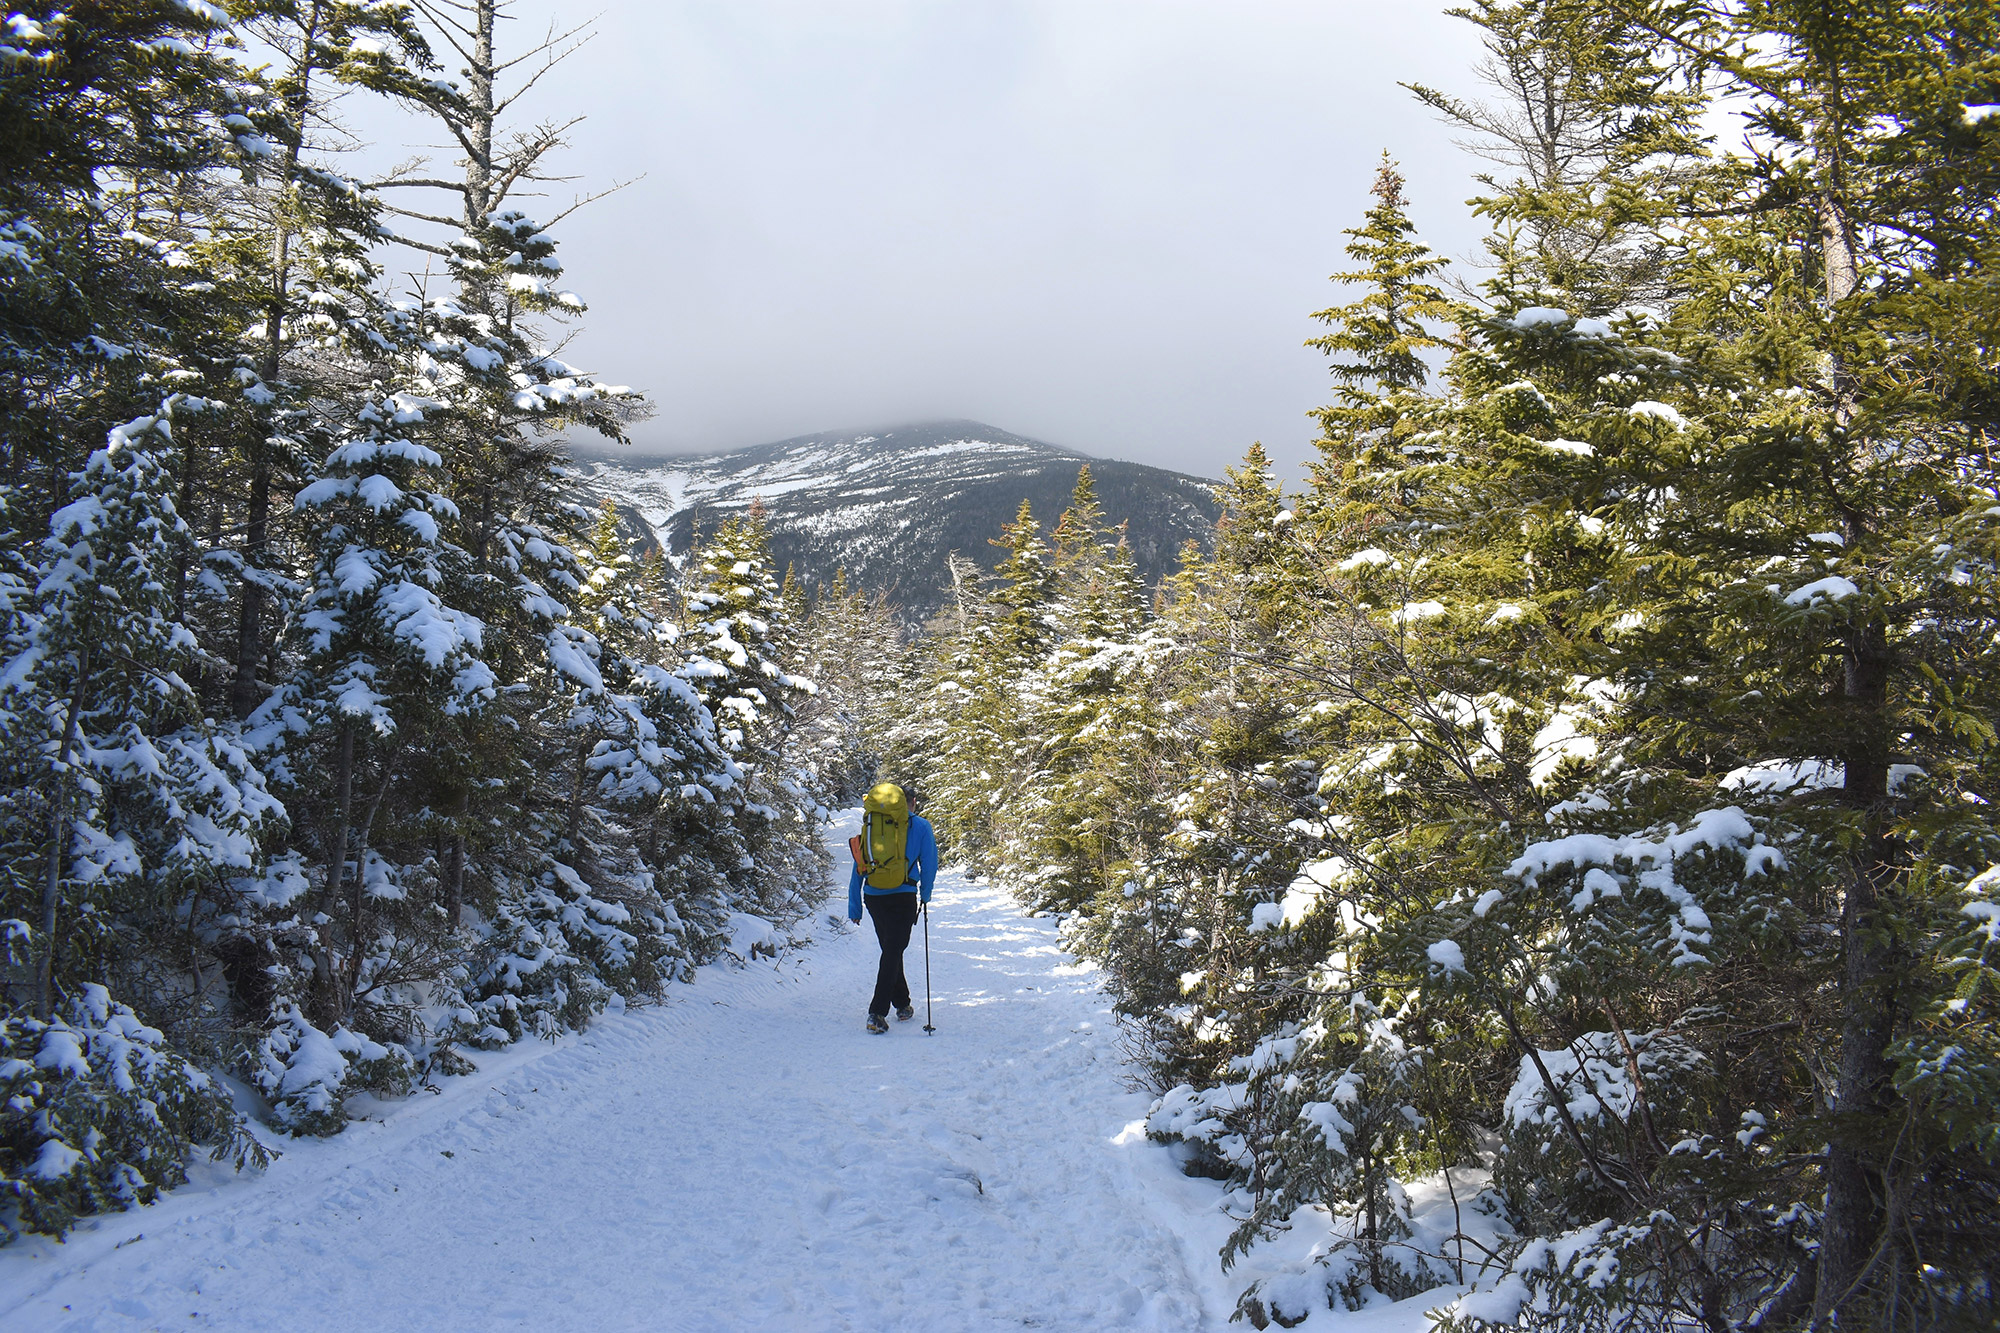
If the weather permits, you’ll also get a preview of the Lion Head as you move up the Tuckerman Ravine Trail, giving you an appreciation for the route’s expansive scale and how much distance you have left to travel.
The Cut Off
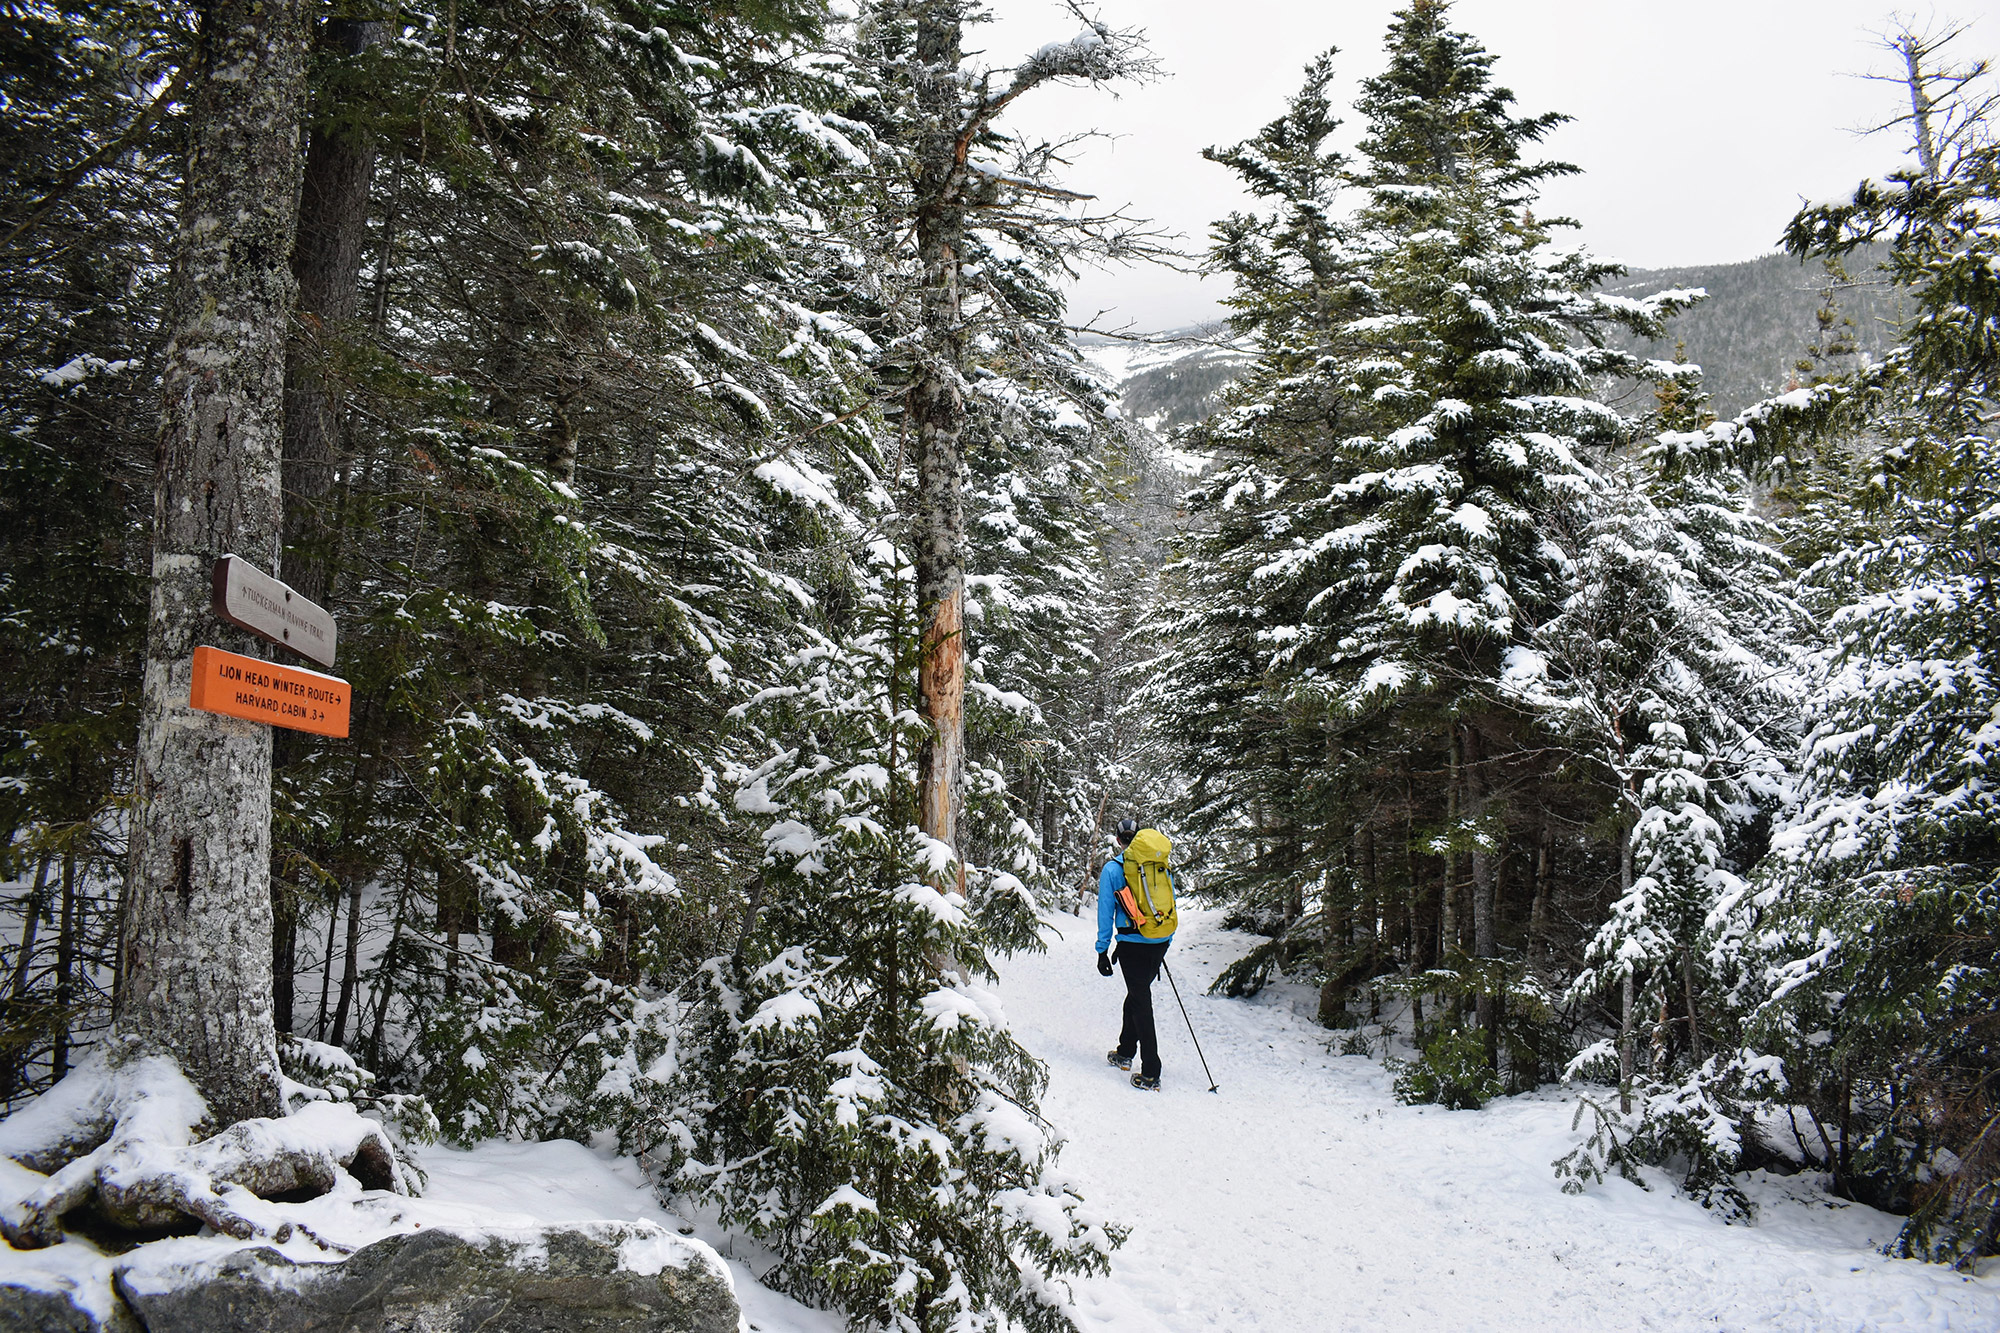
After about 1.7 miles, the junction with the Huntington Ravine Fire Road is on the right. The junction is well-marked, with a sign pointing toward the base of the Lion Head Winter Route. The wide, flat fire road makes for easy hiking. Take it a short distance to a junction. Look for a rescue cache on the trail’s opposite side for confirmation.
The flat area at the Winter Route’s base is a great spot to grab some food and water and add a layer. Most people also put their crampons on here and get their ice axes out.
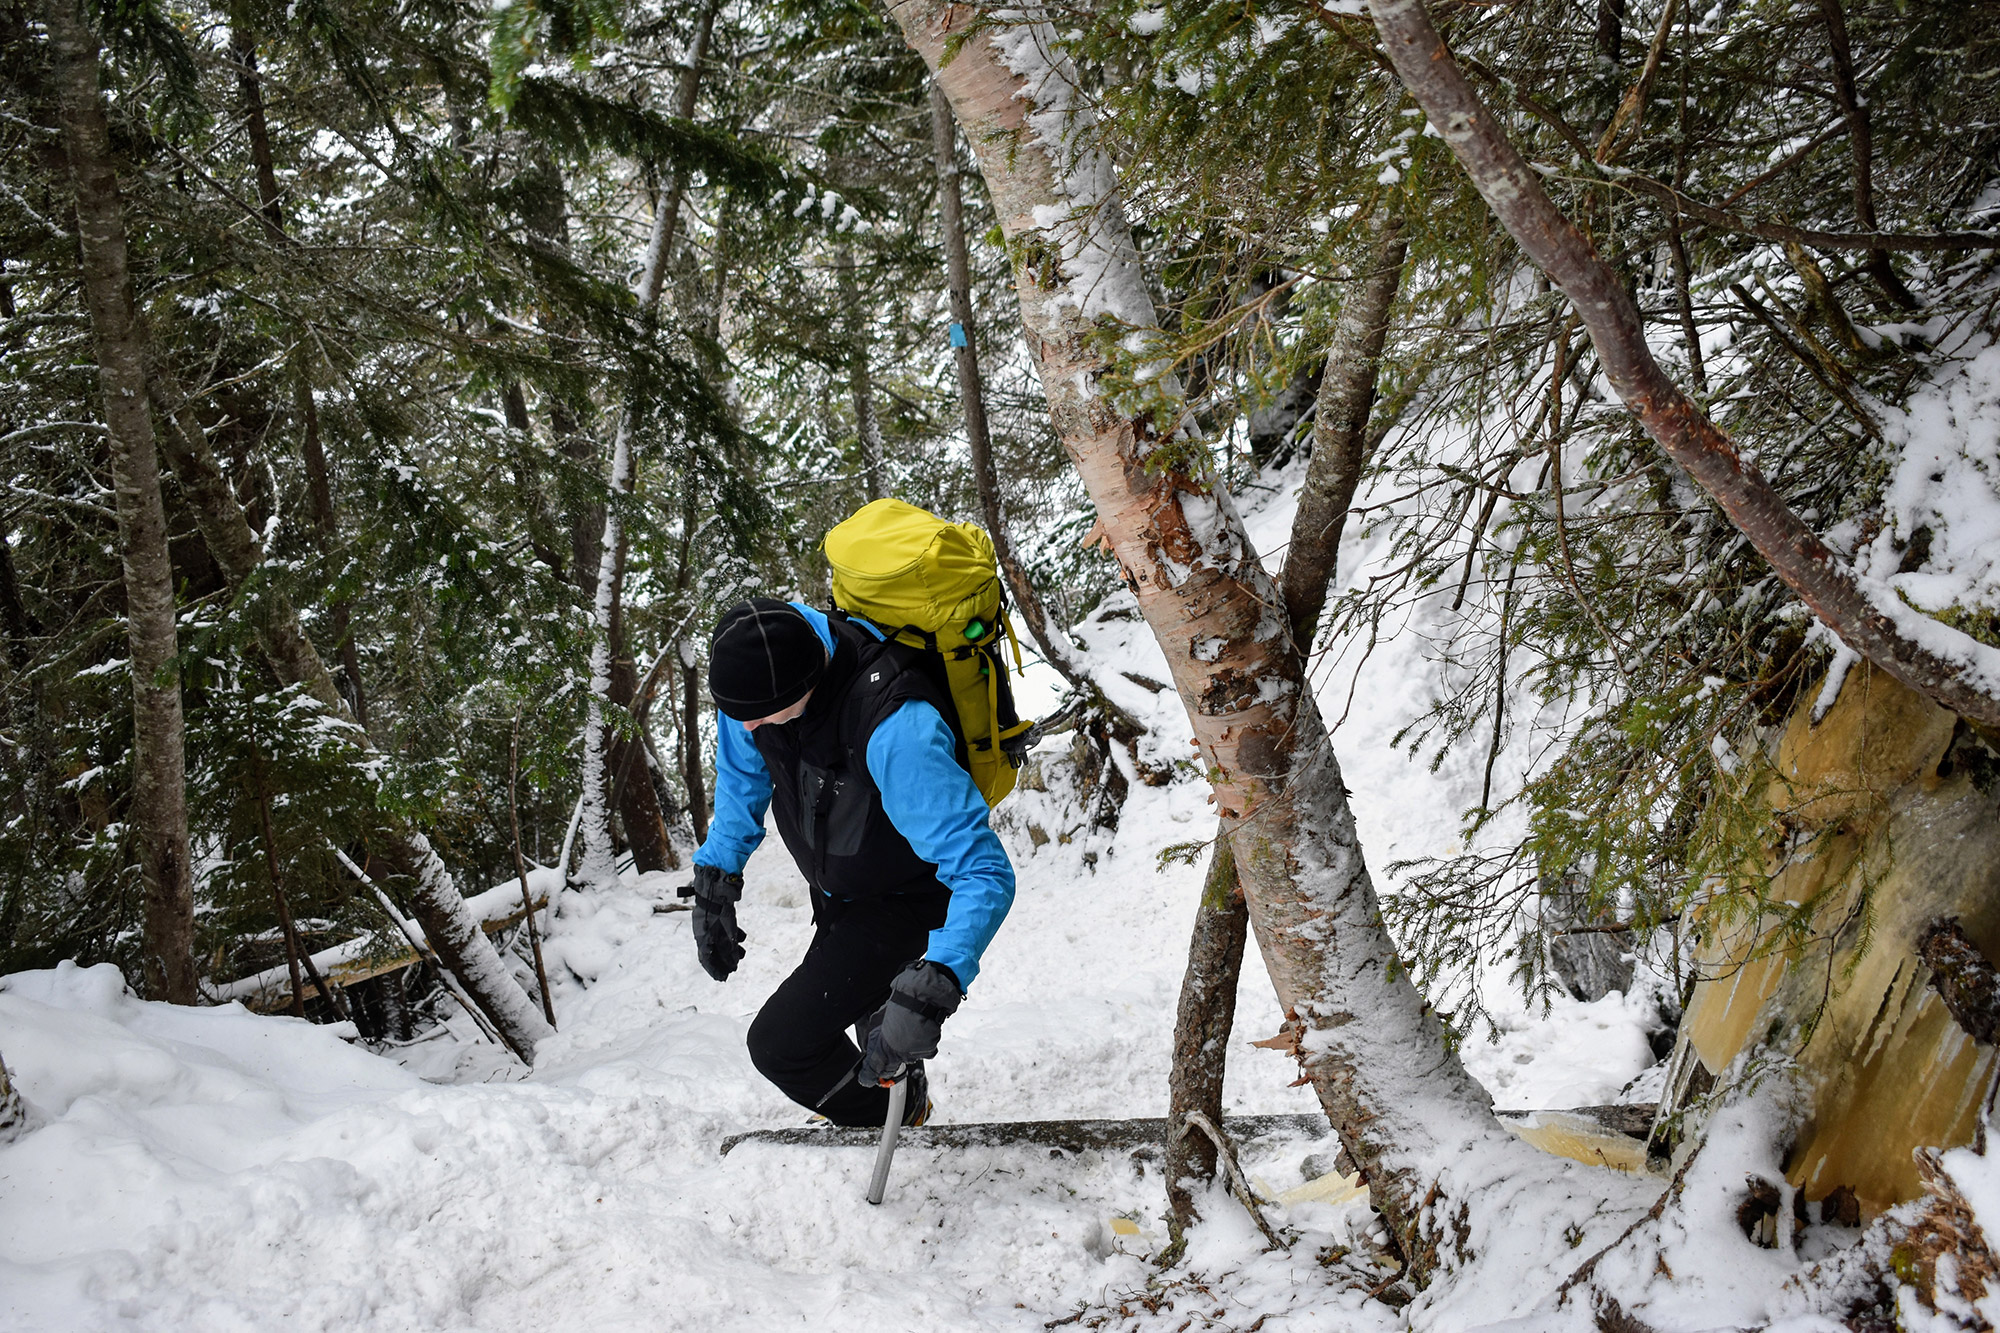
The Rock Step
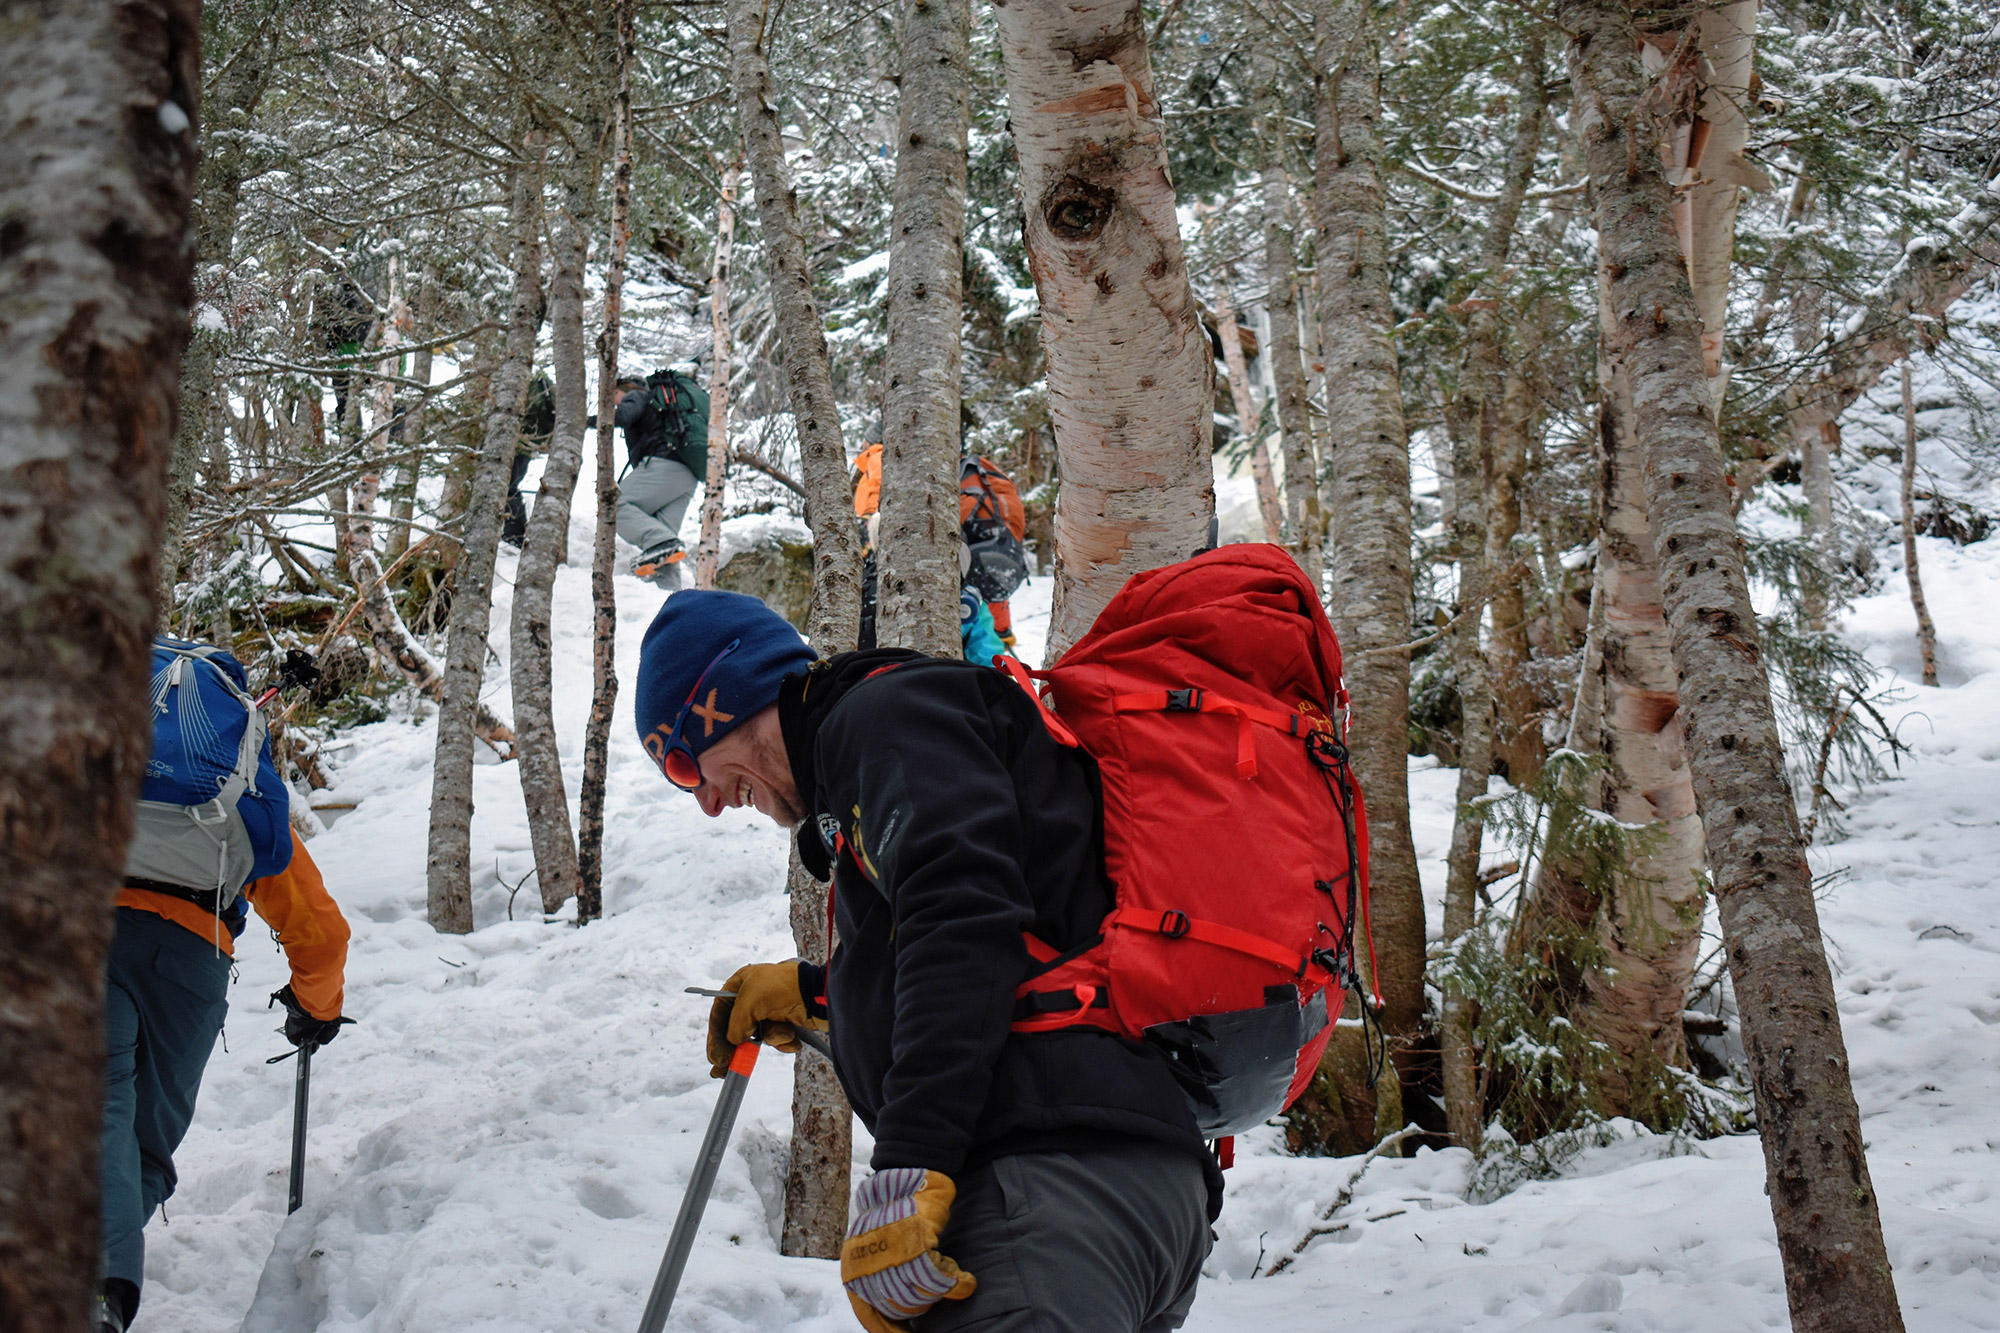
The steeps on the Lion Head Winter Route come pretty quickly. Climbing along a tree-lined trail, the route gains almost 1,800 feet in elevation.
While most of the climbing is on steep snow, there is a short, 30-foot, rocky section near the beginning of the steep that has some exposure. Almost all the guided parties carry a short section of rope to use as a hand line, but in deeper snow conditions, it is unnecessary if you are comfortable climbing in crampons.
Pro Tip: The Lion Head Winter Route is the Whites’ most popular guided winter route, and there is sometimes a bottleneck at the rock step. So that you can maintain your pace, try to stay ahead of guided groups, if you see them gearing up at the base.
Above the rock step, there are a few more short, exposed sections where careful cramponing is required and a handline can add a measure of security. Like the lower rock step, these sections can be challenging in low snow conditions.
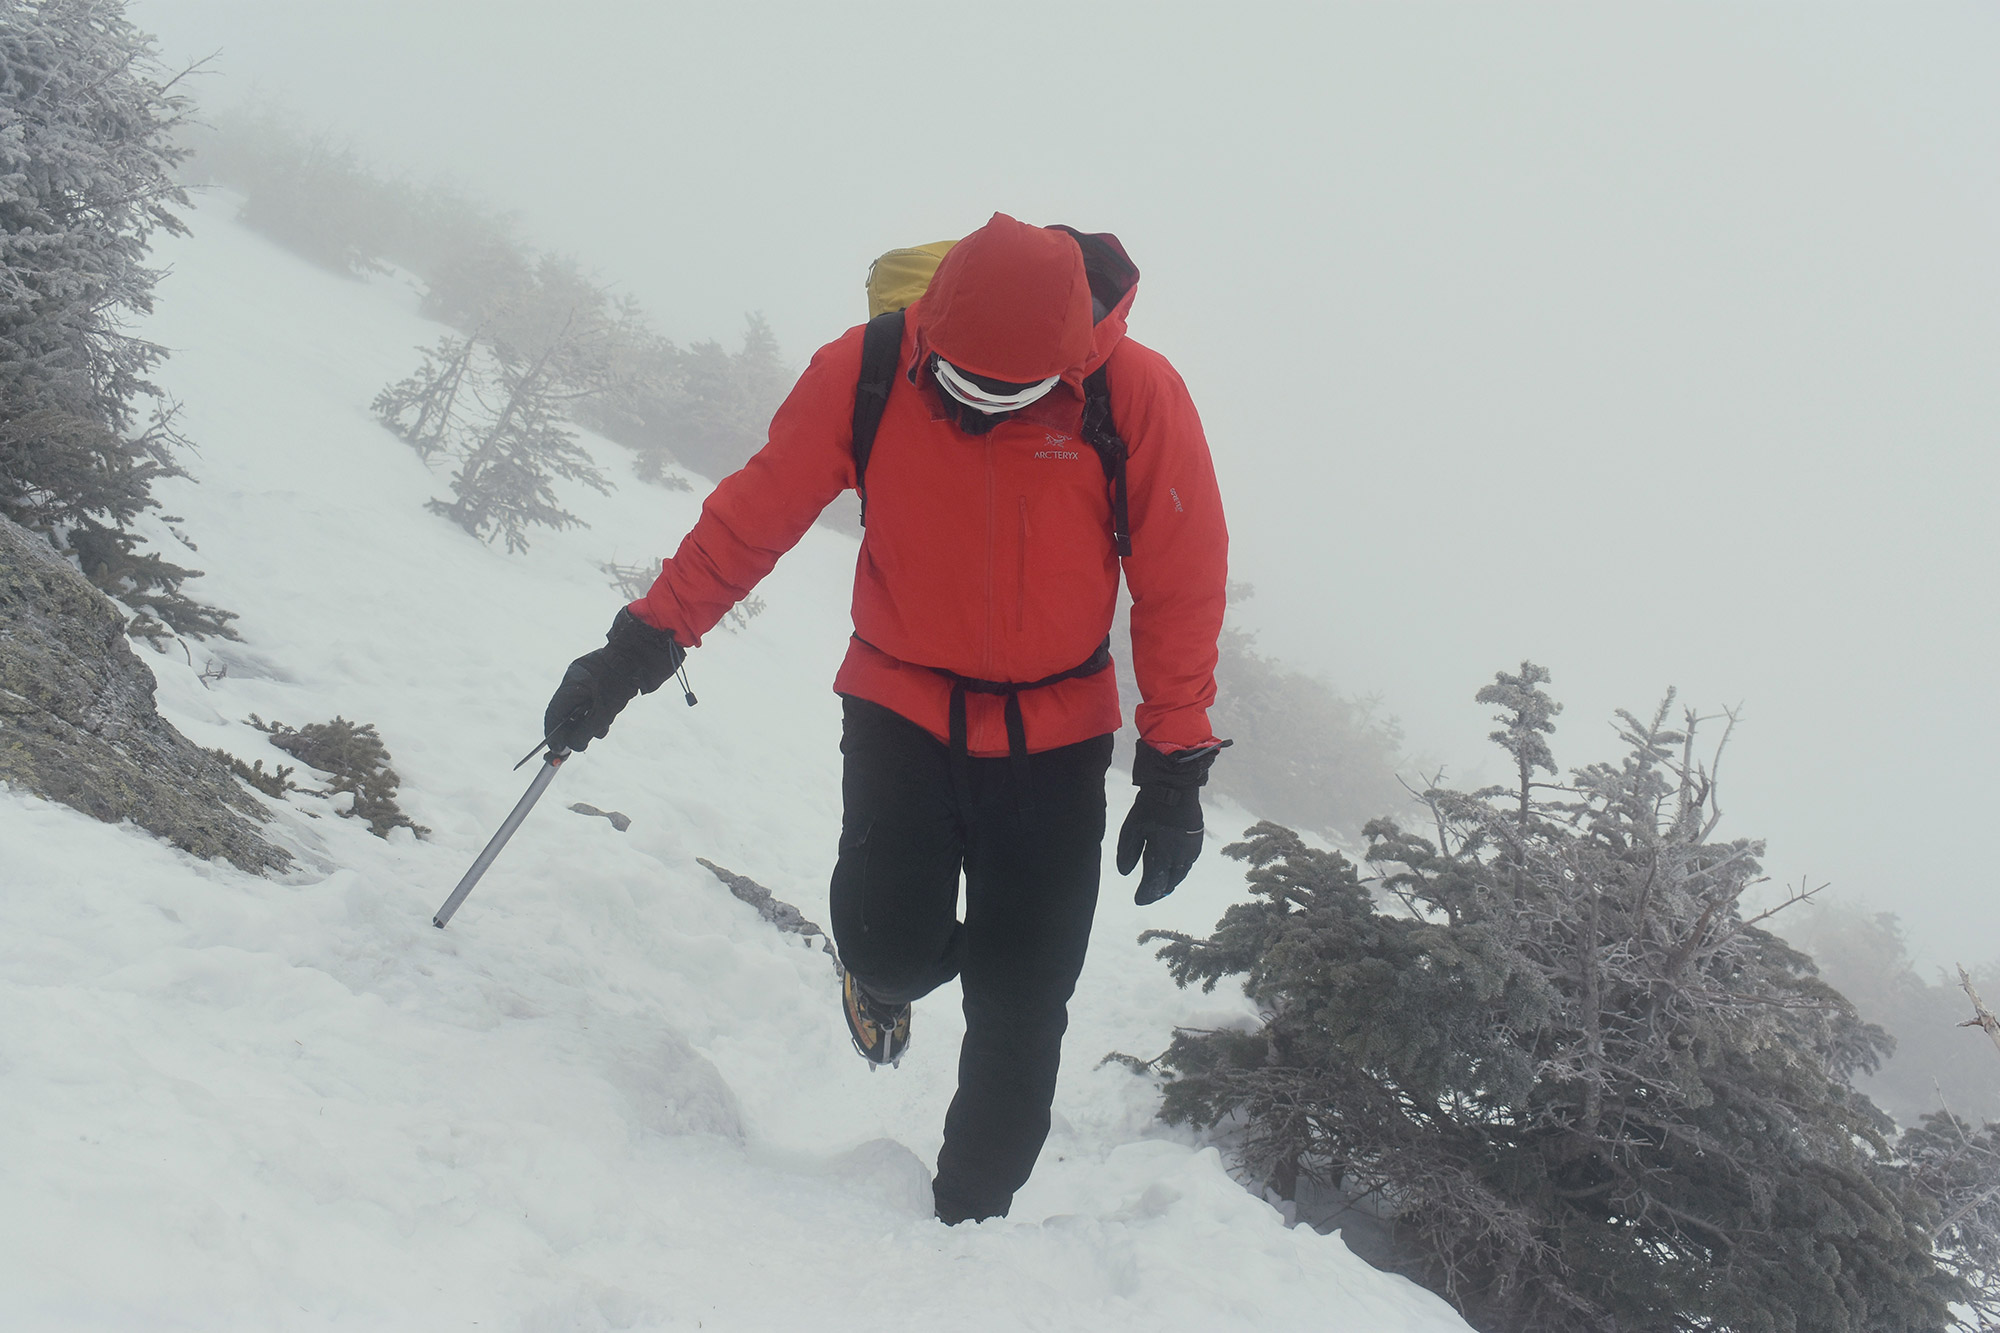
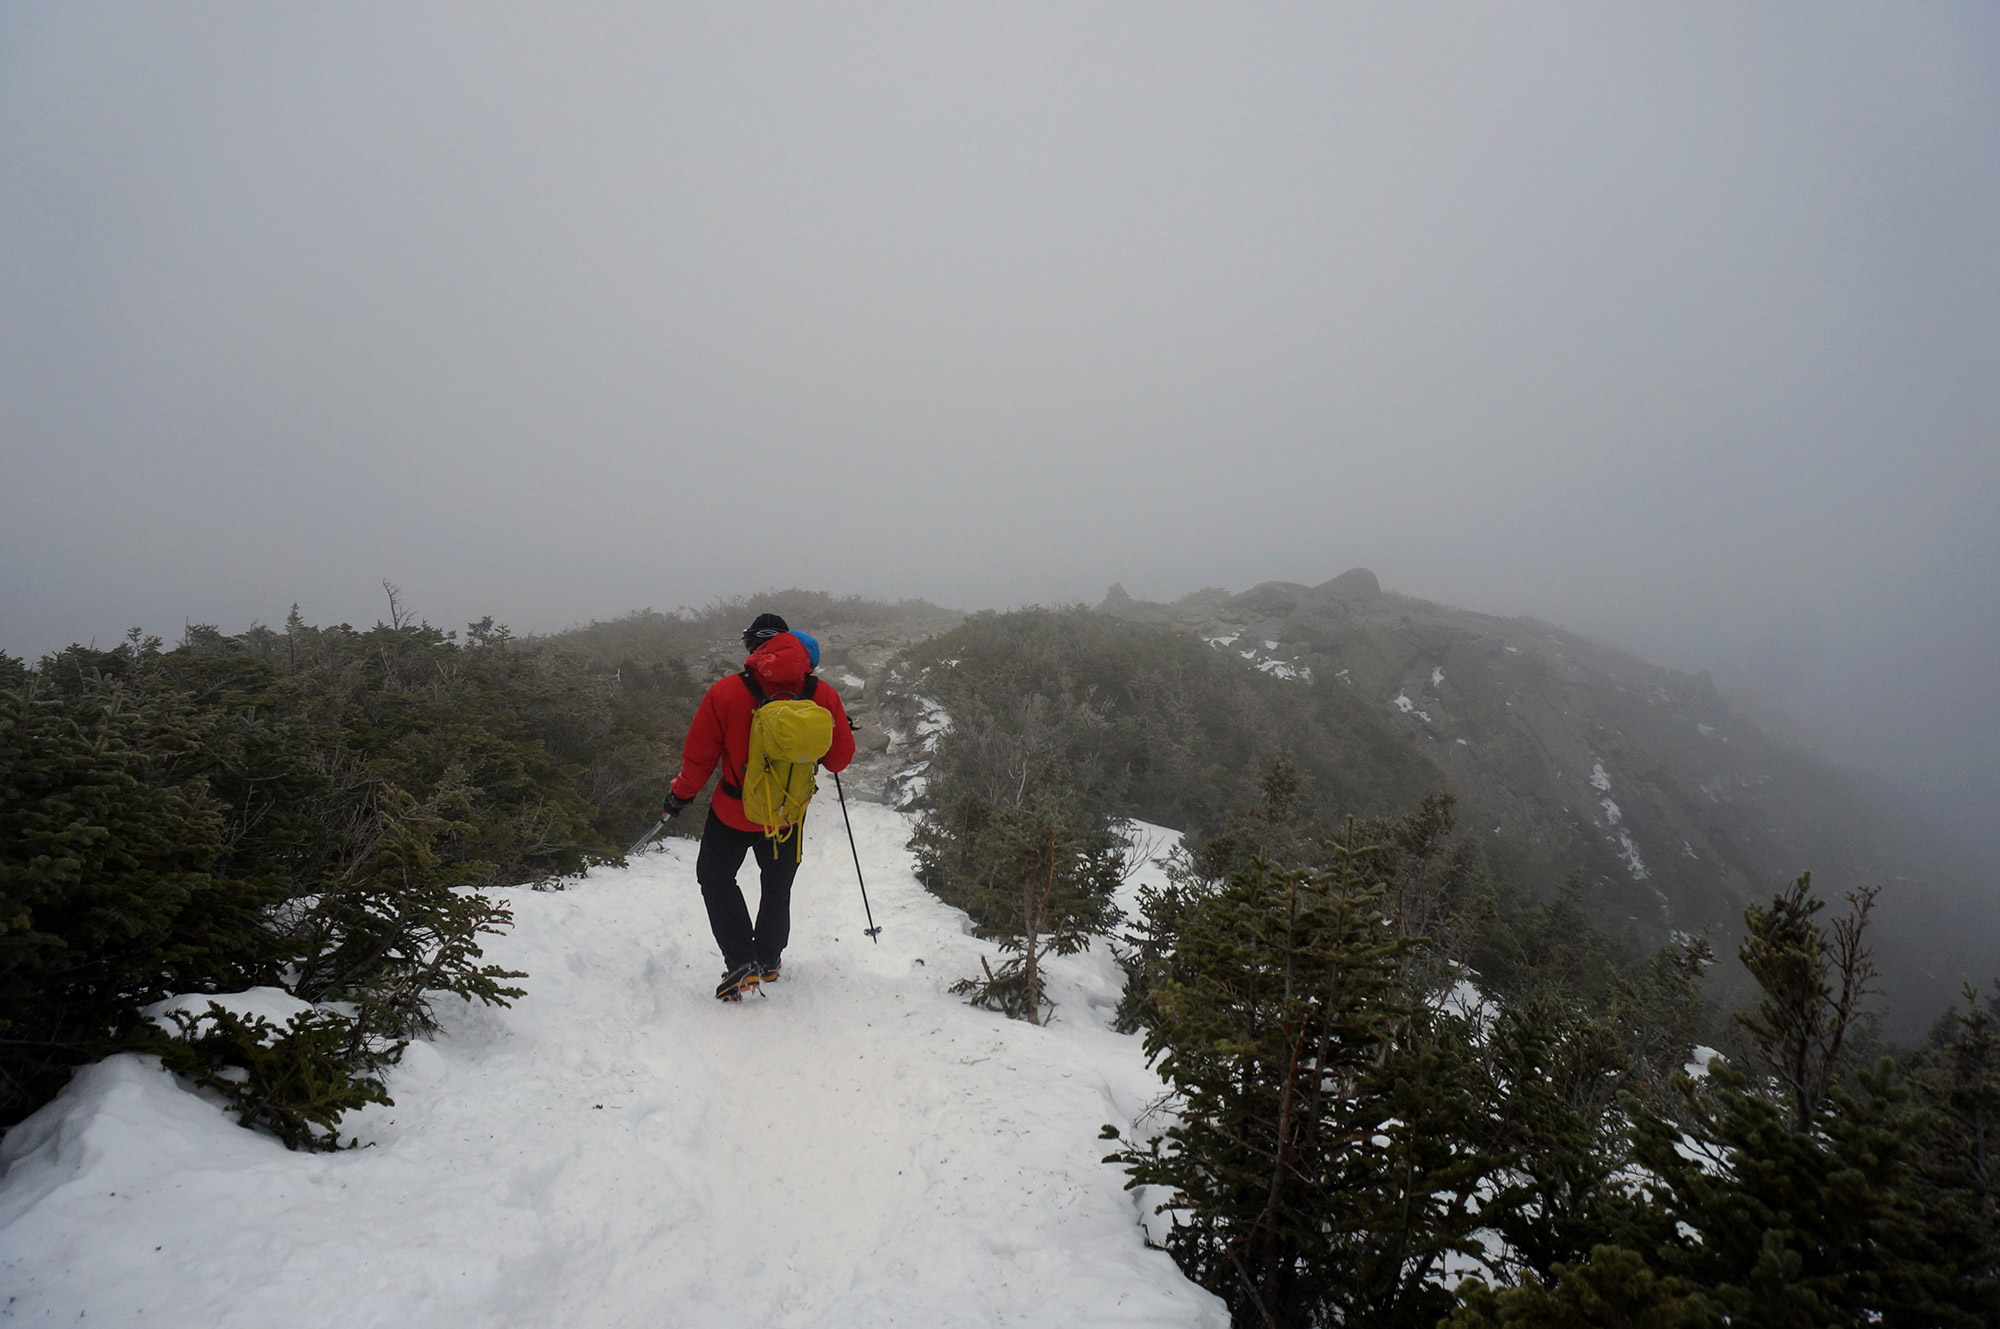
The route continues to climb after the exposed sections, staying in the trees until it eventually breaks treeline. Around treeline, you’ll find numerous spots along the side of the trail to take a break and enjoy the excellent view of the Wildcat Mountain Ski Area across the notch. Since you’ll be fully exposed to the wind from here on, now is a great time to don your above-treeline gear. On windy days, remember full-face protection, including goggles.
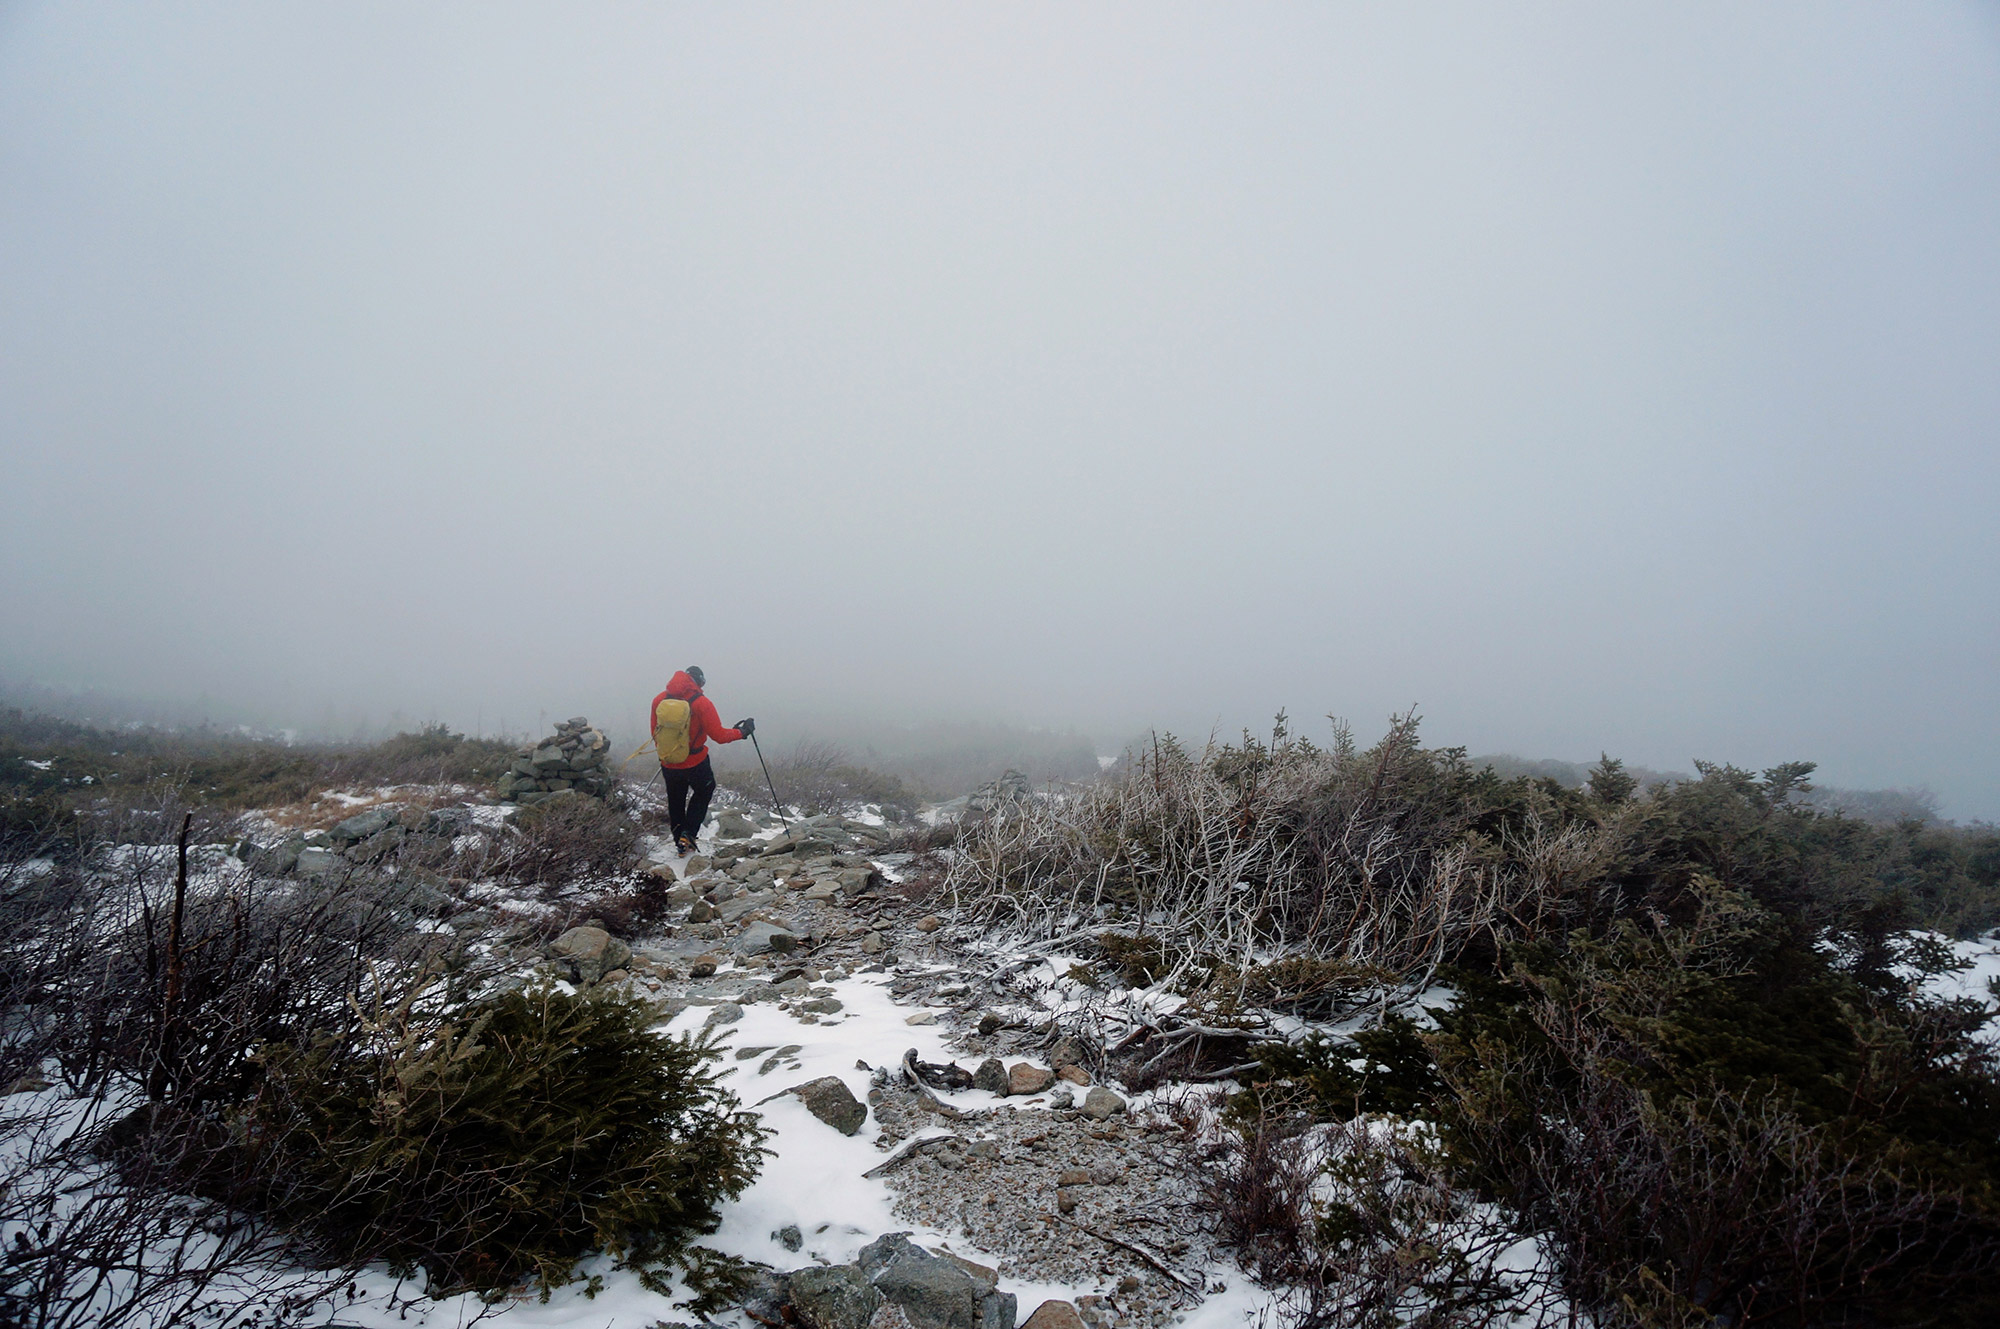
Lion Head
From treeline, the trail continues up over open, rocky terrain toward Lion Head proper. As you climb, you’ll probably feel the wind speed increasing. Keep your eyes peeled for another steep and exposed section just before the Lion Head. It’s easy, but you don’t want to fall.
As you approach the Lion Head, you should evaluate the weather, the wind, and your group’s motivation. If the wind’s too strong, the weather’s getting worse, or it has taken longer to get here than anticipated, this is a good place to turn around without significant consequences. The several windbreaks around the Lion Head afford a nice opportunity to take a break.
Crossing the Alpine Garden
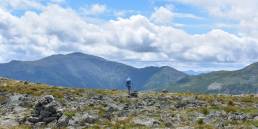
Above the Lion Head, the trail continues along the edge of Tuckerman Ravine, crossing the Alpine Garden. If it’s a nice day, enjoy the view of the ravine in all its splendor. But don’t get sucked too far left, especially if it’s windy—you don’t want to get blown in!
This section is likely to be one of the hike’s windiest segments. Since the trail here is mostly flat, it’s a great idea to hustle across as quickly as possible. The prevailing wind is west to northwest; so once you are in the shadow of the summit cone, you’ll likely get a brief reprieve.
After a short time, the trail intersects with the Alpine Garden Trail. Some scrub here makes a passable windbreak, but you’ll probably want to keep going. From the junction, continue on the Lion Head Trail.
Split Rock
The trail begins climbing again after the junction, crossing a couple of open snowfields on the way toward Split Rock. Since there are few landmarks here, route finding is critical. Moreover, in certain conditions the consequences of a sliding fall on this section are significant, so make sure you have your crampons on and ice axe ready.
Split Rock is easily identifiable: as the name implies, it’s a large boulder that is split in half. Split Rock is also the last place that offers passable protection from the weather before you reach the summit. Many parties choose to take advantage of this flat-ish area and windbreak to grab a snack, make a final determination of the weather, and prepare for their summit push before following the trail through the boulder itself. Once you’re ready, the next junction is just a few minutes ahead.
The Summit Cone
The Lion Head Trail traverses west for a short way before connecting with the Tuckerman Ravine Trail at a large cairn. From here, turn right and follow the cairns uphill on the final 0.4 miles to the top. Frequently, this section provides a respite from the wind. Enjoy the break; the wind will only increase as you near the top.
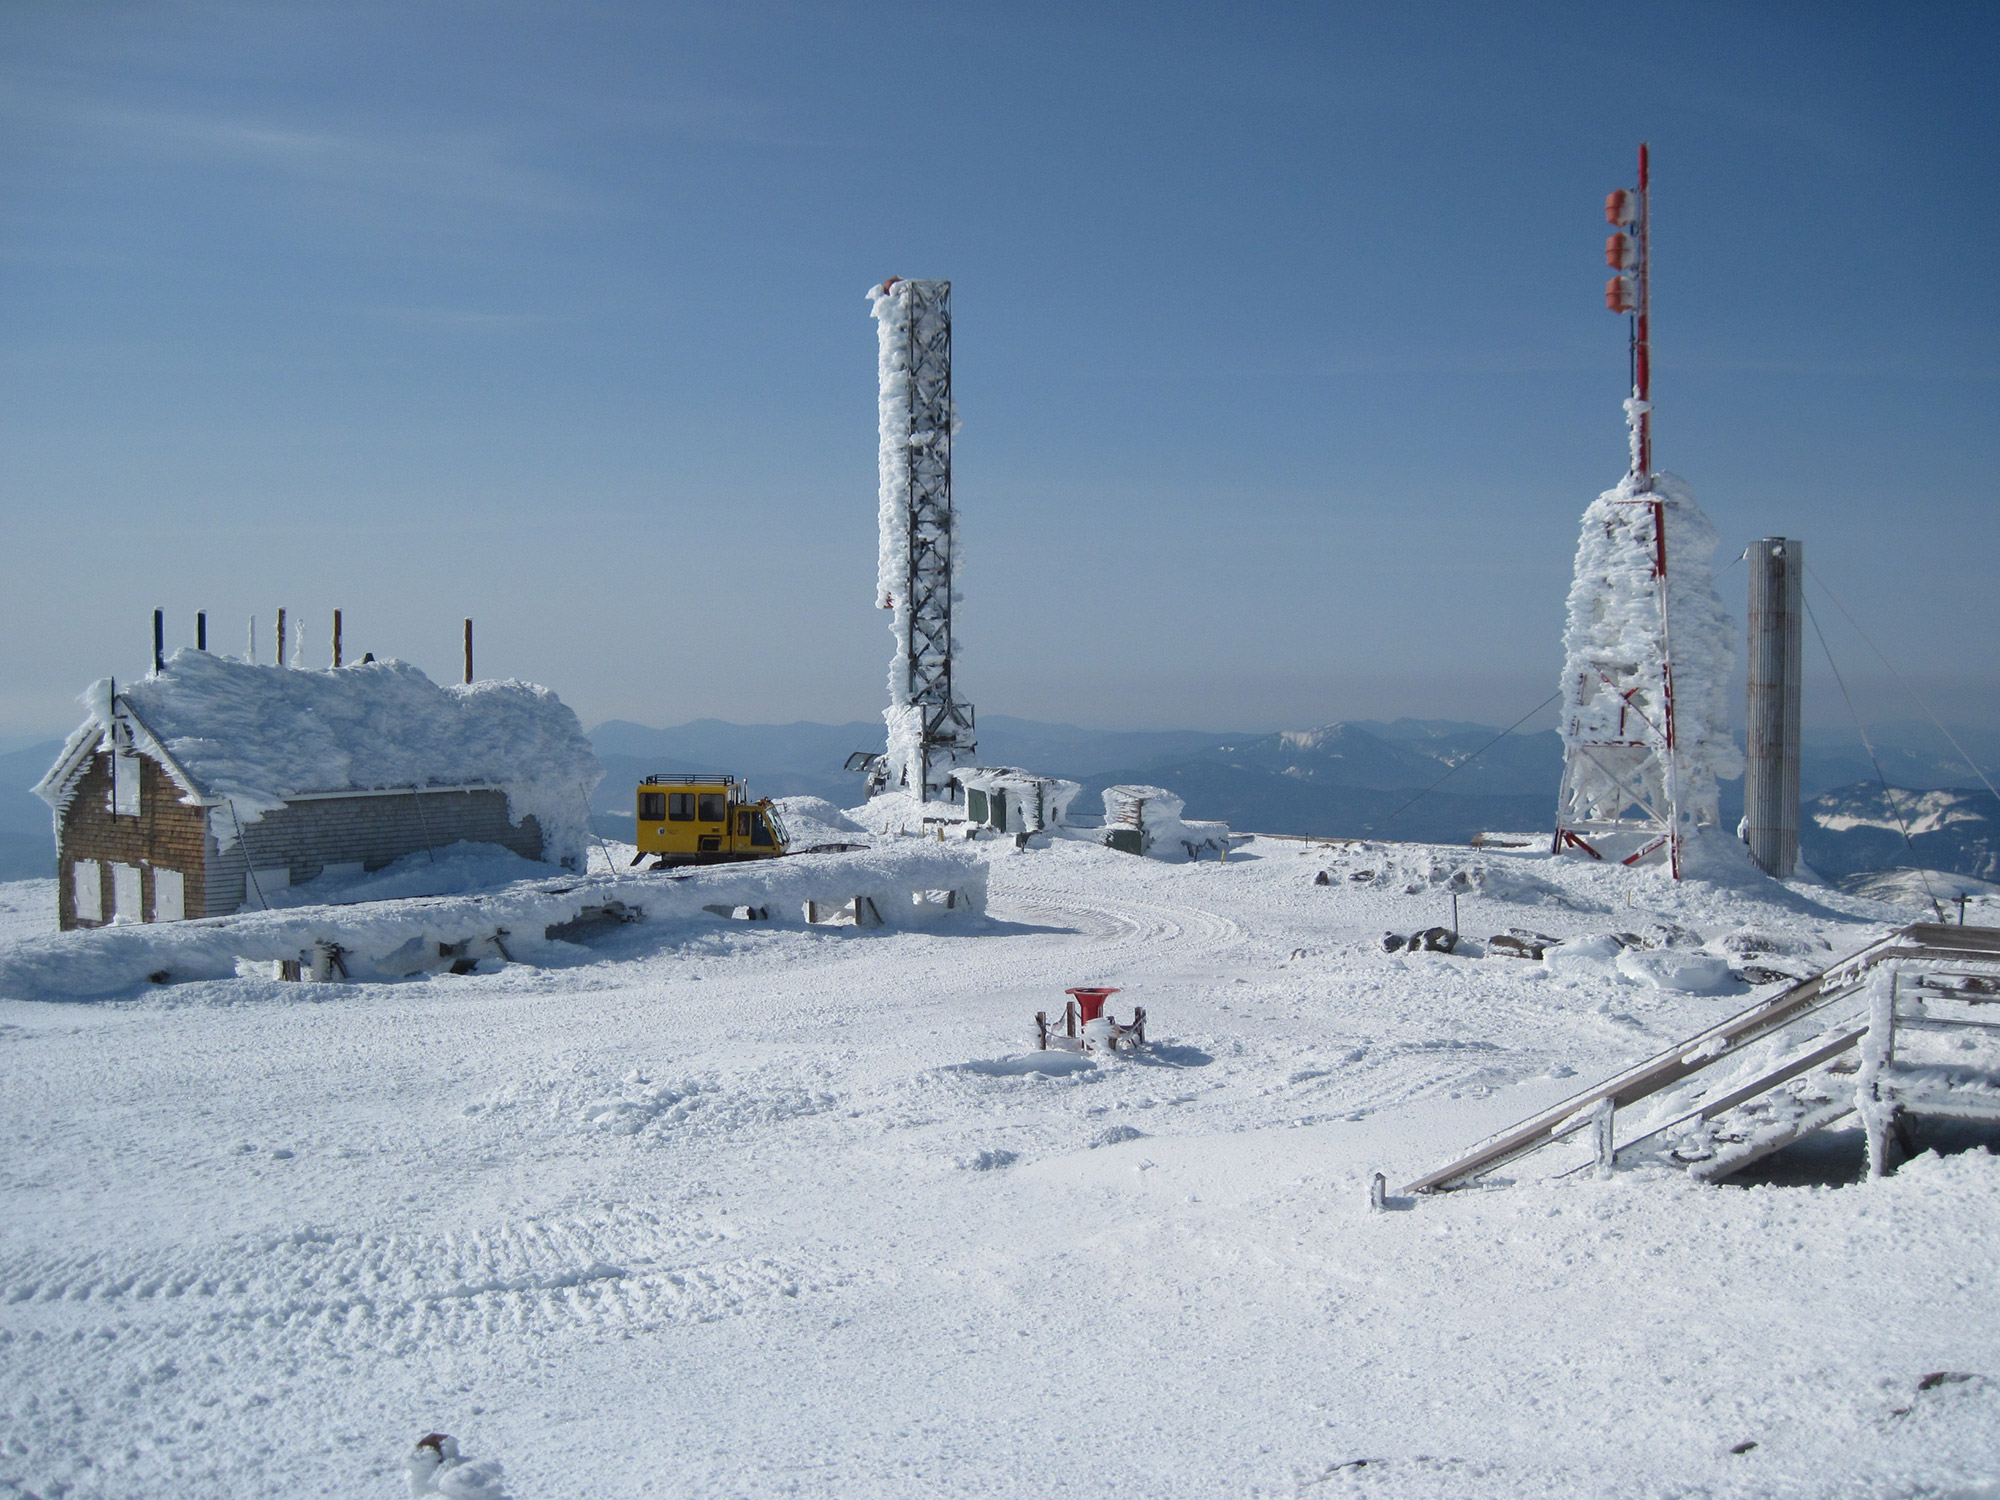
The Tuckerman Ravine Trail leads to the first sign of civilization: the Mount Washington Auto Road. Shortly thereafter, you’ll pass the tracks for the Cog Railway, before you come to the final small hill leading to the summit.
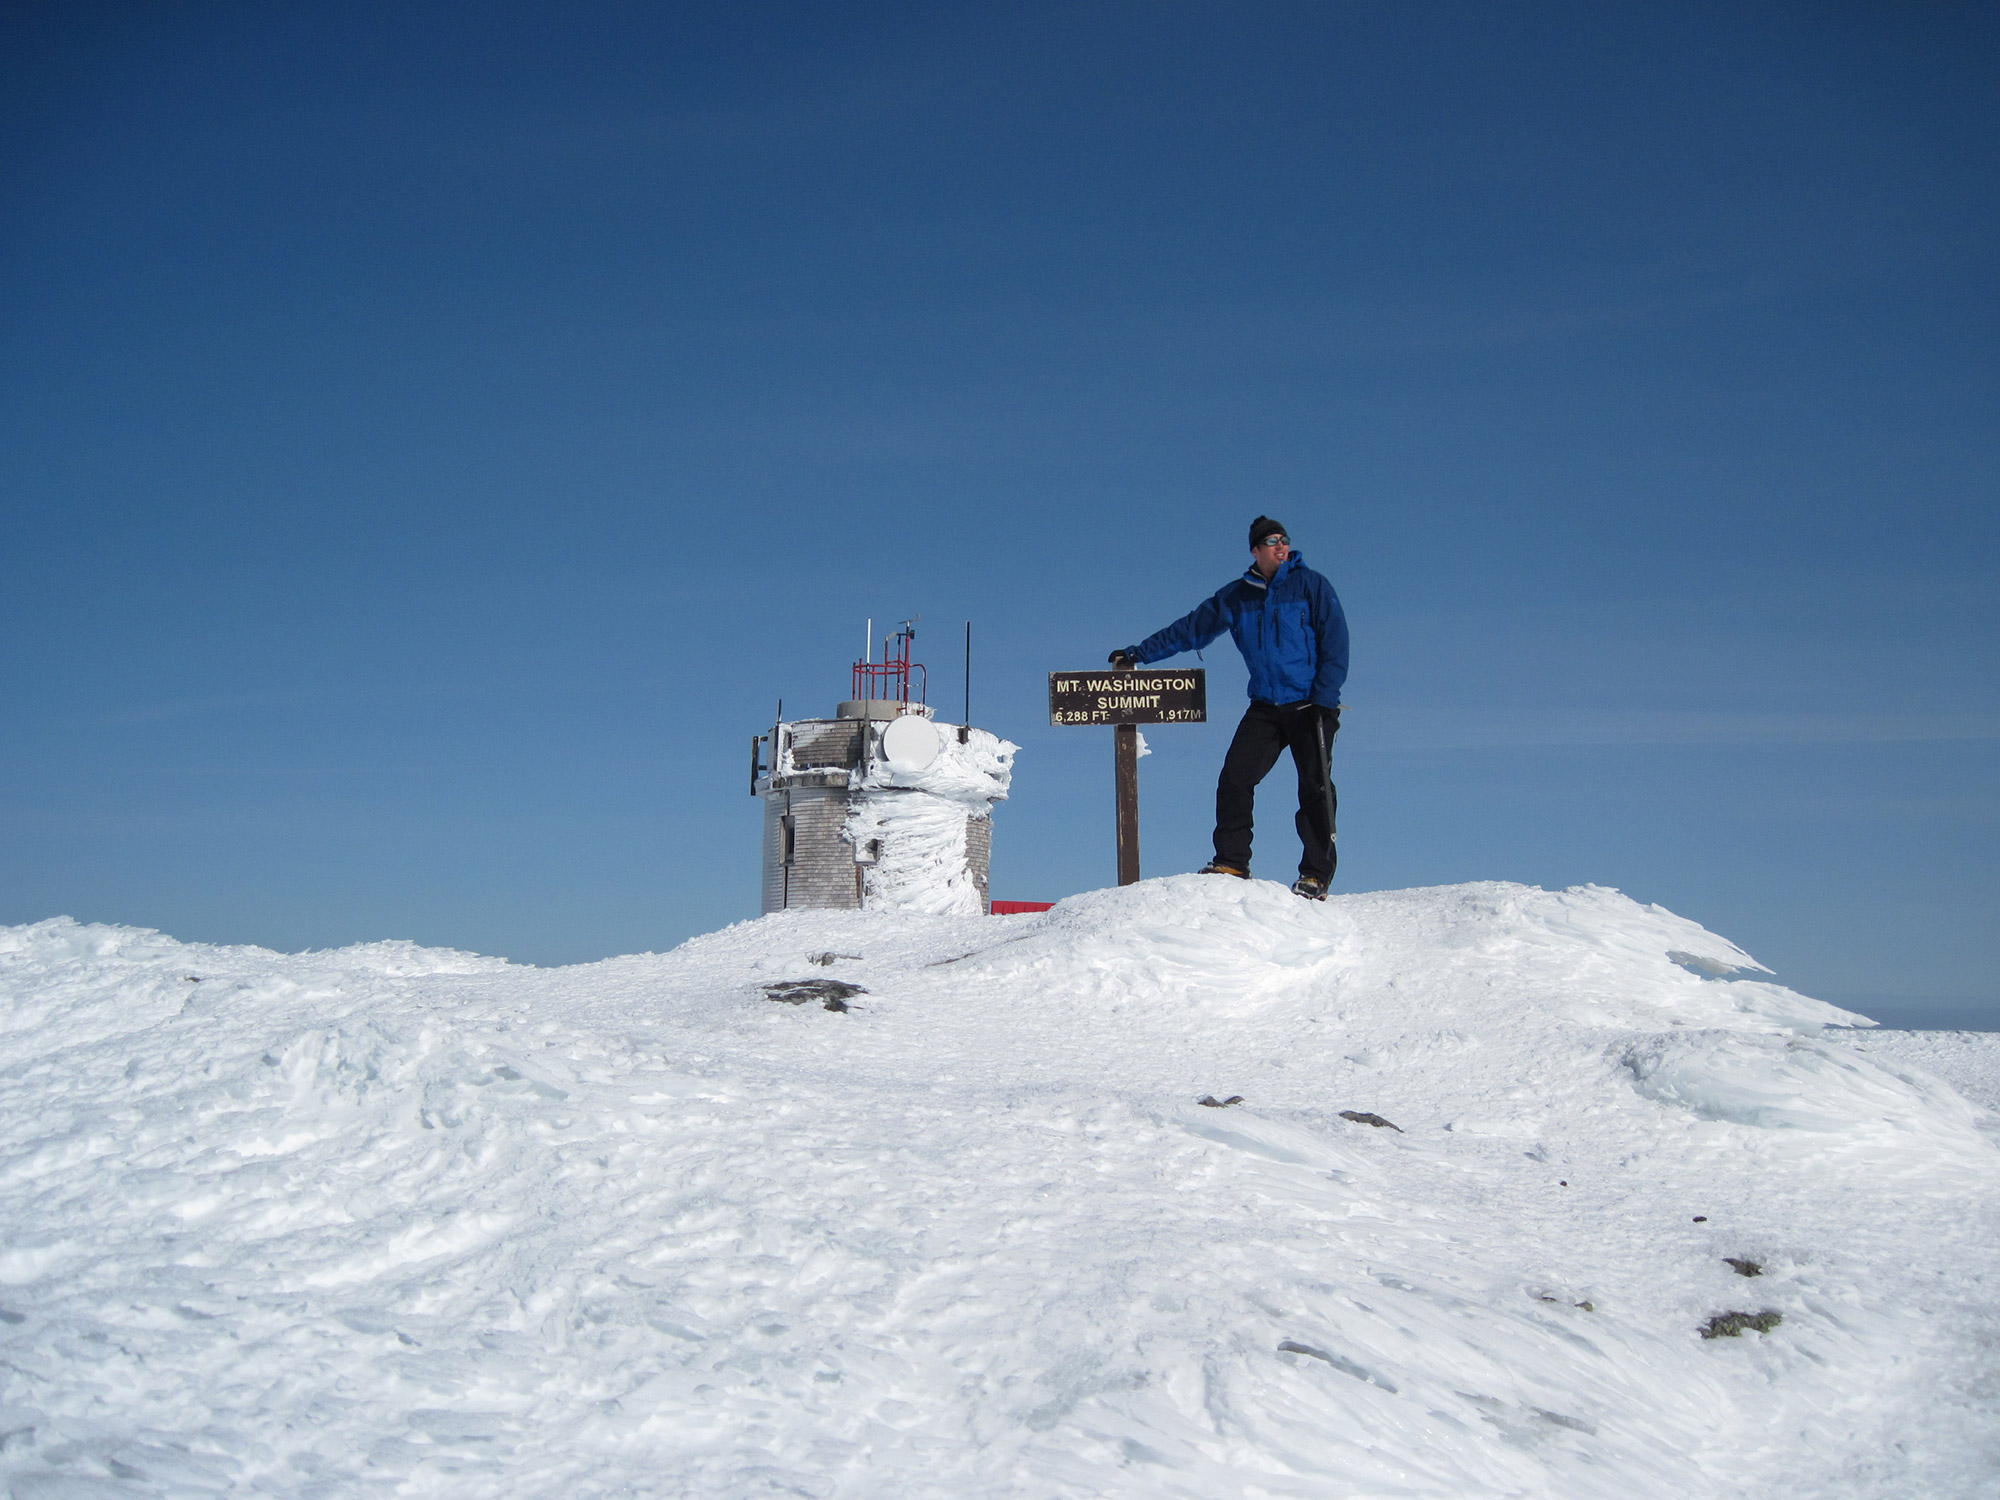
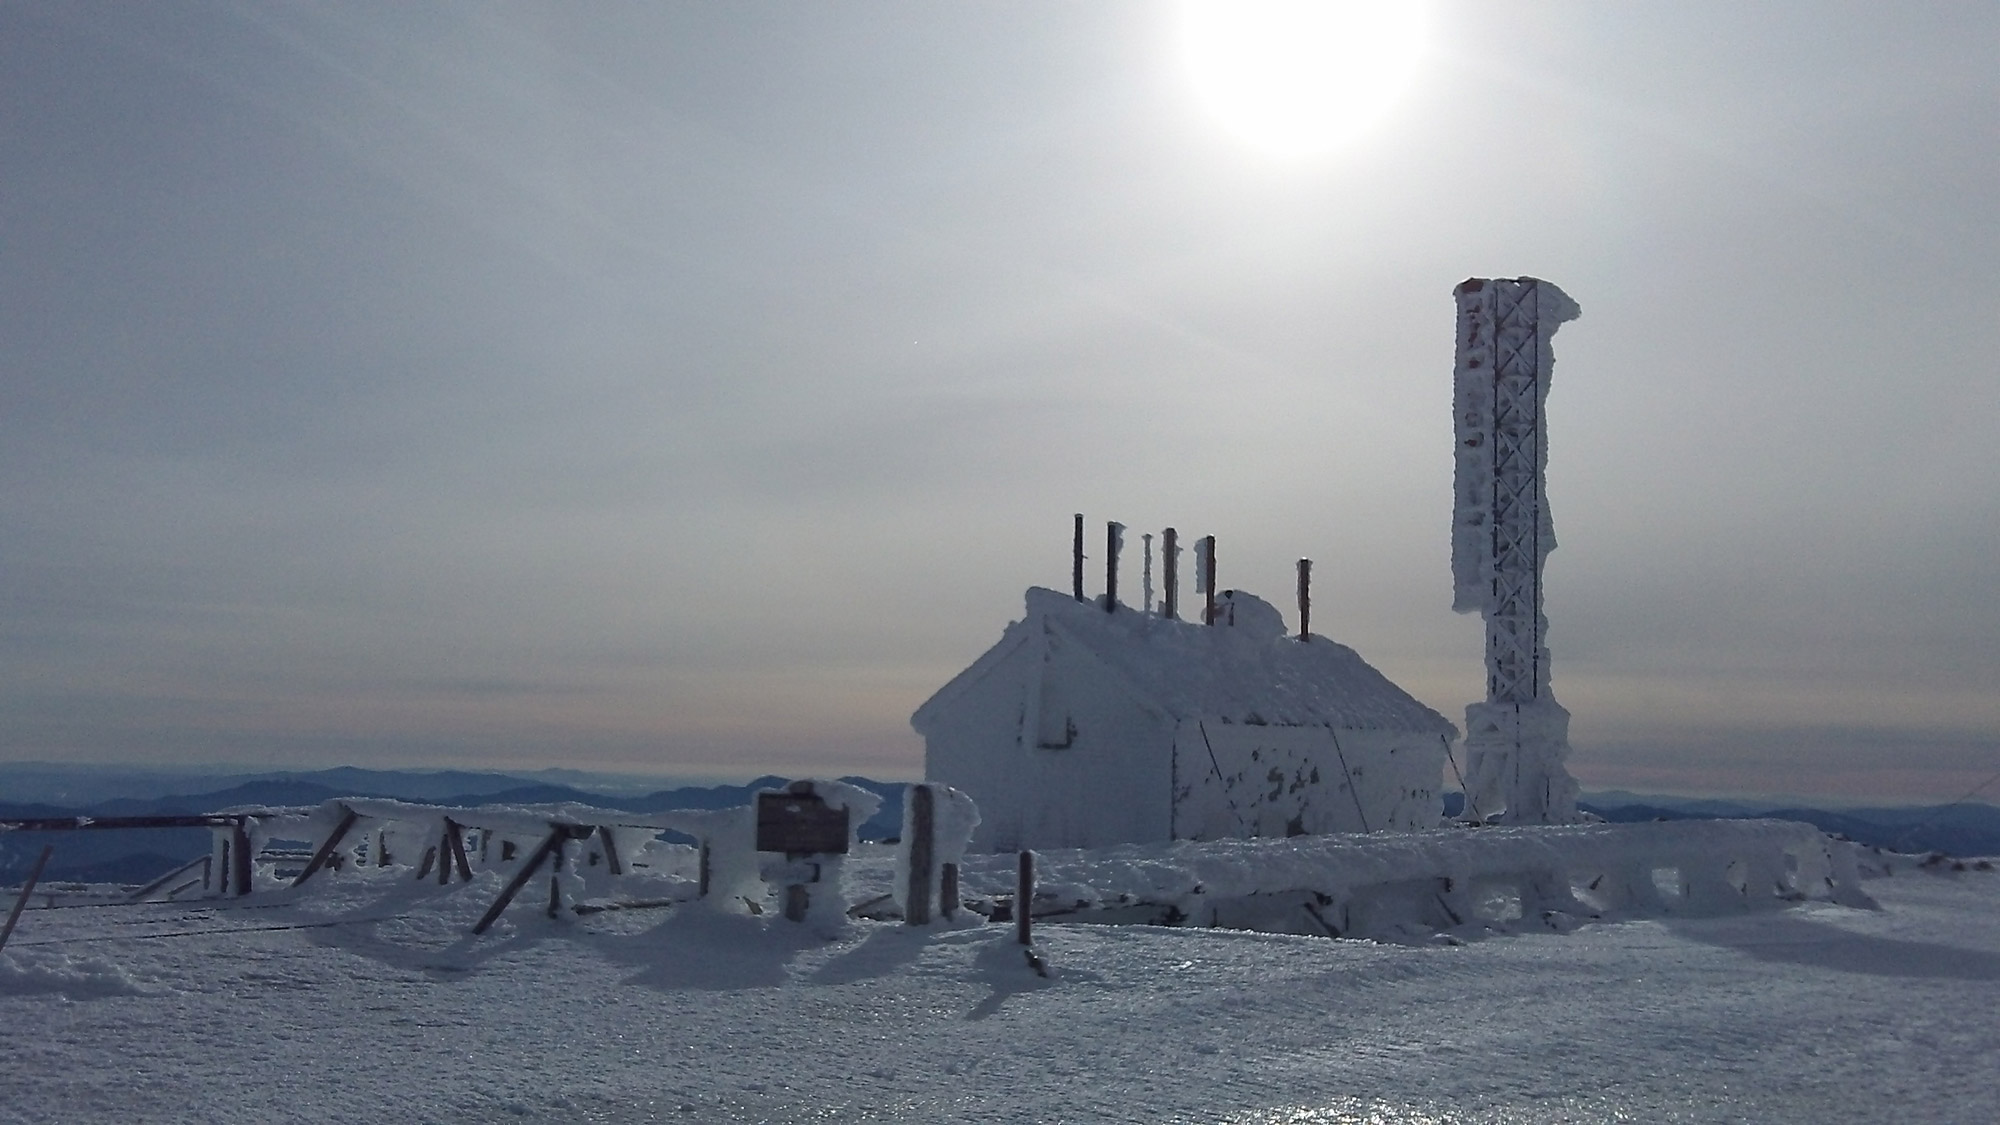
The Summit Pose
If it’s a nice day, spend some time enjoying the summit view of the Presidentials and the surrounding White Mountains. More likely though, ripping winds and extreme temperatures will have you taking shelter by the buildings and putting on an extra layer (or two) before you make your way to the summit sign to get the requisite shot.
Getting Back in One Piece
To quote the world-famous mountaineer Ed Viesturs, “The summit is just a halfway point.” Although getting back to Pinkham Notch is as simple as reversing course, you have ample opportunities to get lost or disoriented above treeline, especially when the weather is at its worst. So, take the time at trail junctions to ensure you’re descending in the right direction, and look for memorable landmarks. Most notable are the large cairns marking the Tuckerman-Lion Head junction, Split Rock, the scrub at the Alpine Garden Trail junction, and the flat area on the top of Lion Head. As you make your way toward treeline, look for several sets of reflectors attached to trees for descending at night or in deteriorating conditions.
The final crux for hikers will be reversing the rock step and the terrain just above it. Once again, many guided parties use a rope here, but those comfortable climbing in crampons should be fine carefully downclimbing.
The Kit for Mount Washington via the Lion Head Winter Route
- The Lion Head Winter Route is steep and often icy. Because of this, an ice axe and crampons are essential equipment. The Black Diamond Raven Ice Axe and Sabretooth Crampons are great choices.
- The combination of high winds, snow, and ice often necessitates the use of goggles, like the Smith Snow Squad, to protect your eyes and maintain vision. We suggest bringing a second pair in the event one freezes.
- Summiting Mount Washington in the winter is a long day even in the best conditions—not to mention, the days are shorter this time of year. A headlamp like the Petzl Swift RL helps prevent getting caught in the dark and provides peace of mind if you fall behind schedule.
- It’s easy to get disoriented or lost above treeline on Mount Washington, especially if it’s snowing and the wind is howling. A route plan, pre-set waypoints on a phone-based mapping app like Gaia GPS, and a map and compass as a backup are all extremely valuable when you’re trying to stay on course no matter the weather.
- A heavy puffy coat, like the EMS Featherpack Hooded Jacket (men’s/women’s), and summit mittens, such as the EMS Ascent Summit Mitten (men’s/women’s), are must-haves for extreme cold. Using chemical hand warmers is also a great way to keep your hands warm.
Keys to Mount Washington via the Lion Head Winter Route
- Mount Washington’s reputation for the “world’s worst weather” is well-deserved, and weather conditions play a huge role in any successful ascent via the Lion Head Winter Route. Before you head out, make sure to read the Mount Washington Observatory’s Higher Summits Forecast. If the conditions don’t look right (for instance, high winds are forecast or the temperatures at higher elevations are just too cold), consider a different trip for the day. A hike up to HoJo’s at the base of Tuckerman Ravine or skiing the Sherburne Trail are nice alternatives that never leave the protection of the trees.
- Similarly, if the weather starts to turn during your hike, bailing is a smart decision. After all, the weather rarely gets better the higher you go, and the Rock Pile isn’t going anywhere.
- Before leaving the Visitor Center, take a moment to make sure the Lion Head Winter Route is actually open. Its opening depends on the amount of snow received, and in some years it has not opened until late December or early January.
- Early starts on Mount Washington are par for the course. The AMC’s Joe Dodge Lodge is a great place to stay if you want to roll right from bed to the trail. Accommodation options include private and bunk rooms, with most options encompassing breakfast and dinner.
- Not confident doing this journey yourself? Consider a guided ascent of Mount Washington with the Eastern Mountain Sports Climbing School. EMS guides climb the Rock Pile hundreds of times each winter, and they have the skills, knowledge, and gear to get you up and down the mountain safely. If you’re looking for more than just the up-and-back, consider combining a guided climb with an overnight at the Mount Washington Observatory.
- Moat Mountain Smokehouse & Brewing Co., or simply The Moat, is the place for Conway-area climbers to eat, grab a pint, and brag about everything from their successful summits to just how bad the weather was above treeline.
Related Posts


Summited feb 22nd worst condition’s on lions head winter route I’ve ever faced sharpen your crampons!