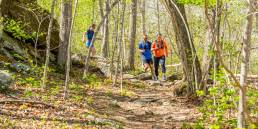
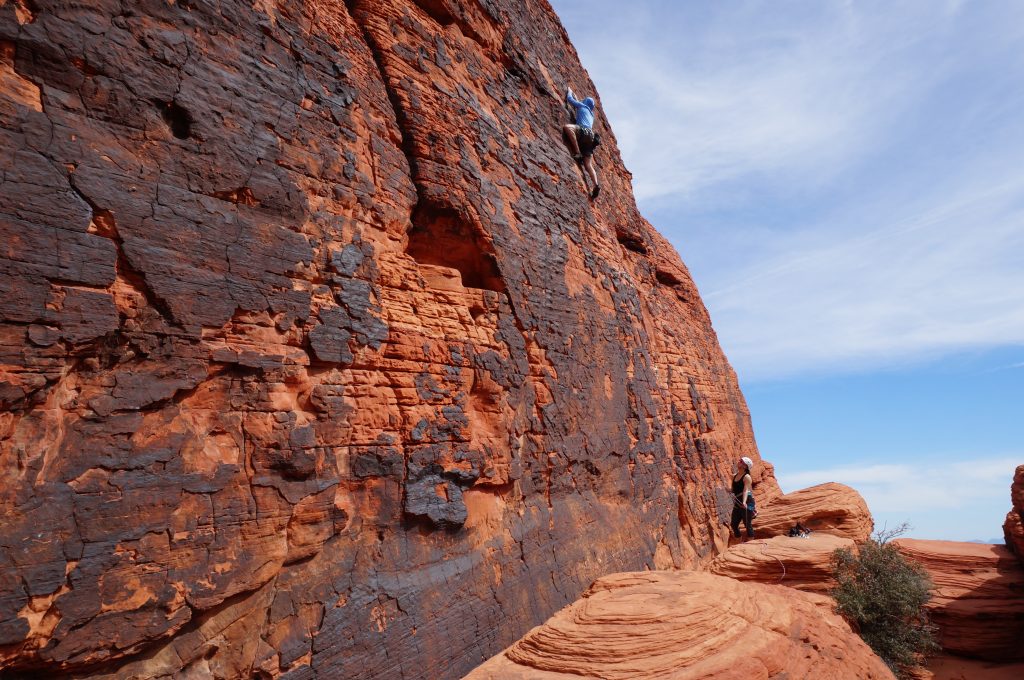
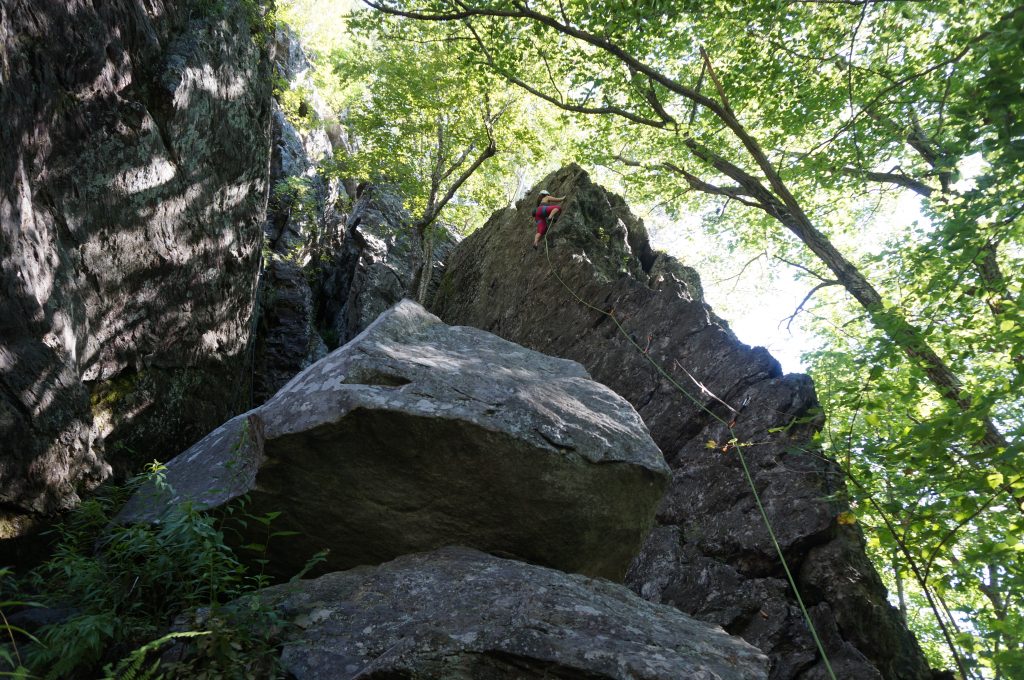
Sport climbing is one of rock climbing’s fastest-growing segments. If you’re an aspiring sport climber looking to spend a day (or week) clipping bolts, this checklist will get you outfitted. So, gear up, climb safely, and start sending—rope gun not included!
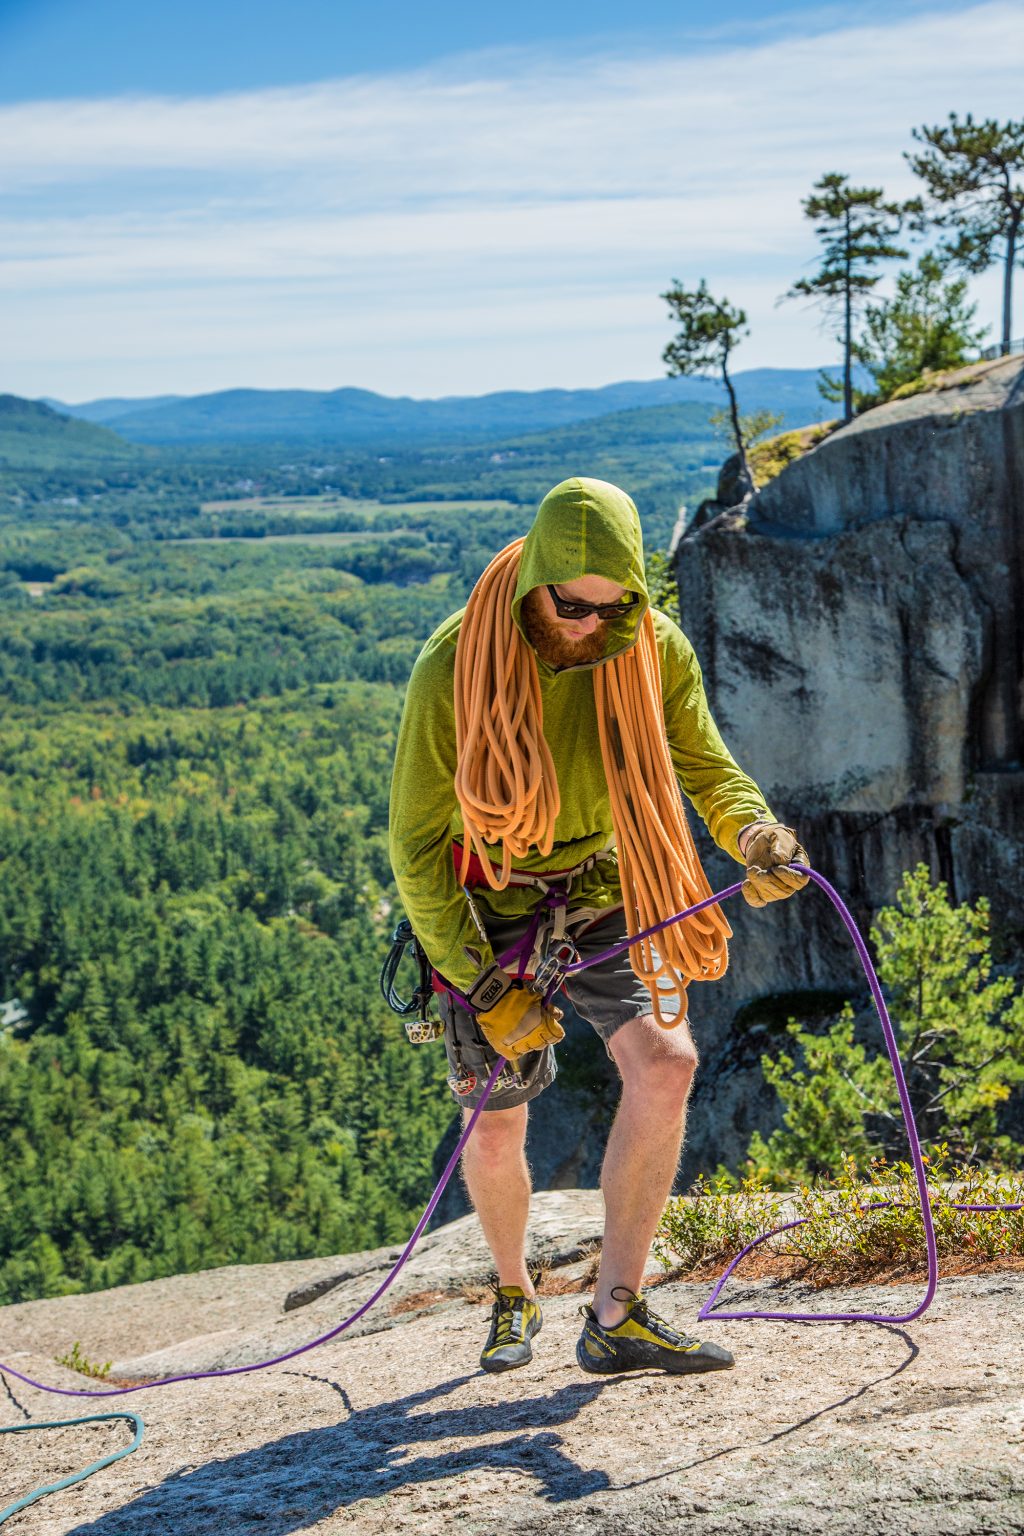
Dynamic Rope
If you plan on visiting a variety of sport-climbing areas, a 70-meter rope is now the way to go. While a 60-meter length will be sufficient for many older routes, 70-meter ropes are rapidly becoming the standard. Thus, having a 70 will ensure that you don’t end up short when it comes time to send that super-long project. Most also aren’t all that more expensive than their 60-meter counterparts.
In addition to getting longer, ropes are also becoming skinnier. For a nice blend of lightweight performance and durability, look at those between 9.6mm and 9.8mm thick. Ropes below 9.6 will likely wear too quickly for first-time outdoor climbers.
On whichever length or diameter you decide, consider getting the dry-treated version. Although it will cost more initially, you’ll save money in the long run. In use, the treatment helps keep the rope dry, reduce abrasion, and prevent dirt, sand, and other particles from getting embedded into the fibers.
For one final point: Before you climb, put a knot in the rope’s free end. That way, your belayer can’t lower you off if your rope ends up being shorter than required.
Rope Bag
To help keep your cord clean, a rope bag with a tarp is a worthwhile investment. Whether it’s clipping bolts out West at Red Rocks or nearer to home at Rumney, stacking the rope on a tarp prevents sand, dirt, and mud from getting inside its strands and causing abrasion, which, over time, weakens and discolors the material. The Black Diamond Super Chute has been a longtime favorite of ours.
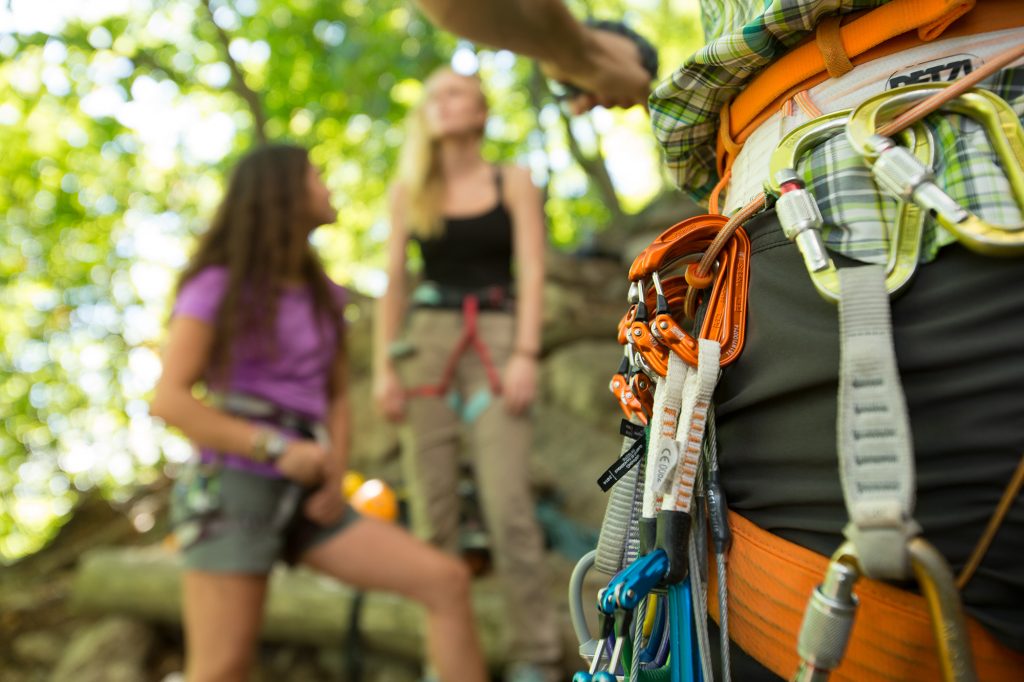
Quickdraws
Climbers use quickdraws—two non-locking ‘biners joined by a “dogbone”—to connect the rope to the bolts. We bring 12 to 18 quickdraws for a day of sport climbing. Because most routes don’t require that many, it is a good practice to carry the same number of draws as your route has bolts, plus one or two more in case you drop one. Counting the number of bolts and checking the guide book are two good ways to figure out how many you should carry.
Depending on your priorities, you can get quickdraws with thin Dyneema runners or fat nylon dogbones. Although thin runners help keep the weight down, quickdraws with thicker ones can be very handy for hauling yourself back up to that crux move. A stiffer dogbone also makes reaching for the clip a little easier.
When we’re climbing with a group of folks who will be following the route on top-rope, we carry two “alpine draws”—a quickdraw made with a shoulder-length Dyneema sling instead of a dogbone—with locking ‘biners to clip to the anchor. It’s an easy, efficient, and safe way to anchor into the bolts at the top. It also prevents wear on the fixed gear.
Assisted-Braking Belay Device
Even if you already own a belay device, an assisted-braking option like the Petzl Grigri 2 is awesome for sport climbing. They are especially useful if you’re belaying someone working a route, as they involve less effort to hold a person while he or she rests.
Harness
Because sport climbers carry minimal gear and don’t spend as much time hanging in their harnesses compared to trad or aid climbers, specific models tend to have less padding than those intended for all-around use. While these are fantastic if you’re projecting the crag’s hardman route, most of us mortals will be okay with an all-around harness. Look for something that fits well, has enough gear loops, and is comfortable enough to hang in for a few minutes at a time.
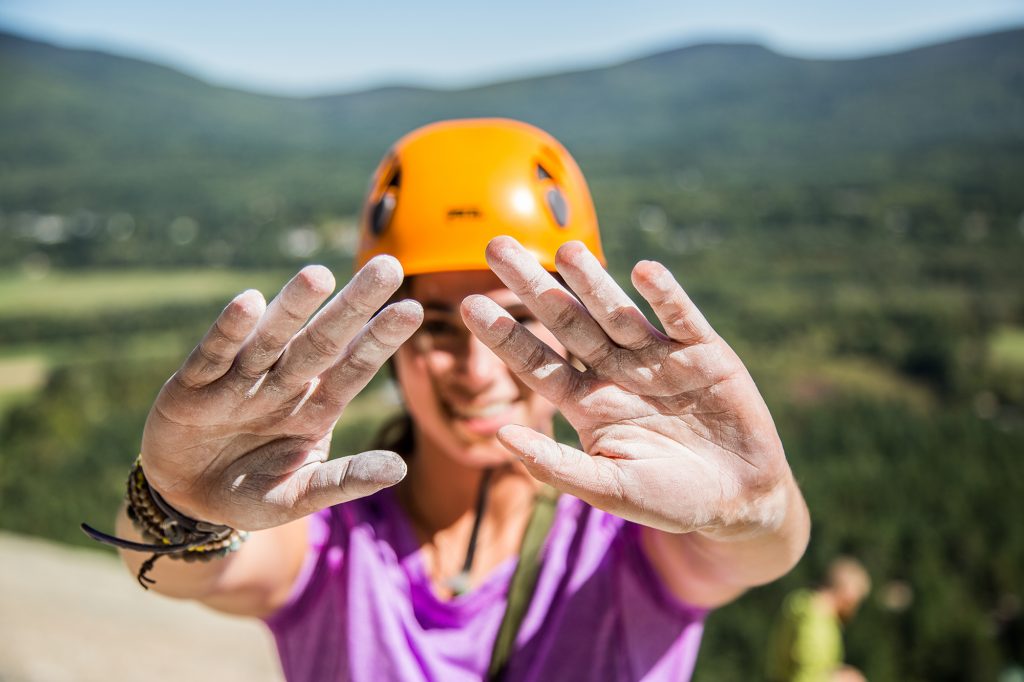
Chalk Bag and Chalk
If you’re like us, just the mere mentioning of climbing, never mind racking up, causes your hands to sweat. So, clip a chalk bag to your harness, tie it around your waist with a cord, or get a belt to make sure sweaty, slick hands don’t keep you from sending.
Cleaning, Rappelling, and Self-Rescue
A cordellette, a prusik, a double-length sling, and a few extra locking ‘biners are great additions to any sport-climbing kit. Combined, they only weigh an extra pound or two and will be really useful if you find yourself rappelling, needing to escape the belay, or building a ground anchor.
Many are also adding a personal anchor system to their kit to ease the the cleaning process. Bring one on your next trip to the crag, and enjoy the adjustability and safety provided.
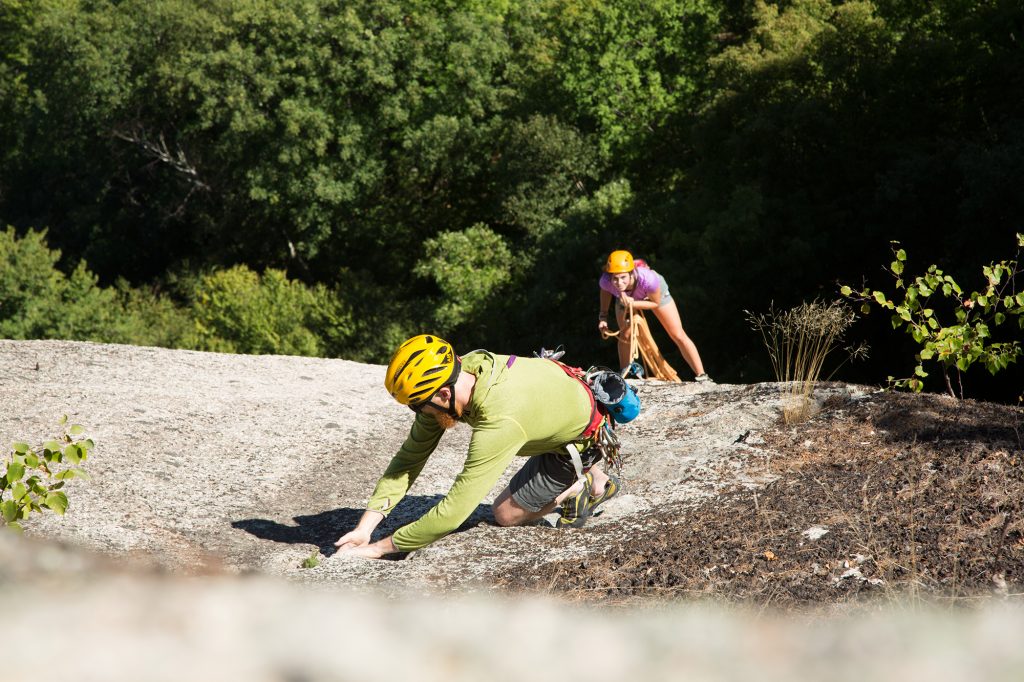
Helmet
Visit most popular sport crags, and you’ll likely see more people without helmets than with them. But, just because wearing a helmet here isn’t the norm, that doesn’t mean it’s a bad idea. After all, objective hazards like rockfall or dropped gear still occur. A helmet also protects your head in the event you end up inverted when taking a whipper.
Even better, helmets seem to get lighter and more breathable every season, making them so comfortable it’s easy to forget you’re even wearing one. The Black Diamond Vector offers a good blend of performance and protection at a reasonable price, and has been on our heads for the last few years.
Shoes
Today’s climbers are blessed with an incredibly large and diverse selection of climbing shoes. But, what works well for one person might not for another. It’s been our experience that, more often than not, it’s a climber’s ability to use their feet rather than a particular shoe that lets them make it to the anchors.
If you’re looking to narrow down your choices, however, a Velcro shoe or slipper is easy to get in and out of at the crag. You can slip them off for belaying or giving your feet a break when you’re not climbing, and pull them on quickly when it’s your turn to go again.
Guide Book
There’s nothing worse than getting to the climbing area, and then wandering around aimlessly looking for a route. So, before you head out, make sure to get the guide book for your destination. It will give you a general lay of the land, get you to routes of interest, and maybe even offer some specific beta. It also makes a great place to record any routes you’ve sent!
Pack
A bag between 35 and 42 liters is perfect for carrying your gear, food, water, and a camera from the car to the cliff. While any pack in this range should suffice, a handful are designed for cragging. These offer easy access to supplies, and often include items like integrated gear loops, tarps, and pockets for holding specialized equipment like chalk and shoes.
The Little Things
- Even on warm days, a puffy coat can be a valuable addition, as it’s a great way to keep comfortable between burns and belaying.
- Sticky-soled approach shoes like the 5.10 Guide Tennie can be a nice addition if you climb at popular locations that involve scrambling from crag to crag.
- Accidents can and do happen, so it’s always a good idea to have a first aid kit. Add a couple of climbing-specific items, like nail clippers, climbing tape, and hand warmers, especially for the spring and fall.
- A headlamp is light, packable, and always a good idea to have in your bag.
- If any or all of this feels too involved, a lesson with the EMS Climbing School is a great way to get your systems in place before heading out on your own.
This list contains pretty much everything you need for heading out to clip some bolts. But, you can add equipment to make the day more enjoyable or safer. Belay glasses to ease neck strain? An insulated water bottle for keeping cool when the pressure to send rises? Sending biscuits (Oreos) for positivity? In the comments, let us know the one thing you can’t live without at the crag!
Related Posts