Sometimes it’s the subtle things that can make or break a day of ice climbing. In a sport with such a variety of objective hazards, small tweaks and adjustments to your general adventure strategy can pay dividends. I’m not talking about the obvious skills like how to climb with ropes, I’m referring to slight refinements that can give you an edge in your quest for success on your climbing objective. Here are some tips that you can use to help stack the odds in your favor on your next winter climb.
The Night Before: Get All of Your Ducks in a Row
A key differentiator between success and failure on a given objective is how early of a start you get. Being the first on route is a far better place to be than the 2nd, 3rd, or 4th party in line. This makes you and your climbing partner’s efficiency in the morning imperative.
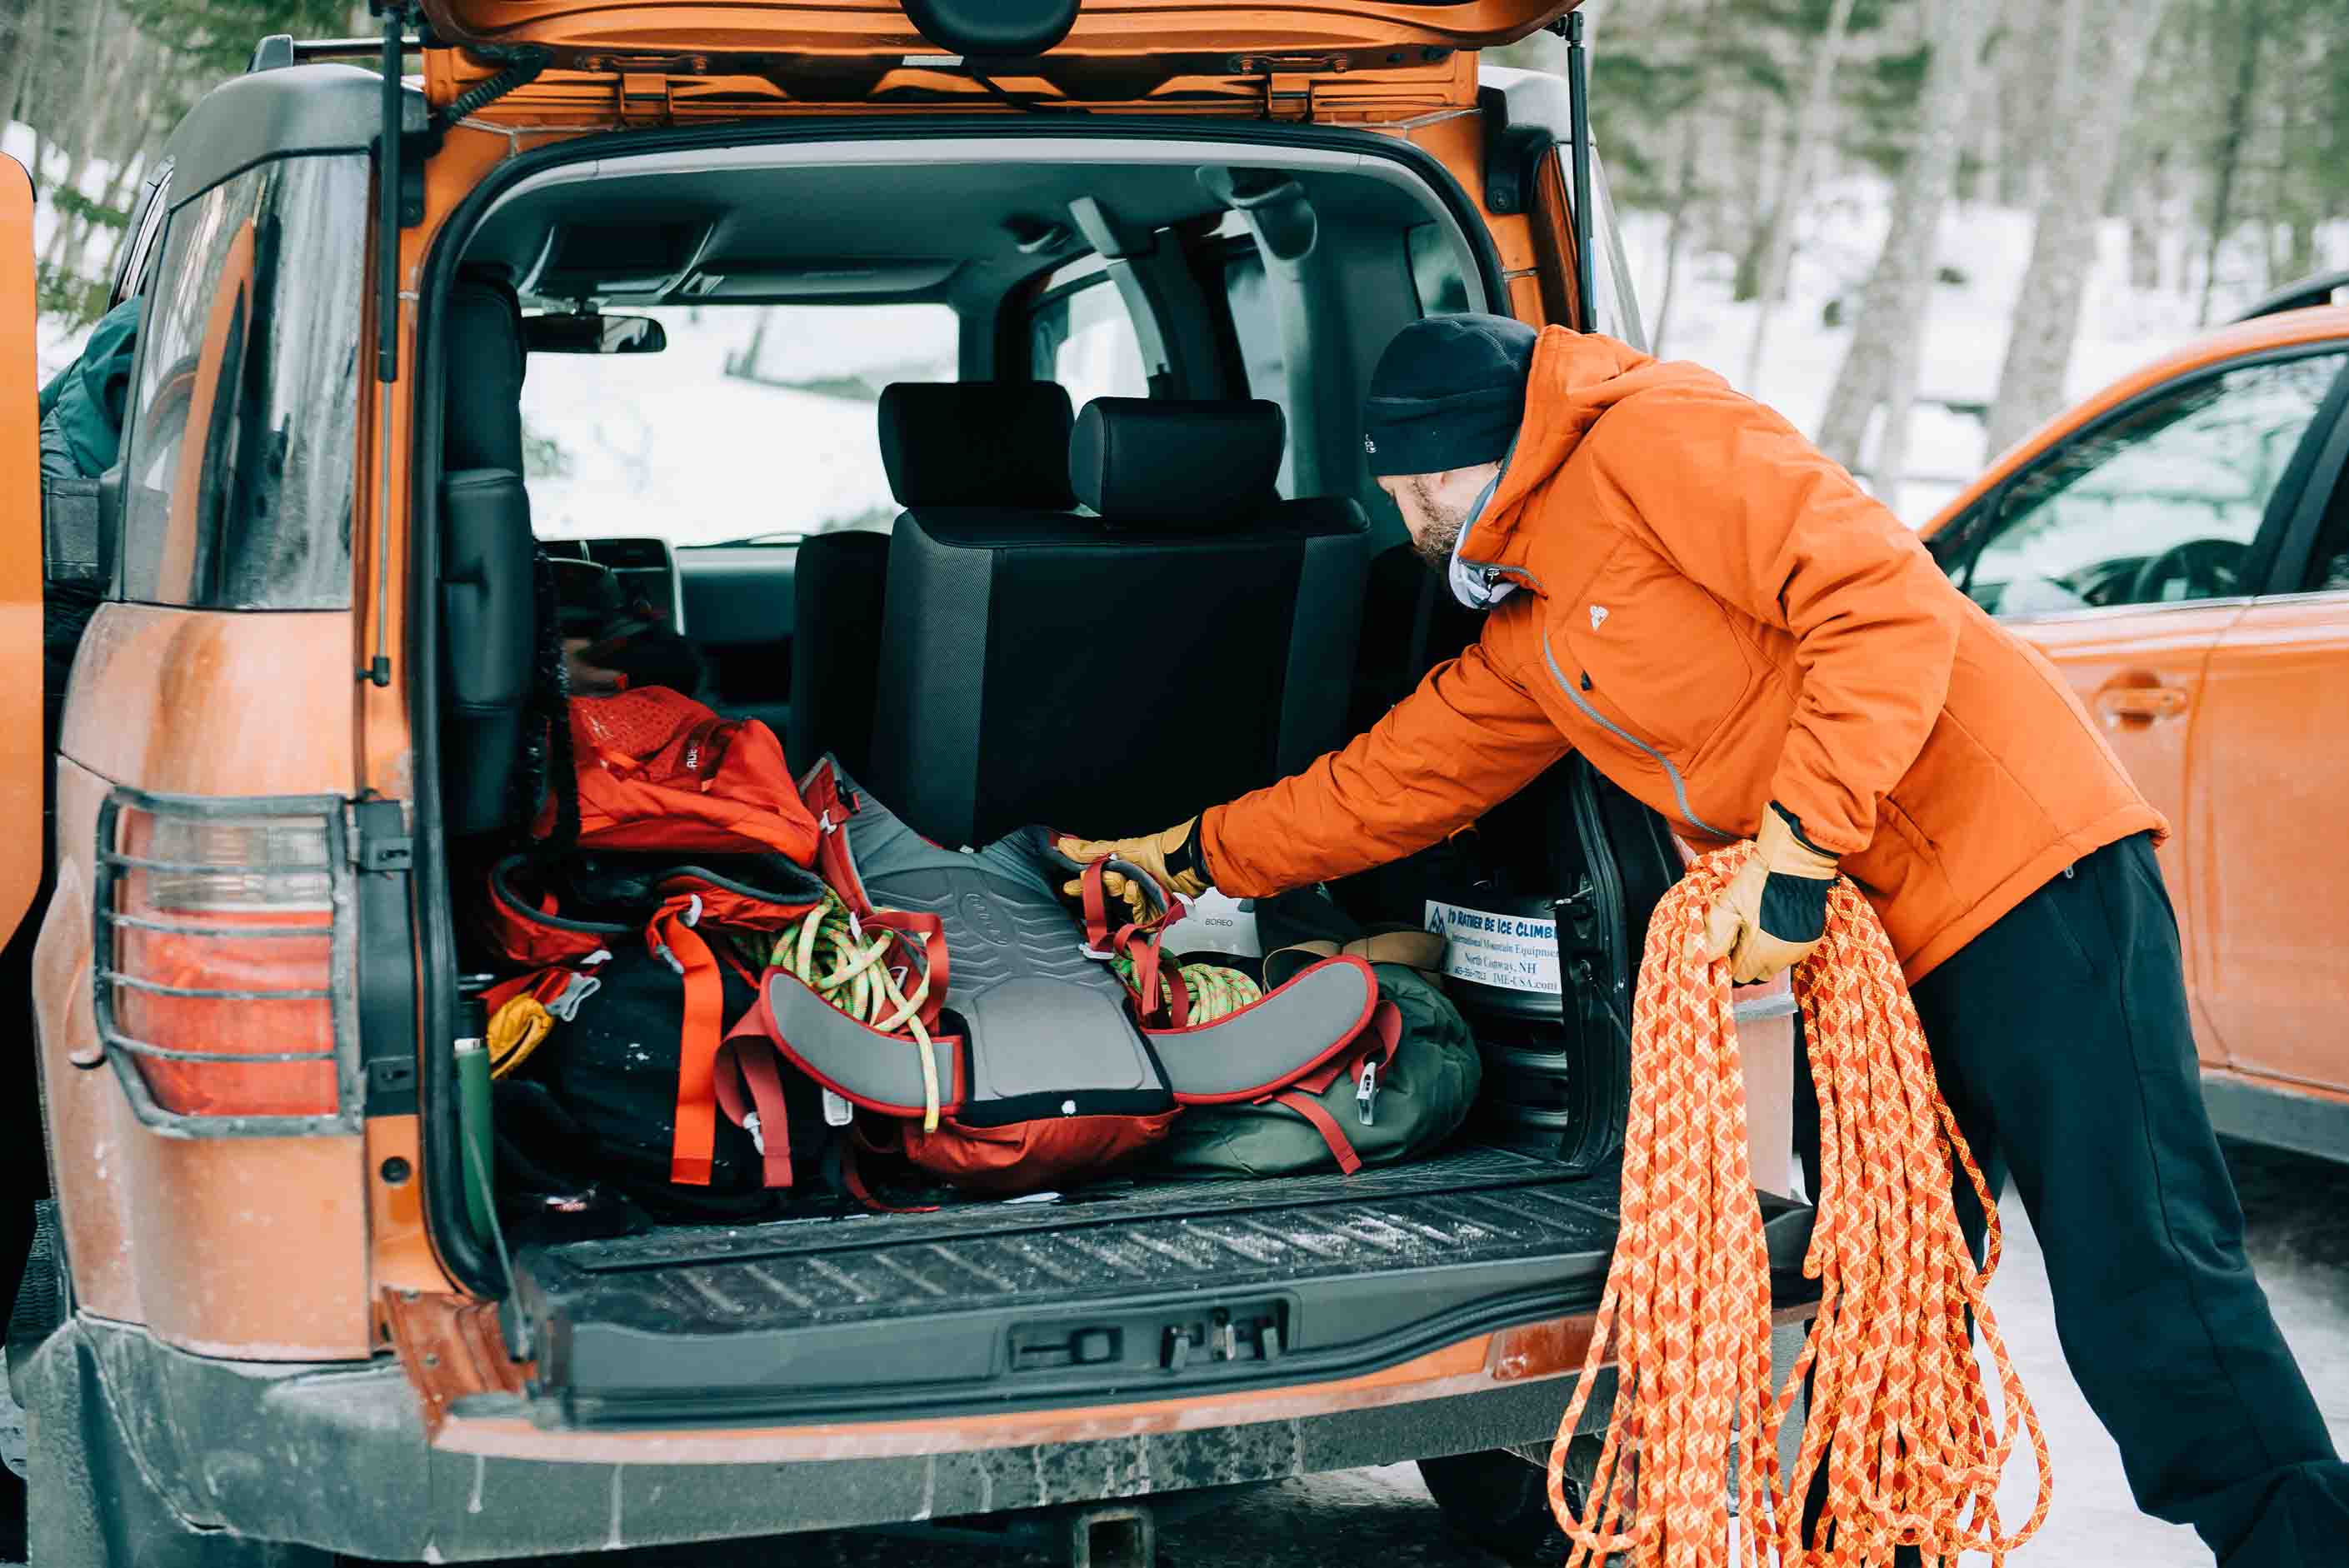
Achieving a speedy and efficient start to a day of climbing begins the night before. This is your time to get all of your ducks in a row and set yourself up for success—and it all starts with your pack. Knowing how and what to pack (without forgetting key pieces of equipment) requires making a plan with your climbing partner. Decide on what rope(s) to take, and who will carry it on the approach. Likewise, discuss what the rack should include and who is responsible for bringing the screws, draws, and cordelettes.
A common method of equalizing the weight of the loads is for one person to pack and carry the rope; the other brings and carries the rack, draws, and cordage; and each climber carriers their own personal hardware such as locking carabiners and belay/rappel devices.
I generally pack my bag in the reverse order of how I predict I will take items out at the base of the route. From bottom to top it usually goes something like this:
- Belay jacket at the very bottom of the pack (as you probably won’t be using it until you are on route)
- Then goes the rope or rack (depending on the aforementioned arrangements with your partner)
- Next is the harness and personal hardware
- I fill in the gaps, spaces, and irregularities with the gloves and extra layers
- The top of the pack is reserved for my thermos (more on that later), a small 2L dry bag that I keep my essentials in (e.g., first aid kit, emergency equipment, headlamps, and snacks), and, if there’s room, my helmet
- Sharpened ice tools and crampons are strapped to the exterior of the pack (as well as the helmet if it doesn’t fit inside)
I keep this packed bag next to the door, along with my mountain boots (laces tied together, hockey skate style) with an empty thermos in one boot and the hat, buff, and gloves that I plan to wear in the other. This ensures that I remember to fill my thermos in the morning with hot water and tea bags before I depart and that I don’t forget my hat.
I also like to have my “action suit”—the clothing and apparel that I anticipate wearing most of the day—folded and organized by my bedside to facilitate a speedy and silent departure during the wee hours of the morning. Don’t forget a handkerchief.
Lastly, if you are climbing in an unfamiliar area, take cell phone pictures of the guidebook beta (including the approach) to use as a reference in the field.
The Approach: Setting the Tone for the Day
The alarm on your phone goes off and it’s time to wake up and suit up. Don your carefully laid out apparel, prepare the tea for your thermos, and grab a bite for breakfast. I like to prepare a separate thermos of coffee to drink on the drive (sometimes coffee that I don’t finish in the morning is still warm when I get back later in the day).
Speaking of the drive, I like to wear a comfy pair of shoes for the commute to and from the climb (mountain boots are not the most comfortable thing to drive in, plus, by the time you get back to the car at the end of the day, you’ll be sick of wearing heavy boots and grateful to have a change of footwear waiting for you). I try to stow the boots next to one of my vehicle’s heater outputs so that they’re nice and warm when I put them on at the location.
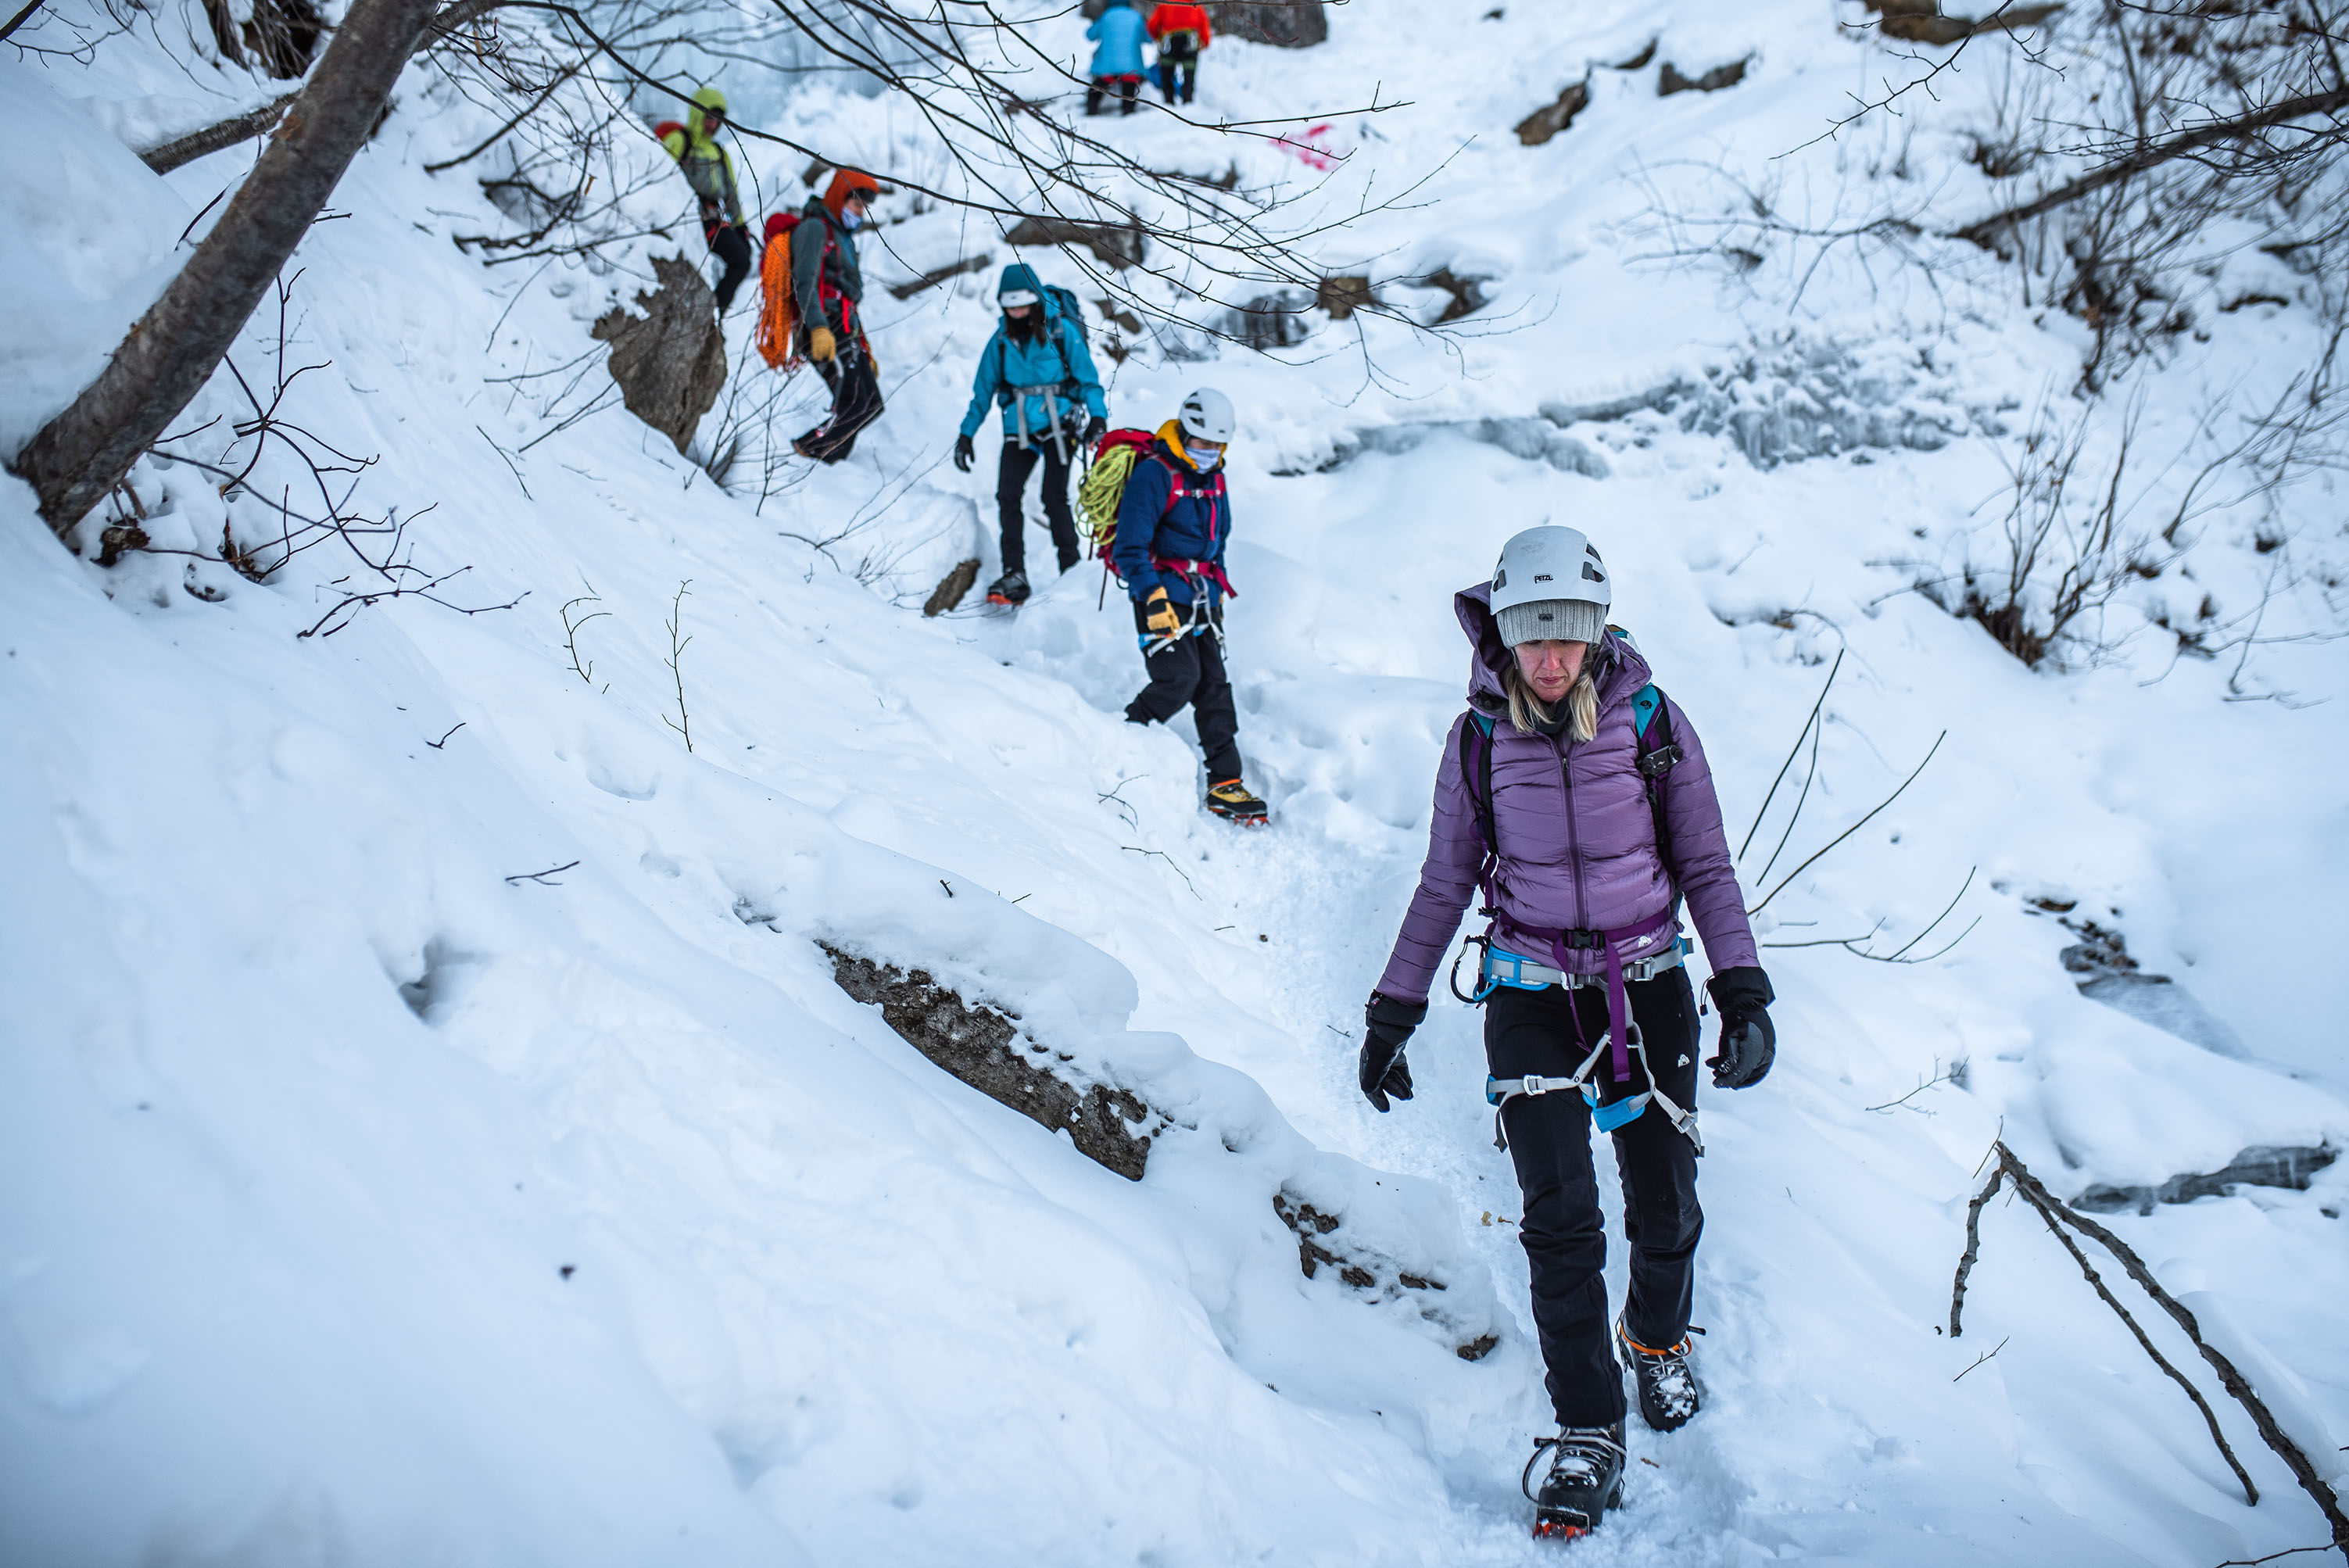
Now for the hike in, or as I like to think of it, the price of admission. Instead of mindlessly plodding your way to the climb, try to take this time to condition your mind for body awareness and good foot technique. Whether on rock or ice, every good climber knows that calculated and deliberate movement and footwork are the most effective ways to climb. Treat the hike as though you were already on the route. Analyze the terrain, and place each foot down with precision. I find that this makes the transition from hiking to technical climbing much more smooth, and more often than not, that I climb better the rest of the day when I’ve used this technique on the approach.
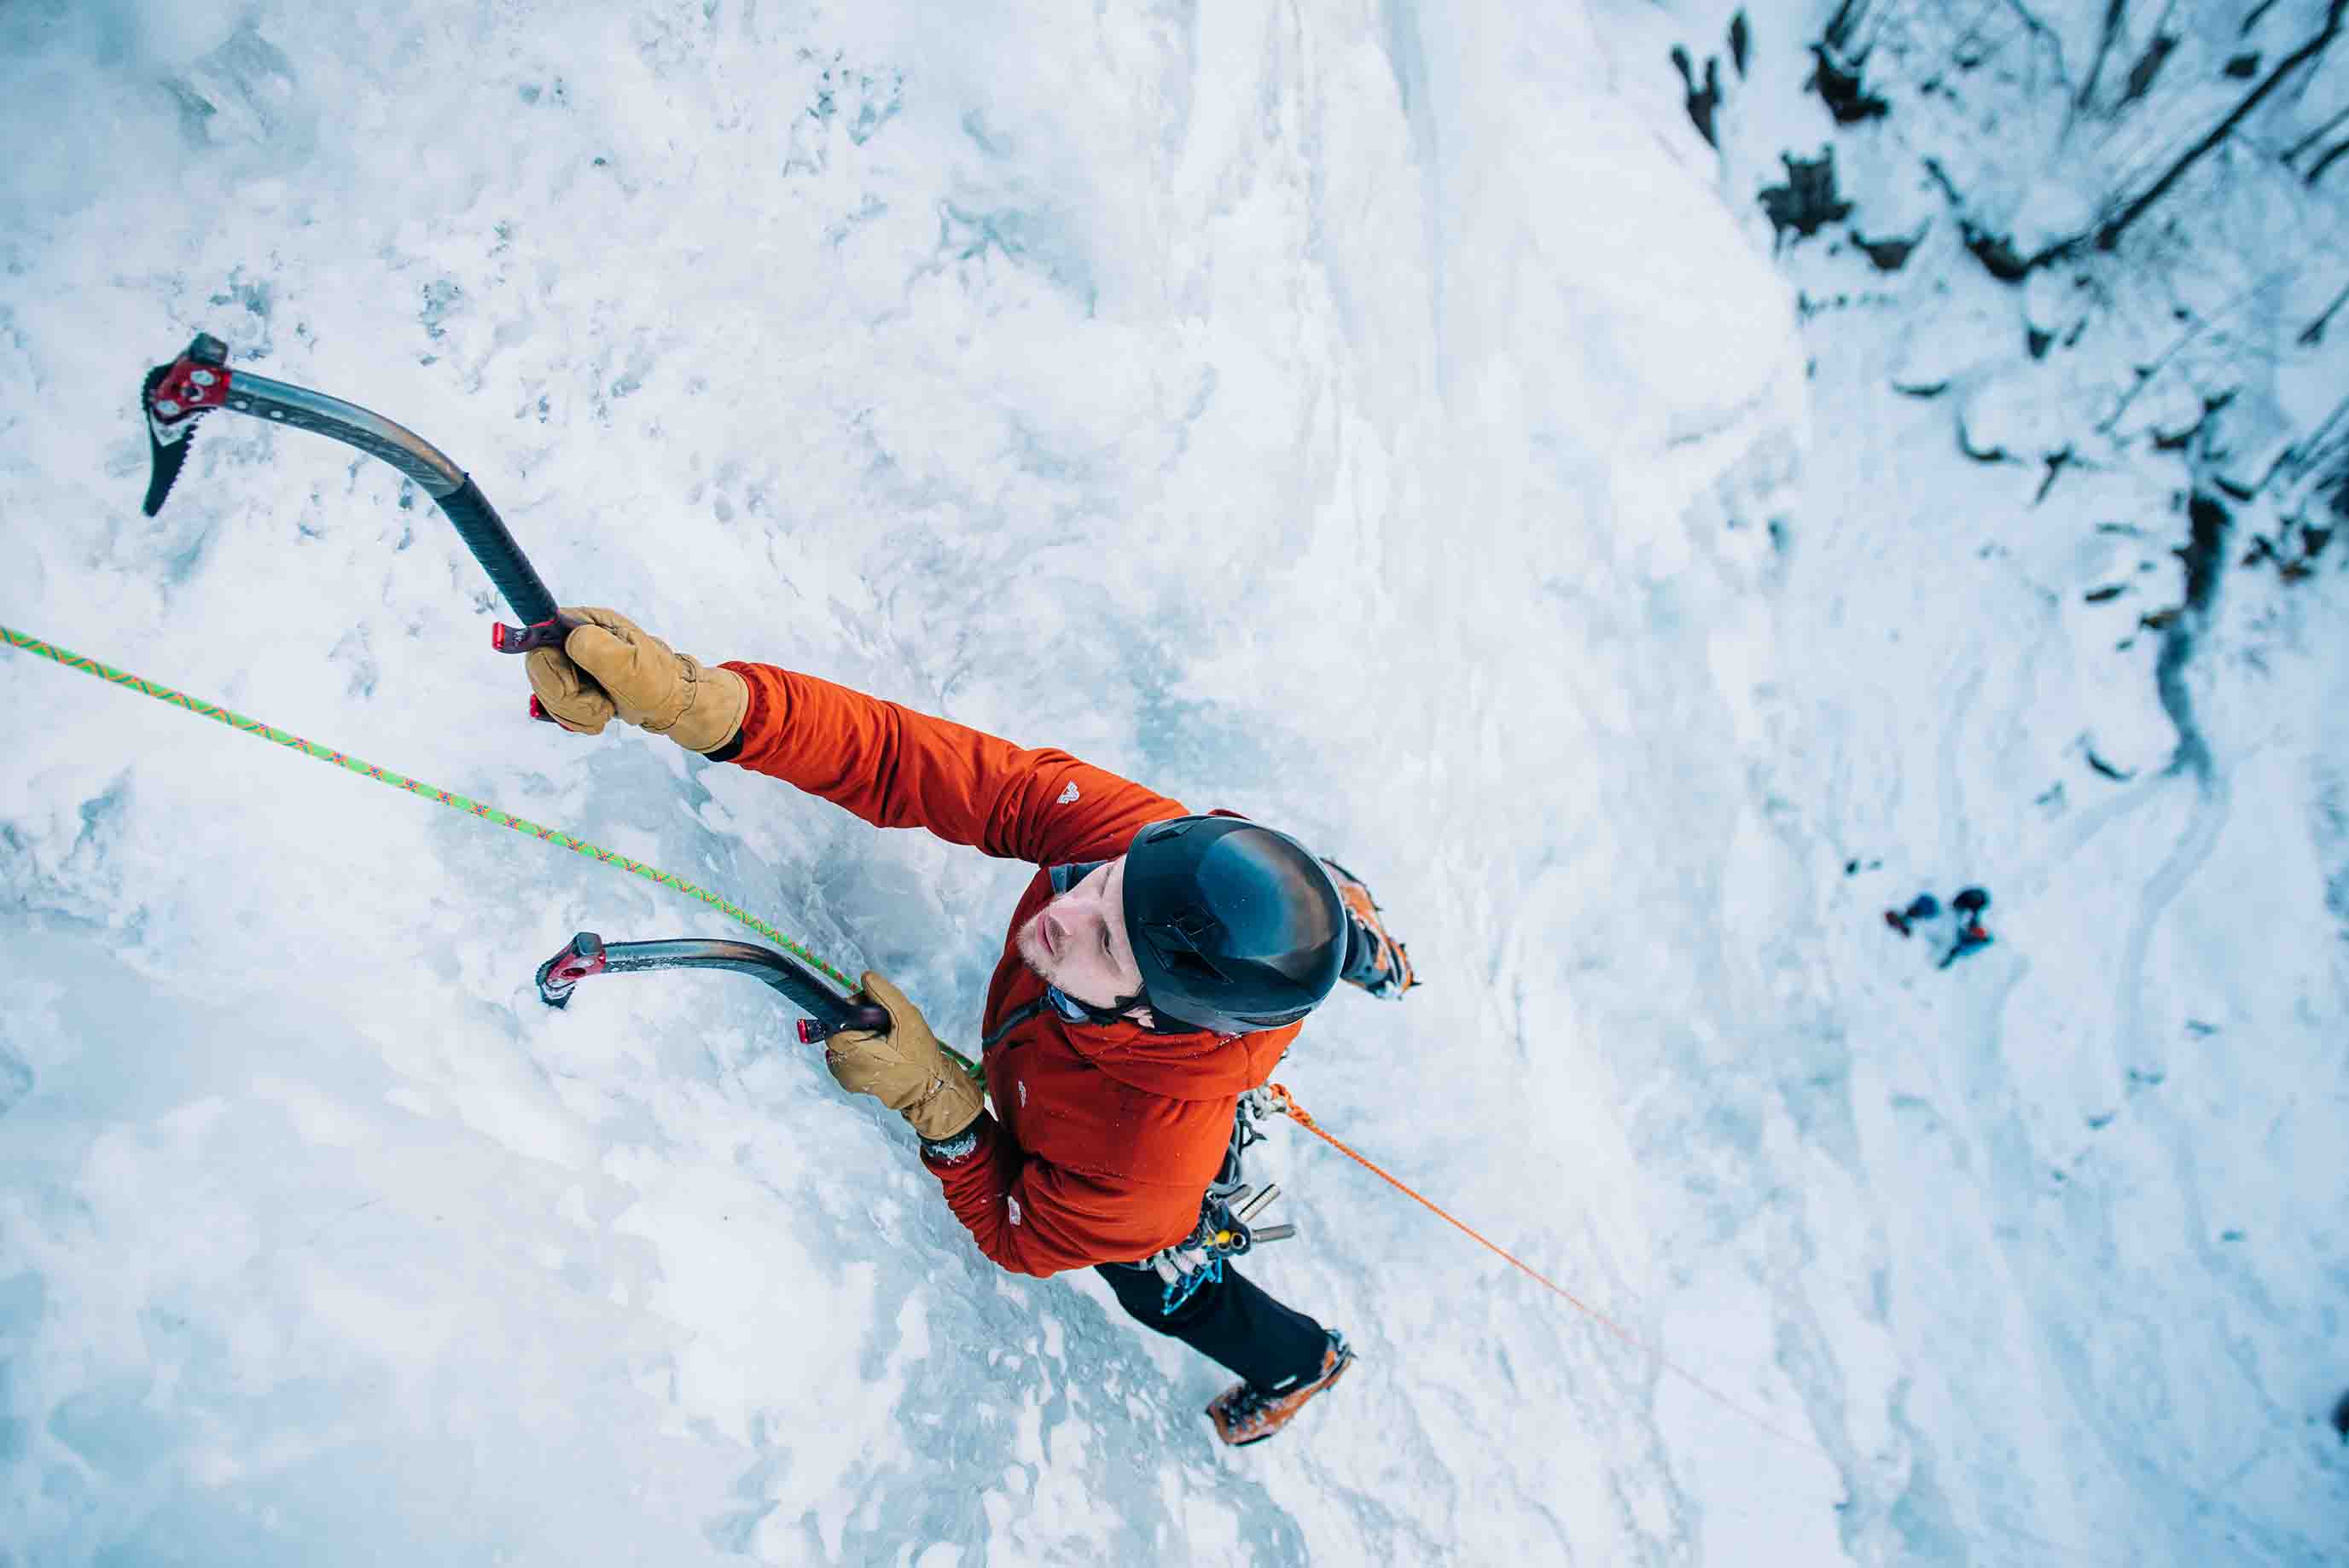
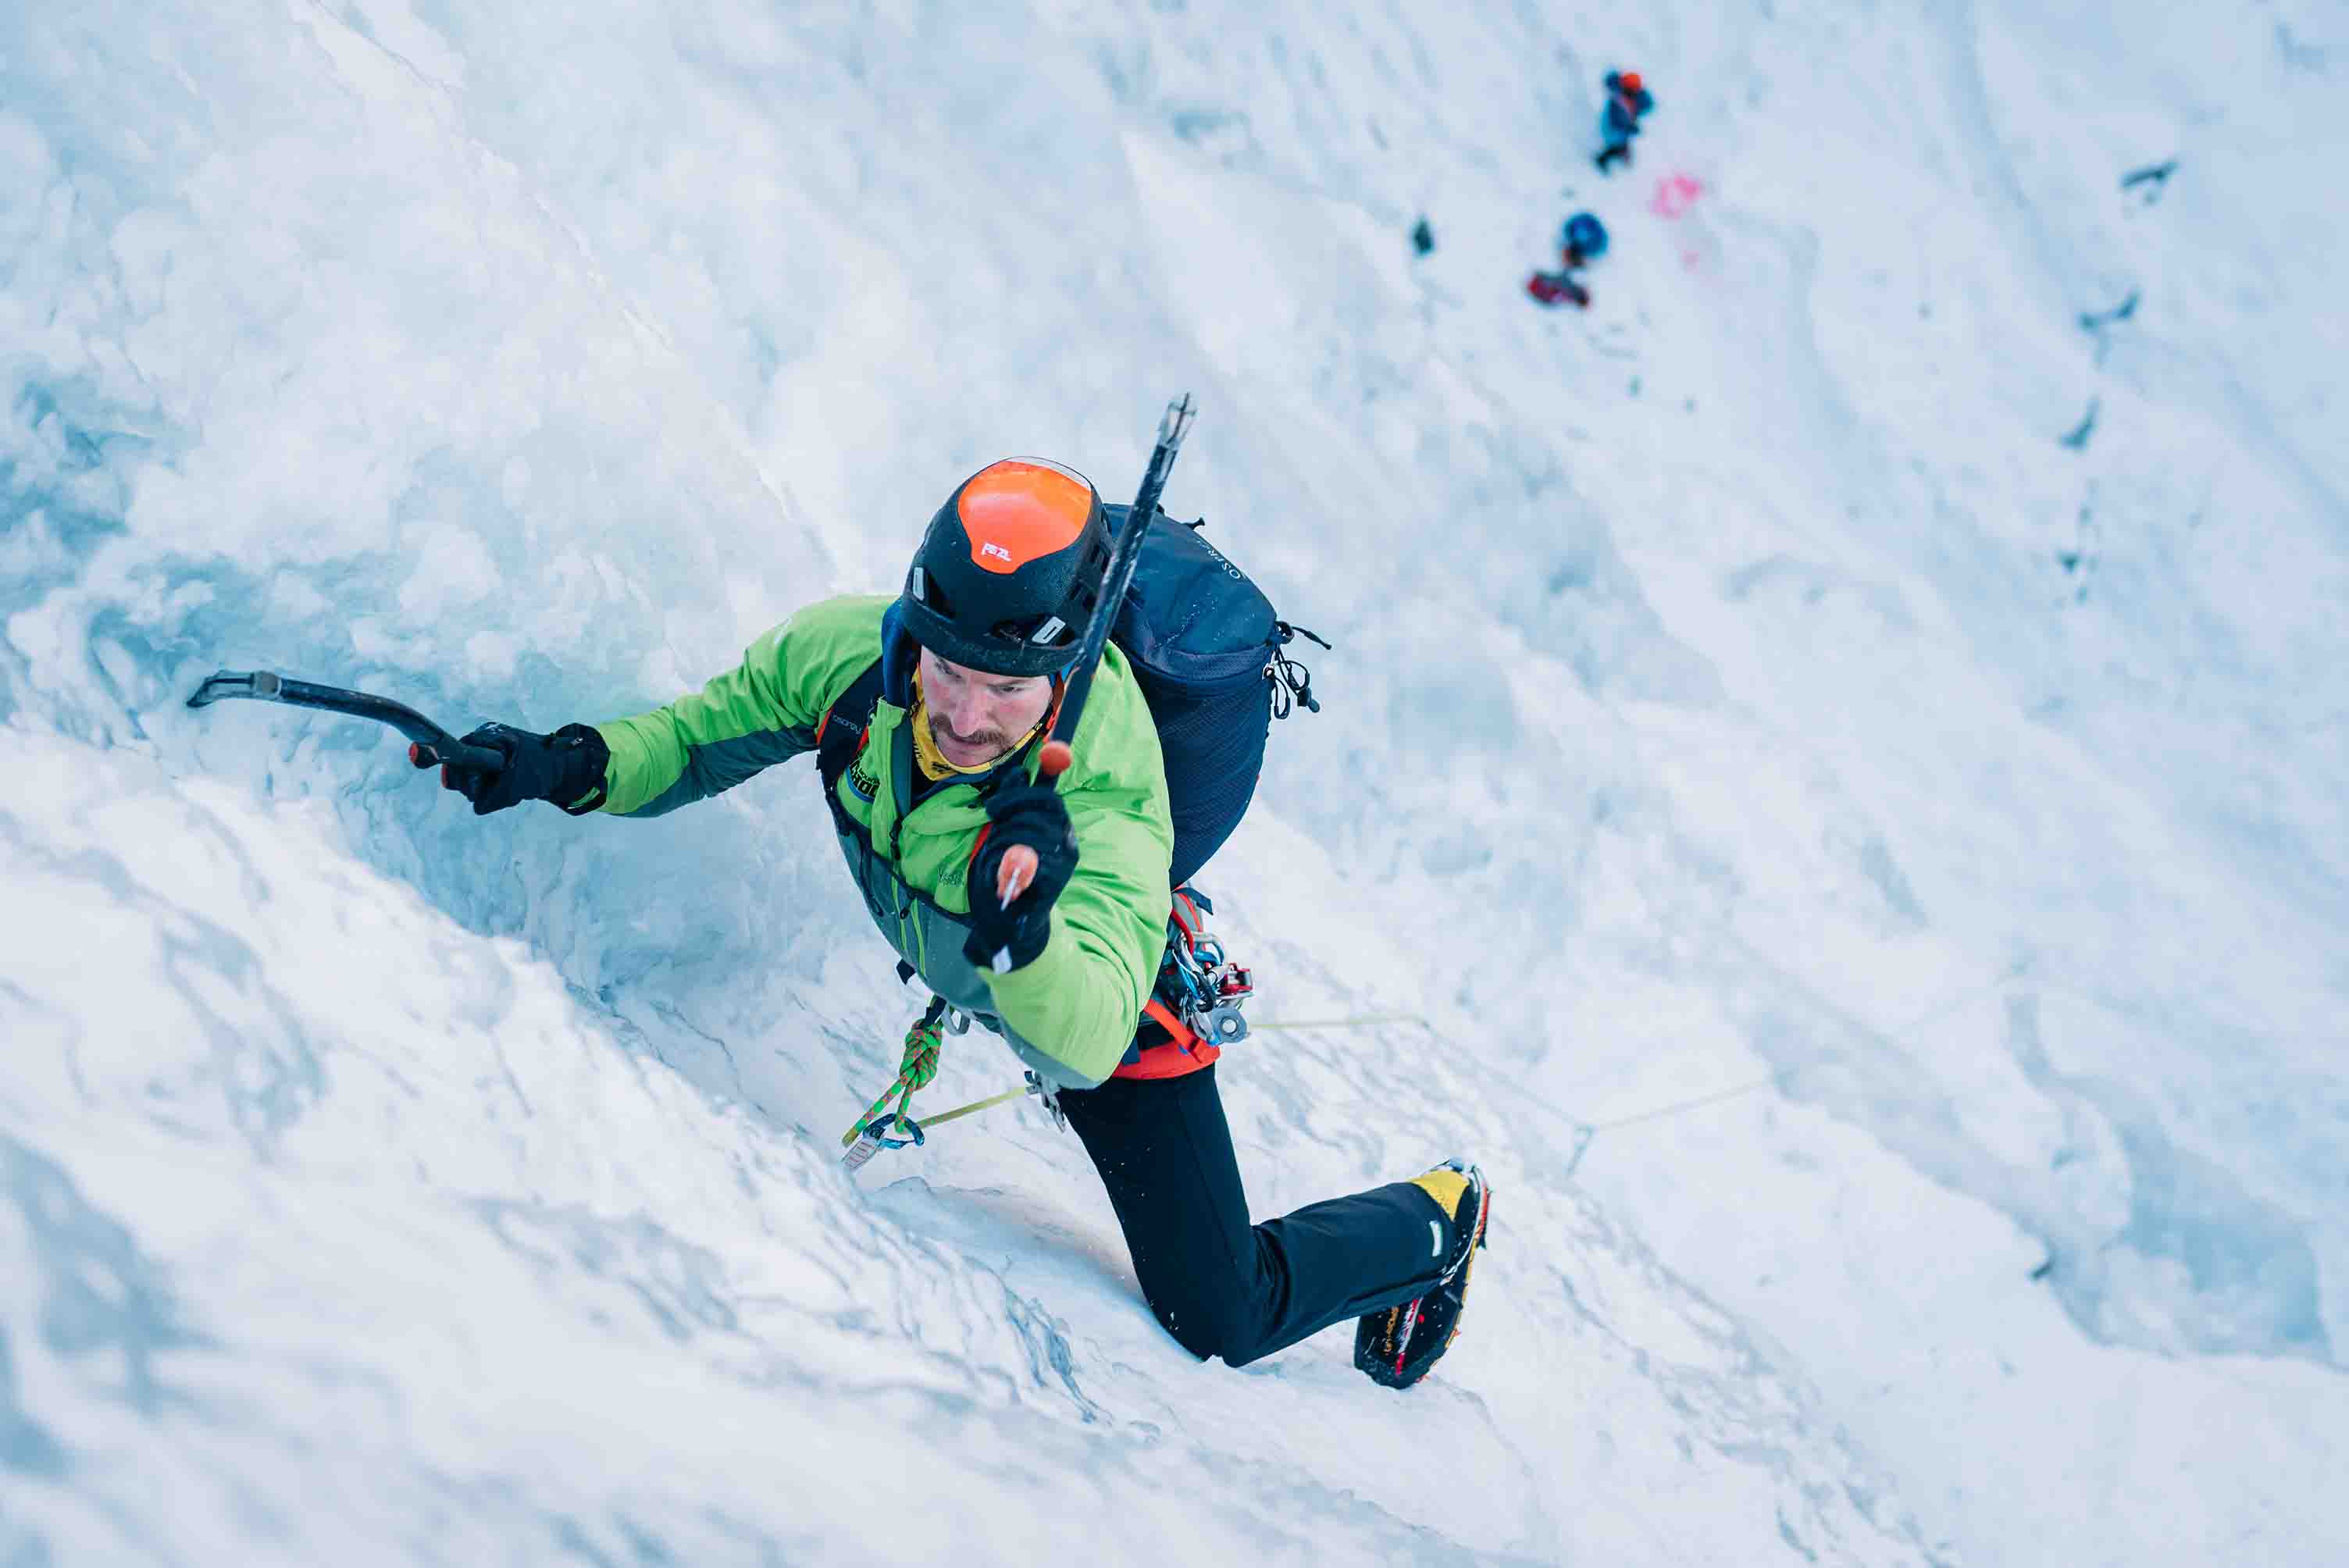
On Route: The Main Event
Stay conscious of drinking and eating throughout the climb. It’s easy to get caught up in all the aspects of rope work/climbing/belaying and forget to replenish the calories and fluids that you expend. If the snacks/bars that you packed will be hard to eat when frozen, keep a couple next to your body so that they are good to go when you are. Though somewhat pricey, I find commercial energy gels and gummies a simple and effective way to get a boost when motivation and stoke dwindle.
On the technical side, try to be considerate of your partner and make an effort to improve their experience whenever possible. Here are a few ways to do so:
- When it’s your lead, pay attention as to how effectively the rope and gear system will protect both you AND them (i.e., try to eliminate the potential for an unneeded pendulum if they fall).
- Belay them with the rope tension that they prefer (it’s nice to have the comfort of a snug rope when following a pitch, as it offers a nice mental break between leads).
- Try to engineer your belay anchors in such a way as to be able to see and hear your partner as much as possible. This typically includes becoming familiar with belay extension techniques, a skill that can be learned from EMS Climbing School.
One final on-route tip: bring mittens. My secret weapon for the coldest of days is to have a mitt like the Black Diamond Mercury Mitts in my quiver of hand-wear. I often like to throw a hand warmer (such as YAKTRAX Hand Warmers) in between the shell and insulating layers of each mitt. I clip the mitts to my harness, climb the pitch with gloves, and switch to the mittens for belaying (stashing my gloves within the warm layers near my torso to keep them toasty for the next pitch). Mittens are also a nice comfy option to wear on the descent back to the vehicles at the end of the day.
The Descent: Getting Back to Civilization
We’ve all heard the old adage that more climbing accidents happen on the way down than up. I don’t know if that’s true, but descending from your route certainly can require just as much technical care and prowess as the ascent.
Rappeling versus walking off is a common debate among climbers. In many situations, one method of descent may make more sense than the other, but if both are viable options, consider walking down. It substantially drops the chance of severe accidents (i.e. rappel accidents, stuck ropes, rock/icefall) and gives you more time to ride the high of the climb and debrief the day with your partner.
Whichever style of descent you use, surprising your partner with a nip of whiskey (or booze of choice) after the technical stuff is a nice way to round out the day.
So try some of these techniques on your next day out on the frozen vertical. You might just adopt some of these practices into your climbing career’s standard operating procedures. They may not always mean the difference between success and failure, but if you climb often enough, they’re sure to pay off.