Fun slab climbing, clean granite, bolted anchors, and a relatively secluded setting make Lost in the Sun one of the best moderate trad routes in New Hampshire.
Beginner-friendly trad climbs in New Hampshire like Standard Route on Whitehorse and Thin Air on Cathedral Ledge are notable for many reasons, including the crowds lined up at their bases. For those willing to walk, moderate traditional climbing on a high-quality rock away from the throngs of other climbers is found in the Granite State. Lost in the Sun delivers seven stunning pitches of relatively easy slab climbing and the convenience of bolted belays anchors high above Crawford Notch—a stunning setting that surpasses many of the region’s busier cliffs. All of this adds up to a must-do route for new and old trad climbers alike.
Quick Facts
Distance: 7 pitches and approximately 1,200 feet of elevation gain (approach and climbing)
Time to Complete: Half- to full-day for most.
Difficulty: ★★★ (5.5, Grade III)
Scenery:★★★★
Fees/Permits: None
Contact: https://www.outdoors.org/destinations/massachusetts-and-new-hampshire/highland-center/
Turn-By-Turn
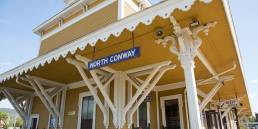
The optimal parking for Lost in the Sun is one of two small dirt pull outs off of Route 302—there is one on each side of the road. The pullouts are roughly five minutes (a little under three miles) down 302 from the Highland Center if traveling east (from I-93) and just after the Willey House if traveling west (from Route 16).
If you’re traveling from the east, the slab itself is a good indicator of the parking spots—It’s clearly seen from the road and almost directly across from the pullout. If you struggle to find the lot (44.19114, -71.40427) on your first pass (You’re not the first and won’t be the last), the large parking areas near the Highland Center and across from the Willey House provide convenient places to turn around.
The Approach
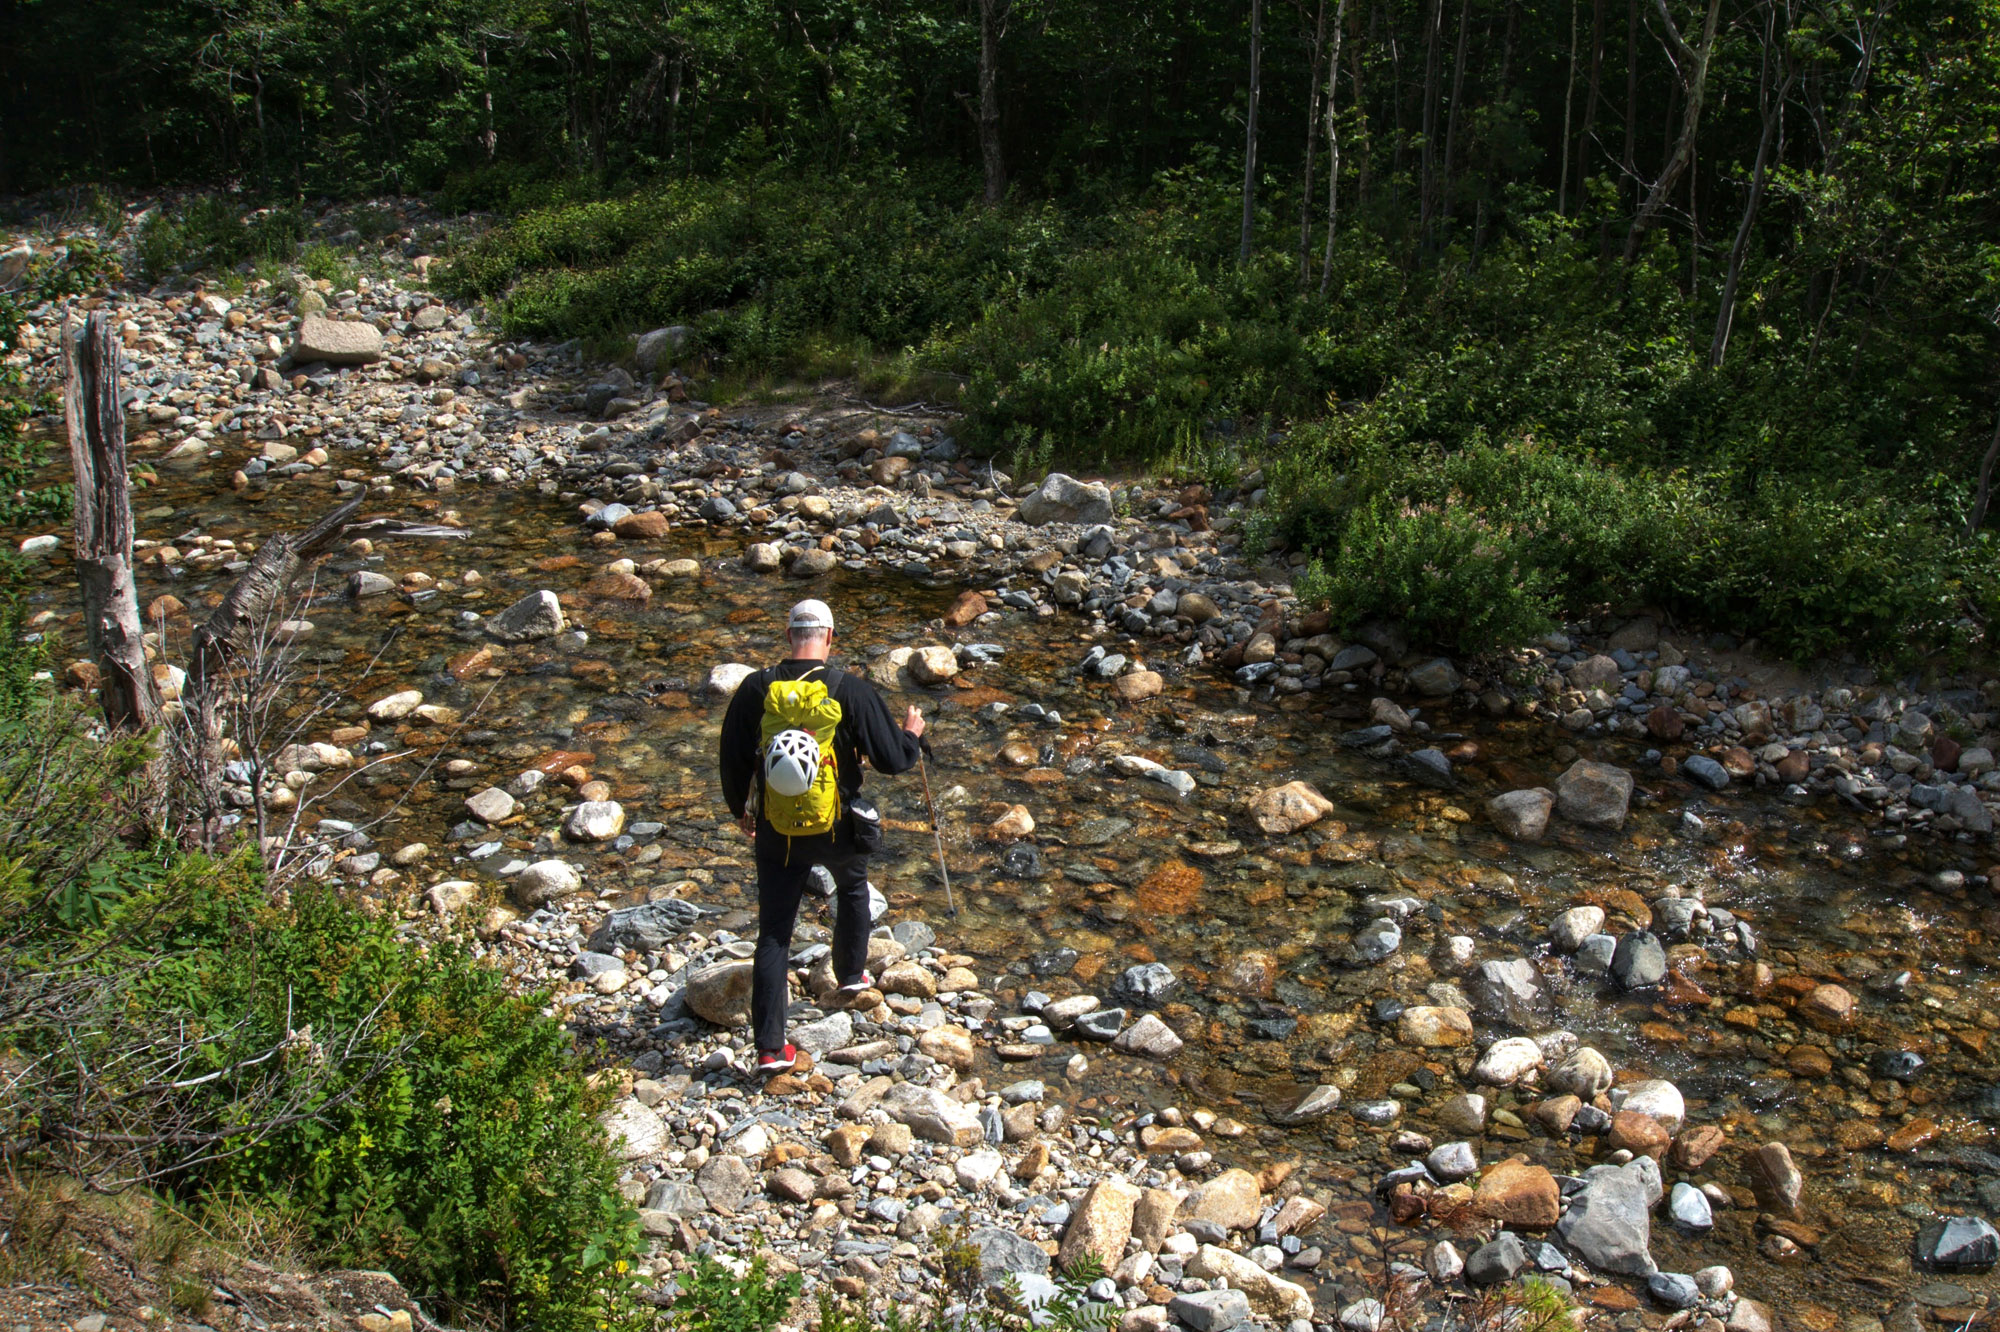
For many, finding the approach to Lost in the Sun is the crux of the trip—in some years, the path is obvious and well worn, in others its entrance gets overgrown and can be a bit of an adventure to locate. Once you find the beginning of the approach trail (44.18904, -71.40254), expect to spend between 30 and 40 minutes on it before you arrive at the base of the climb.
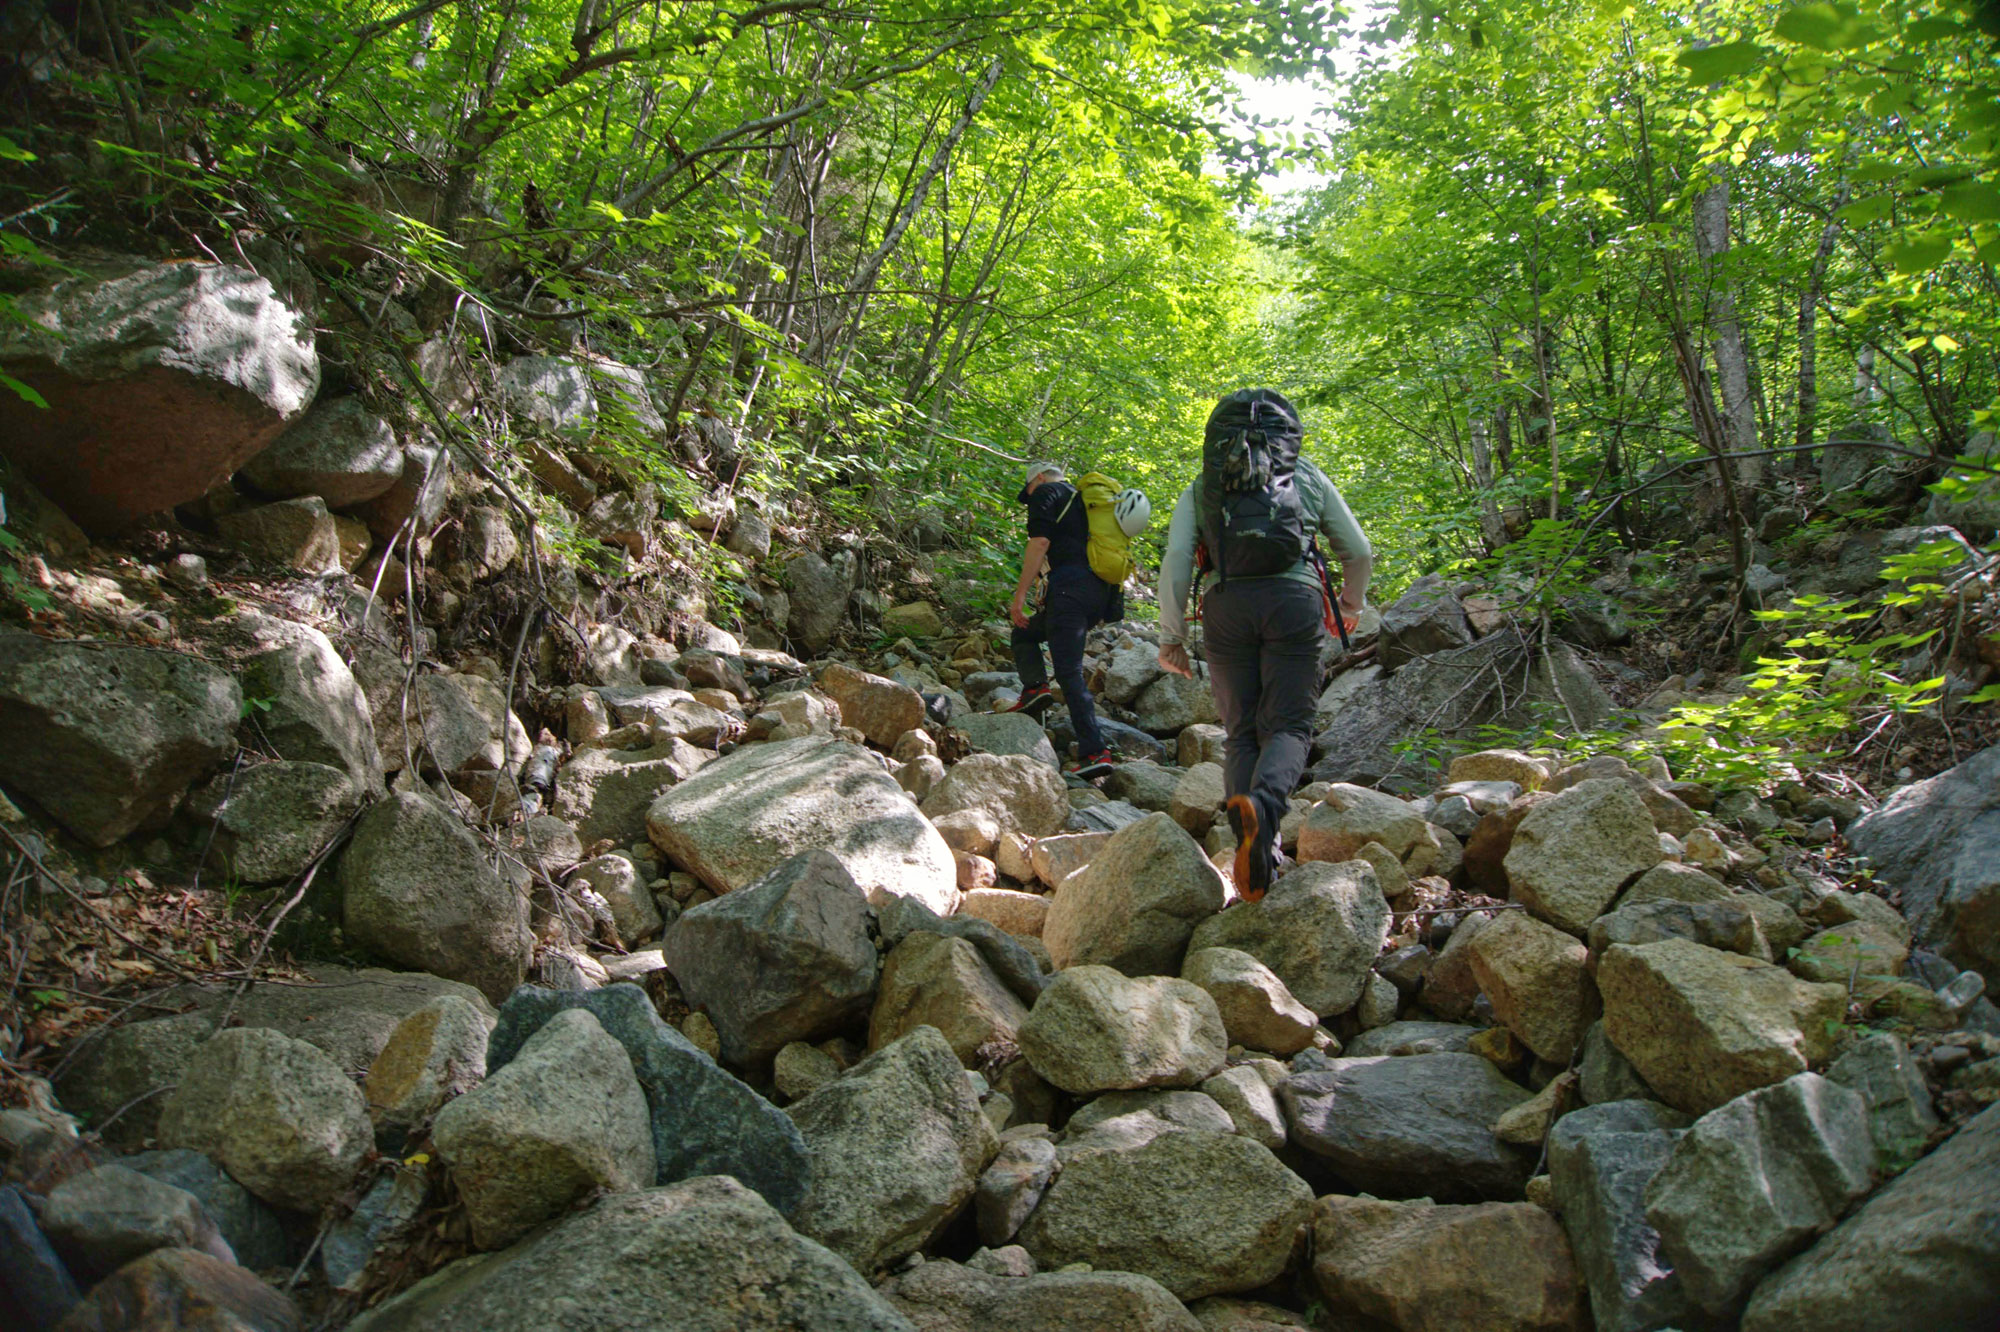
To get to the approach trail from the pullout, walk south along Route 302 and then cross the Saco River at a narrow section by a roadway drainage pipe. The trail is usually overgrown here, but there’s often a path heading into the woods and right. From here, the trail almost immediately crosses a brook and then opens up into a clearly visible herd path. Around here, keep an eye out for orange flagging tape and small cairns that mark the climber’s path. The trail winds through the woods for about the first 20 minutes of hiking, before giving way to a gully (44.18833, -71.39722) that starts off as small scree then turns into large boulders as you approach the climb.
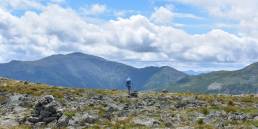
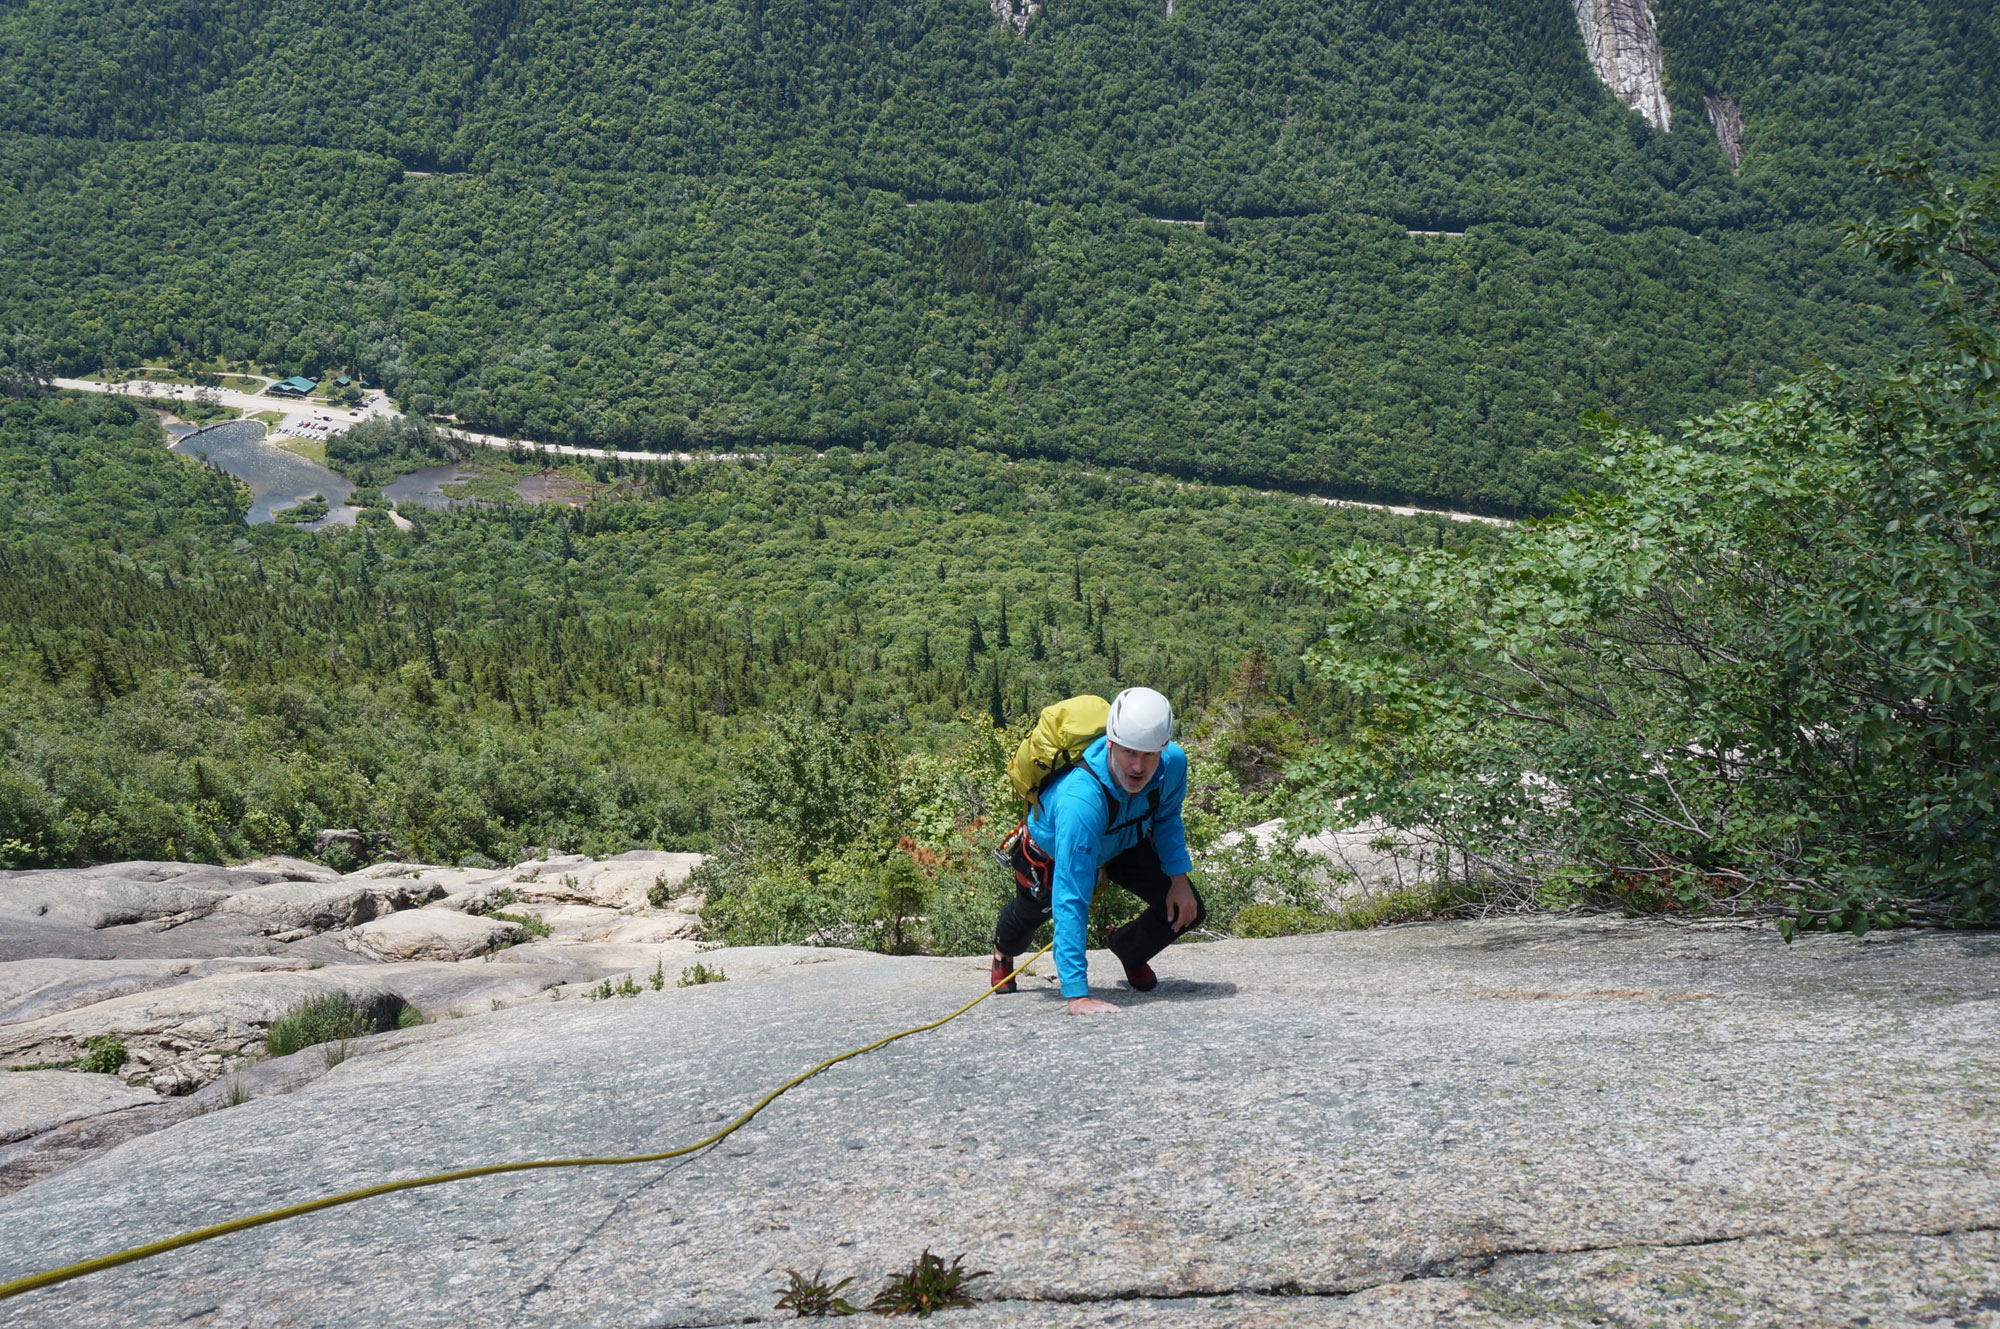
Climbing up the gully can feel like a Herculean task under the weight of your rack and ropes, but the view of the clean slab ahead and Crawford Notch below improves with every step, providing plenty of motivation for most climbers. After about 600 vertical feet of climbing from the road, eventually the gully spills climbers out at the base of the slab (44.18909, -71.39438).
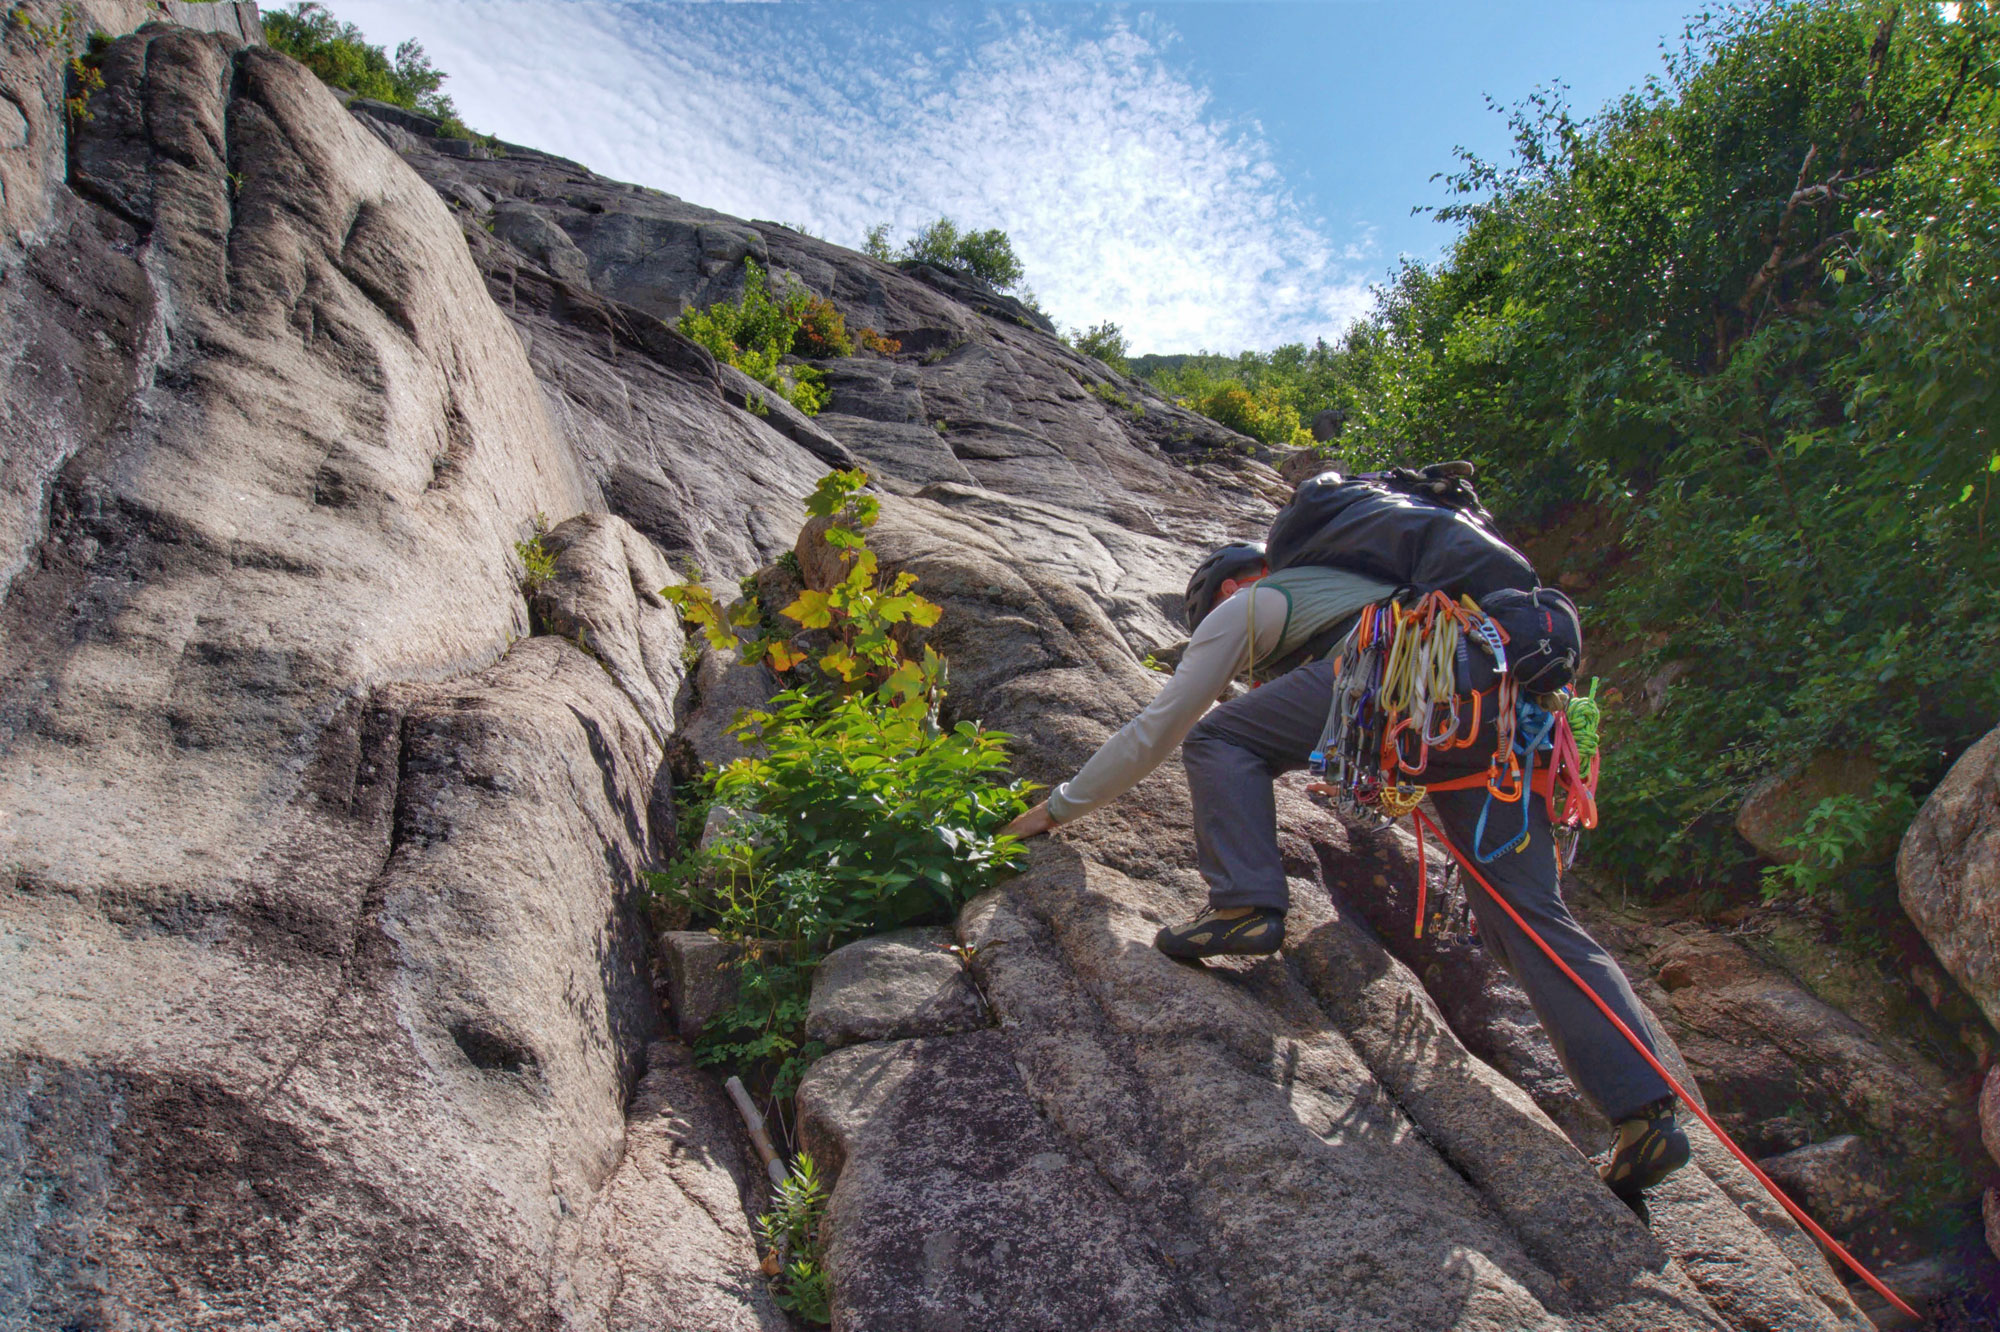
The Opening Pitches
There are four routes on the main slab (Lost in the Sun, Direct, A Bit Too Short, and The Dharma Initiative), which can make finding the “right” route a challenge. Lost in the Sun is the route farthest to the climber’s left. Direct starts from about the same spot and shares several anchors with Lost in the Sun.
Just in case your heart wasn’t beating fast enough from the approach, the first pitch is the least protected of all the climbing on the route. On a positive note, it’s also the easiest. To get started, climb the corner on the left side of the slab trending to a set of anchors on the left. Protection is sparse—what you find low on the pitch isn’t confidence-inspiring and the best gear is within a few moves of the anchor.
From the top of pitch one (44.18938, -71.39368), another set of anchors is clearly visible to the right; ignore them, they’re for Direct. Instead, pitch two heads straight up and slightly right toward the right end of the large overlap above. As you trend right, clip three bolts on slick slab (5.5) and look for the occasional gear placement on the way to a two-bolt anchor on a ledge above a roof (44.18933, -71.39368) that Lost in the Sun currently shares with Direct. (Note: The actual anchor for Lost is about 10 feet left of this two-bolt anchor. However, because one of the bolts on the Lost anchor is missing, most use the Direct anchor.)
The Arch and the Snake Flake
The third pitch (5.5) is the route’s money pitch. Starting from the left end of the ledge, it climbs the right-facing corner before arcing right past three bolts to a two-bolt stance almost directly above the belayer’s head. Low on the corner, there are excellent hands as well as plentiful options for bigger cams (Black Diamond 0.75, 1, and 2). As you plug gear in the corner, take time to enjoy the position high above Crawford Notch. The only downside of pitch three is the belay ledge (44.18944, -71.39323), which is a little cramped. (Pro Tip: Direct’s third pitch ascends straight up a bolt line above the anchor. It’s a great option if the corner is wet.)
Pitch four (5.3/5.4) goes quickly. It first ascends a short slab directly above the anchor to a ledge. From the ledge, move a few steps right and follow two or three broken left-facing corners toward a two-bolt anchor that Lost in the Sunand Direct share (44.18955, -71.39286). At the anchor, you’ll feel like you’ve moved closer to the middle of the slab, with the next pitch of slab flowing out to your left. To get your bearings and find the next anchor, look for the Snake Flake, a thin right-arcing crack about a rope length up and left.
In wet conditions, getting to the Snake Flake on pitch 5 can feel cruxy, as climbers need to cross a water groove that’s often wet. Usually, the best way to cross the gully is to ascend its right side for about 20 feet, then cross the gully where it narrows by a ledge below a headwall. Traverse under the headwall, then start climbing up and left toward the very hollow Snake Flake. Attentive climbers can find the occasional piece in the thin crack leading to the hollowed portions of the Snake Flake. There’s a two-bolt anchor atop the flake (44.18988, -71.39255), but the ledge is virtually non-existent and uncomfortable; Plan your stance carefully.
(Pro Tip: Clipping gear on the right side of the headwall often results in rope drag high on the pitch; wait for the good mid-sized gear on the left side of the headwall.)

The Finishing Pitches
From atop pitch five, it’s two quick pitches to the top in dry conditions. Pitch six leaves the anchor on the right, stepping over a small overlap and then shooting up a slab protected by a series of bolts. Although the climbing here is quite moderate, be cautious because this section is slippery when wet. Complete the pitch at the obvious two-bolt anchor about 50 meters up (44.19005, -71.39226).
There are two options for finishing the climb. One is to aim for a medium-sized tree directly above the pitch six anchor. While this is Lost’s original finish, topping out this way is often wet, leaves climbers in a cramped position, and there’s not always a rappel anchor on the thinner-than-you’d-like tree. A better finish is to head up and right, aiming for the large pedestal atop the slab with a two-bolt anchor. Getting up the pedestal requires a move or two of easy face climbing, a major change from the 600 feet of slab climbing you’ve done so far. On the pedestal, there’s a large ledge (44.19031, -71.39184) where the entire party can stretch out, have lunch, enjoy the stellar views of Crawford Notch, and comfortably transition from climbing to rappelling.
The Descent
Climbers descend Lost in the Sun in seven double-rope rappels. The rappels use the same anchors as used on the ascent (each is equipped with rap rings). Depending on the size of your party, the descent can be time-consuming.

The Kit
- The only thing harder than approaching Lost in the Sun under the weight of a rope and rack is descending the rocky approach gully after a calf-burning day on the slabs. Collapsible poles—like the Leki Micro Vario Cor-Tec Pole and Leki Women’s Micro Vario Cor-Tec Pole—add stability and support, helping you send the route and ensuring you don’t get sent home with a sprained ankle.
- You need two ropes to rappel Lost in the Sun and hauling them up the entire 1,000ish feet is a lot of work. Light ropes can relieve some of the burden and the Sterling Fusion Nano is a long-time favorite—a 70-meter rope can help cut out a rappel or two on the descent.
- Take some weight off your rack and save your back on the approach with Black Diamond’s ultralight cams (.4, .5, .75, 1, 2, and 3), which weigh about 25% less than the original C4 Camalots.
- Descending Lost in the Sun requires seven rappels and the Petzl Connect can make them all easier. It allows you to easily clip into anchors while rigging raps and adjusts so you can find the sweet spot to stand.
- Plan on spending a lot of time in your climbing shoes on Lost in the Sun, which will have you hating your super-tight gym shoes at the end of the day. Comfy shoes like the 5.10 Anasazi MoccAsym and the La Sportiva Mythos have been staples on this route since its first ascent in 2007, but those wanting to harken their big wall heroes on this marvelous multi-pitch can’t go wrong with the La Sportiva TC Pro.
Keys to the Trip
- Every anchor on Lost in the Sun is bolted, and knowing how to tie and use a quad anchor will save a lot of time on both the ascent and descent.
- It’s pretty common to come across a wet spot or two on Lost in the Sun, which will add a little spice to the otherwise moderate 5.5 grade. With that said, slab climbing is scary on wet rock, and if it’s raining or has recently rained, this objective is best saved for another day. (Pro Tip: You can get a pretty good look at the slab—and how wet/dry it is—from the parking lot across from the Willey House.)
- The route does wander on the slabs, so remember to bring slings or extendable alpine draws to keep rope drag at bay.
- Catalano’s at the intersection of Route 3 and 302 serves up great pizza, but service is slow—know your order in advance and call ahead. Another option is to stash some libations in the Saco before you head up Lost in the Sun so they’re icy cold when you return.
- Approach shoes like the Black Diamond Mission (men’s/women’s) aren’t necessary for the route, but they sure are nice! Climbers comfortable at the 5.5 grade might find themselves keeping them on for the entire route.

Current Conditions
Have you climbed Lost in the Sun recently? Post your experience and the conditions (with the date of your climb) in the comments for others!
Related Posts