New Hampshire’s newest backpacking route—the Skyline Loop—shines a spotlight on the peaks around Waterville Valley while ticking the summits of five 4,000-footers and traveling past gorgeous backcountry ponds, refreshing swimming holes, and less-traveled peaks.
New Hampshire’s newest White Mountain backpacking trip—the Skyline Loop around Waterville Valley—mixes stellar hiking with picturesque views, and crosses the summits of five New Hampshire 4,000-footers. This 34-mile round-trip route climbs over 10,000 feet and is generally completed in just two days.
Quick Facts
Distance: 34 miles with about 10,000 feet of elevation gain
Time to Complete: Two to three days for most
Difficulty: ★★★
Scenery:★★★★
Fees/Permits: None
Contact: https://www.hikewatervillevalley.com/skyline-loop
The Livermore Trailhead (South) on the north side of Waterville Valley is the start and end point for the Skyline Loop. Getting there from Interstate 93 is fairly straightforward: take Exit 28 and follow Route 49 for 10 miles toward Waterville Valley. Just as you approach the outskirts of Waterville Valley, turn left onto Tripoli Road, staying right on Tripoli when the road up to Waterville Valley Ski Area (the aptly named Ski Area Road) branches off to the left after about 0.5 miles. The next right is West Branch Road; turn here, then make a quick left turn into the Livermore Trailhead parking lot.
Pro Tip: For those navigating to the trailhead by GPS, know that there are north and south Livermore Trailheads. Since the Livermore Trailhead (North) is on the Kangamangus Highway near Lincoln—about 45 minutes by car from the correct trailhead—double check which trailhead your GPS is taking you to.
Turn-By-Turn
From the Livermore Trailhead (South), hikers can choose whether to do the Skyline Loop clockwise (departing toward Tecumseh) or counterclockwise (heading first toward Snows Mountain). The guide details a clockwise Skyline Loop, which allows hikers to descend (rather than ascend) the most technical sections of the Loop.
Getting Going
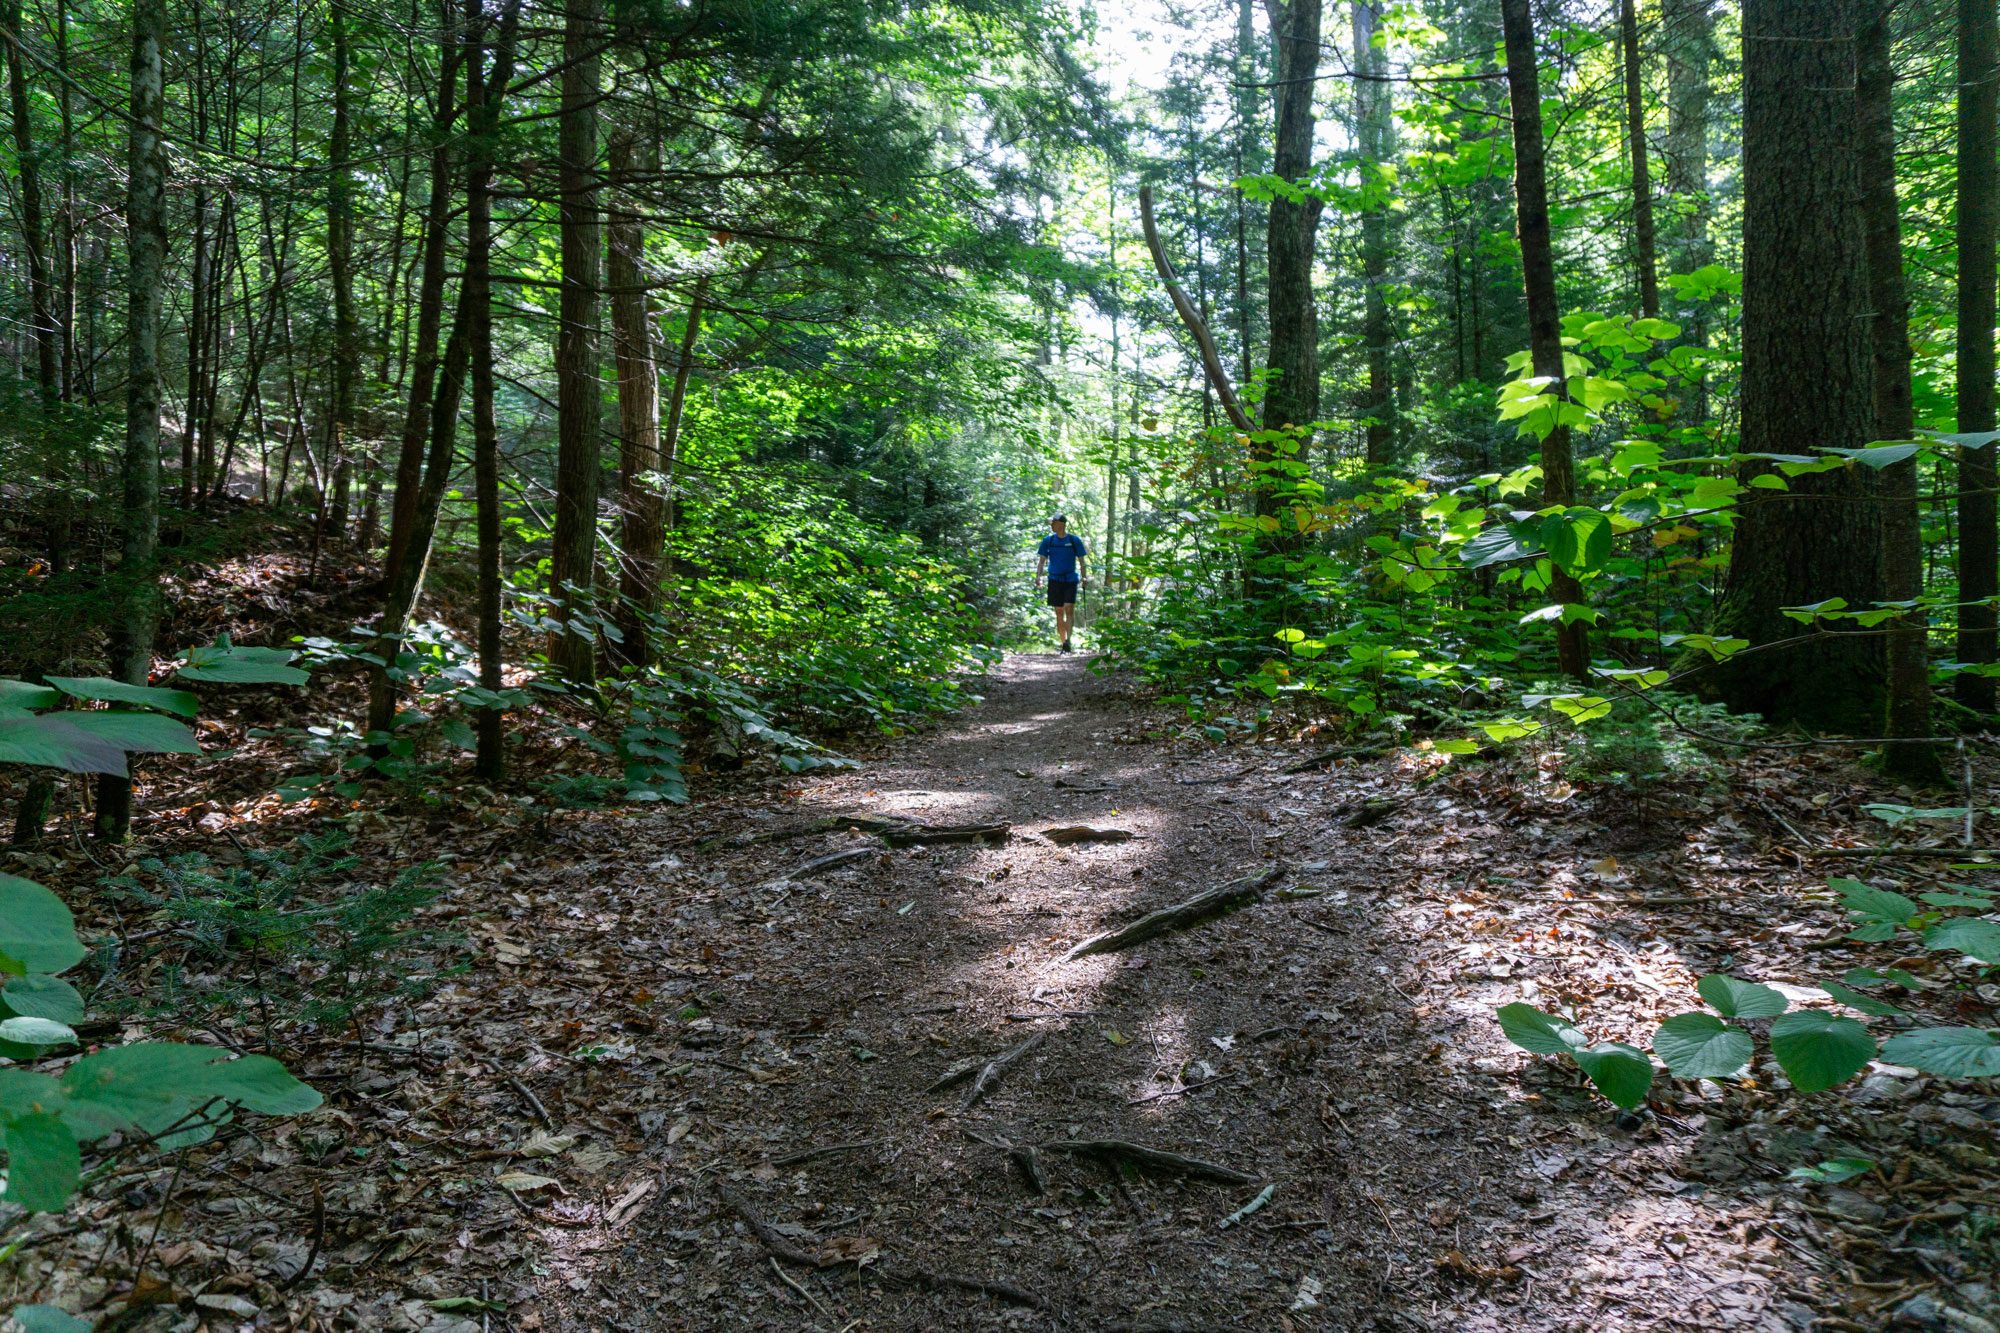
Waterville Valley has an extensive network of cross-country ski trails and the Skyline Loop incorporates several to connect hikers to some of the main hiking trails on the loop. The start of the Skyline Loop is one example of this—from the Livermore Trailhead, follow the signs for the Pipeline Trail. After a brief road march on Livermore Road and Tripoli Road, head uphill on the Pipeline Trail. Just 0.8 miles in length, the Pipeline Trail gains a fair bit of elevation and ultimately dumps hikers out in the parking area for the Waterville Valley Ski Resort.
From the lot, head uphill (right) on the road that runs along the outside of the parking area. Don’t miss the trailhead for the Mount Tecumseh Trail, which is on your right across from the top lot in the parking area.
Up and Over
The Mount Tecumseh Trail ascends Mount Tecumseh, the smallest of New Hampshire’s 4,000-footers, in about 2.5 miles. Gentle at first, the trail crosses a small stream and weaves through an open forest as it meanders gradually uphill. After crossing a second stream (easy), the trail begins to climb, hugging the woods along the right side of Waterville Valley Ski Area. As you ascend, keep an eye out to your right for pleasant views of the summit of Mount Tecumseh, lurking through the trees.
After about 2,000 feet of elevation from the parking lot, the Mount Tecumseh Trail flattens out as it traverses a forested ridge toward the summit. Along the ridgeline, hikers will pass the junction with the Sosman Trail—which leads to the top of the Waterville Valley Ski Area—on their way to the summit loop. Hikers can choose to reach the summit via either side of the loop, but turning left is comparatively easier, a little shorter, and has nice views of the western White Mountains.
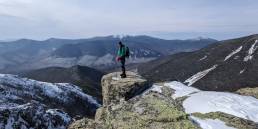
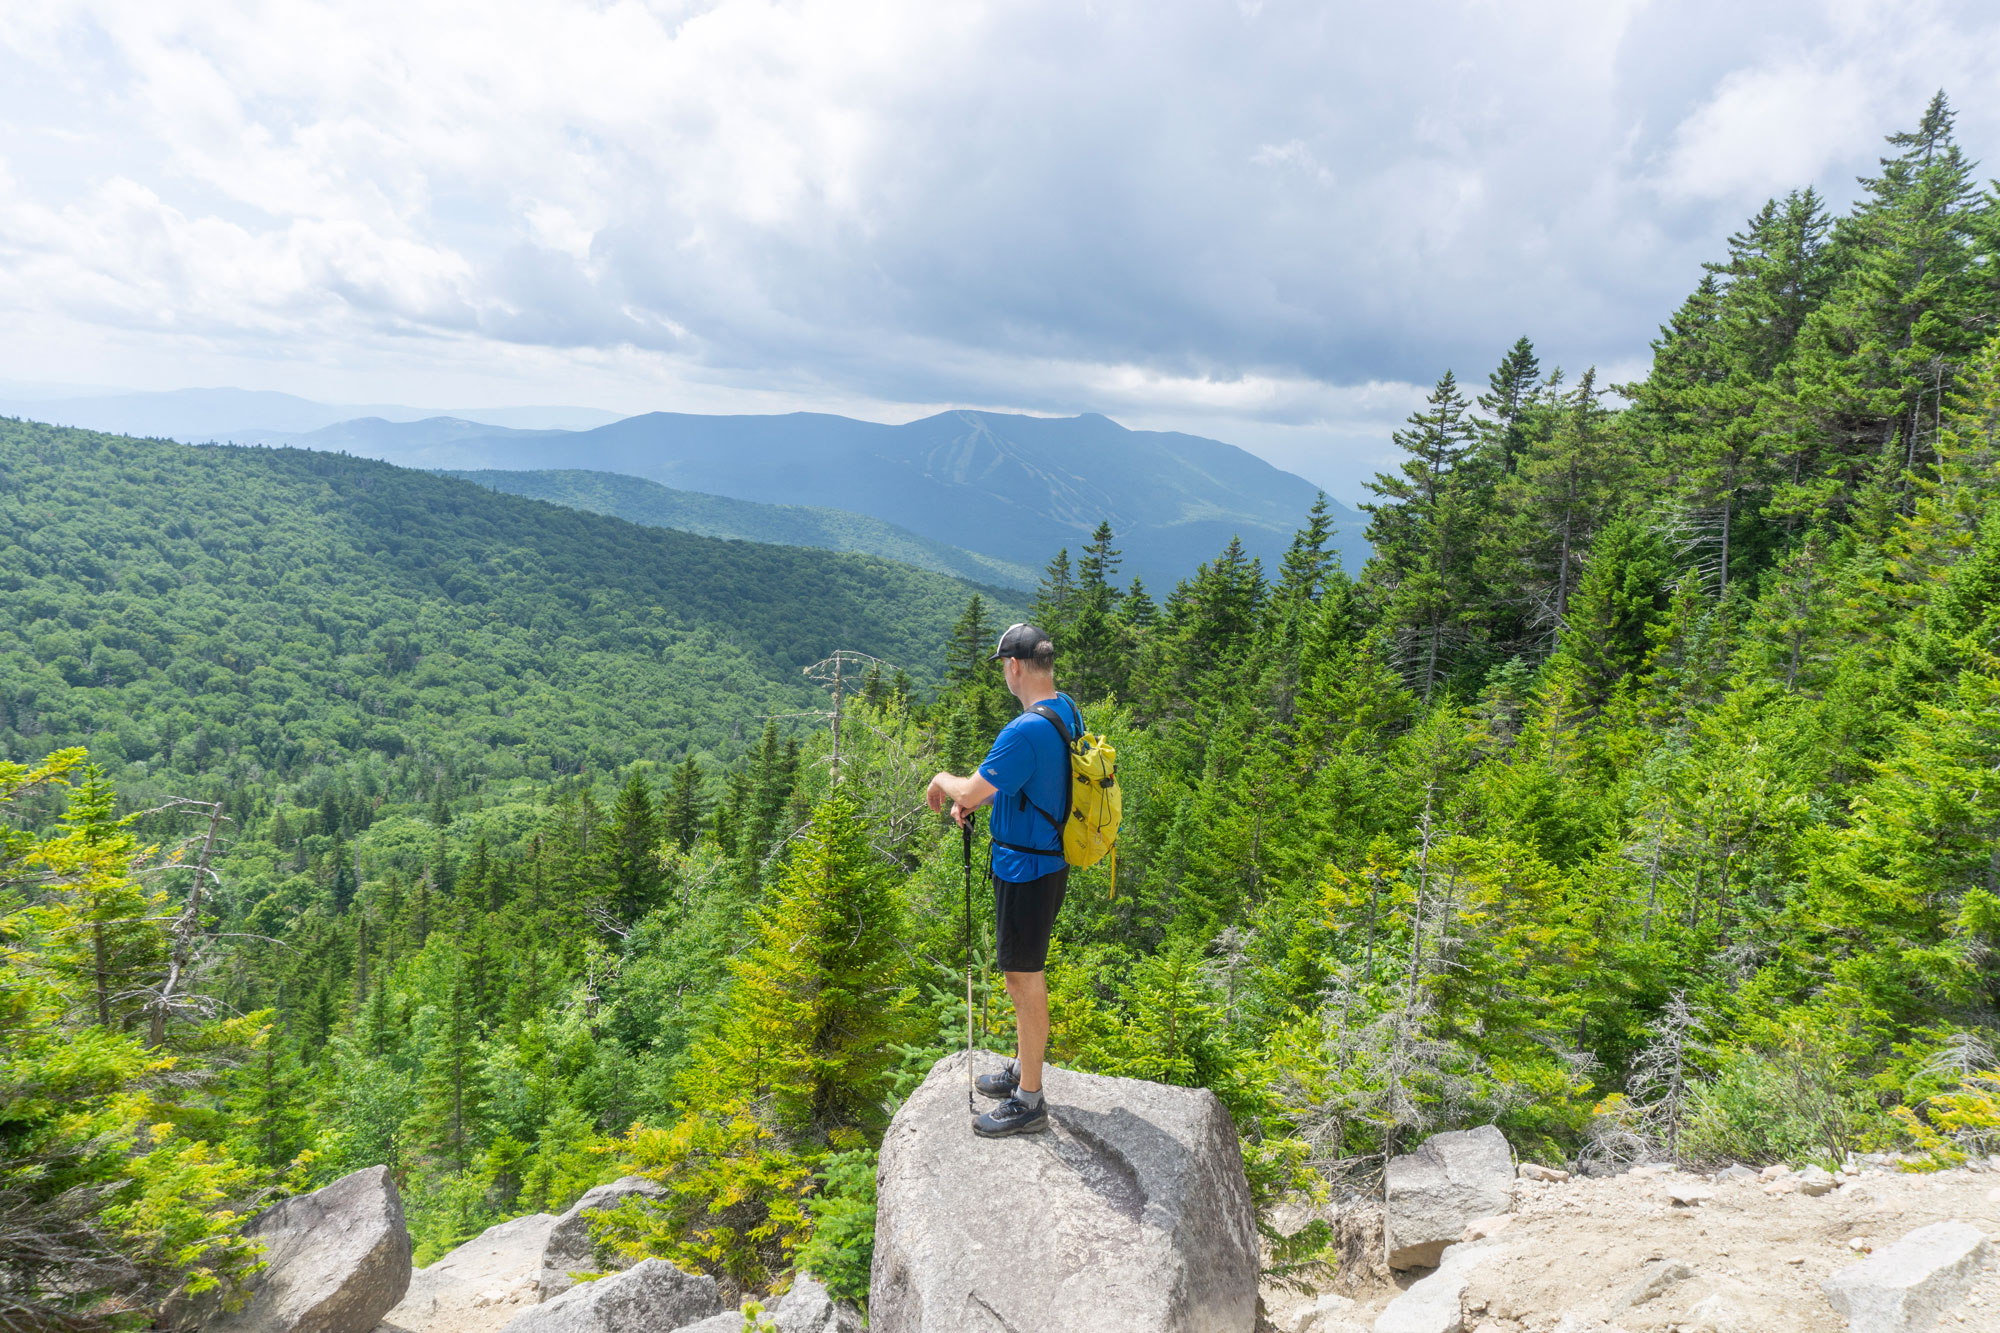
At the summit, there’s a wonderful overlook. In the foreground are the Skyline Loop’s main peaks, Osceola and East Osceola are seen on looker’s left, and the Tripyramids loom large in the center. Just right of the Tripyramids, Snows Mountain (the last peak on the Loop) is visible—it is easily discerned from the ski trails that run down its front. On clear days, Mount Washington and the Southern Presidentials can be seen standing tall in the distance.
The First Descent
From Tecumseh’s summit, the Skyline Loop heads north on the less-traveled portion of the Mount Tecumseh Trail. The trail drops steeply toward a forested col and after about 0.7 miles, you’ll climb to the summit of West Tecumseh, a sub-peak of the main mountain. Along the way, don’t miss the view behind you of Tecumseh.
After West Tecumseh, continue on the Mount Tecumseh Trail for 2.4 miles, descending through pleasant forest until you hit a few brooks, the hiker’s parking lot, and then Tripoli Road. Once on Tripoli Road, follow it south (right) for 1.3 miles until you reach the Mount Osceola Trailhead. Along the way, there are several roadside campsites operated by Pro-Sport, Inc. These are extremely popular weekend campsites, so don’t expect to snag one at the last minute.

The Osceolas
It’s easy to find the Mount Osceola Trailhead from Tripoli Road. It is well-signed, the parking lot is often full (with cars overflowing onto the road), and there’s a Forest Service bathroom.
The Mount Osceola Trail departs from the back left corner of the lot, gradually climbing 3.2 miles toward the Skyline Loop’s next peak: Mount Osceola. These miles pass quickly, as the trail makes big looping switchbacks, first up Breadtray Ridge, then up the summit dome. As you gain elevation, keep an eye out for good views of Tecumseh and Waterville Valley through the trees.
The views east from Mount Osceola’s summit overlook are perhaps the finest of the trip. Find a spot on the broad, open ledge and enjoy the spectacular White Mountain scenery while taking a well-deserved break.
From Osceola’s summit, the Skyline Loop continues along the Mount Osceola Trail, dropping in a series of steps to the col between Osceola and East Osceola. Parts of this descent are quite steep and technical, so pay careful attention to your footing. The final step before the col descends a steep chimney; most descend via the chimney bypass on the left, which is a bit easier and less technical than the chimney proper.
The col itself is quite small. Almost immediately, hikers are on the ascent again, working their way toward East Osceola’s summit. Although the summit is below treeline and has no views, there is an overlook on the left a few minutes before the summit (look for a large block and a view of the Pemigewasset Wilderness) as well as another overlook a few minutes past the summit. Between the challenging mile of hiking you’ve done since Mount Osceola and the steep descent ahead, one of these overlooks is a great place to take another break.
From East Osceola, there are about 1.5 miles of descent to the junction with the Greeley Pond Trail. Portions of this descent are quite steep. Take it especially slow when descending through the narrow gulley and the open rocky slab a little ways below that. At the bottom of the slab, there’s an excellent view into Mad River Notch; notice your next destination (Upper Greeley Pond) nestled deep in the valley below.
Greeley Ponds Scenic Area
The Mount Osceola Trail ends at its junction with the Greeley Ponds Trail (GPT), which runs from the Kancamagus Highway (left) to the Livermore Trail (right). At the junction, turn right and enjoy the first flat, easy terrain in several miles.
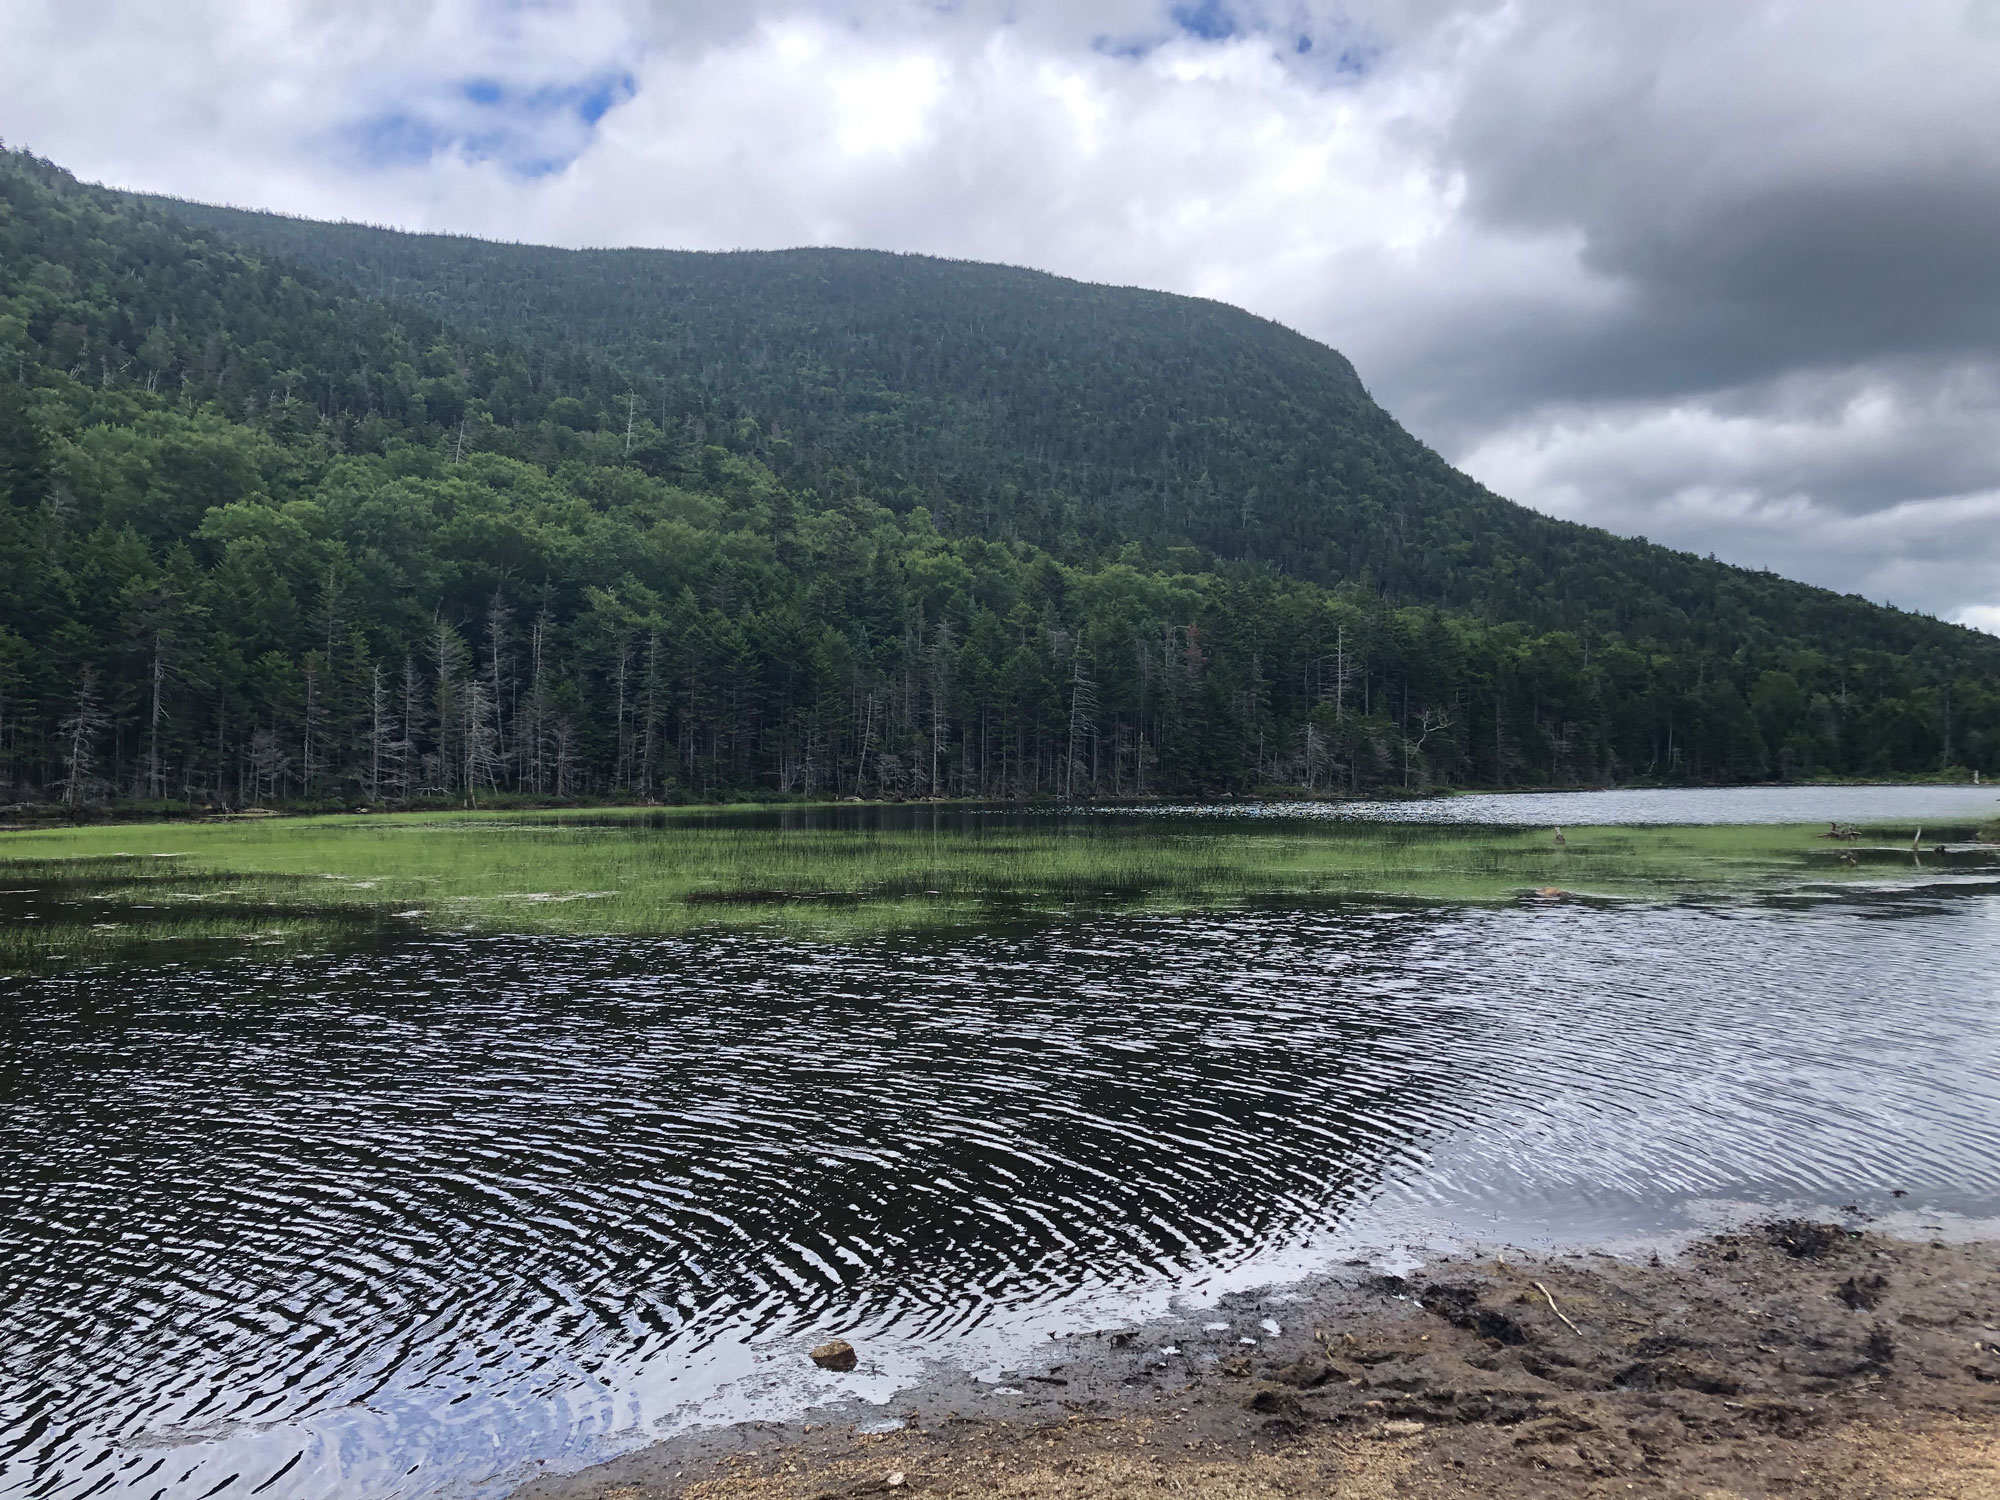
Hikers soon come to the first of the two Greeley Ponds: Upper Greeley Pond. From the trail, it is an easy scamper down to the gravelly beach. While the pond itself is transfixing, don’t forget to look up and behind you at East Osceola, the mountain you just descended. Lower Greeley Pond follows soon after. The larger of the two ponds, this may seem like a good place to camp. However, there’s no camping allowed within a quarter mile of either pond.
Once you’ve had your fill of the ponds, refreshed your water supply, and perhaps even taken a mid-trip dip, continue along the GPT. After crossing Mad River, the trail leaves the Greeley Ponds Scenic Area and widens, expanding from a pleasant narrow footpath to a dirt and gravel road. From here, it’s just over two mostly easy miles back to the Livermore Trail, from which you can either head back 0.3 miles to the Livermore Road parking lot (and a restful night in one of the region’s many campgrounds or vacation homes) or press forward on the Skyline Loop.
The Interlude
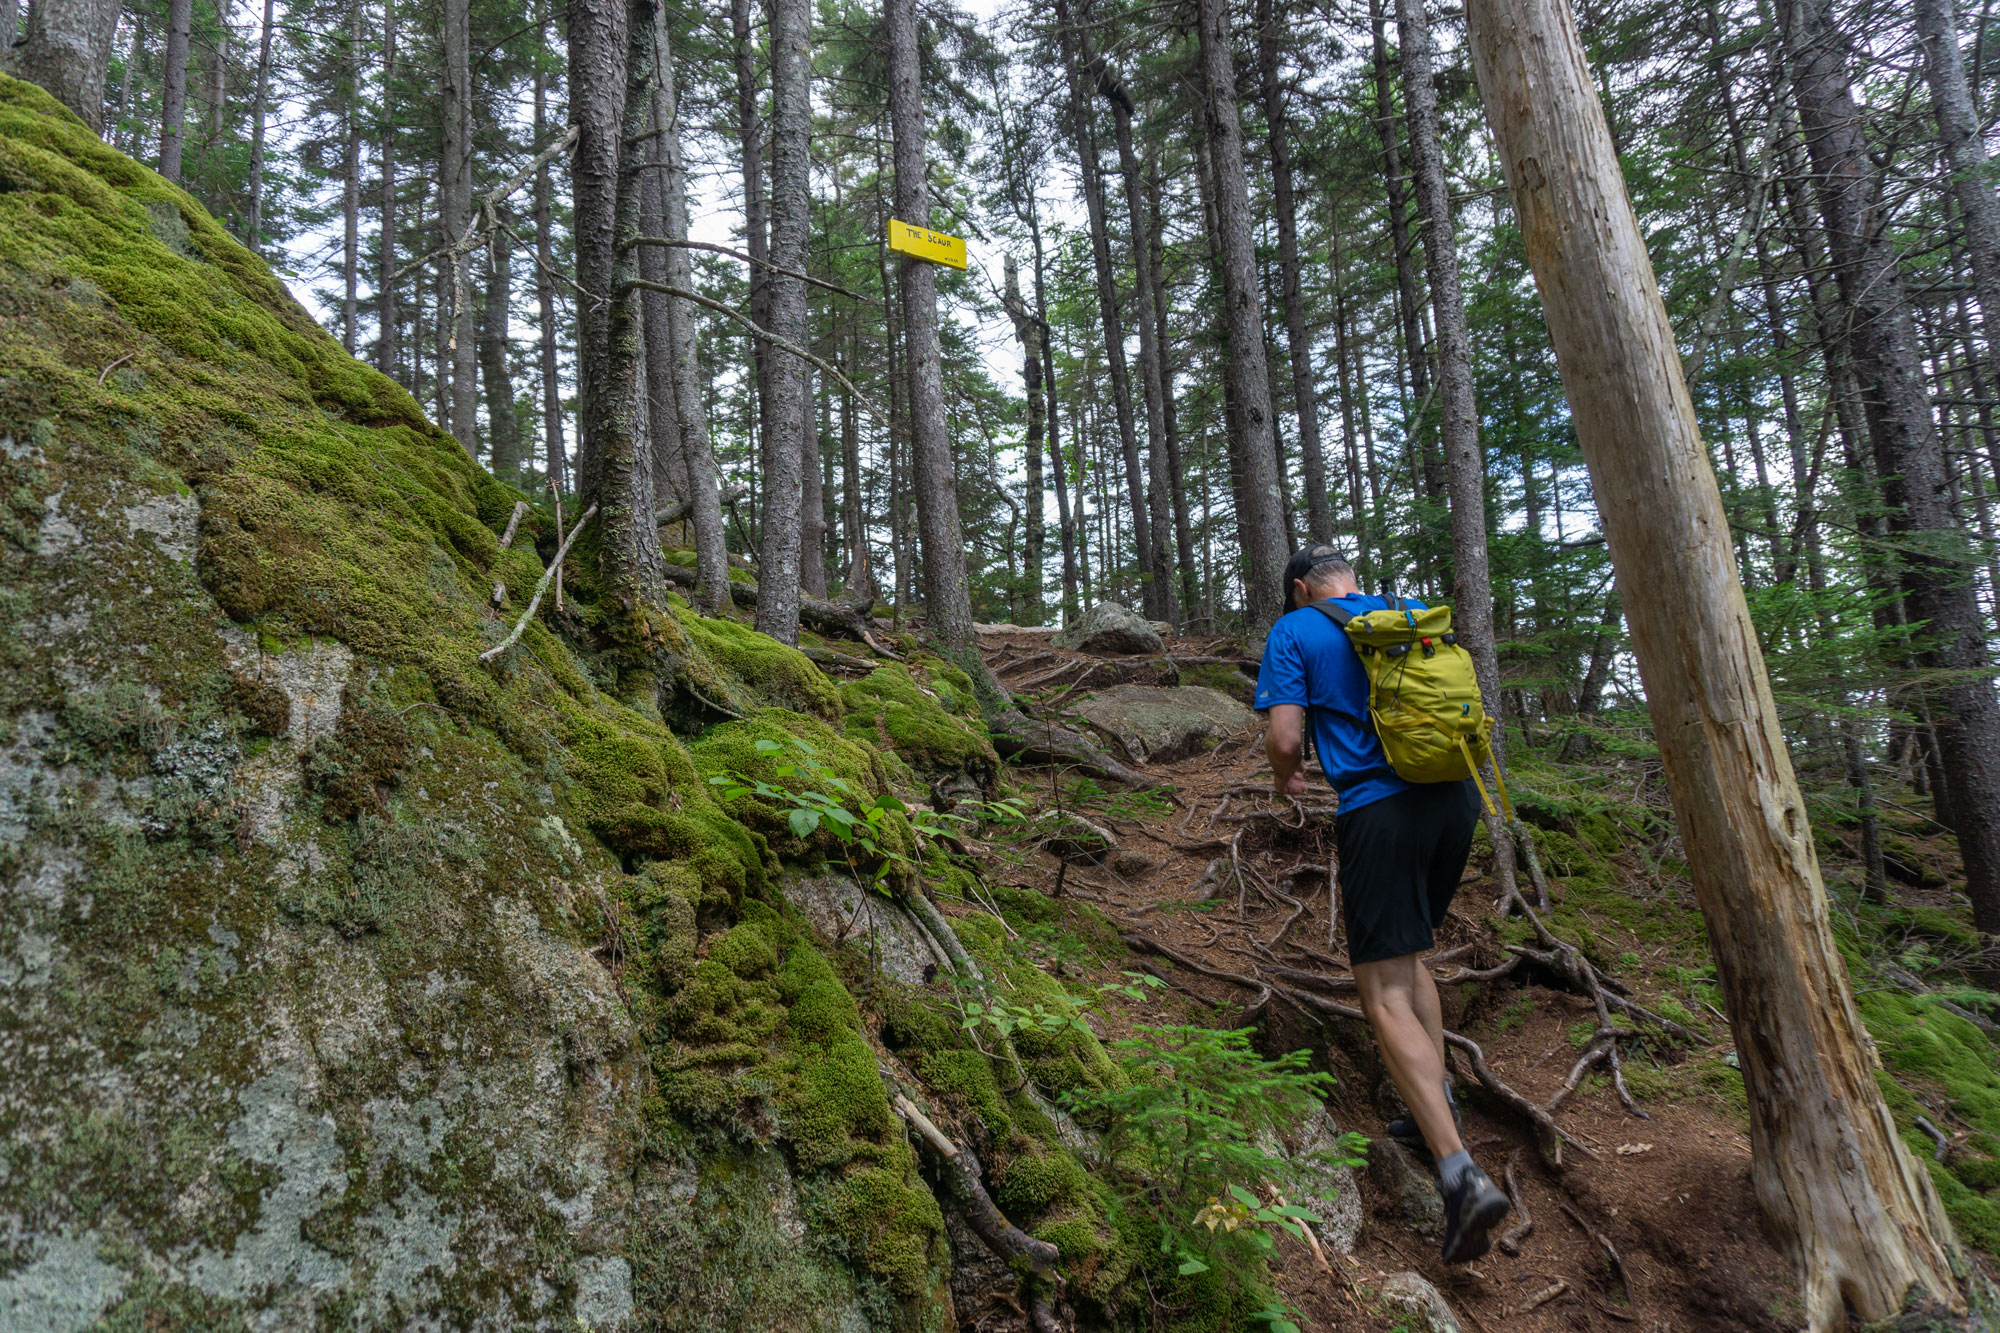
Assuming you’re continuing onward at the junction with the Livermore Trail, turn left and head for your next objective: the Scaur. To get there, follow the Livermore Trail for about 0.7 miles, then make your first left onto Kettles Path. Flat at first, Kettles Path soon begins climbing, pleasantly ascending about one mile toward an overlook atop the Scaur. Though much smaller than the surrounding 4,000-footers, the view from the Scaur overlook is stellar, with Sandwich Dome in the foreground and Tecumseh looming large on the western horizon (looker’s right). This flat, rocky overlook is an excellent place to stop and have a snack.
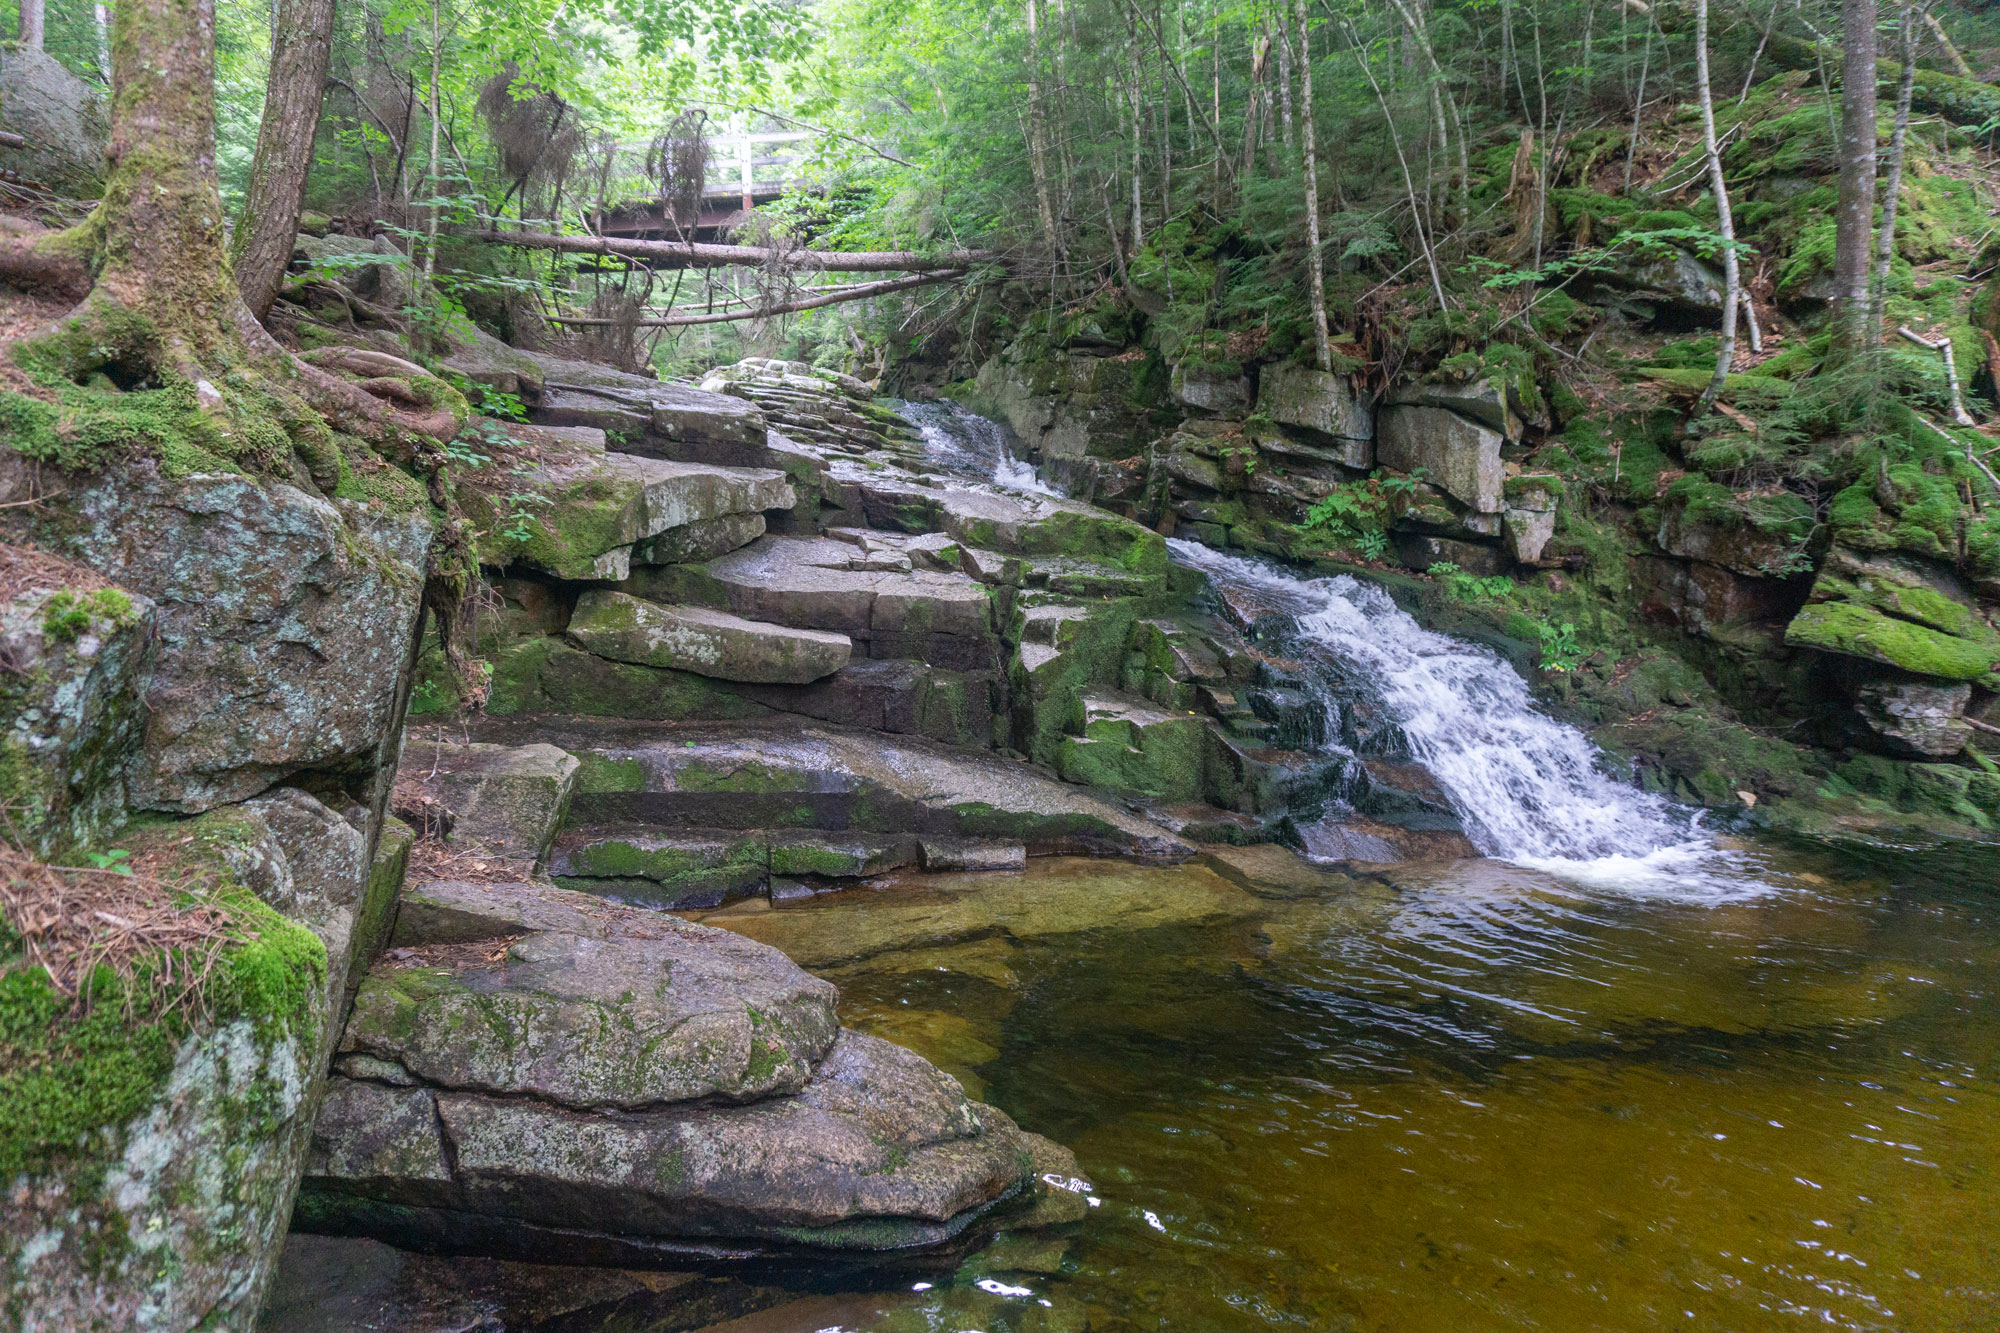
Around the top of the Scaur, Kettles Path becomes Irene’s Path. Follow this narrow trail along the ridge for one mile. Eventually, you’ll drop off the ridge in a few switchbacks, reaching the junction with the Old Skidder Trail (OST). Here there’s an option to go explore the Waterville Flume via a short spur trail. The Waterville Flume is a unique destination where the Flume Brook passes through high rock walls and is reminiscent of the better-known Flume Gorge in Franconia Notch.
Once you’re on the much-wider OST, it’s about 0.8 miles of mostly easy hiking back to the Livermore Trail. Make a right turn at this junction, following the Livermore Trail back toward Livermore Road for another 0.8 very easy miles until you reach the Scaur Ridge Trail junction.
The Tripyramids
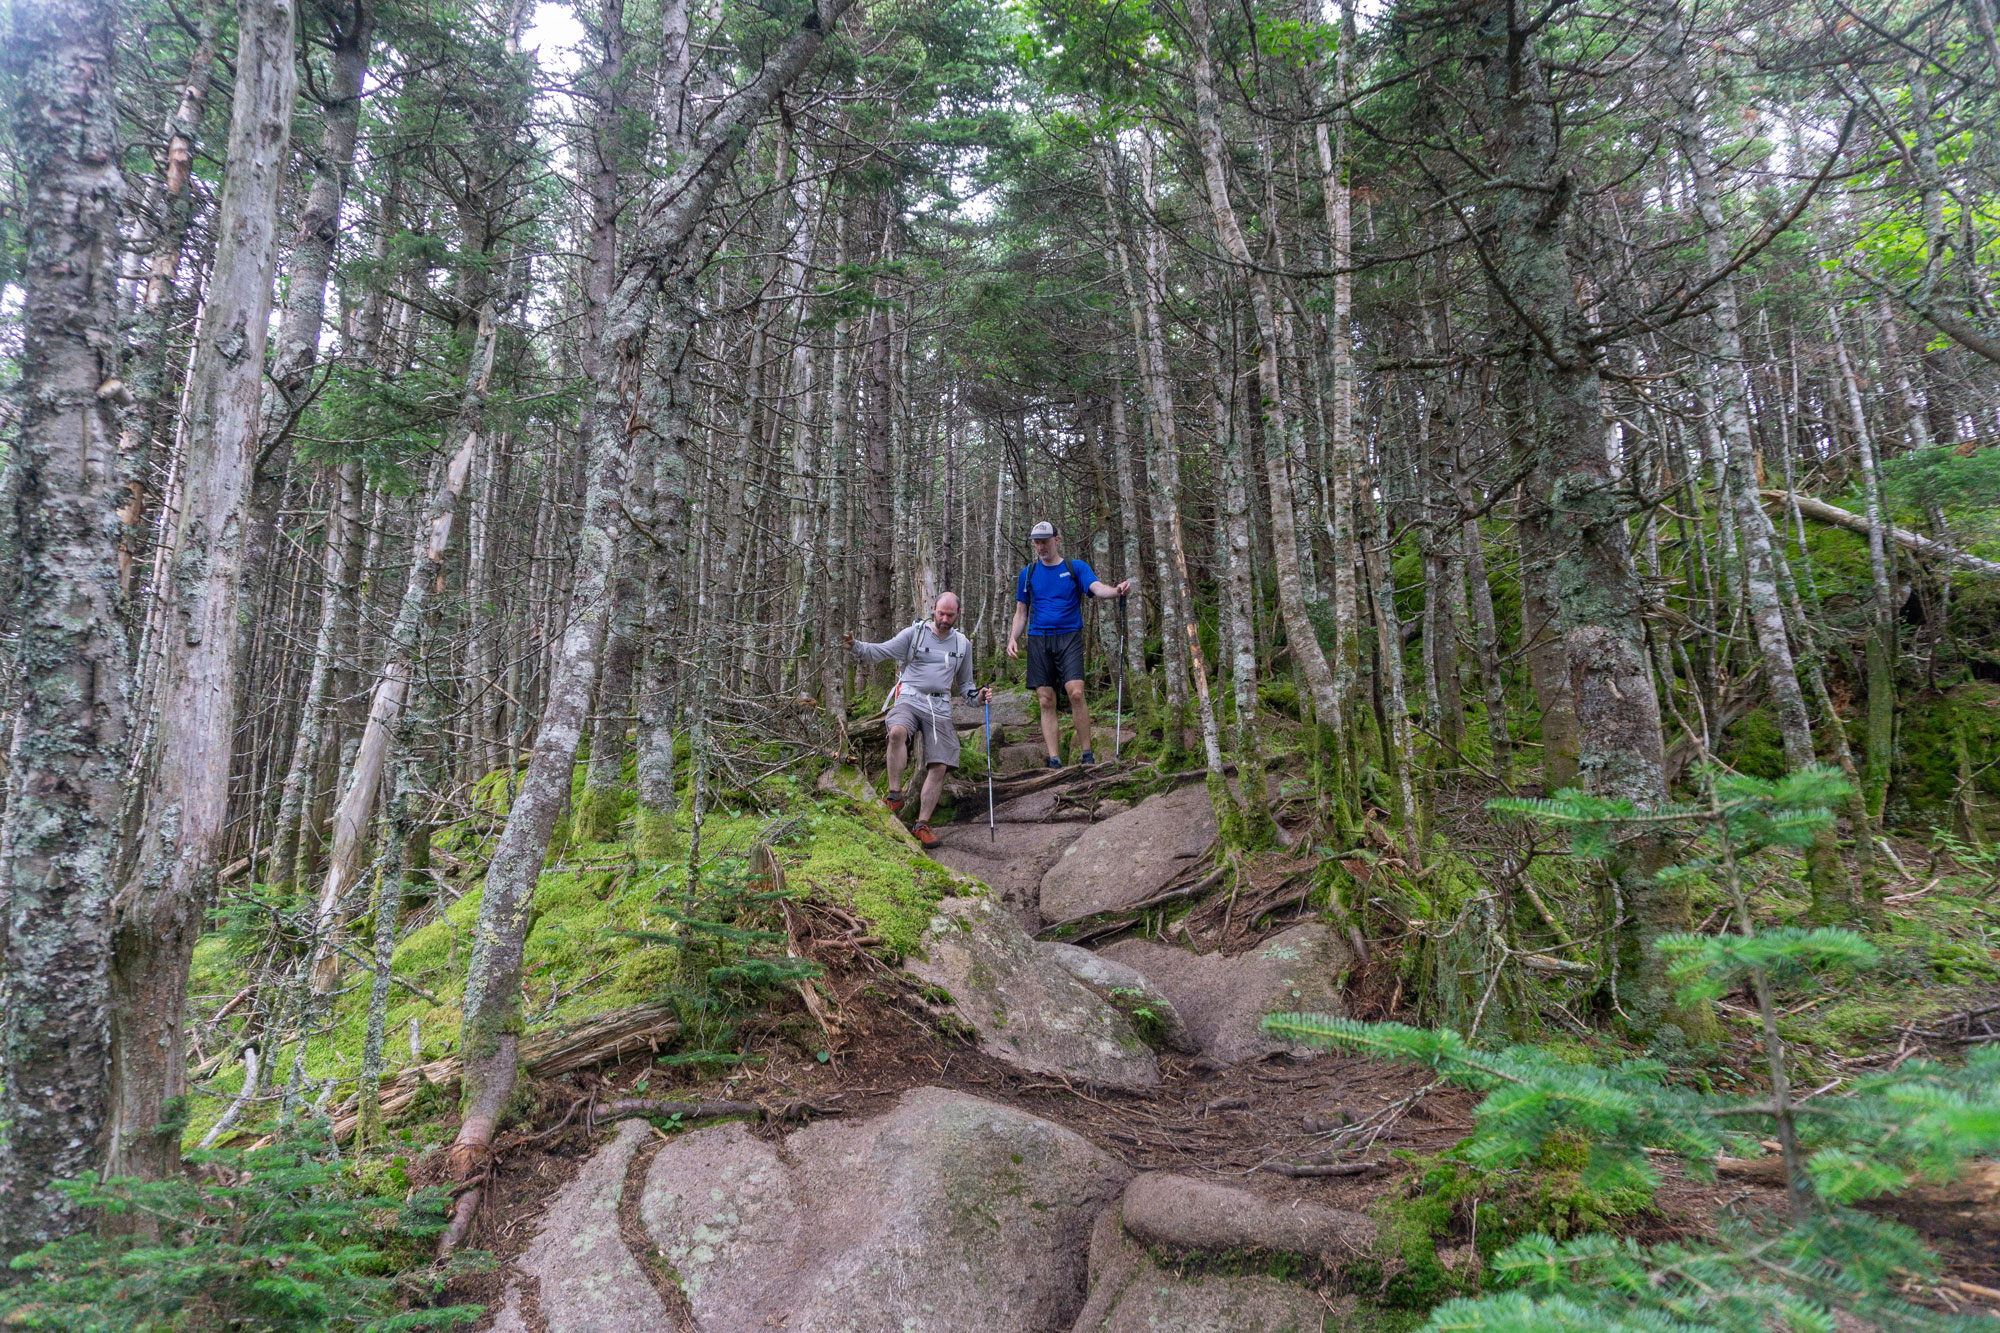
The Scaur Ridge Trail connects the Livermore Trail to the Pine Bend Brook Trail in 1.2 miles. Mellow at first as it meanders through open forest, the trail soon steepens, quickly gaining over 1,000 feet of elevation. Although you’ll definitely be working on the climb, there are good views through the trees on hiker’s right. The most prominent landmark is North Tripyramid Slide, which runs from almost the top of North Tripyramid to nearly the Livermore Trail below. A few glances over and you’ll see why the “trail” up it (Mount Tripyramid Trail) is one of the Terrifying 25.
At the Pine Bend Brook junction, there’s a nice flat spot that’s perfect for taking a break before you tackle the remaining 0.8 miles to the summit of North Tripyramid. The terrain after the junction is blocky, with lots of short, fun scrambles—at least as long as they’re dry. After gaining another 500+ feet of elevation, you’ll merge with the Mount Tripyramid Trail and hit the summit almost immediately thereafter.
North Tripyramid’s summit is a small, flat area with moderate views and a few nice rocks to sit on for a break. The best overlook is a 10-yard scramble below the summit. Offering views north and east, on nice days, you can pick out everything from the Presidentials to Mount Chocorua and Mount Passaconaway.
When you’re ready to get going again, continue on the Mount Tripyramid Trail toward Middle Tripyramid. The trail drops quickly at first through some blocky terrain, then crosses the col between the two peaks. After 0.5 miles, the Sabbaday Brook Trail enters on hiker’s left; stay on the Mount Tripyramid Trail as it makes a short but steep climb up Middle Tripyramid (the fifth and final 4,000-footer of the trip).
A narrow summit, there are views from either side of Middle Tripyramid’s summit ridge. To the east, the prominent landmarks are Passaconway and Whiteface (two nearby 4,000-footers that can be linked via a traverse of the Sleepers) as well as Mounts Hedgehog and Chocorua. The views to the west are almost as good, with Sandwich Dome and Tecumseh occupying much of the terrain.
After Middle Tripyramid, it’s a quick (0.4 miles) traverse to South Tripyramid. Although there are not great views from this summit, after a few minutes of descent on the Mount Tripyramid Trail, hikers will encounter the South Slide. Here the views are outstanding, with Squam Lake simmering in the distance to the southeast and Sandwich Dome, Welch-Dickey, and Tecumseh occupying much of the view to the southwest.
About 0.2 miles onto the slide, the Kate Sleeper Trail branches off left. Stay on the slide, carefully picking your way down the boulders and loose scree. Eventually, the slide ends—you’ll know you’re close when the trail narrows, reenters the trees, and makes a sharp right hook. From here, it’s 2.3 miles back to the Livermore Trail. As the trail mellows, it follows and crosses a series of brooks, offering hikers the first reliable water source in many miles.
Finish with a Flourish
At the junction with the Livermore Trail, turn left toward Livermore Road. Follow the Livermore Trail, which here is essentially an easy, flat fire road, for 0.4 miles. When you approach a large wooden bridge on the left, take the bridge across Avalanche Brook, back into Waterville Valley’s extensive circuit of cross-country ski trails, and follow the Upper Snows Mountain Trail.
From here to the next summit (Snows Mountain), the directions can feel a bit challenging. First, take Upper Snows to its junction with Cascade Path Trail. Here there is a series of cascades and swimming holes, which you can preview at the large wooden bridge at the junction. The Cascade Path then descends for about one mile, eventually connecting with the Greeley Ledges Trail (turn left) before joining the Snows Mountain Trail.
Over the course of almost three miles, the Snows Mountain Trail loops up and over Snows Mountain, passing two signed overlooks. The second is much better than the first, as the views at the latter are quite limited unless you’re very tall. The second overlook, which is right along the trail, offers an excellent view of Waterville Valley and the surrounding community.
After the overlook, head down the Snows Mountain Trail, which soon spills out onto Snows Mountain Road. Descend the road—first past magnificent vacation homes, then past the Waterville Valley golf course—navigating the mile back to the Livermore Trailhead via roads and more cross-country ski trails. The easiest way is taking Boulder Path Lane to Stone Tower Lane to the Connector cross-country ski path.

The Kit
The Skyline Loop is billed as a two-day hike, but the relative absence of backcountry sites makes it ideal to leave your big backpacking bag at home and stash overnight gear and resupplies at one of the nearby campgrounds or variety of lodging options in Waterville Valley.
- Covering 34 miles over two days means moving fast. A lightweight set of trail runners, such as the Salomon Speedcross 5 (men’s/women’s) deliver the grip needed for descending tricky trail sections like the slide on South Tripyramid as well as the comfort you want for long days on your feet.
- The Skyline Loop passes a number of dependable brooks. A packable water filter, like the Sawyer Mini Filter, allows you to carry less water, which often means feeling fresher, moving faster, and finishing quicker.
- Track your mileage, ascent, and elevation with a smartwatch like the Garmin Fenix 6. You can even program it with the Skyline Loop to ensure you stay on the right route.
- There’s no need to carry a bulky backpacking bag if you’re staying in town or at one of the local campgrounds. Packs like the Gregory Miwok 24 and Maya 22 provide all the space you need to carry essentials—like a raincoat, puffy, first-aid kit, and snacks—on the Skyline Loop.
- The Skyline Loop isn’t as well-traveled or obvious as other big White Mountain trips, so pack a map—the waterproof White Mountains map is a long-time favorite—and consult it at trail junctions to avoid wrong turns and keep yourself on track.
- The Skyline Loop alternates between long, flat sections of trail and lots of climbing. A set of super-collapsible trekking poles, such as Black Diamond Distance Carbon AR Trekking Poles, allow you to stash your hiking poles in your pack when cruising across flats and deploy them when heading up and downhill.
- From taking a wrong turn to taking longer than expected, it’s always a good idea to pack a headlamp like the Black Diamond Storm 400 in case you get caught out after dark.
Keys to the Trip
- Water can be scarce on the Skyline Loop’s higher peaks (Tecumseh, the Osceolas, and the Tripyramids), but there are often small, reliable brooks flowing near the trailheads. It’s a smart strategy to refill your water bottles when presented with the opportunity.
- Doing 34+ miles in two days can be a challenge, especially if you’re carrying a heavier pack. Since the Skyline Loop intersects with Waterville Valley near the halfway point, ditch the backpacking gear and instead spend the night in town or at Osceola Vista Campground, the almost-trail-side campground.
- After two long days on the trail, treat yourself to a celebratory beer—or flight—at the Dam Brewhouse located just down the road in Campton.
- In need of a pick-me-up more than a brew? Mad River Coffee Roasters is located right off Route 93, is open until 6 pm on weekends, and serves up one of the best cups of coffee in the Whites along with a variety of lunch options.
- Give your feet a treat after knocking out all 34+ miles of the Skyline Loop and slide them into a comfy pair of sandals like the Chaco Chillos (men’s/women’s).
- Superb views aren’t quite as common on the Skyline Loop when compared to other popular multi-day trips in the Whites—like the Pemi Loop—so savor them as they come.
Related Posts