Climbing skins may not be as sexy as skis, bindings, or boots—after all, they’re hidden on the bottom of your skis or in your pack most of the time—but they are an essential part of any backcountry touring kit and a critical component to uphill performance. Read on to learn how to get the most out of your skins this winter.

Before You Tour
Check to make sure your skins fits to your skis. Ideally, a skin should fit snug to the ski and leave just the metal edges of the ski exposed. Skiers looking to use one set of skins for multiple sets of skis should size for their narrowest pair—wall-to-wall coverage isn’t essential, especially not when working with super-wide powder planks.
Next, test the glue’s tackiness. If the glue is not sticking at home, it’s probably not going to stick on the tour either. It’s possible to reglue skins—it’s a messy, frustrating job—but possible and better for the environment.
Finally, consider hot waxing your skins with low-fluorinated wax to improve glide, increase water repellency, and prevent glopping (the build-up of snow on the bottom of the skin).

On the Tour
Treating your skins well while touring is a sure way to maximize uphill performance. This means avoiding puddles and open water like the plague. Wet skins just don’t adhere to your skis very well, and even if they do maintain stickiness, they’re heavy.
On warmer days, you also want to avoid the glop. Glopping typically occurs in the spring, when the sun heats the snow to its melting point. The wetness sticks to your skins, then when you hit a cold spot it freezes, encouraging more snow to stick to your skins. If snow starts building up on your skin bottoms during the tour, pause, scrape the skin, and apply a layer of skin wax (you keep some in your repair kit, don’t you?). Pay attention to your form and stride—keeping the skin continuously in contact with the snow surface helps reduce snow build up.

At the Transition
When it’s time to transition from the up to the down, remove your skins, clear away any snow buildup, and fold them up, sticking glue side to glue side. This reduces the likelihood that the glue will stick to something else, contaminating the skin surface. Store the folded skins in your pack or jacket, either on their own or in the skin-specific bag that likely came with them.
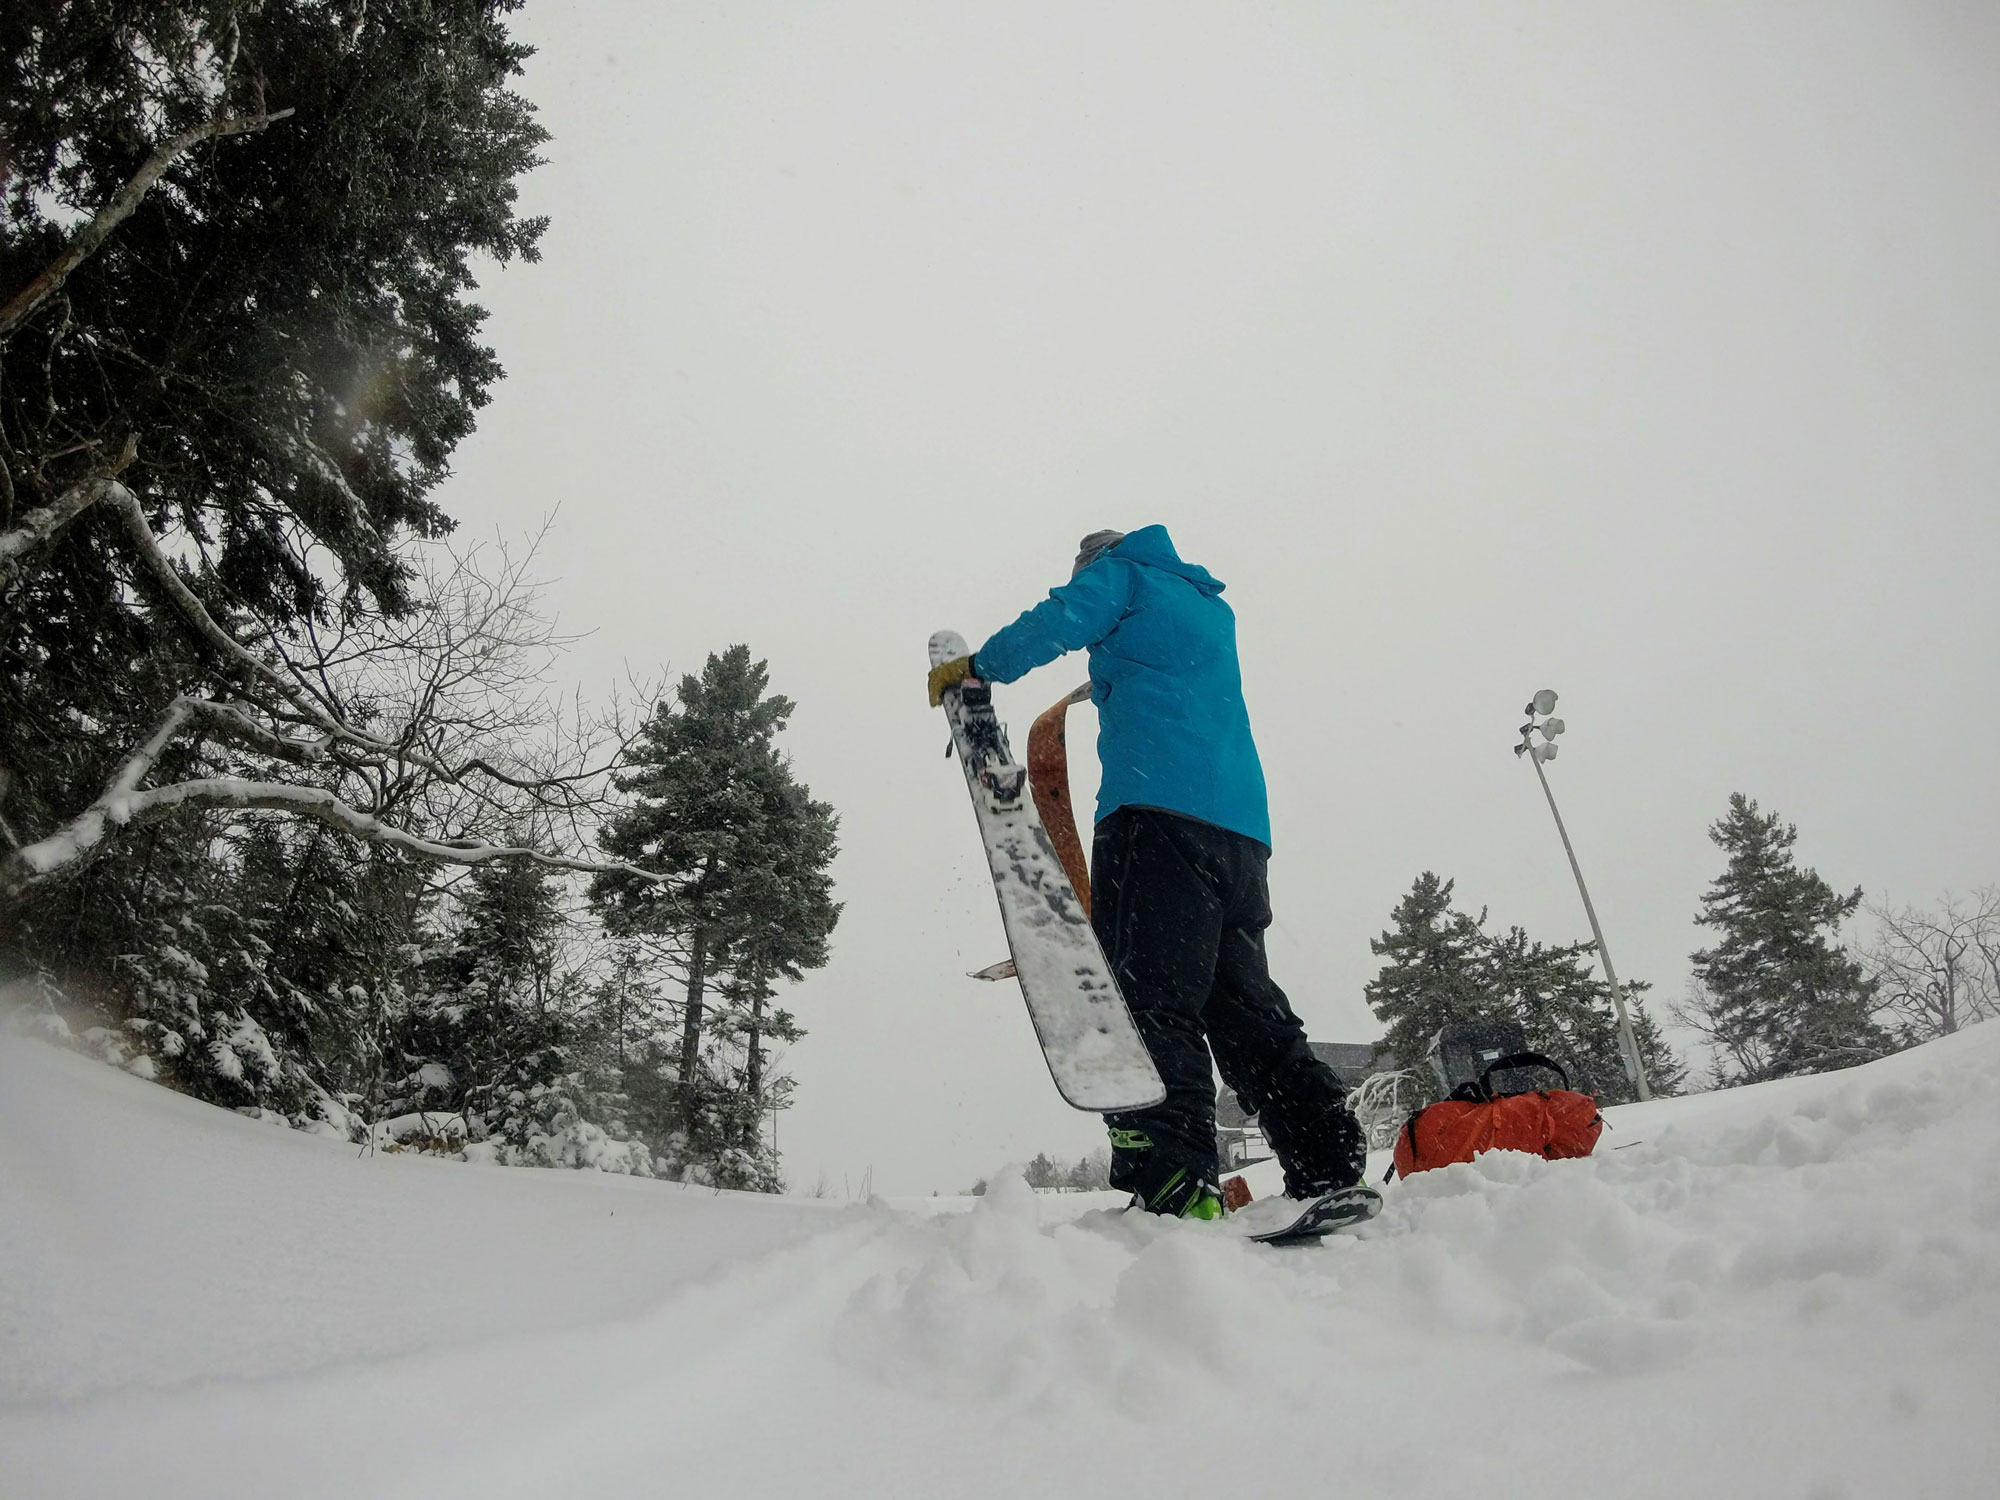
If it’s windy, pay close attention to how you remove the skin, otherwise it’s liable to become a gluey mess. One option is to flip your ski upside down, peel half the skin and fold it in quarters, then repeat the process for the second half of the ski.

Preparing For Another Lap
Nothing kills a second (or third) lap on a pow day like poorly performing skins. Focus on these three things when putting your skins on for another lap:
- Ski surface: Before putting your skins back on your skis or boards, scrape any residual snow and ice off your bases, then wipe off any moisture, as these will impede the skin-to-ski connection.
- Skin fit: Smoothly stick the skin on the ski, working from tip to tail, keeping tension for the entire length. Rushing with powder fever is a sure way to misalign the skin, making it easier for snow and water to come in contact with the glue and interfere with the skin-ski bond.
- Reassess snow conditions: When the snow is wet or sticky, rubbing on a quick layer of skin wax during the transition is a great way to prevent glopping and keep the skins from wetting out.

Post Tour
When you get home from your tour, don’t leave your skins in your pack or, worse, in the car. Instead, unfold your skins and hang them up to dry. Room temperature works best; Too much heat can damage the glue, reducing skin longevity.
After your skins are dry, give the glue a quick inspection for contaminants. If you find contaminants, try heating the area with a hairdryer and using a ski scraper to scrape off the gunk. Then store them in a cool dry place. Some skiers choose to store their skins with “skin savers” (i.e., the mesh pieces that likely came with your skins) if they won’t be touring again for a while, but be forewarned that these increase air contact which may not preserve the glue as well as plain folding.

Troubleshooting
Stuff happens to skins no matter how many good practices you follow. Summon your inner scout and be prepared for these common issues:
- Icy skins: A ski edge or pant leg is a great way to remove a mid-tour accumulation of ice on a skin—the savviest skiers carry a scraper for this. Just scrape the skin back and forth to get rid of the buildup, then re-affix the skin to the ski.
- Frozen skins: If scraping icy skins isn’t solving the issue, you can try warming them—this works well if you’re about to descend—by tucking them into your jacket and putting your body heat to work.
- Broken tips and tail loops: Tricky to fix in the field, you can often MacGyver a broken tip or tail loop with a ski strap or two (make sure to add a few to your repair kit). Most skin companies sell replacement tips and tail loops for DIY repairs, which can usually be completed in 30ish minutes.
Develop a good skin care routine this winter for maximum fun, minimal frustration, and to avoid getting yourself into any sticky situations.
Tim Peck and Doug Martland
Tim and Doug met long ago at the Eastern Mountain Sports in Canton, Massachusetts. Bonding over a love of slick Quincy Quarry granite, White Mountain sufferfests, and scheming up adventures while folding tee-shirts, today Tim and Doug collaborate to write about their favorite outdoor activities and occasionally get nostalgic about tee-shirt tables.


