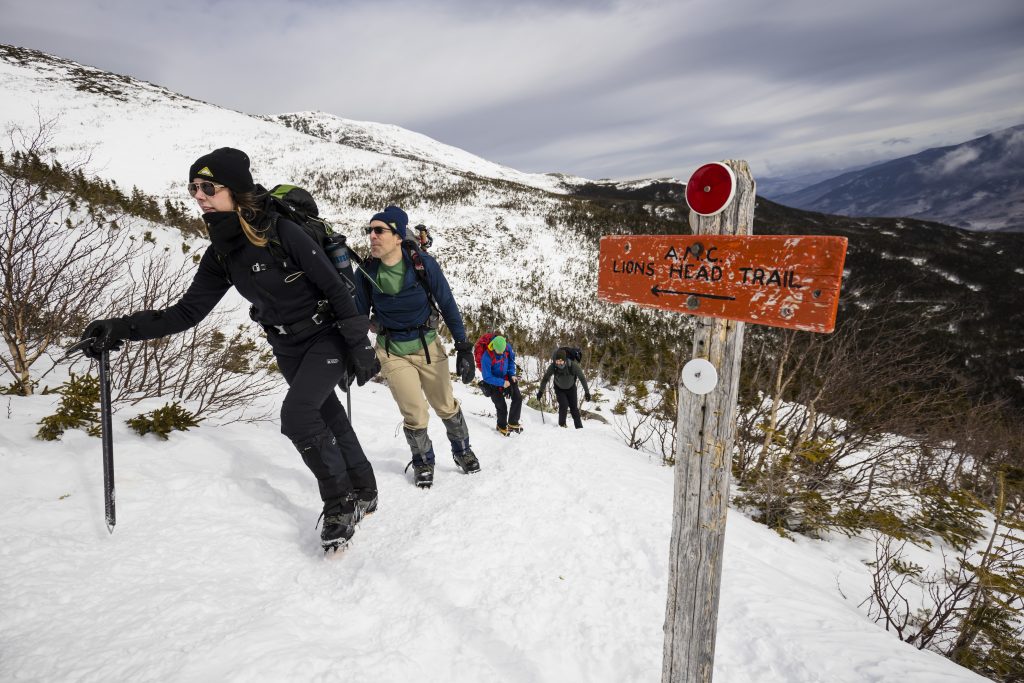
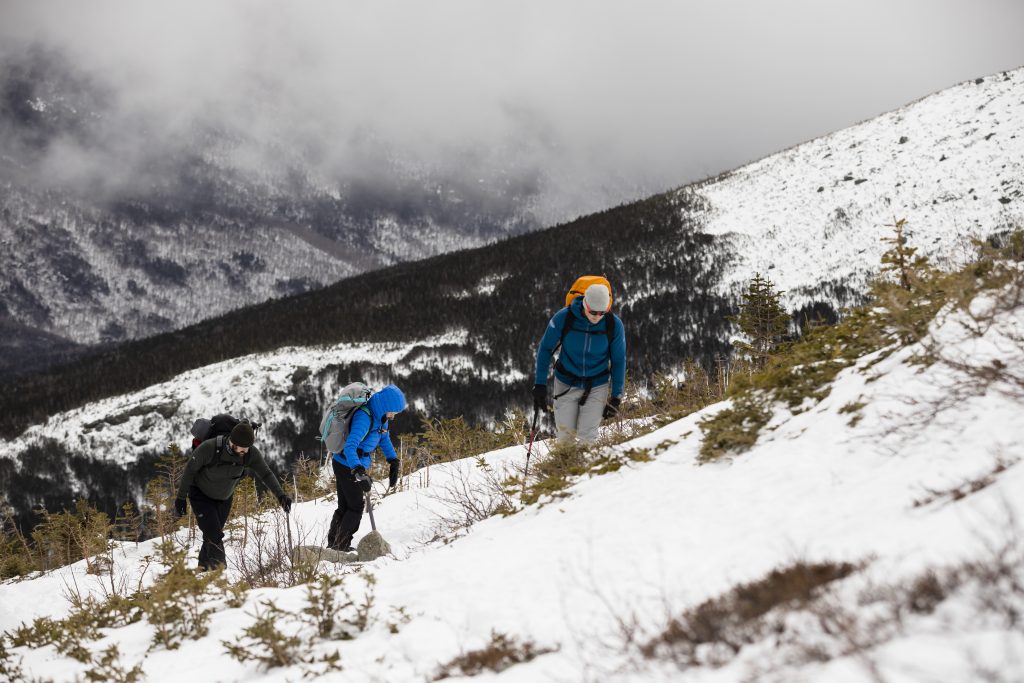
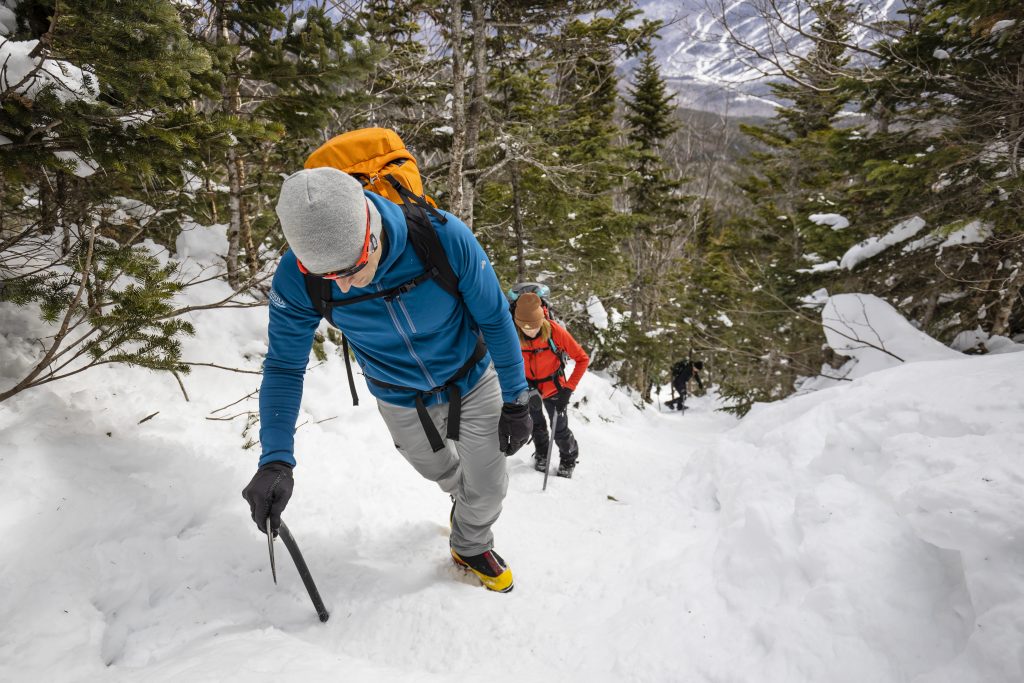
Tackling any of the White Mountains’ higher summits in winter is serious business. Whether it’s the “world’s worst weather” on Mount Washington, bitter winds on Franconia Ridge, or cold on the Carters, you’ll need the right gear to deal with the below-freezing temperatures, high winds, and icy slopes. Fortunately, goEast has you covered.
Winter Hiking Upper Body Layers
Base Layer
Our usual winter base layer is a lightweight synthetic like the Smartwool Classic All-Season Base Layer Long Sleeve (men’s/women’s). It controls moisture by wicking perspiration away from your skin so you stay drier. Aim for a snug fit, as you’ll be adding multiple layers over it during the day.
Pro tip: We typically bundle up in a heavy puffy coat when getting ready at the trailhead, but then begin our hike in just our base layer. It may seem cold, but it’s surprising how quickly you warm up once on the trail—and avoiding undue moisture (i.e., early sweat) means being more comfortable later.
Lightweight Softshell
In our packs, we carry four more upper body layers. The first, which we put on over our base layer, is a lightweight softshell like the Outdoor Research Ferrosi Hooded Jacket (men’s/women’s). This layer is perfect for exposed sections of the trail, providing some insulation and protection from the wind and light precipitation. We like this layer to have a hood, as it increases our ability to stay warm and dry.
Lightweight Puffy
As temperatures drop, we don a lightweight puffy—preferably with “active insulation”—like the Mountain Hardwear Kor Stasis Hoody. Active insulation allows the jacket to breathe, meaning you can wear it while moving without overheating. Once the territory of midweight and power stretch fleece, today’s active insulation puffies are warmer, pack smaller, are significantly lighter, and wick as well as fleeces of the past.
Hardshell
No matter the season, you won’t find us hiking New Hampshire’s higher summits without a hardshell, and a jacket like the Marmot Minimalist (men’s/women’s) is perfect for the worst conditions. From rainy ridgelines to stormy summits, hardshells are essential for shedding rain and snow, as well as blocking the wind. We like our shells to have an integrated and adjustable hood to keep out the elements.
Belay Coat/Second Puffy
A second, heavier puffy coat is great for rest breaks and to have in reserve for cold descents and emergencies. If conditions look dry, we’ll pack a down jacket like EMS Featherpack (men’s/women’s), since down is lighter and more compressible. But if rain or snow is in the forecast, we’ll pack a synthetic jacket like the Cotopaxi Capa Insulated Hooded (men’s/women’s), which retains more insulation value when wet. We like to keep this layer easily accessible in our packs so that it’s easy to get out as soon as we need it.
Winter Hiking Lower Body Layers
Base layer/Softshell
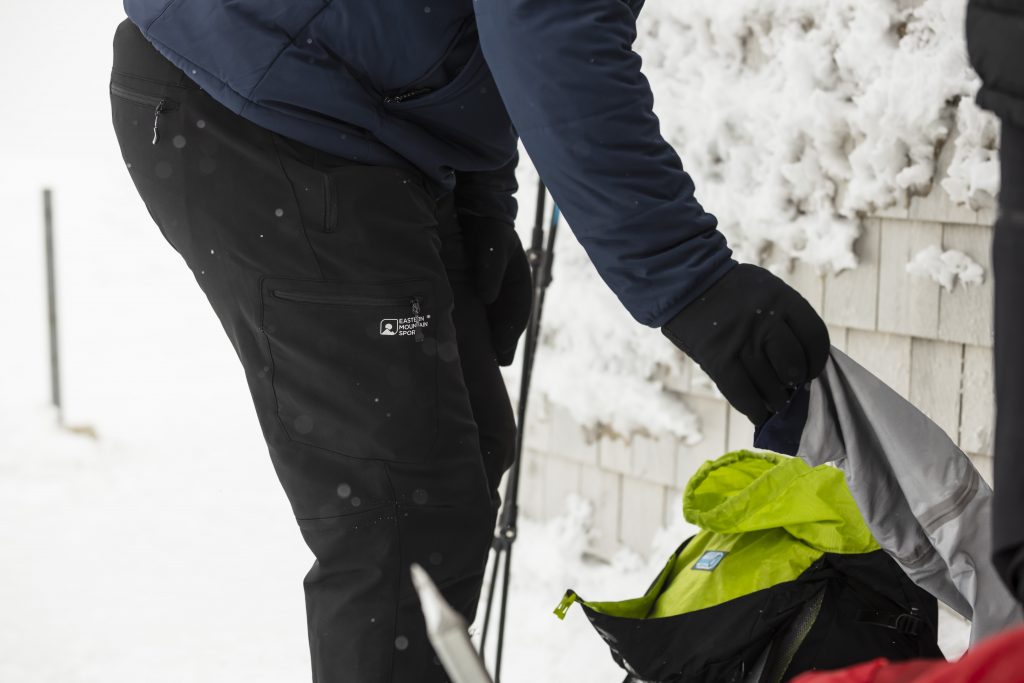
We follow the same principles on our lower body layers. We often start in a pair of Smartwool Classic All-Season Base Layer Bottoms (men’s/women’s) for warmth, layered under a pair of midweight softshell pants—like the Outdoor Research Cirque Pant (men’s/women’s)—for protection from wind and light precipitation.
Hardshell
If the forecast looks wet, we’ll add a pair of full-zip rain pants like the EMS Thunderhead Peak (men’s/women’s) to our pack for maximum protection from the elements. (Full-zip is a must, as they are much easier to get on over boots and crampons.)
Puffy
Although we rarely add puffy pants to our winter hiking kits, they can be useful, especially in the event of an emergency. If you’re resistant to carrying a sleeping bag as a safety measure, consider adding puffy pants to your hiking kit instead. After all, it’s much easier to walk in pants than a sleeping bag.
Winter Peak-Bagging Footwear
Socks
Wet feet equal cold feet, and because of this we always choose a sock made with a wicking material—and we especially like wool for its ability to fight funky smells. Although we reserve the Smartwool Mountaineer Extra Heavy Sock for the coldest days, it has been a staple of our winter kits for years. Just remember that the sock needs to fit in your boot properly; if it’s too thick it can cut off circulation, making your feet colder rather than keeping them warm.
Boots
If you’re going to spend time moving through New Hampshire’s high peaks in winter, a good pair of insulated mountaineering boots should be in your closet. For years, the La Sportiva Nepal has been the go-to boot for people doing everything from hiking Franconia Ridge to climbing Mount Washington’s Pinnacle Gully. The latest version of the Nepal, the La Sportiva Nepal Cube GTX (men’s/women’s), offers a Gore-Tex liner to keep your feet dry, insulation to keep them warm, and leather construction to withstand years of hard use.
Accessories for Winter Hiking
Gloves
We travel with a minimum of three pairs of gloves during the winter. Our kit usually includes a lightweight glove, like the Black Diamond Dirtbag Glove, for the below-treeline sections; an insulated, waterproof glove, such as the EMS Summit Glove (men’s/women’s), for above treeline; and a heavyweight mitten, like the Outdoor Research Alti II Gore-Tex (men’s/women’s), for extreme cold and emergencies. With this combination, you’ll have options for changing conditions and activity levels as well as backups if a pair soaks through.
Chemical hand warmers stashed in an easily accessible spot are also a great way to warm up cold hands in a hurry, and they can be really useful in an emergency, too.
Headgear
Much like gloves, having multiple layering options for your head is essential during the winter. We typically start the day in a baseball hat for warmth and sun protection, then use the hoods on our layers to help regulate our temperature. A lightweight wool or fleece hat is great for above treeline or really cold days.
We also carry both a multiclava and a balaclava. The multiclava can be worn as a hat or headband, then pulled down into a neck gaiter or impromptu balaclava if the temperatures start to drop. The balaclava provides full face coverage for when the wind really picks up.
Glasses and Goggles
During the winter, the sun reflects off the snow on the ground, increasing its intensity and damaging your eyes, making sunglasses (men’s/women’s) a worthy addition to your kit. We also include a pair of goggles (two pairs if we don’t bring sunglasses) to deal with the high winds that are commonly found above treeline in the White Mountains.
Winter Peak-Bagging Gear
Equipment
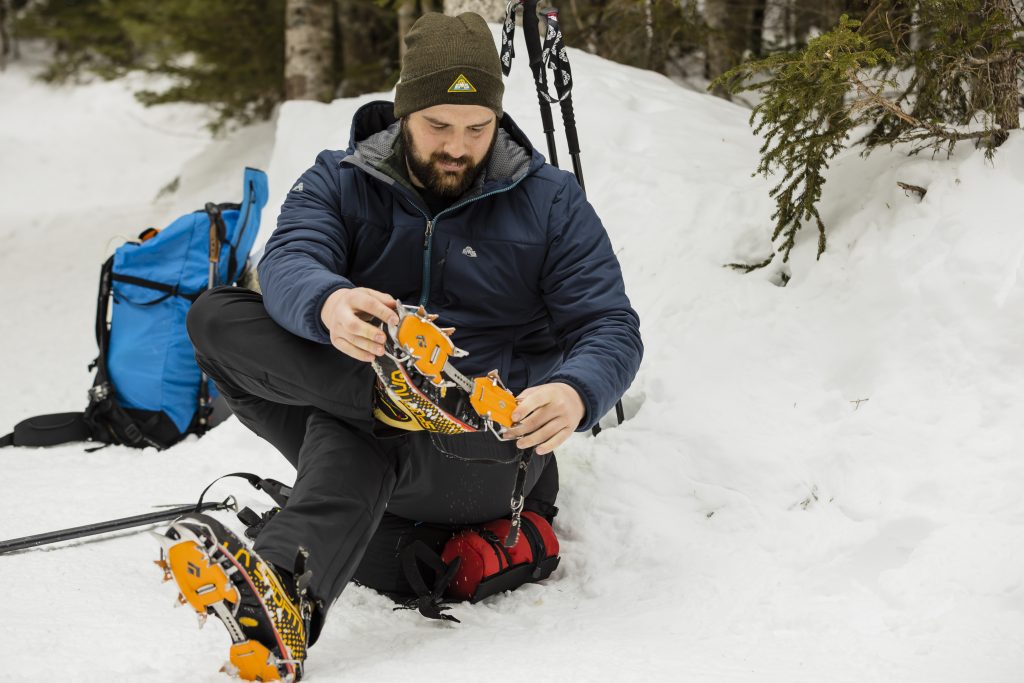
A pair of trekking poles with snow baskets—which keep poles from sinking in deep powder—and Kahtoola MICROspikes provide great stability and traction on snowy and icy below-treeline terrain. For above-treeline terrain or anywhere where there is more exposure than the typical trail (think the Lion Head Winter Route on Mount Washington), you’ll want crampons and an ice axe as well. The Petzl Vasak Flexlock Crampons and Glacier Ice Axe are tried and true choices.
If you’re hiking a less popular trail or heading out after a big dump, we also recommend bringing snowshoes. Something like the MSR Revo Explore 22, with add-on modular tails, is a great, versatile option.
Fueling Winter Summits
Water
We typically avoid using hydration bladders in the winter because they have a propensity to freeze, and instead carry traditional Nalgene Wide Mouth Water Bottles. Of course, Nalgenes sometimes freeze too, so make sure to pack them inside your puffy coat and position it near your body in your pack.
Depending on the length of your outing, consider replacing one of your water bottles with a Hydro Flask Thermos of your favorite hot beverage. We like hot chocolate as it tastes great, provides those extra calories your body needs to stay warm, and helps keep your core temperature up.
Pro Tip: Adding a little bit of juice to your water makes it more resistant to freezing.
Food
For winter hikes, we prefer foods that can be consumed quickly (or on the move) because the more we move, the warmer we stay. Gels, cookies, peanut butter and Nutella sandwiches, and leftover pizza are all staples of our winter hiking menus. Because your body needs extra calories to keep warm during the winter, we don’t scrimp on food when it comes time to pack. Just remember, some foods—like gels—can freeze. So if you’re depending on them for sustenance, keep them close to your body.
Emergency Gear
When you pack for a winter hike in the Whites’ higher summits, you should take a minute to plan for the worst-case scenario. While packing the items mentioned above checks off some of your cold-weather essentials, you’ll still need a few more items.
Headlamp
A headlamp—like the powerful and rechargeable Black Diamond Spot 400—is important, especially because it gets dark so early in the winter. Since cold weather can wreak havoc on batteries, be sure to tuck a spare set in your first-aid kit.
First-Aid Kit
Speaking of which, a minimalist first-aid kit, supplemented with other first-aid supplies, helps address trail injuries. Additionally, fire starters and a map and compass (or another navigational device) are all worth the extra weight.
Equally important, a lightweight bivy combined with a Sea to Summit UltraLight Pad and, if you’re hiking with multiple friends, a lightweight sleeping bag, can be a lifesaver if someone gets injured and you need to wait for help. All the extra layers mentioned above, including the double puffies, multiple hats, heavy mittens, and hand warmers, also come in handy here.
Weather
Finally, before you leave, check the Mount Washington Weather Observatory’s Higher Summits Forecast and leave your trail plans with a trusted friend or family member. And once you’re out, if the conditions become worse than expected, there’s no shame in turning around.
Pro Tip: Want more info on understanding the weather in the White Mountains? Check out our Guide to Reading Weather Reports on Mount Washington.

Pack for Winter in the White Mountains
To ensure you’ll have the space to carry all the gear necessary to venture onto New Hampshire’s higher summits during the winter, we recommend a 35-45 liter pack. The Osprey Mutant series of packs has served us well over the years, and the Mutant 38 is the perfect size for winter White Mountain missions.
Pro Tip: A crampon bag will help prevent the sharp points of your crampons from punching holes in your winter pack, not to mention the contents of it.
Use Your (Trail)Head
Not every item listed above is essential to hiking above-treeline this winter, but having the right combination can make your experience safer and more enjoyable—not to mention more efficient. The best advice, though, is to get outside and discover what works for you. If you have a key piece of winter gear, tell us about it in the comments!
Related Posts