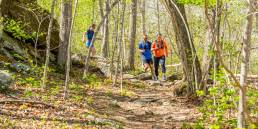
So, you’ve decided to take your DSLR out for the first time on a hike. That can be pretty intimidating. Carrying what could be thousands of dollars in sensitive electronics in the dirty, wet outdoors is enough to make any photographer think twice before packing up. But, if you know ahead of time what to bring and how to pack it, your camera will be in good hands, and the rain shower freakout can be averted.
Depending on the extent of your hike, you probably want to pack as light as possible. This is no different with your camera gear. Each piece you choose to bring should either be a necessity or a backup. So, what should you have with you?
Carrying and Protecting Your Camera
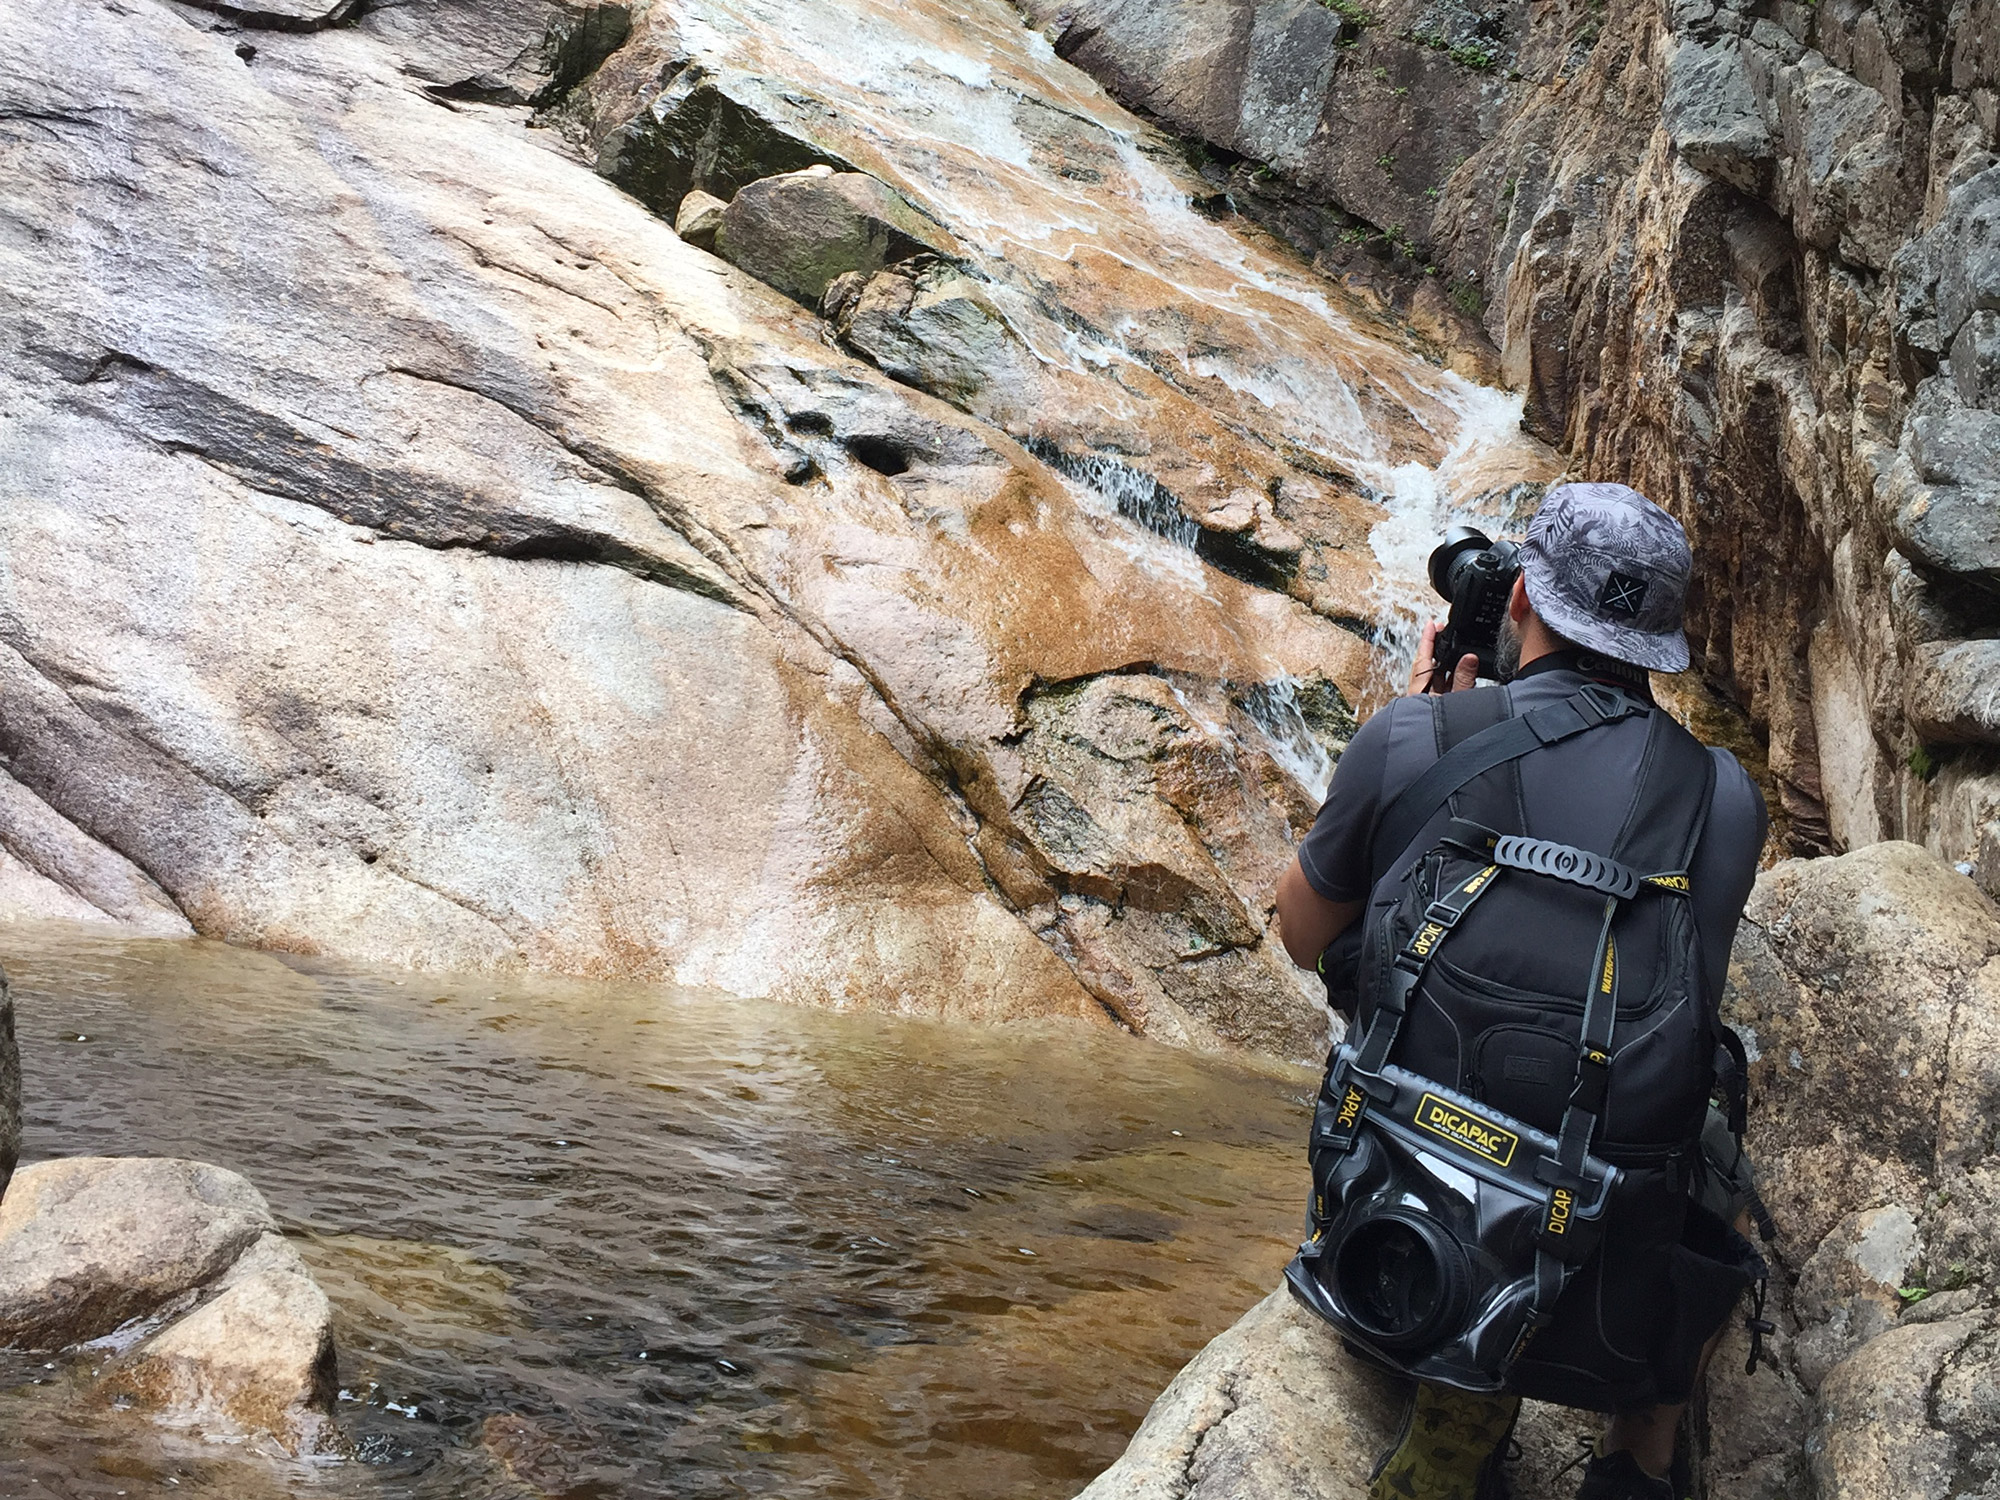
Carrying your camera while you’re on the trails can be quite the struggle, but one of the simplest things you can do for outdoor photography is to upgrade your stock camera strap. A longer, more comfortable option with a quick-release buckle, such as the Peak Design Slide, may make things easier. By resting the strap diagonally across your chest with the camera body sitting by your hip rather than around your neck directly in front, you’ll be much more comfortable, and the camera won’t move around as much while still being easily accessible.
For more intense hikes, a chest harness might be more helpful. This mounts the camera securely to your chest and distributes the weight evenly over both of your shoulders. The camera usually sits facing downward, so, if you were to accidentally fall forward, it would stay close to your body and won’t hit lens or glass first. This position also gives you a better line of sight to see where your feet are stepping.
Keeping Dry
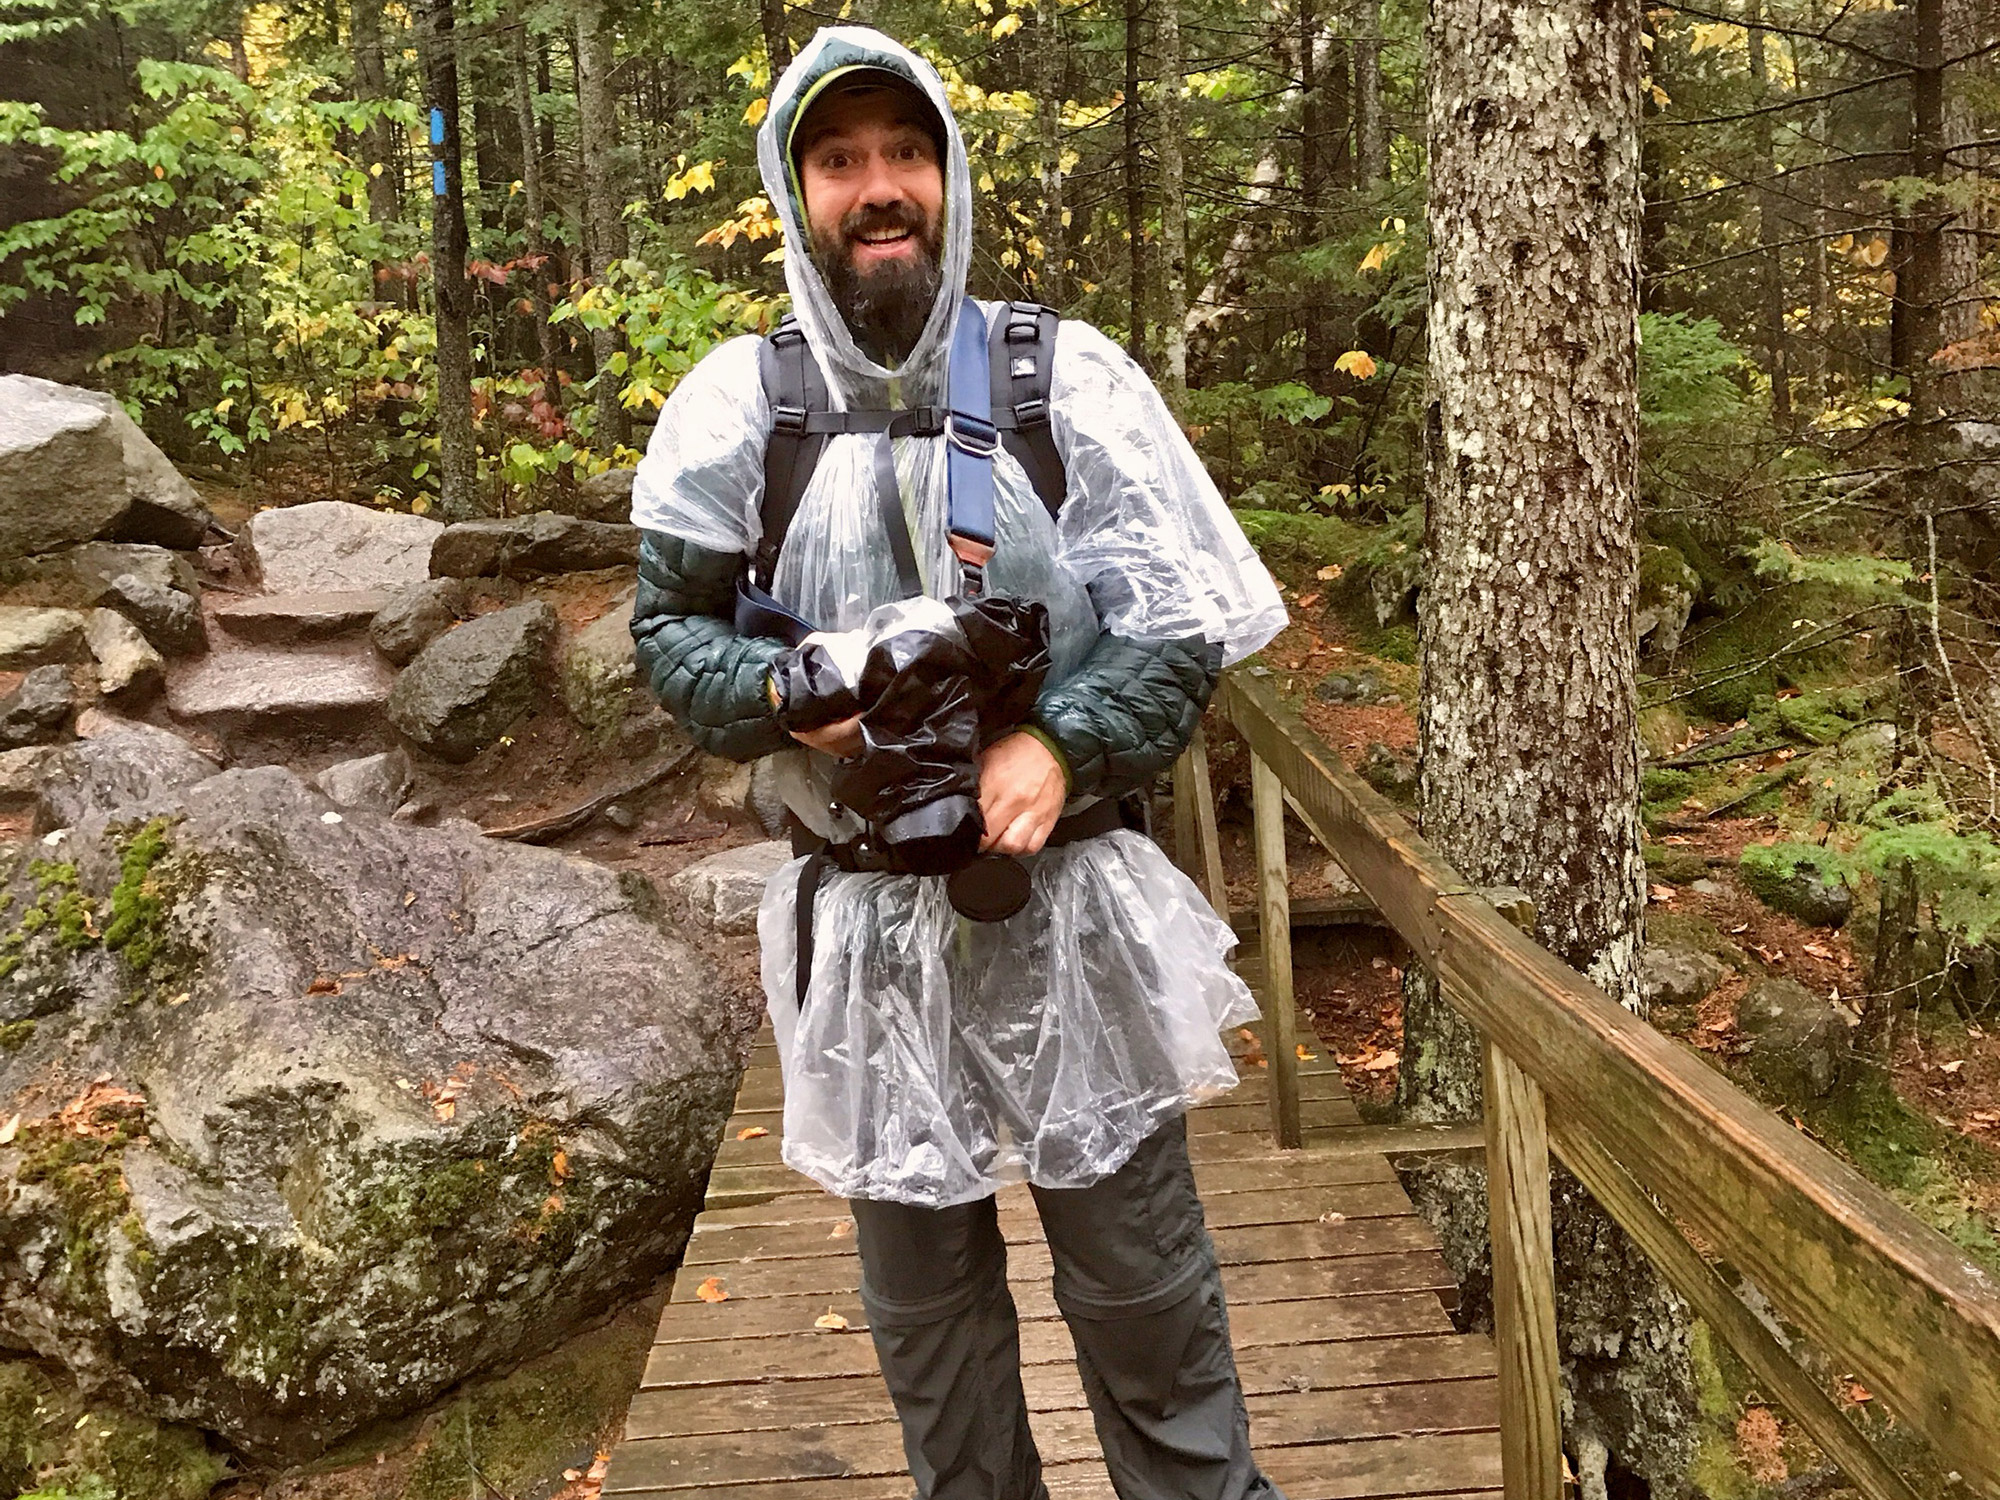
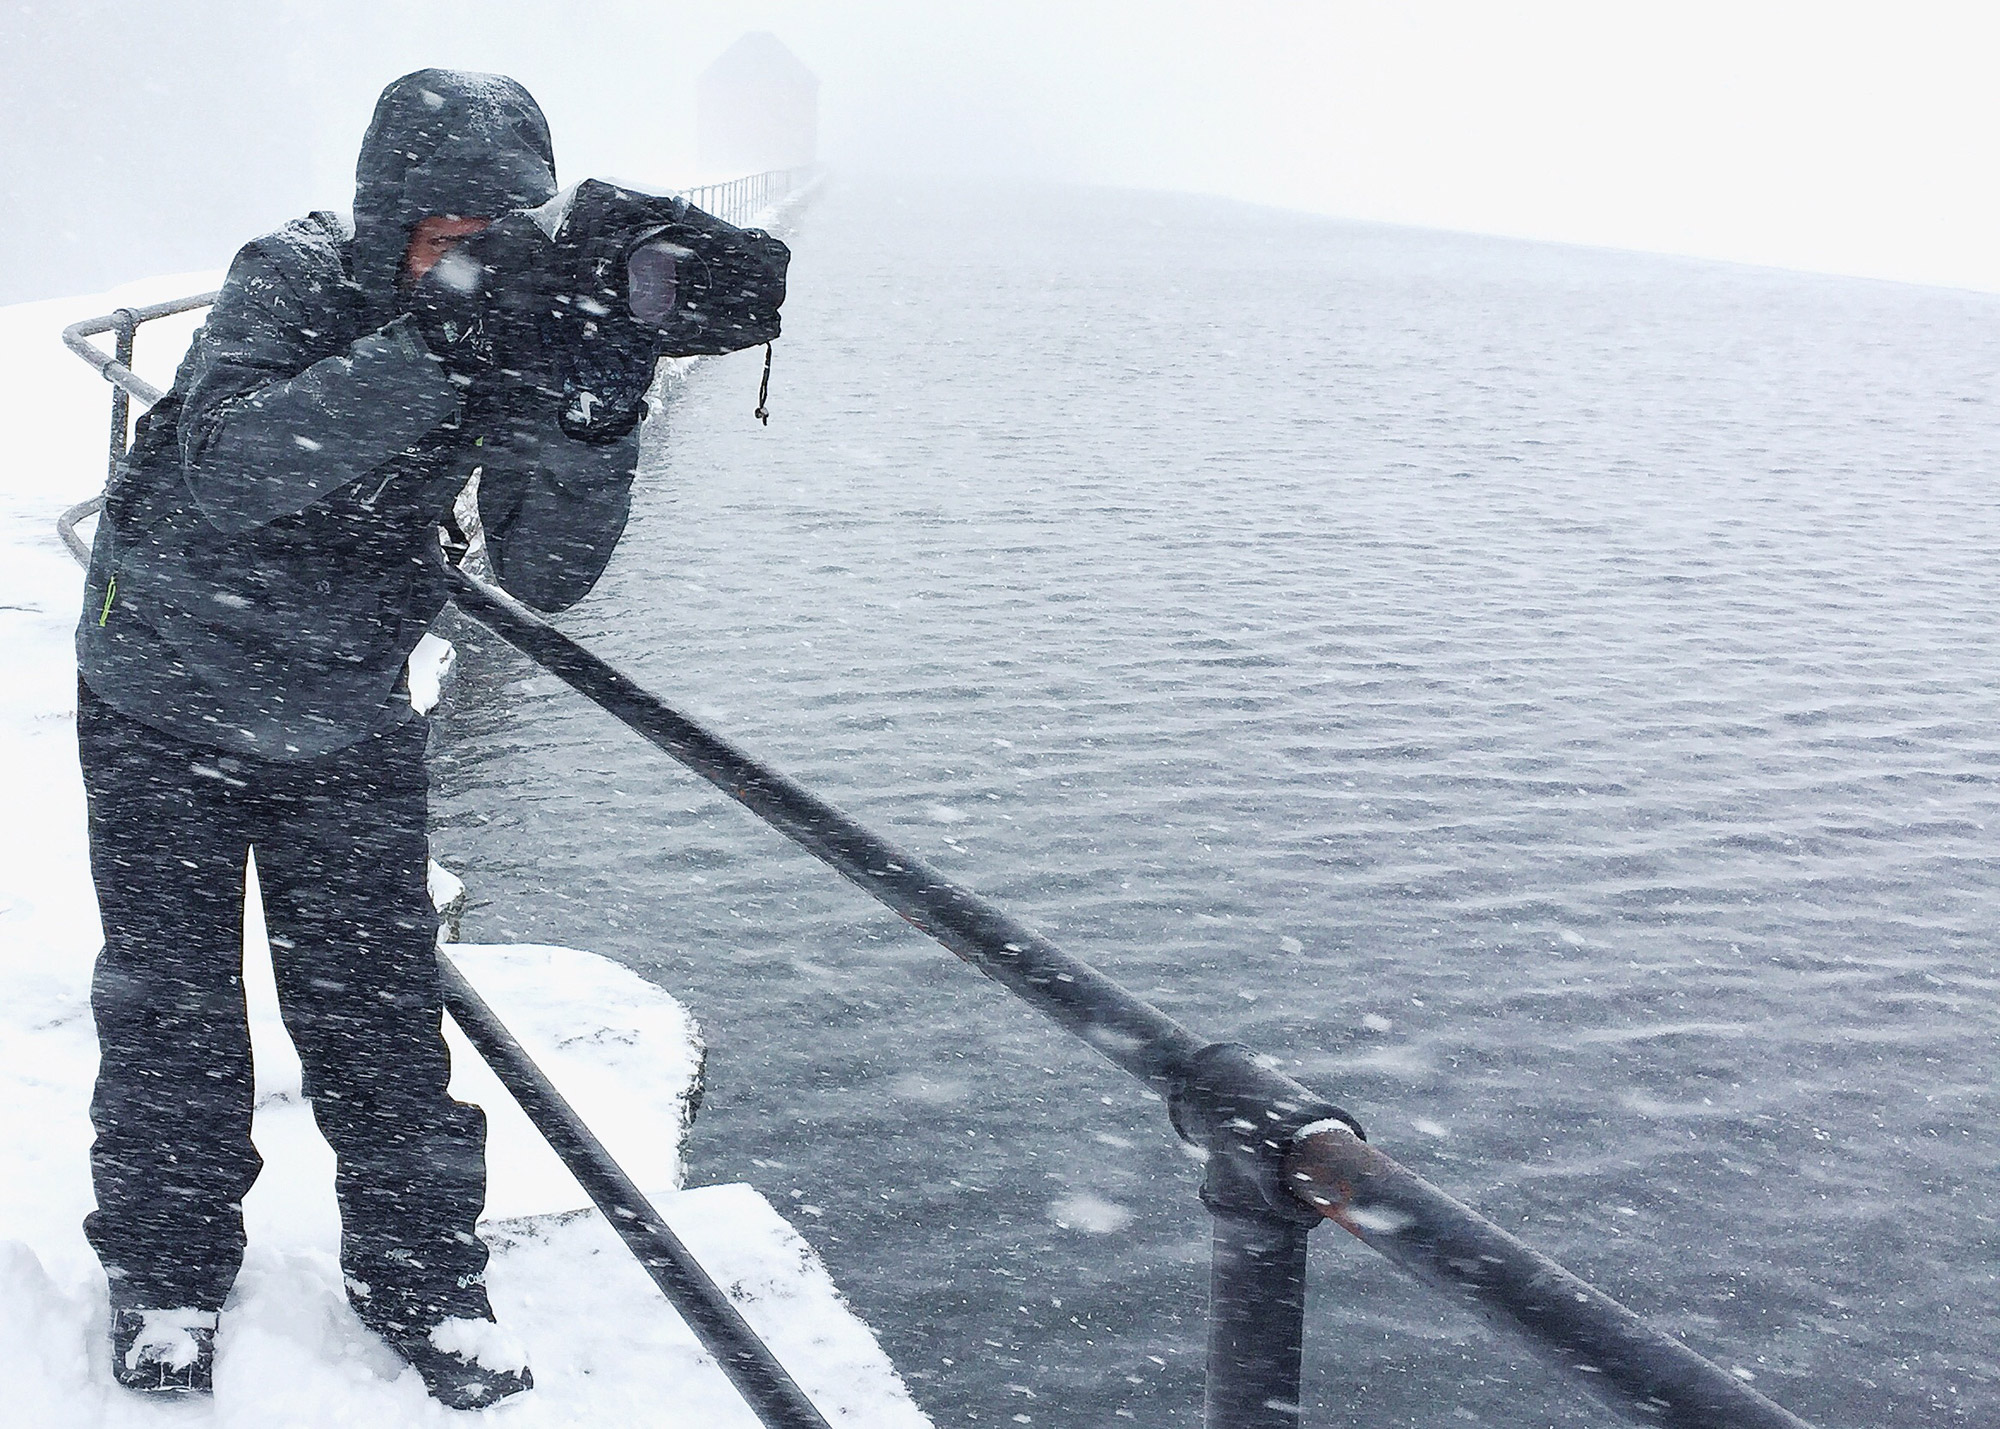
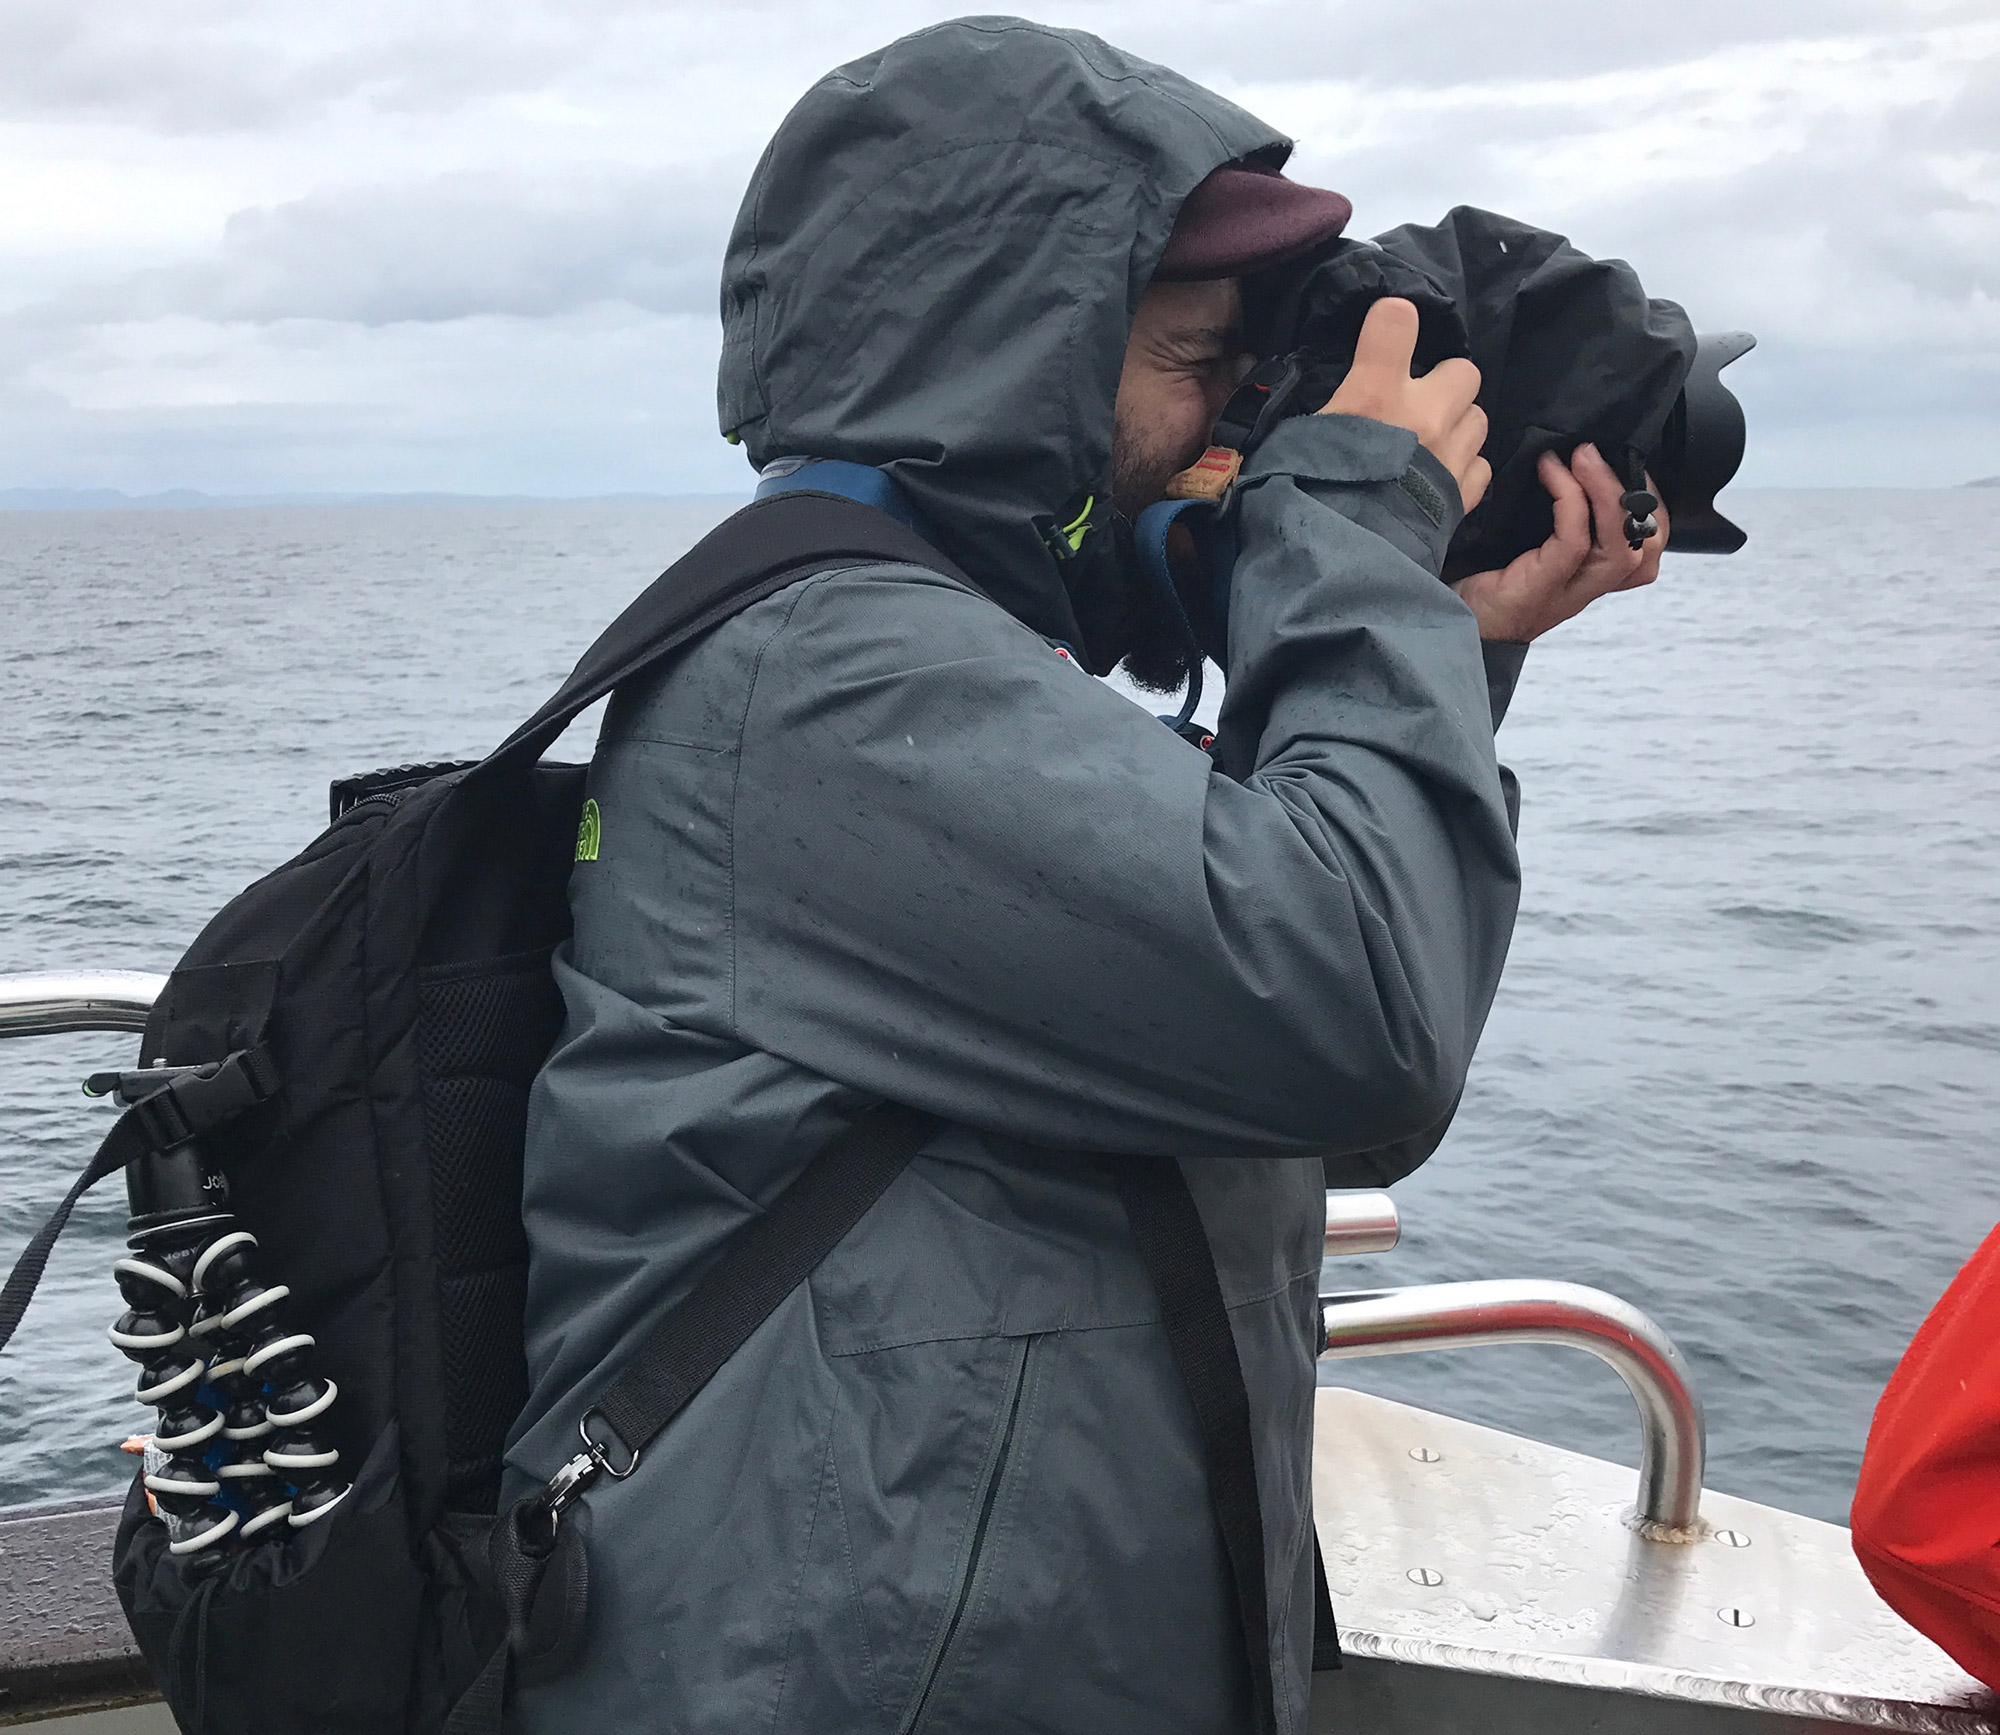
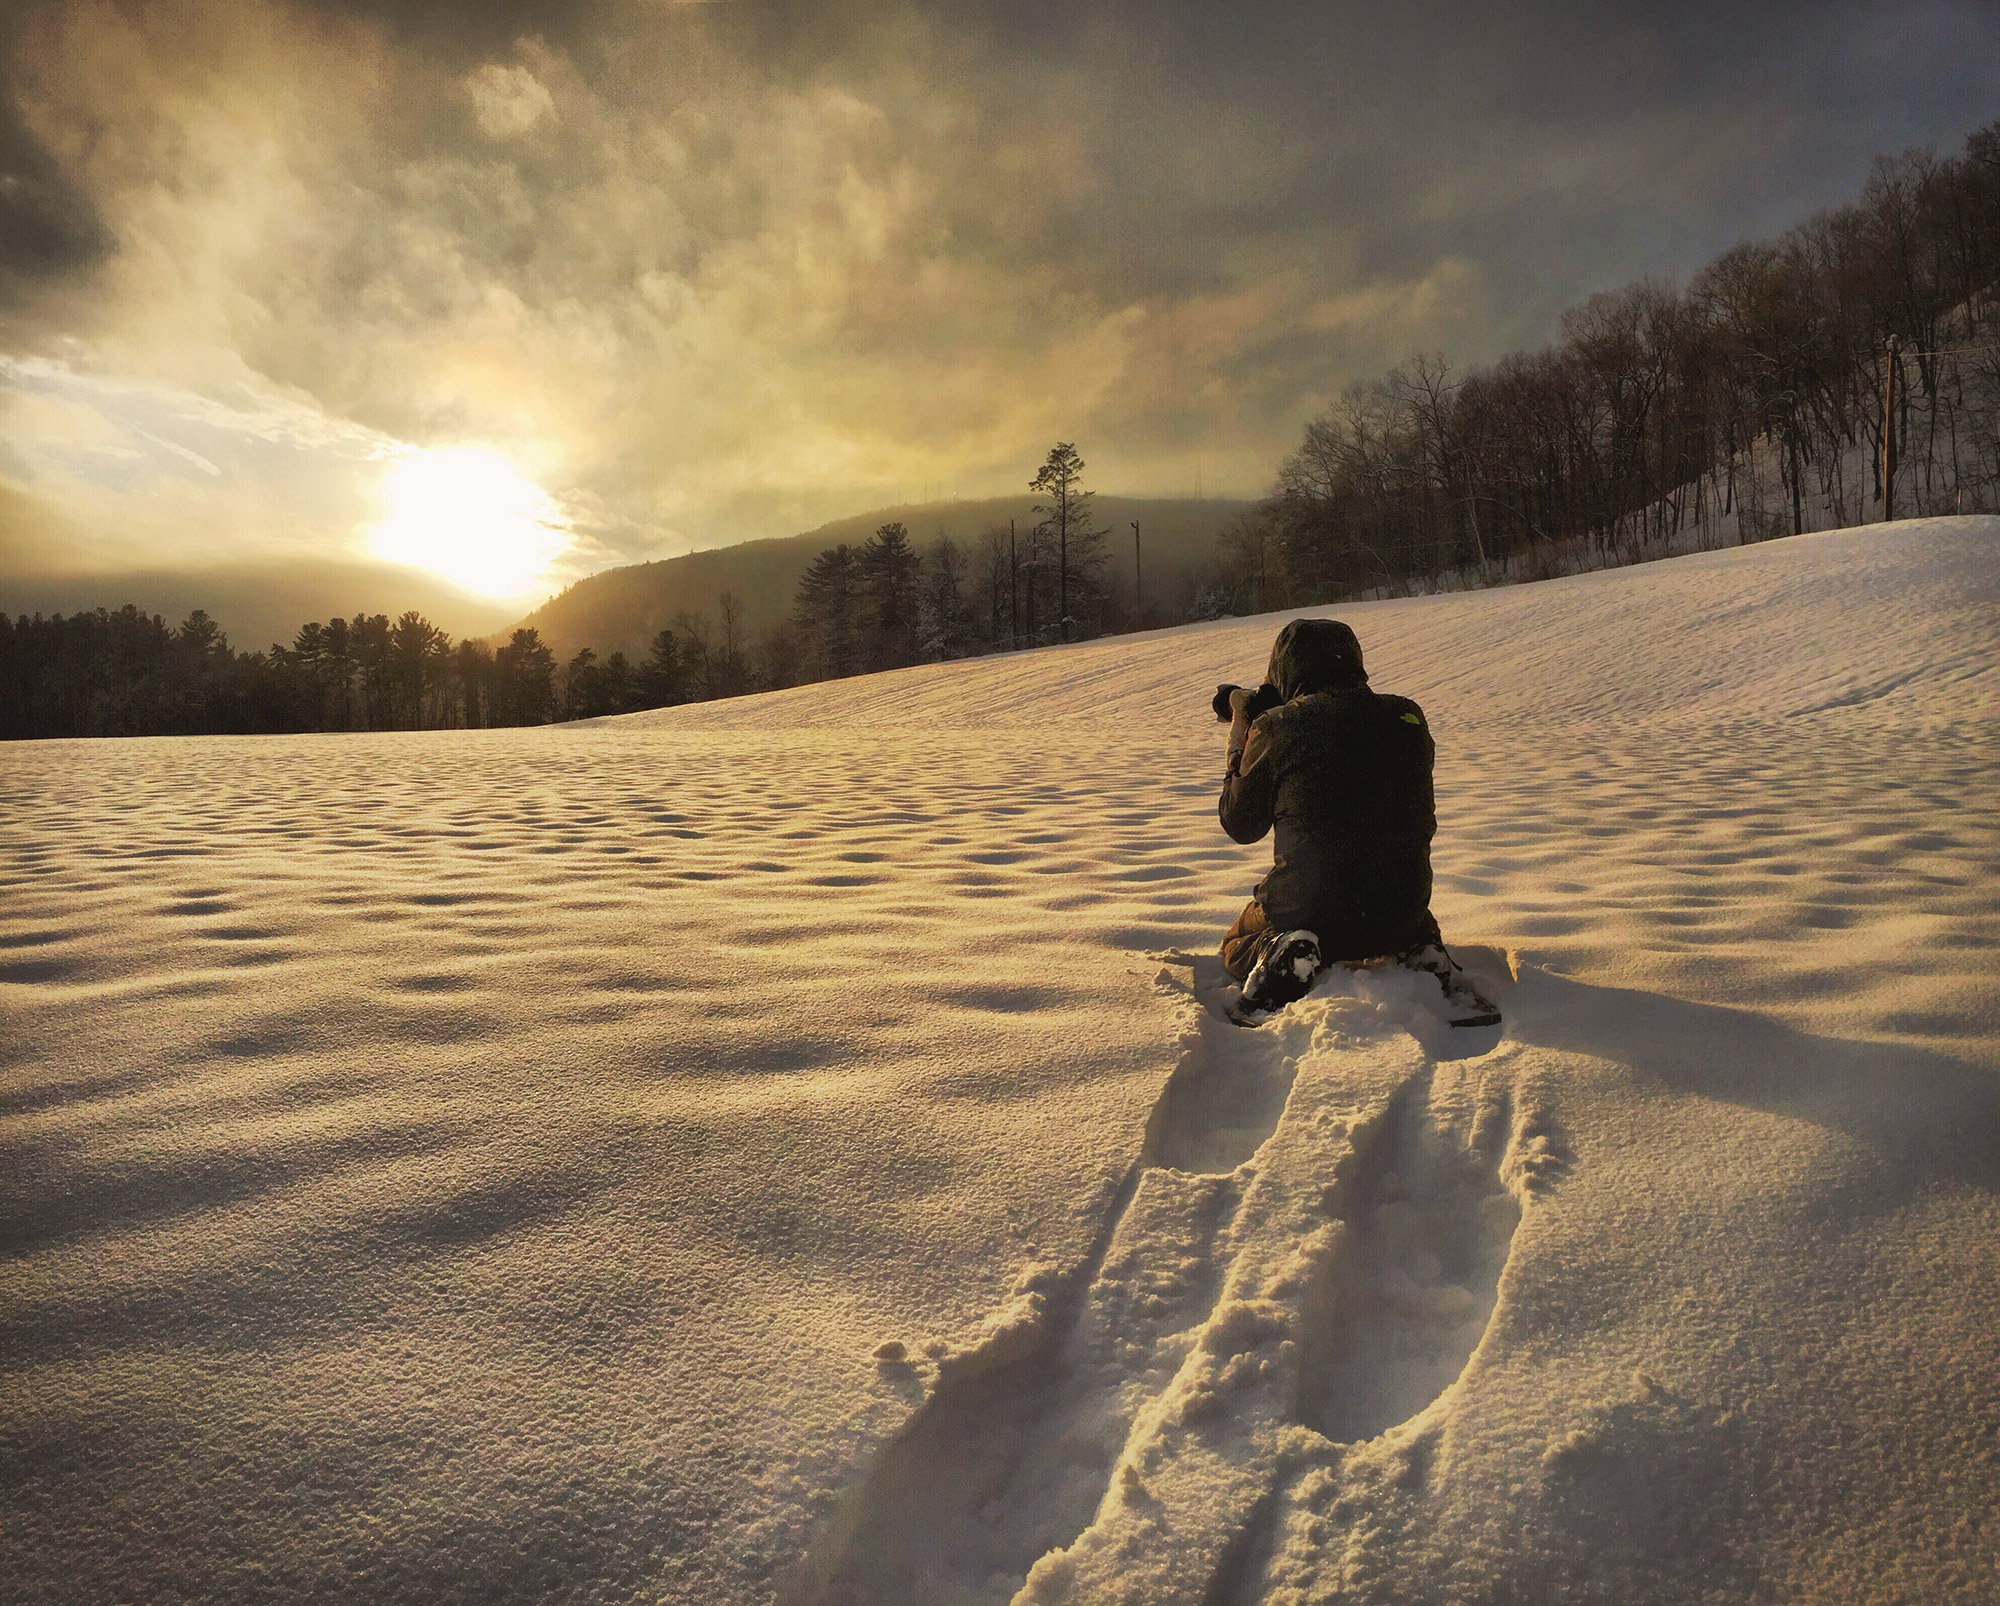
So, you’re mid-hike and here comes the rain. That can be pretty scary, but with the right precautions, you shouldn’t have to worry. The key? Plan ahead and look at the forecast. A 30-percent chance of rain is still a chance! One of the cheaper and most important accessories you can get to keep shooting in the rain (or snow) is a rain cover for your DSLR. Even if rain is not in the forecast, these are small and light enough to always keep in your pack—and it wouldn’t hurt to store it in a side pocket that is easily accessible—and could save your camera’s life in a downpour!
If you decide you’re going to hop into a canoe or kayak during any of your adventures, I would strongly suggest getting a waterproof case or bag for your DSLR. While this is a more expensive accessory, the odds of the camera possibly getting submerged are greater than if you were on land. They also make taking my camera out on kayaking trips far less stressful and way more fun!
Tip: If you think your camera is getting wet, shut it off! For your electronics, one of the worst things is having water get inside when they’re powered on. And, try not to turn it back on until you are sure it is dry. Also, if you are about to cross a slippery stream or climb down a steep rock, it’s always a good habit to shut the camera off, just in case!
Which Lens Should I Take?
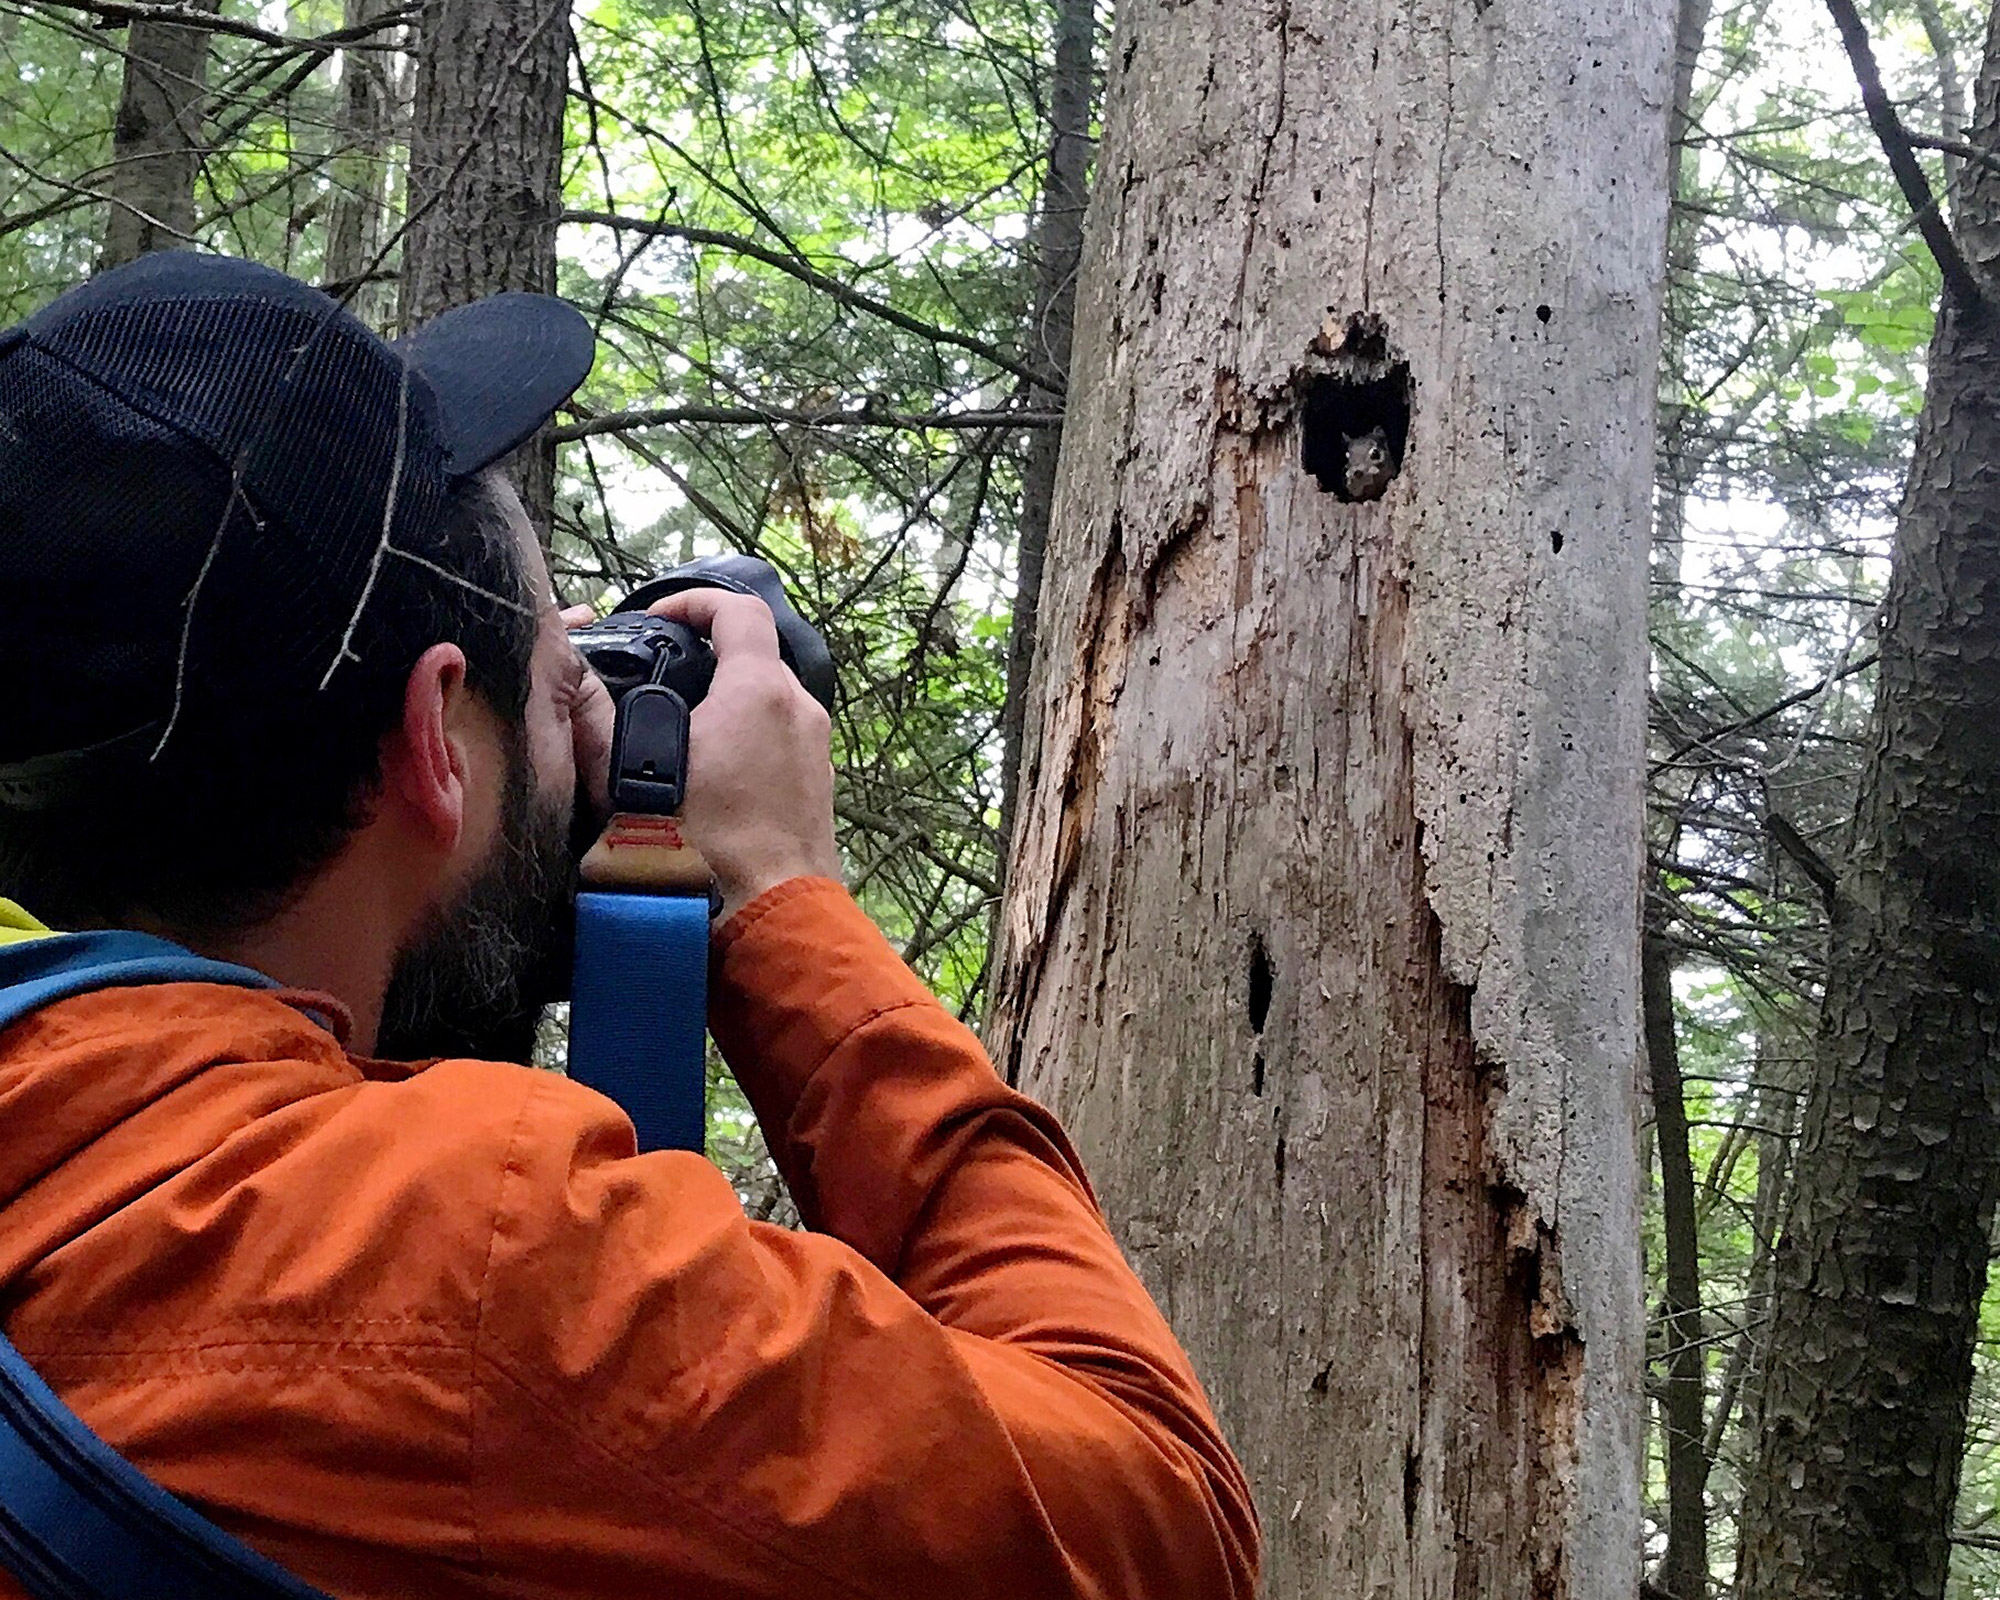
You will probably only want to have one (or maybe two) lenses on you for your hike. As often as possible, I try to only bring one, but if I do bring a second, I use an athletic fanny pack to keep it on me and easily accessible, so I don’t have to dig through my backpack.
Choosing a lens depends on what you plan to shoot. For landscapes, you’ll want a wide lens; for shots of your hiking pals, consider a medium focal length; and if you’re planning on photographing wildlife, you’ll likely want a telephoto. If you’re shooting all styles or want a lot of versatility, your best bet is a lens that covers as many focal lengths as possible. My go-to when I only bring one is a 24mm-105mm, so I can shoot wide landscapes and get closer, just in case I run into any wildlife.
A UV filter also adds a layer of protection to the front, and it can also keep dirt and moisture off the glass. Keep in mind that a cheaper UV filter may impact your image quality!
Batteries & Memory Cards
Bring extras, and don’t forget to charge them all the night before. Remember, colder conditions may drain your batteries faster, so keep them someplace warm, if possible, like inside a jacket. It also doesn’t hurt to bring a car battery charger along, in case you start shooting before you get to your hike or for reviewing photos after. If you can recharge via USB, a lightweight portable backup power supply additionally comes in handy.
As always, bring a backup card. You never know what can happen, so having that second card adds no weight and could be a lifesaver. It’s also a good idea to have a card case that’s water and impact resistant.
Accessories
Other important—and light—tools to pack are a lens cloth—remember, you will be kicking up dirt—and an air blower cleaner, in case you notice dust on your camera’s sensor while you’re out shooting!
If you are planning to use a tripod for stability, longer exposures, or selfies, the Joby GorillaPod SLR-Zoom with a Ballhead is a lightweight and versatile hiking option. It can hold about 6 lbs., and you can grip to almost any surface. I’ve definitely had my camera hanging from tree branches on this thing!
If you’re camping and there’s a chance of rain, it also doesn’t hurt to bring a dry sack to seal your camera in overnight. It could be the one time you wake up in a puddle, and your camera is sitting halfway underwater. Peace of mind will help you rest up!
Each hike and situation is going to be different for every photographer, but with these tips, you can enjoy your trek more without all the worry about your gear. For most, it will be figuring out what works best. Happy shooting!
Related Posts