Thanks to constantly improving gear and the opening of new terrain, it feels like we’re entering the golden era of backcountry skiing in the Northeast. While ditching the lifts can mean fewer crowds and fresher snow, it also means having to carry everything you need for a day in the backcountry in a backpack. Having the right bag and equipment—all properly packed—makes the difference between a dream day or a terrible tour.
What Constitutes a Ski Pack?
The ski pack category is quite broad, covering a wide range of bags for everything from uphilling at your local resort to multi-day tours in avalanche terrain. And while backcountry skiers’ backpack needs vary, their packs share several common denominators.
- Robust construction: Backcountry ski packs are generally built with strong, durable fabrics like Dynex and high-tenacity nylon to stand up to ski edges, crampons, shovel blades, and ice axes (they’re also commonly reinforced where these sharp items come into contact with the pack).
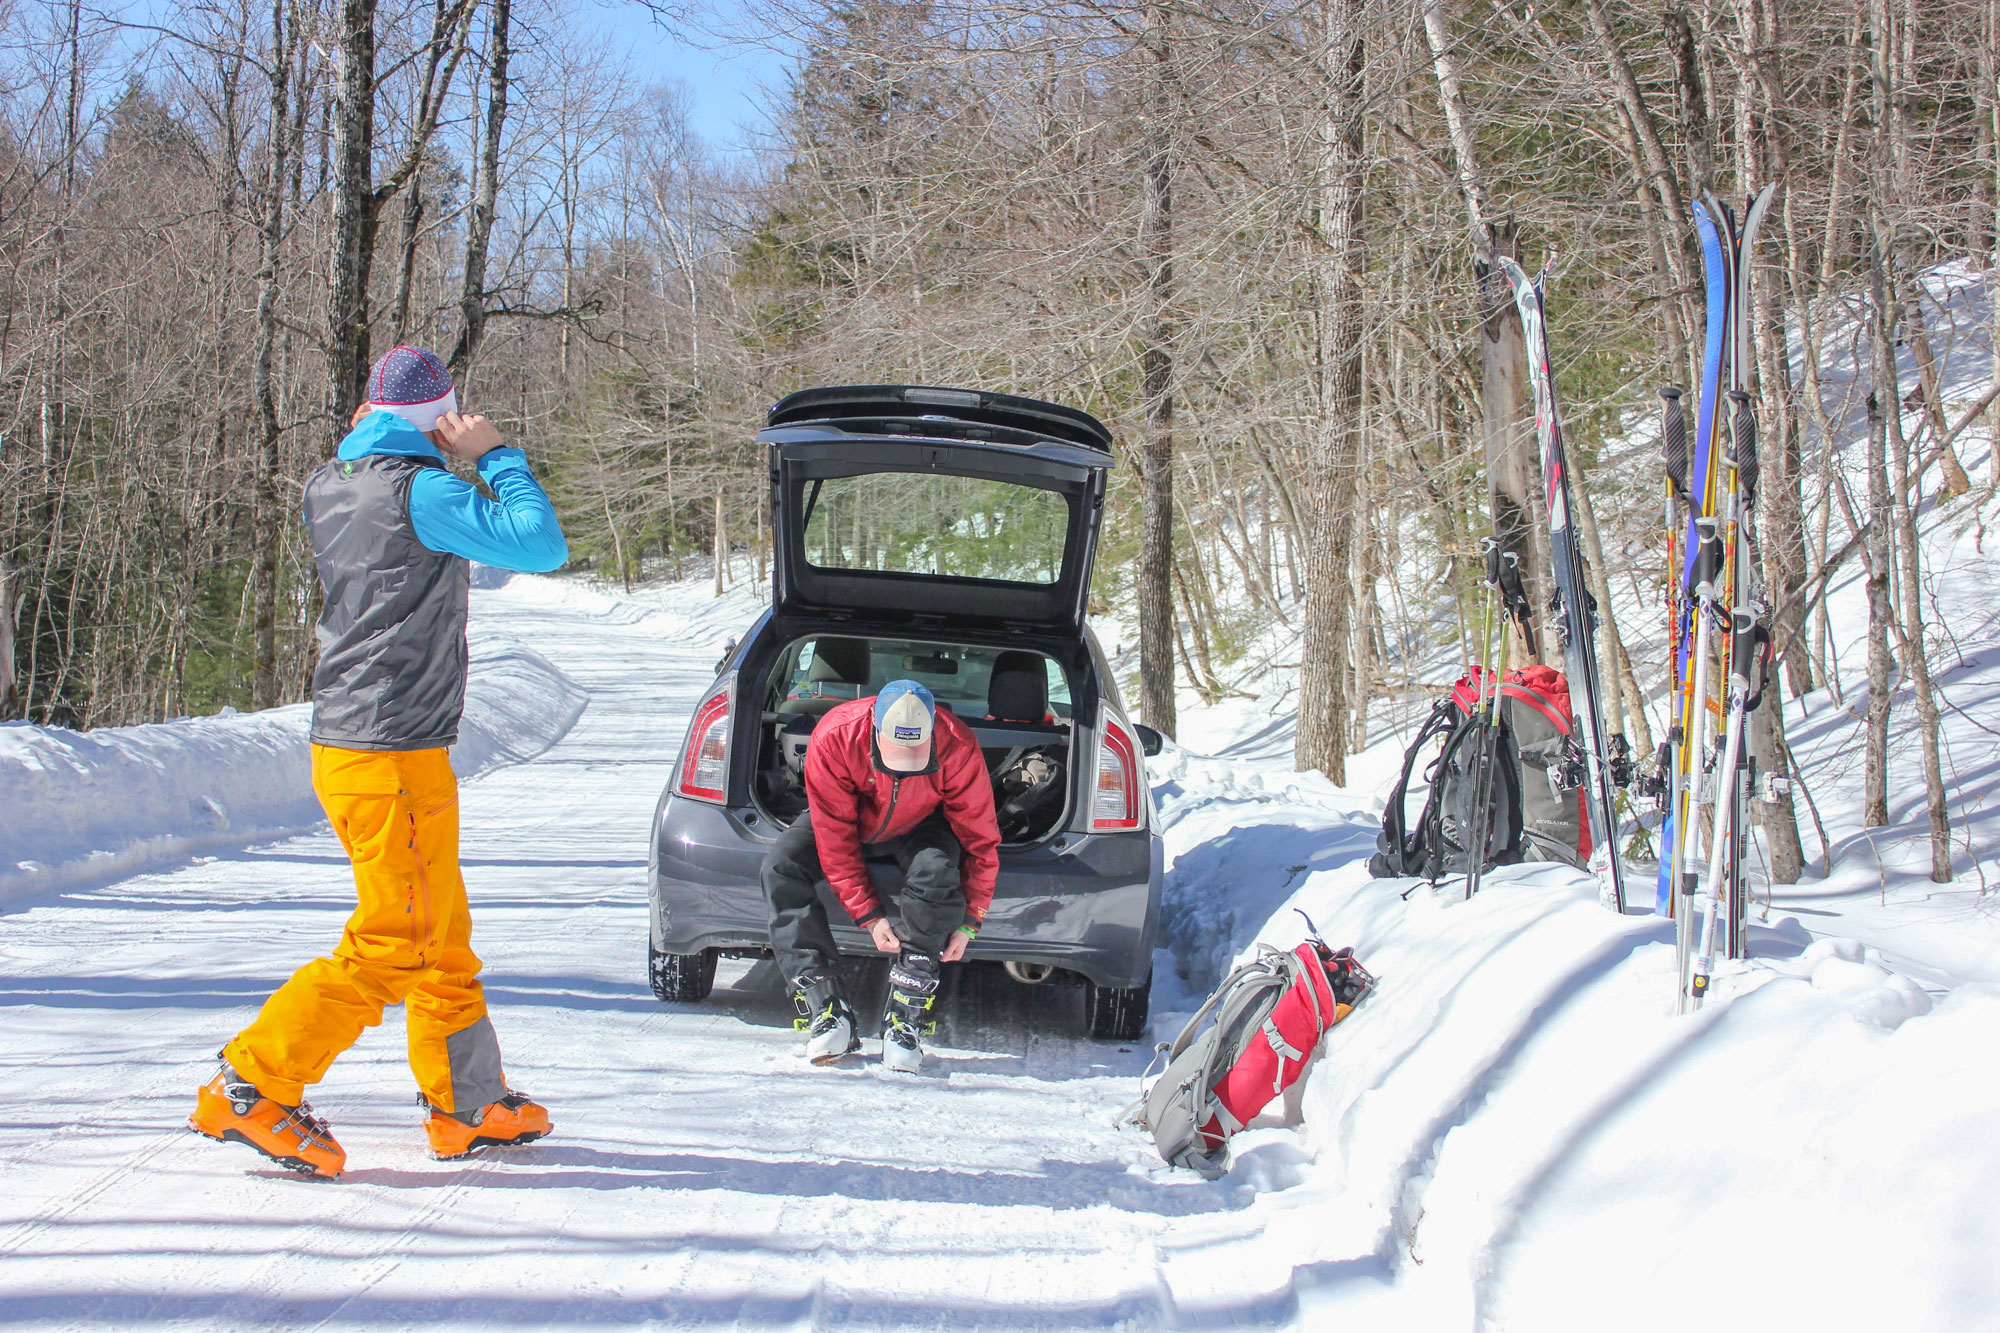
- Ski/snowboard carry: Shouldering your skis or carrying your snowboard under your arm is suboptimal over any distance, and in some cases isn’t particularly safe. Most ski bags provide one or more methods to secure your skis or board to them.
- Tool compartment: In the event of an avalanche, access to snow safety tools like a shovel and probe can mean the difference between life and death. Consequently, most bags designed for backcountry skiing have a dedicated, easy-to-access compartment for snow safety gear.
Other popular features on ski-specific packs include back-panel access (for entry into your pack even while carrying skis or a board), glove-friendly zippers, helmet-carry systems, goggle pockets, and insulated hydration.
Where Do You Plan to Ski?
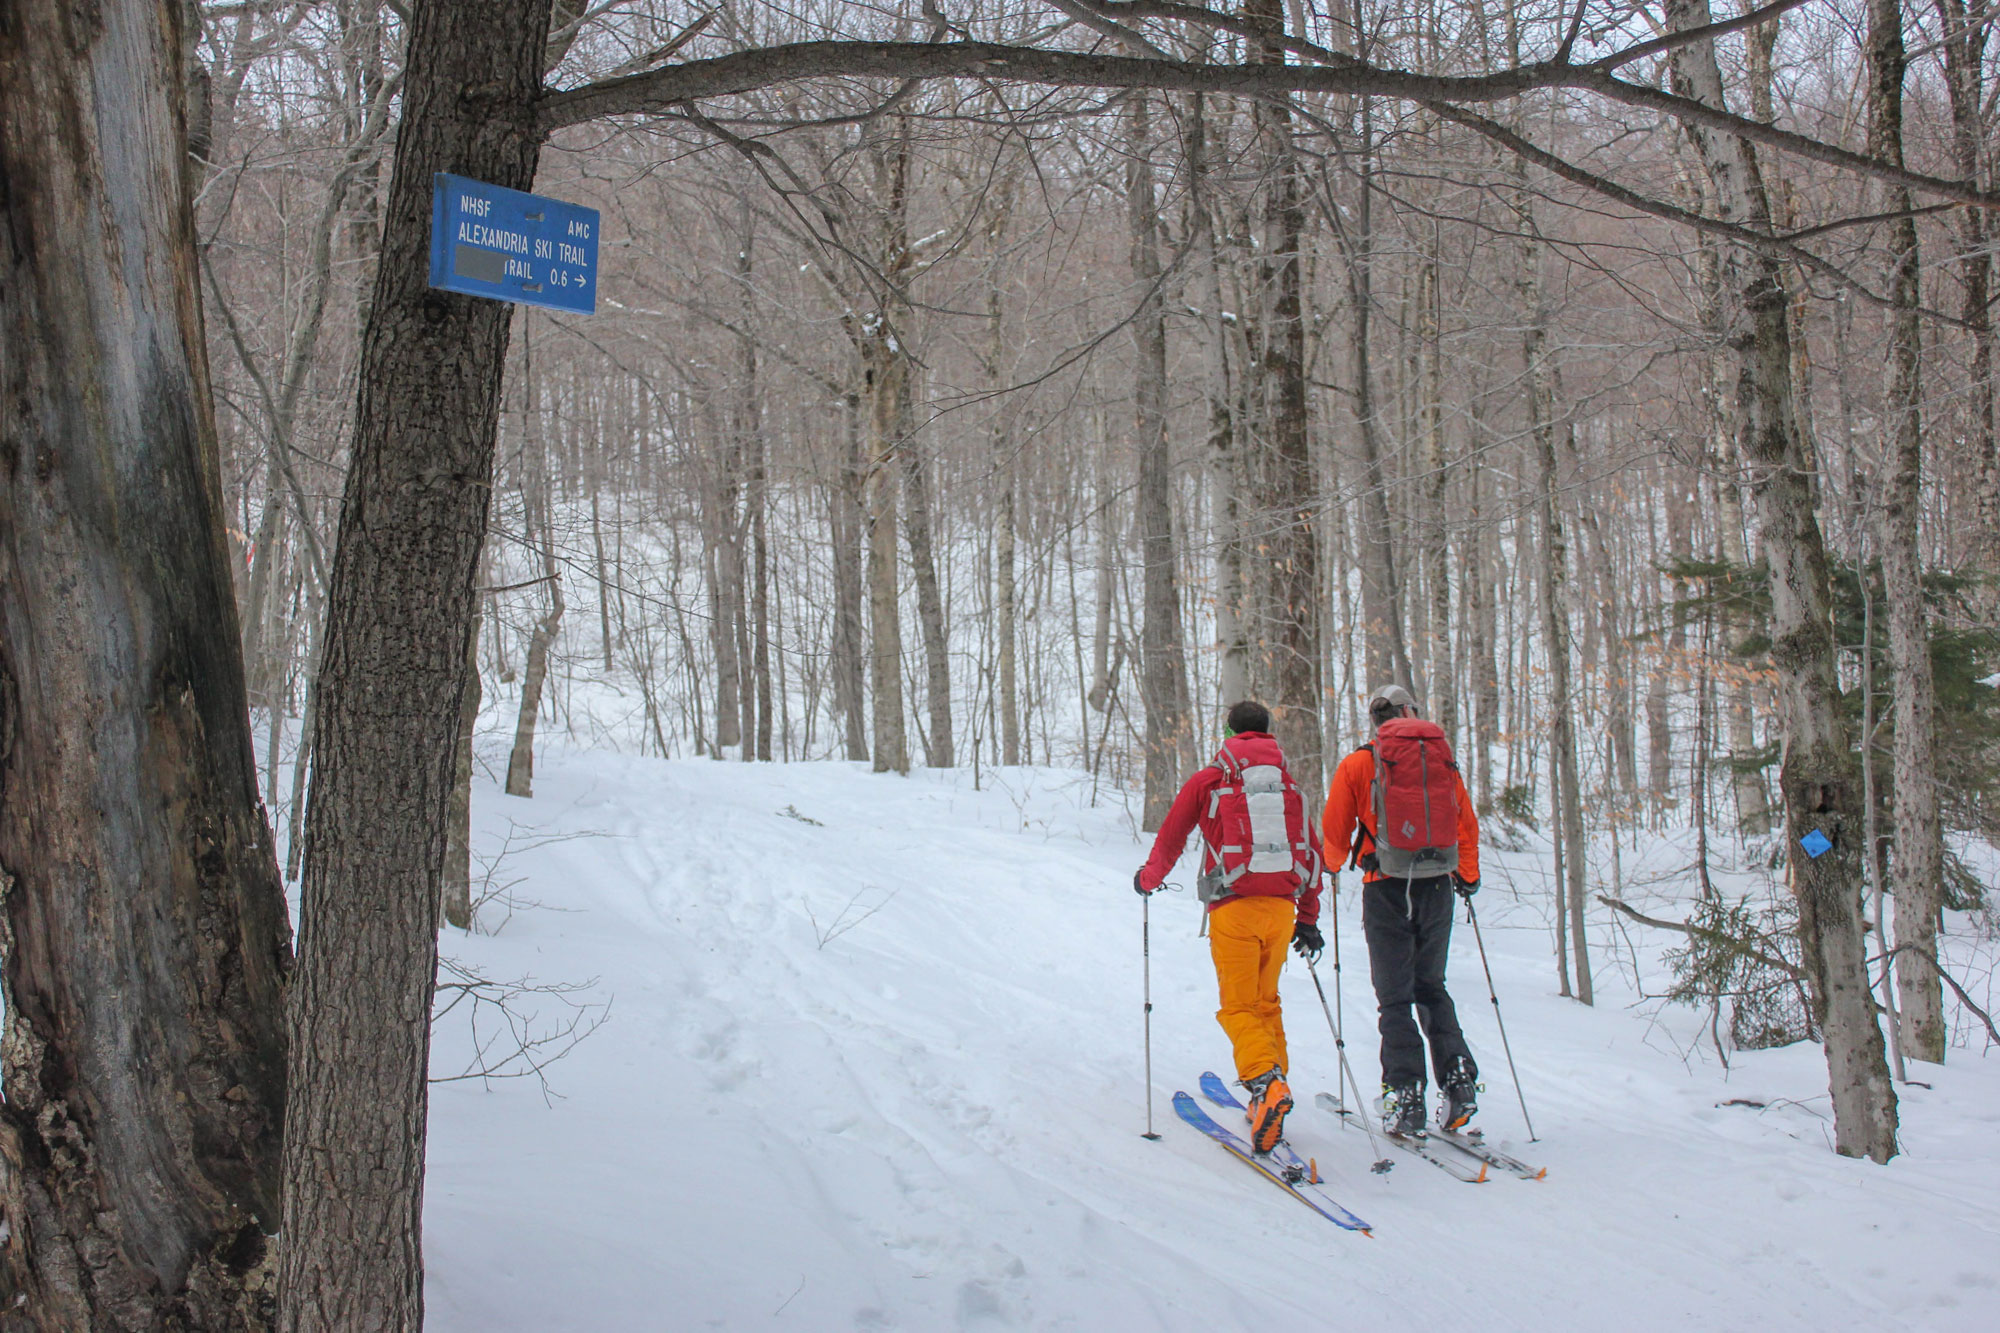
New England has a wide variety of backcountry ski terrain and where you ski or ride will have a considerable influence over the equipment you’ll require and the type of backpack you need to carry it all. At its most basic, New England ski terrain is separated into avalanche terrain (like Tuckerman Ravine on Mount Washington) and non-avalanche terrain (for example, the GBA glades, the ski trails on Mount Cardigan, and the Carriage Road on Mount Moosilauke.)
Avalanche terrain: Traveling in avalanche terrain necessitates carrying a shovel and probe in your backpack and an avalanche beacon on your person—along with the knowledge of how to use them. It also commonly requires carrying an ice axe and crampons. If your intent is to travel in avy terrain, a ski bag with a dedicated snow safety pocket is a must. It’s also a good idea to err on the side of a bit bigger bag, as accommodating everything from essentials like crampons to luxuries like extra layers fills up space fast.
In general, no matter if you’re traveling in the alpine or through hardwoods, packs between 30 and 40 liters will provide enough space for everything you need for a day tour in the Northeast. And whatever size pack you end up with, it’s important that it holds everything while allowing you easy access.
What’s in Your Ski Pack?
Between layers, accessories, helmets, food, water, and in some cases snow safety tools, a lot goes into a backcountry ski pack.
Layers
There’s no one-size-fits-all layering system. Everyone (and every trip) is different and the best layering systems are tailored to the individual, the ski tour, and the weather. Most layering systems often use a variety of light layers and allow for maximum adaptability to conditions.
- Puffy coat (or two): A staple of backcountry skiers and key to keeping warm while in the backcountry. It seems that over the past few years, the best snow days have coincided with the coldest days and it’s here where it pays to have two puffies—one lighter-weight puffy with active insulation to keep you warm while you move, and another heavier-weight puffy (down or synthetic) to keep you comfortable when transitioning from down to up, or vice versa. At least one should have an insulated hood.
- Hardshell: A hardshell’s most important function is to keep you dry, but it serves a handful of other purposes for backcountry skiing. Hardshells are windproof, making them particularly valuable on blustery ski days above treeline. They also offer considerably more protection while skiing in the trees than the thinner, more vulnerable fabric of most puffies.
- Windshirt: Windshirts offer impressive wind protection while taking up minimal pack space and weighing next to nothing. That said, with the exception of warm spring days, windshirts are more often worn than packed.
Store your warmest puffy near the top of your pack so you can pull it on when stopped or at transitions.
Accessories
Outerwear plays a considerable role in your comfort while ski touring, but accessories like gloves and buffs can significantly impact your ability to regulate temperature.
- Work gloves: Leather work gloves are great for ski touring—they’re robust enough to stand up to ski edges and crampons, offer enough dexterity to rip skins and fiddle with bindings, and are sufficiently weatherproof for digging pits and playing in the snow. A pair on your hands is great, a backup pair in your pack is even better.
- Warm mittens: Warm mitts are like little puffy coats for your hands and generally are warmer than gloves. Warm mittens are vital for when the going gets cold—like extended stops or in the event of an emergency.
- Winter hat: A winter hat is a necessity and is handy for everything from touring above treeline to keeping cozy at transitions.
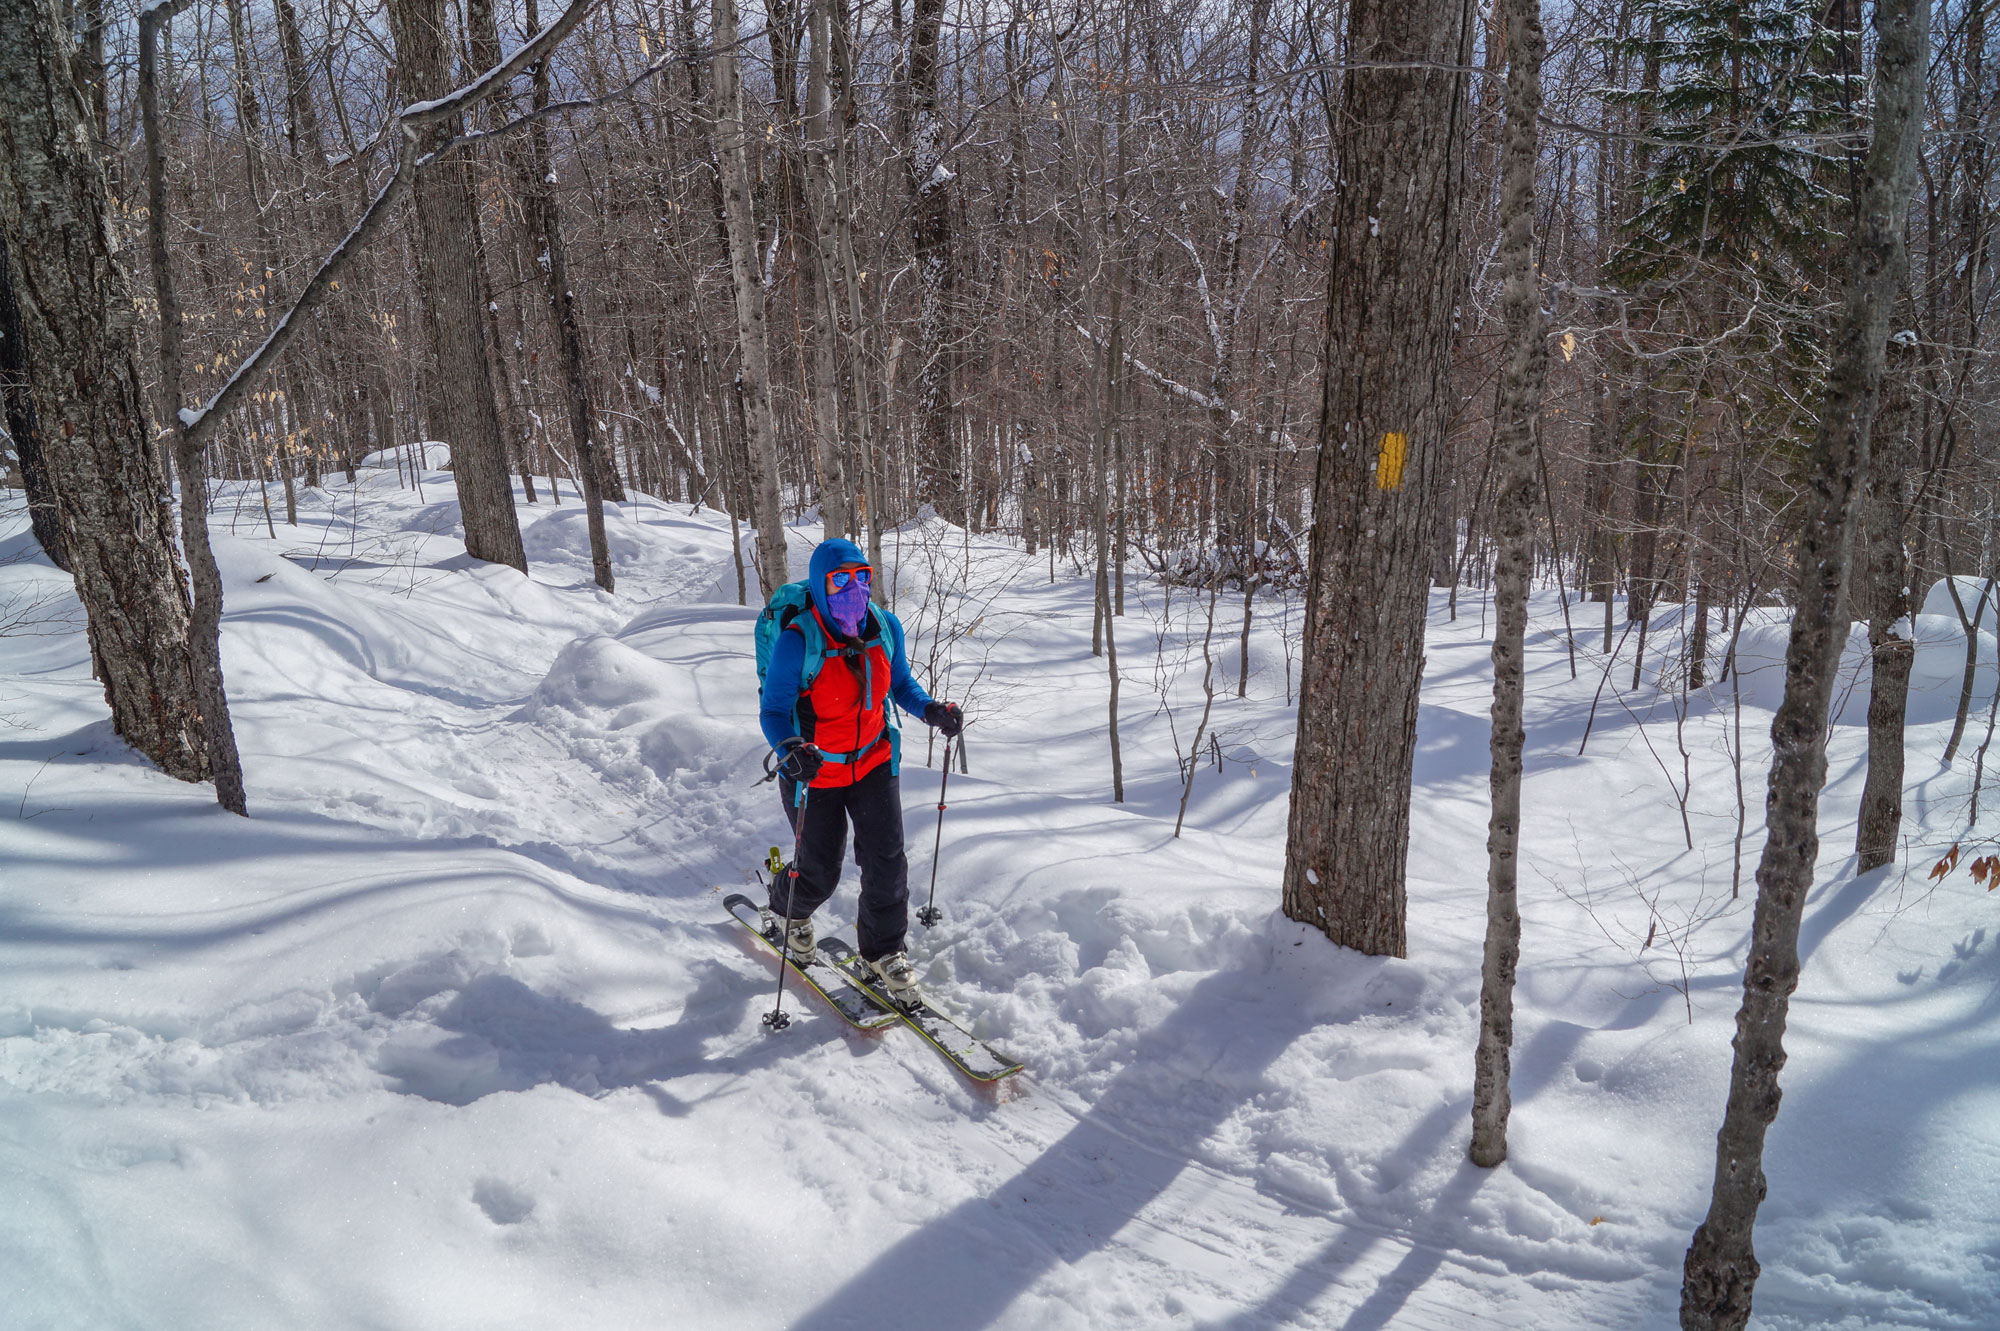
- Buffs, balaclavas, and multiclavas: Easy to adjust, raise, and lower, a buff provides ideal temperature regulation while you’re on the move. For extremely cold and windy days, a balaclava provides the full-face coverage you want. Multiclavas are extremely versatile and can work as a backup balaclava, neck gaiter, or extra bandages in the event of an accident—pack a few.
Extra gloves and backup balaclavas can ride near the bottom of your pack, but tuck your warm mittens and winter hat in the pockets of the puffy at the top of your pack so you can get at them quickly.
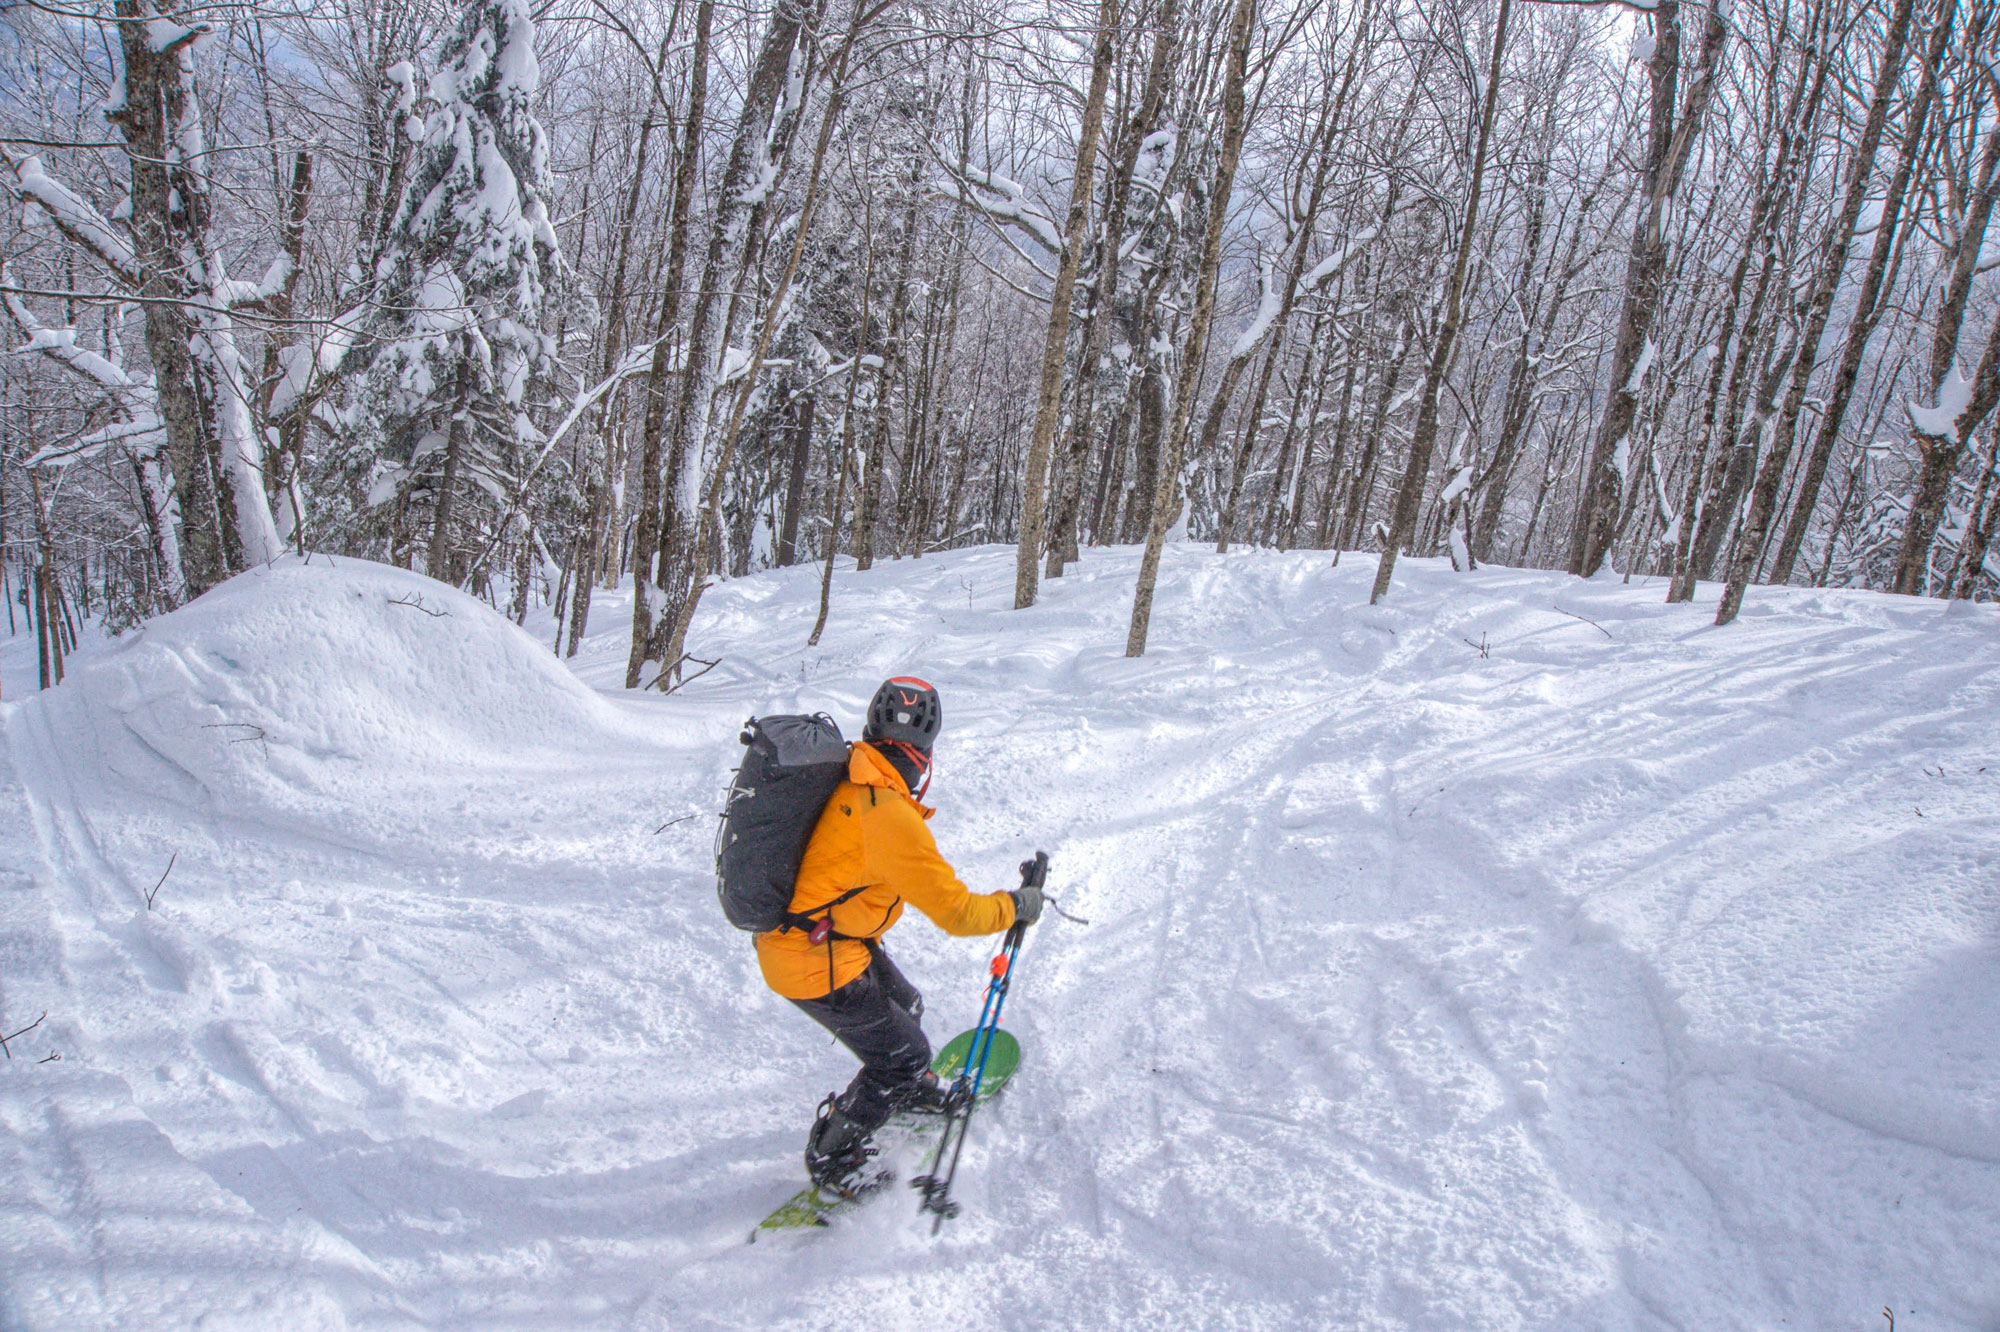
Helmet
The backcountry is inherently dangerous, and more often than not, help is a long way away. A simple way to guard against disaster is to carry a helmet and wear it while descending. An added bonus—helmets are warm!
Many ski-specific packs come with a helmet carrier. If not, pack your helmet toward the middle of your pack and away from your body. Take advantage of the space inside your helmet to shove your puffy, hardshell, or extra accessories.
Sunglasses/Goggles
Rotating sunglasses and goggles in and out of your pack is a great way to maximize the performance of both pieces of gear. Sunglasses vent better than goggles and are best on the uphill and digging pits. Conversely, goggles fog easily while working hard aerobically, but offer improved optics and protection while descending.
Many ski-specific packs come with a dedicated pocket for storing goggles and sunglasses. If your pack doesn’t, try to keep them near the top—and out of harm’s way—as you’ll alternate between them with some frequency, especially if you’re running laps at the local glade.
Food & Water
Similar to layering, what you pack to eat and drink while touring is highly personal. Still, there are a few simple rules to follow. Most important: avoid foods that can freeze. Secondly, pack a little more food and water than you think you’ll need, as you burn more calories in the cold to stay warm, and sweat evaporates quickly in cold, dry New England winter air making it easy to underestimate how much liquid you need. Rule three is to store your liquids inside something where they won’t freeze. Here are two suggestions for liquid storage:
- Wide-mouth Nalgene bottle: Tuck a wide-mouth Nalgene bottle inside your puffy while in your pack to keep it from freezing or add a little juice to it and make it more resilient to freezing.
- Thermos: A thermos is an even better way to prevent your water from freezing—they’re equally adept at keeping beverages hot as they are cold. Thermoses are also great for supplementing your water with something warm to drink, like hot chocolate.
Notice what’s not recommended—a hydration bladder. Despite all the tricks pack manufacturers offer to prevent hydration sleeves from freezing, we’ve yet to discover a fail-safe solution. Wide-mouth Nalgenes and thermoses simply offer more reliable options for staying hydrated while backcountry skiing.
In terms of packing, store a few snacks where you can get to them quickly—like the lid of your pack or the pocket of your pants (they’ll stay much warmer there)—and keep a water bottle near the top so you can grab a quick drink at stops or transitions.
Snow Safety
Although not needed for every tour in the Northeast, packing and practicing with snow safety equipment is a good habit to get into.
- Shovel: A D-handle makes digging more comfortable and metal construction is a necessity.
- Probe: A 230cm probe is plenty long for the East Coast, but you might want something with more length if traveling out west.
- Beacon: Essential for staying found and finding others in avalanche terrain.
- Field book: From recording your tour plan to helping you identify red flags in the field, almost every traveler in avy terrain carries a field book in an easily accessible part of their pack.
Store your shovel and probe in your pack’s snow safety pocket and your field book in your pack’s top pocket.
Crampons/Ice Axe
Climbing gullies in Tuckerman’s and the surrounding ravines often requires the use of crampons and an ice axe, along with the knowledge of how to use them.
- Crampons: General mountaineering crampons will suffice, just make sure they fit your boots and pre-size them before heading out on your tour.
- Ice axe: a classic mountaineering axe will work for most ski objectives in the Whites.
Most ski packs have a method for externally securing an ice axe. Crampons are easily stored within your pack—make sure to store them in a protective pouch before doing so—and should live near the bottom of your pack when not needed.
Headlamp
The days are short in the winter and getting caught out after dark is no fun. Tuck a headlamp and spare batteries somewhere out of the way in the event you get benighted.
First Aid/Gear Aid/Group Gear
Murphy’s Law states that anything that can go wrong, will go wrong. Not everyone in your group needs to carry all this gear individually, but someone in your group should. Divide, conquer, and know you’re ready for anything.
- First aid: A first aid kit supplemented with a splint is a good start for backcountry ski trips. A few hand warmers are a nice add-on, especially on bitterly cold winter days. It’s also worth including a list of phone numbers for search and rescue and the local hospital on a piece of laminated paper—just in case.
- Repair kit: A driver with appropriate bits, a multitool, a pole splint, an extra basket, and skin wax make up the foundation of a good repair kit. Also, throw in a few ski straps. Often called a backcountry skier’s duct tape, they’re incredibly handy to have on hand.
- Sleeping bag or bivy: Hopefully you’ll never need it, but in the event of an injury it can prove indispensable.
- Ski sled: If somebody in your party gets injured, having a way to move them to safety is a must. Since most backcountry ski spots in the Northeast don’t have rescue caches with evacuation equipment, having a ski sled or guide tarp will be a boon in any improvised rescue situation.
Tips for Packing Your Backcountry Ski Bag
- Compartmentalize: Keeping your bag orderly is key to finding things easily. Use stuff sacks or zip-lock bags to keep items together. For example, have a small stuff sack for your multiclavas and another for your gloves.
- Pack with intention: On a warm spring day in Tuckerman’s, it’s likely okay to keep your crampons at the bottom of your bag. But if you’re trying to sneak in one more run as the sun sets and the temperature drops, it might make sense to move them closer to the top. Use your head, adjust your packing accordingly, and try to pre-plan any transition so that you’re doing it in a zone of safety.
- Carry what you need: It’s critical to have what you need, but too much stuff can slow you down. Think of every tour as a learning experience and continuously refine what you pack.
- All on the inside: With the exception of an ice axe and your skis/board, avoid lashing stuff to the outside of your pack. It’s unwieldy, insecure, and makes it too easy to lose a key piece of gear.
In the end, there is no formula for how to perfectly pack a backcountry ski bag. The best method is to learn the basics and continually hone your strategy to keep the stuff you need or will need, most accessible.
Related Posts