On a cold, wet, and windy morning in late October, our party huddled in Stony Clove Notch, the halfway point of the Catskills’ infamous Devil’s Path. We were sitting, shivering in the lee of a boulder, and watching a pot of water try to boil when, without warning, the fuel ran out. We checked it, shook it, tried again and again to light it, but that was that—it had kicked. There would be no hot breakfast this morning. There would be no coffee. No. Coffee.
We’d walk off the cold on the climb out of the notch, but we learned two valuable lessons that day. One, nothing takes the wind out of your sails quite like running out of stove fuel, and two, always bring enough.
Because canister stoves use stock container sizes—a common knock when debating the merits of liquid versus gas backpacking stoves—it’s not super easy to tailor the amount of fuel you’re bringing into the backcountry. Short of hauling extra canisters (heavy), or only packing-in full canisters (wasteful), your only option is to measure just how much fuel actually remains in that used canister you’ve got hanging around.
Here are a couple of ways to do just that.
1. Weigh It
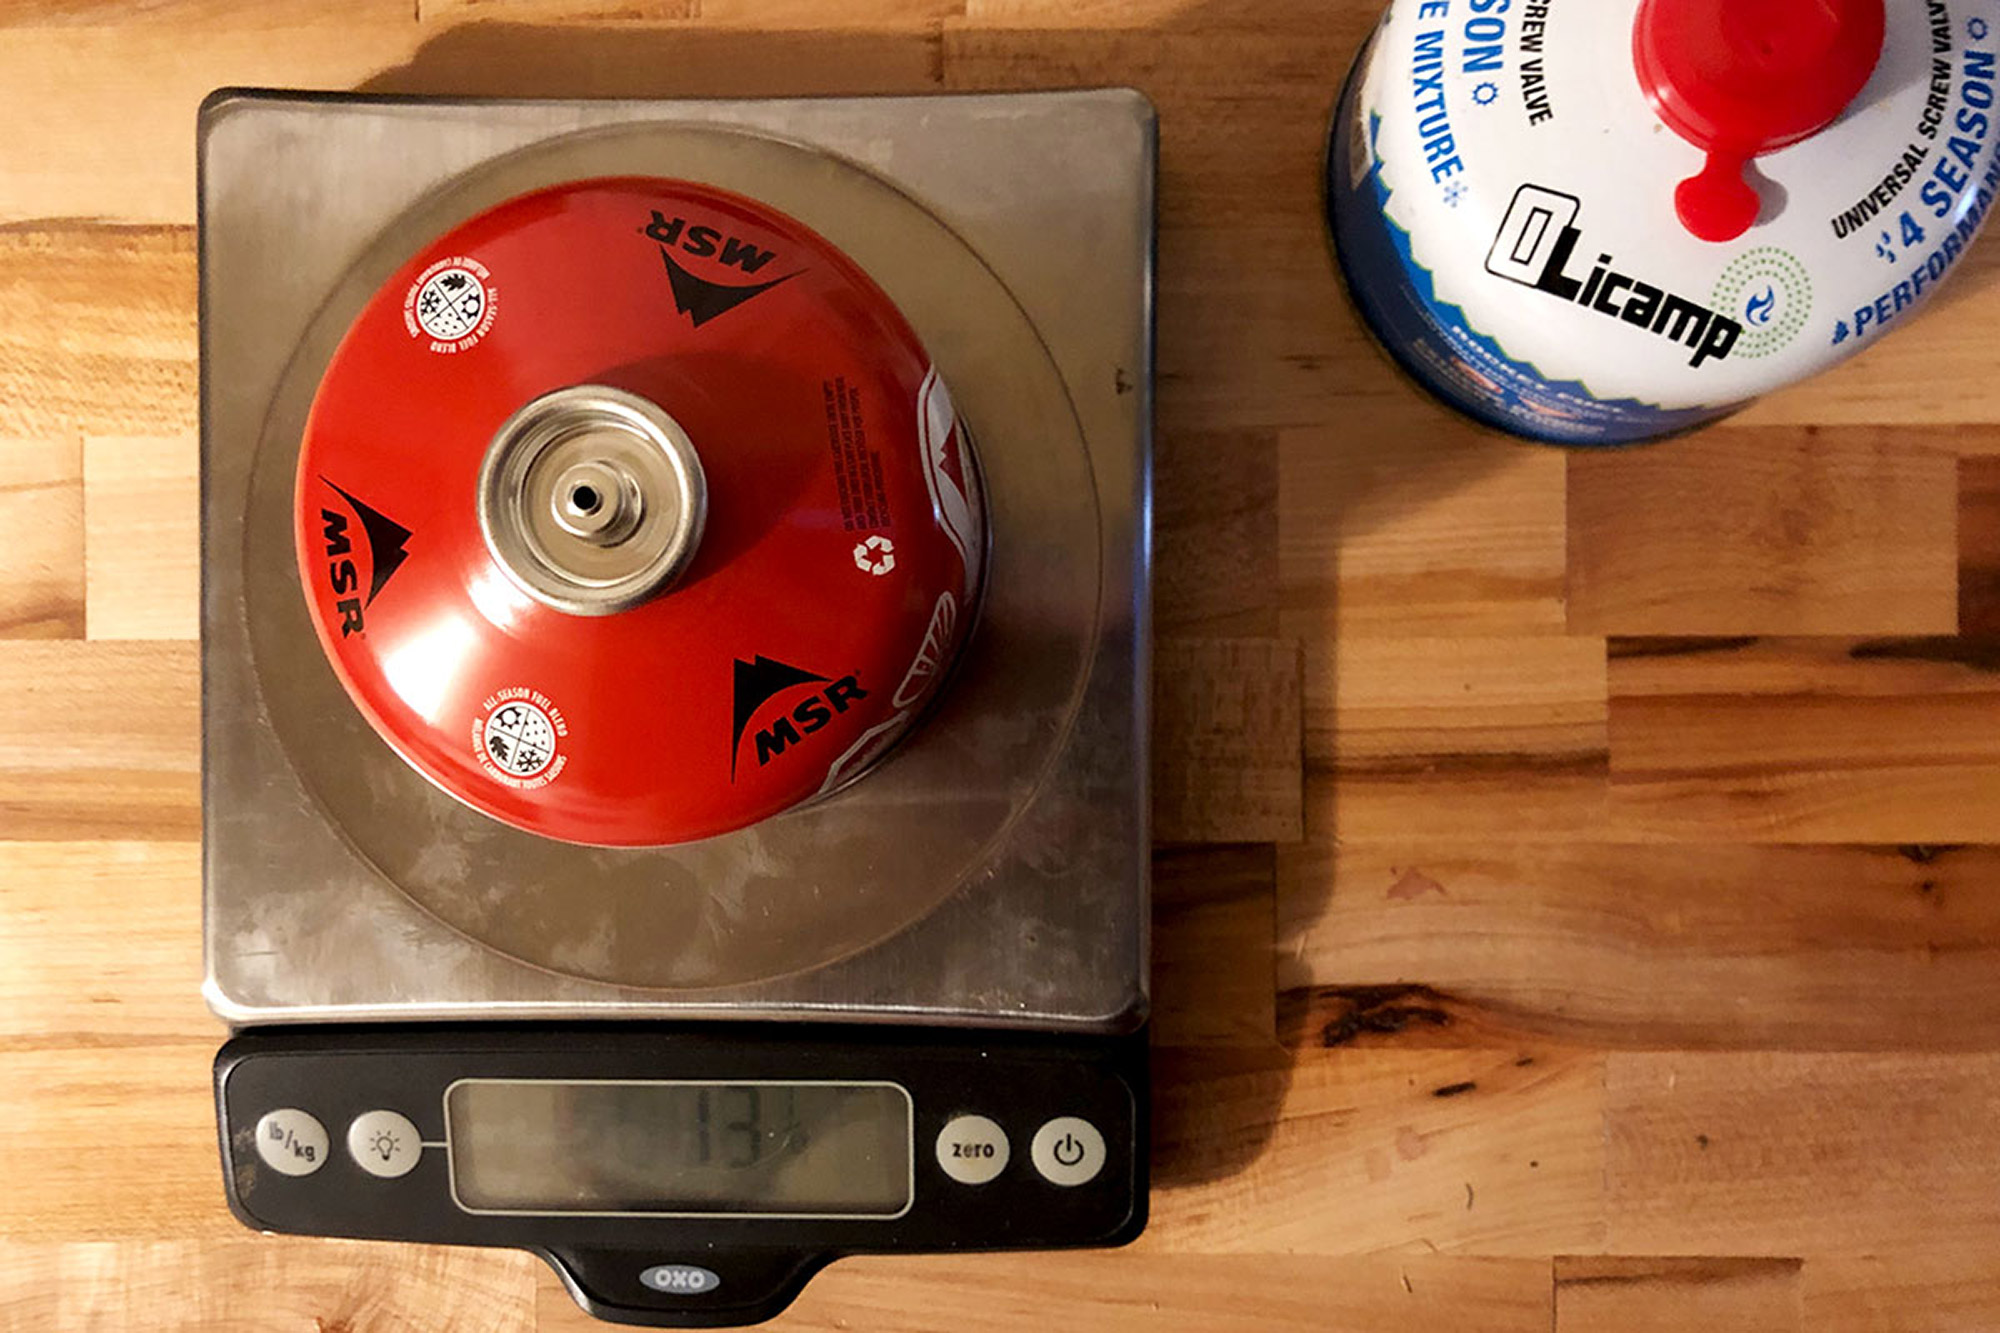
To measure a fuel canister’s contents, weighing it is a reliable and fairly accurate method. This is optimally performed with a digital scale. Kind of a specialty item, these scales aren’t crazy expensive and are a fantastic tool to have in the kitchen if you’re the cooking type. They are not, however, ultralight or especially useful in the field. So, you’ll need to do this exercise at home, before the trip.
Gather two fuel canisters of the same brand—one with some gas left and one empty. Since the exact mixture, manufacture, and packaging vary from company to company, it’s important that the canisters be of the same brand.
This is when you’ll need that digital scale, and since there’s a bit of math involved here, it couldn’t hurt to grab a scrap of paper and a pen—or to open up that calculator app.
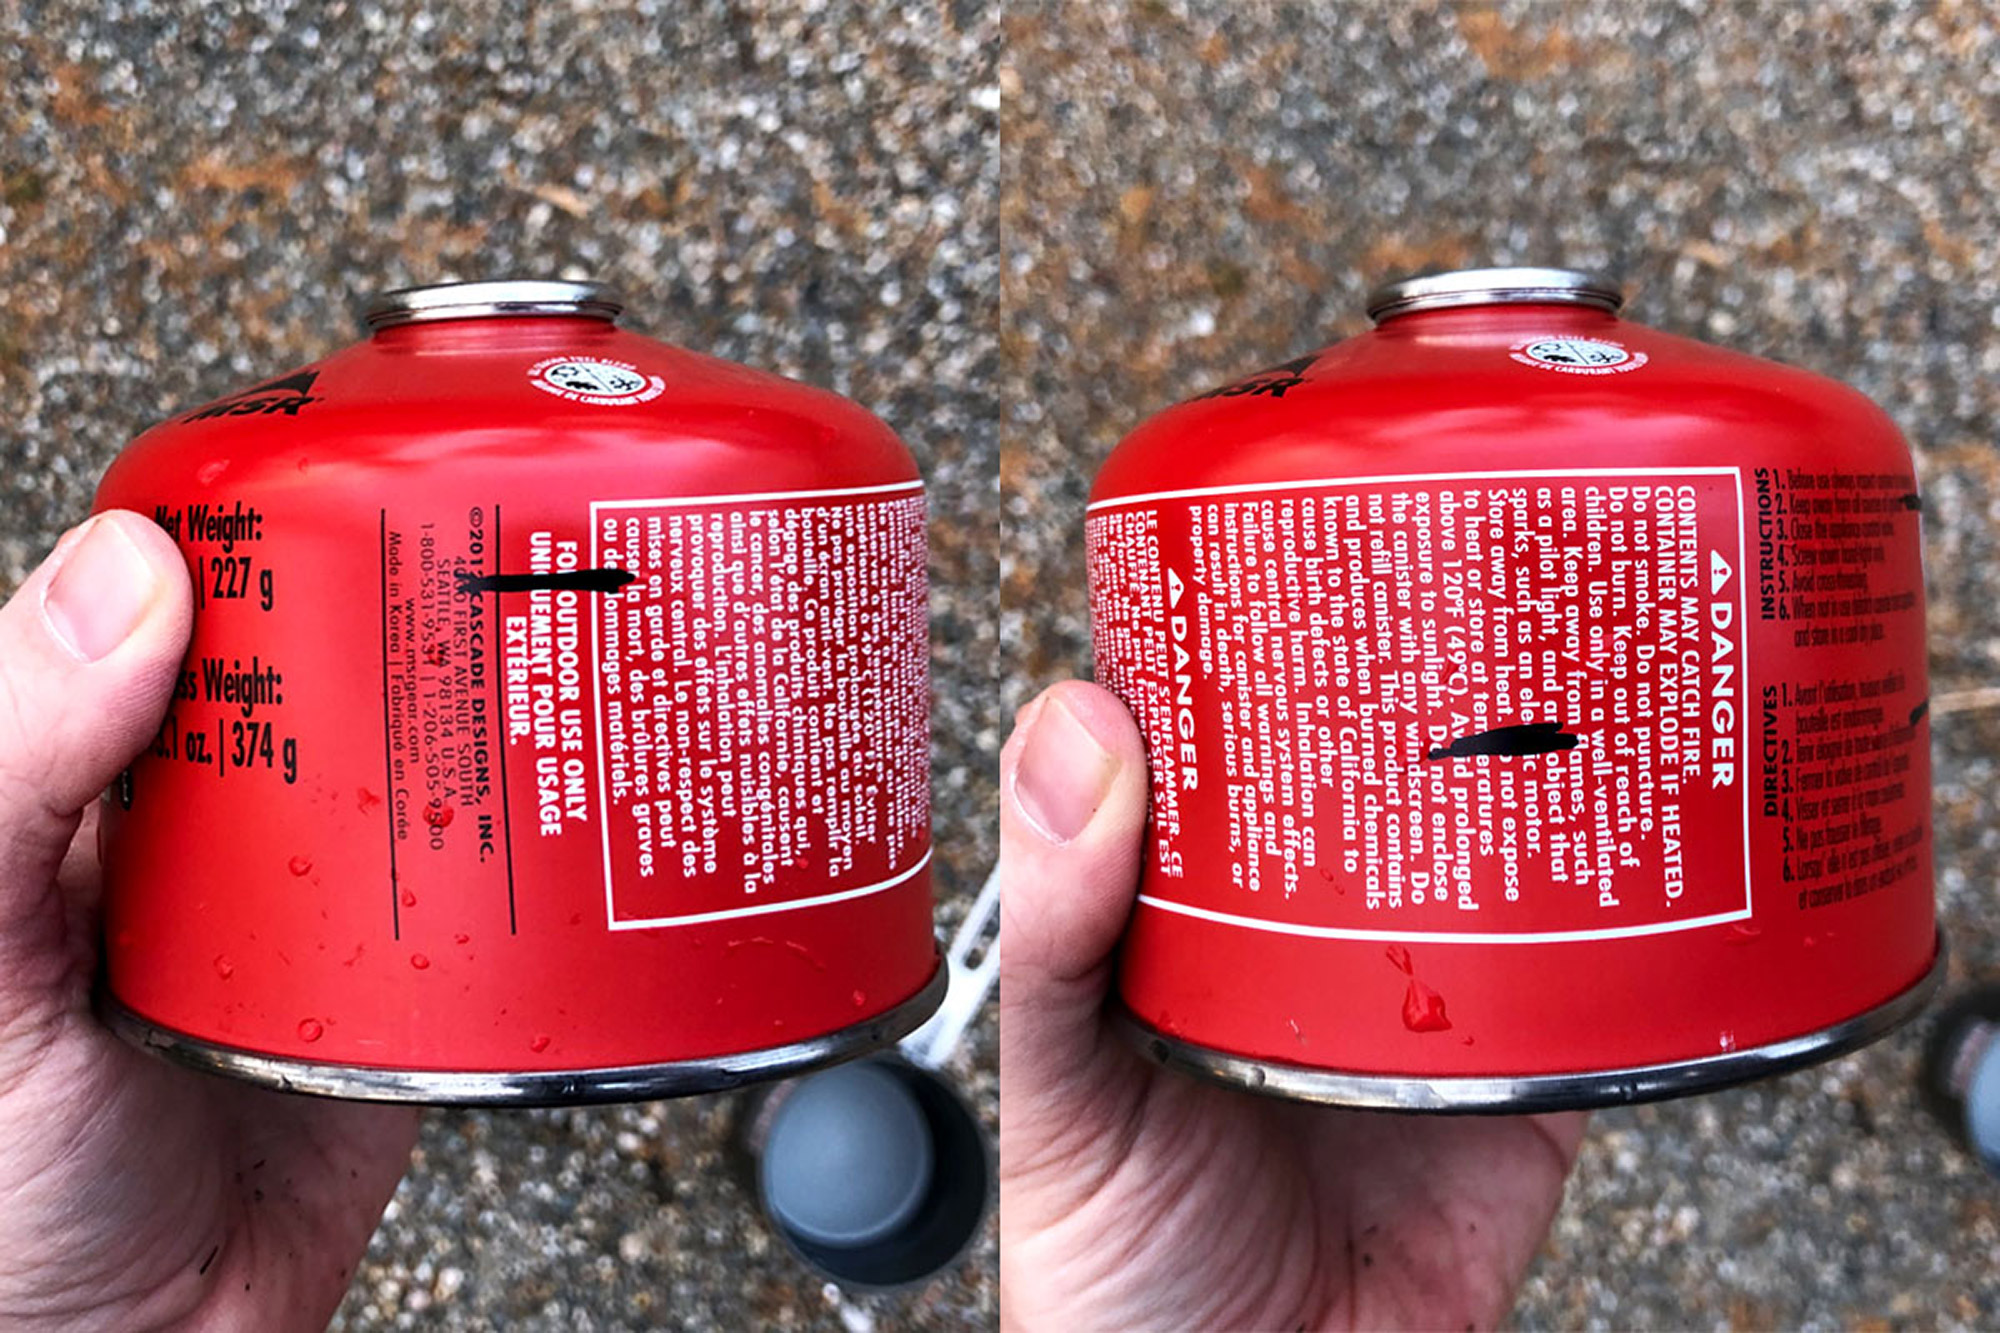
Weigh the empty canister, and record its value. This measurement gives you a baseline for what the container weighs by itself.
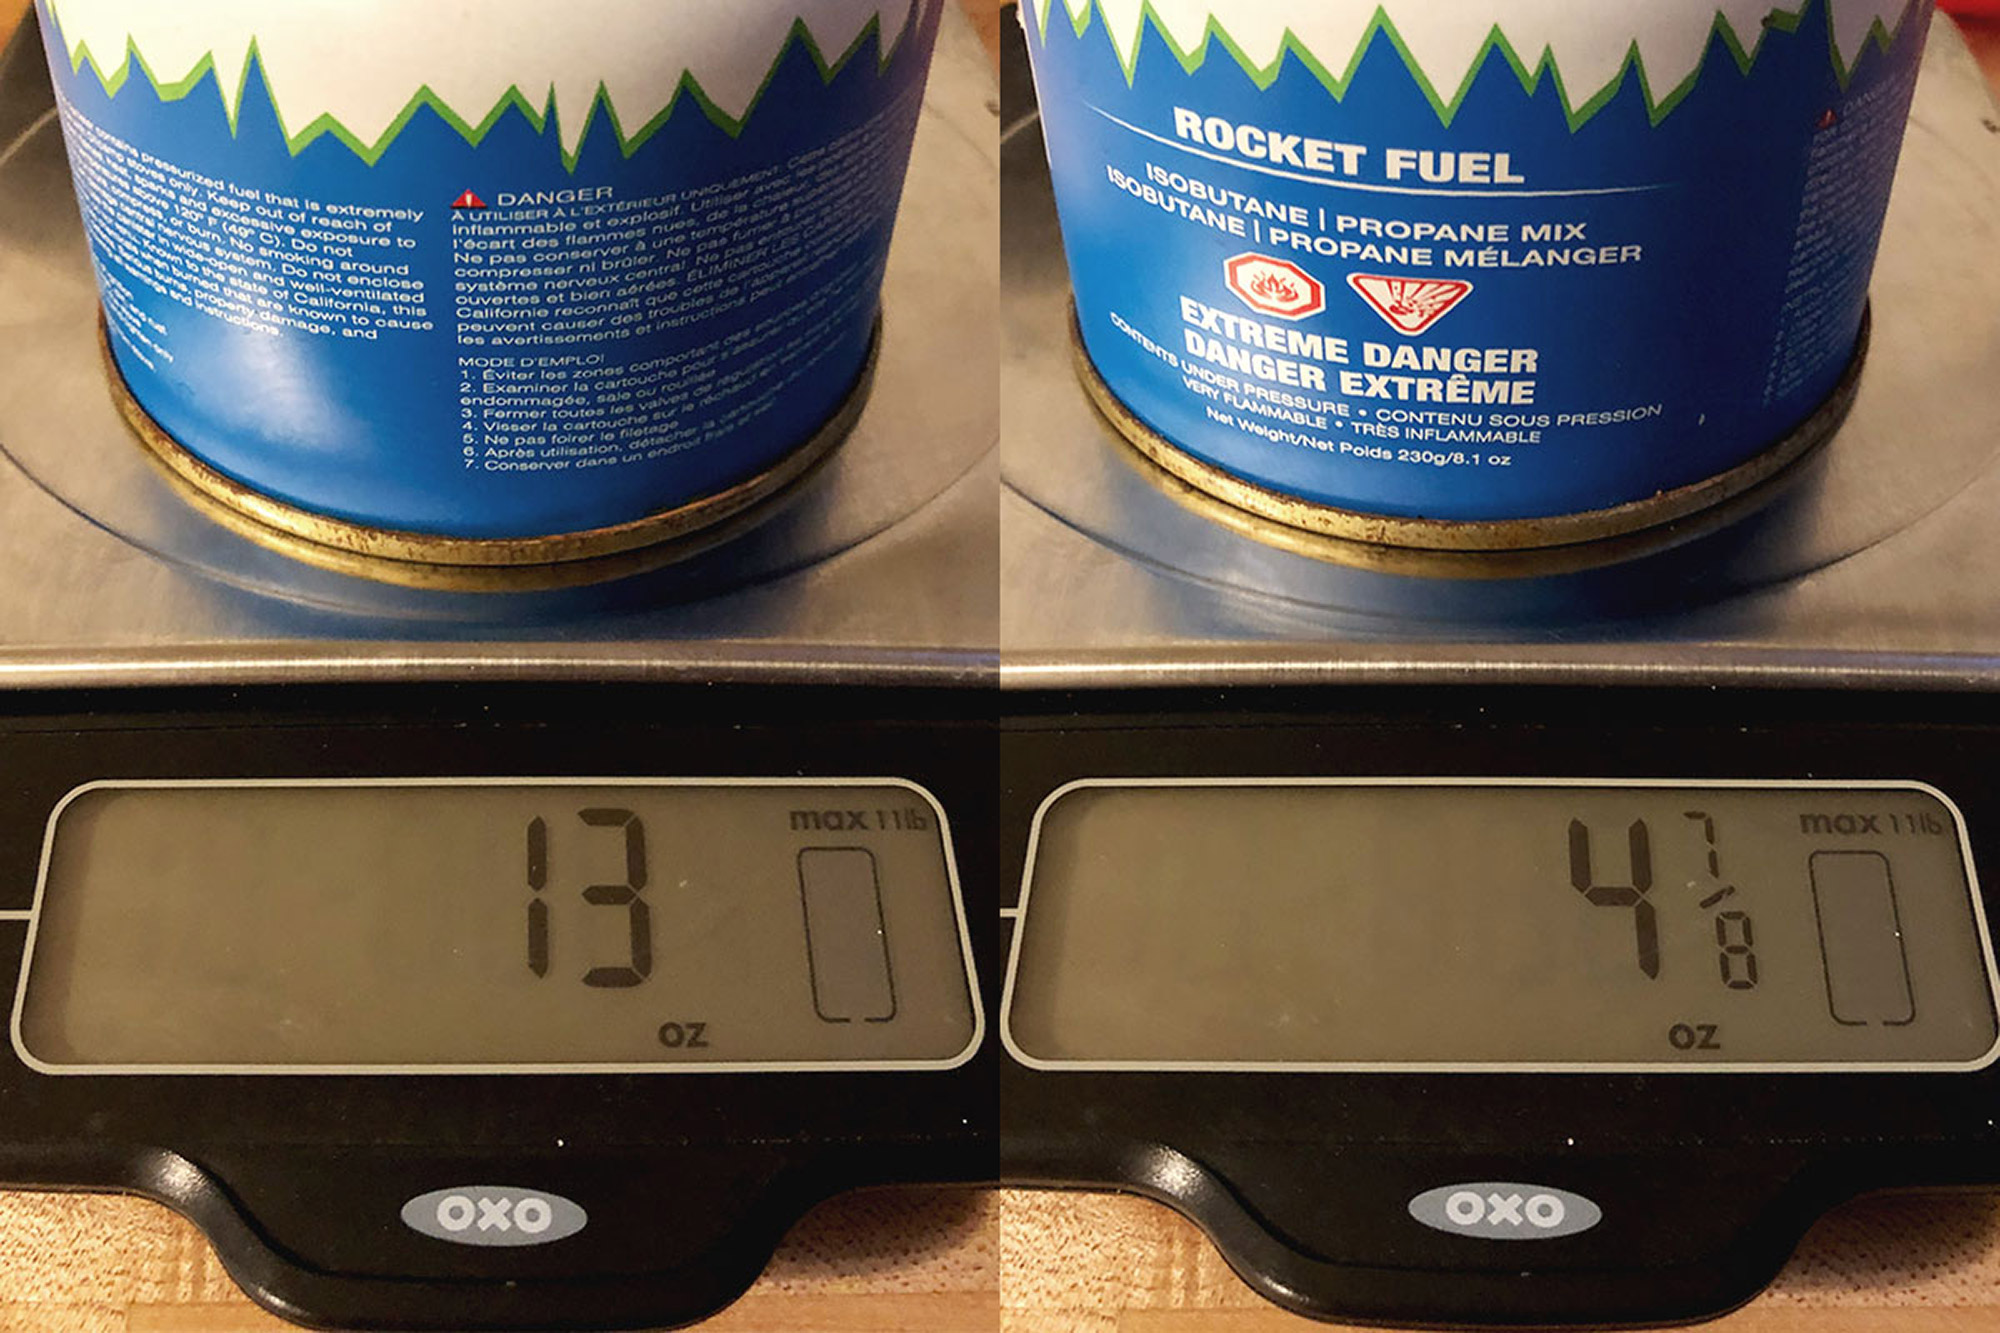
Next, weigh the semi-full canister and record this measurement. Now for the arithmetic: Go ahead and subtract the weight of the empty canister from the semi-full canister. The resulting value tells you how much gas you’ve got left.
Fuel weight to burn time ratios vary from stove to stove, however. So, a little research on your specific setup will be necessary to find out how long those ounces will last. Measure that against the needs of your trip, and you’ll have a good idea of what to pack.
Side note: If you’re using Jetboil canisters, the Jetboil JetGauge Canister Weight Scale offers accurate weight measurement in the field. It’s small and packable, and goes one step further for you, converting the weight into a percentage value to represent the remaining fuel.
2. Float It
At home, a digital scale is a luxury, but in the backcountry, it’s an impossibility. Fortunately, thanks to physics and the fuel canister’s natural buoyancy, there’s still a way.
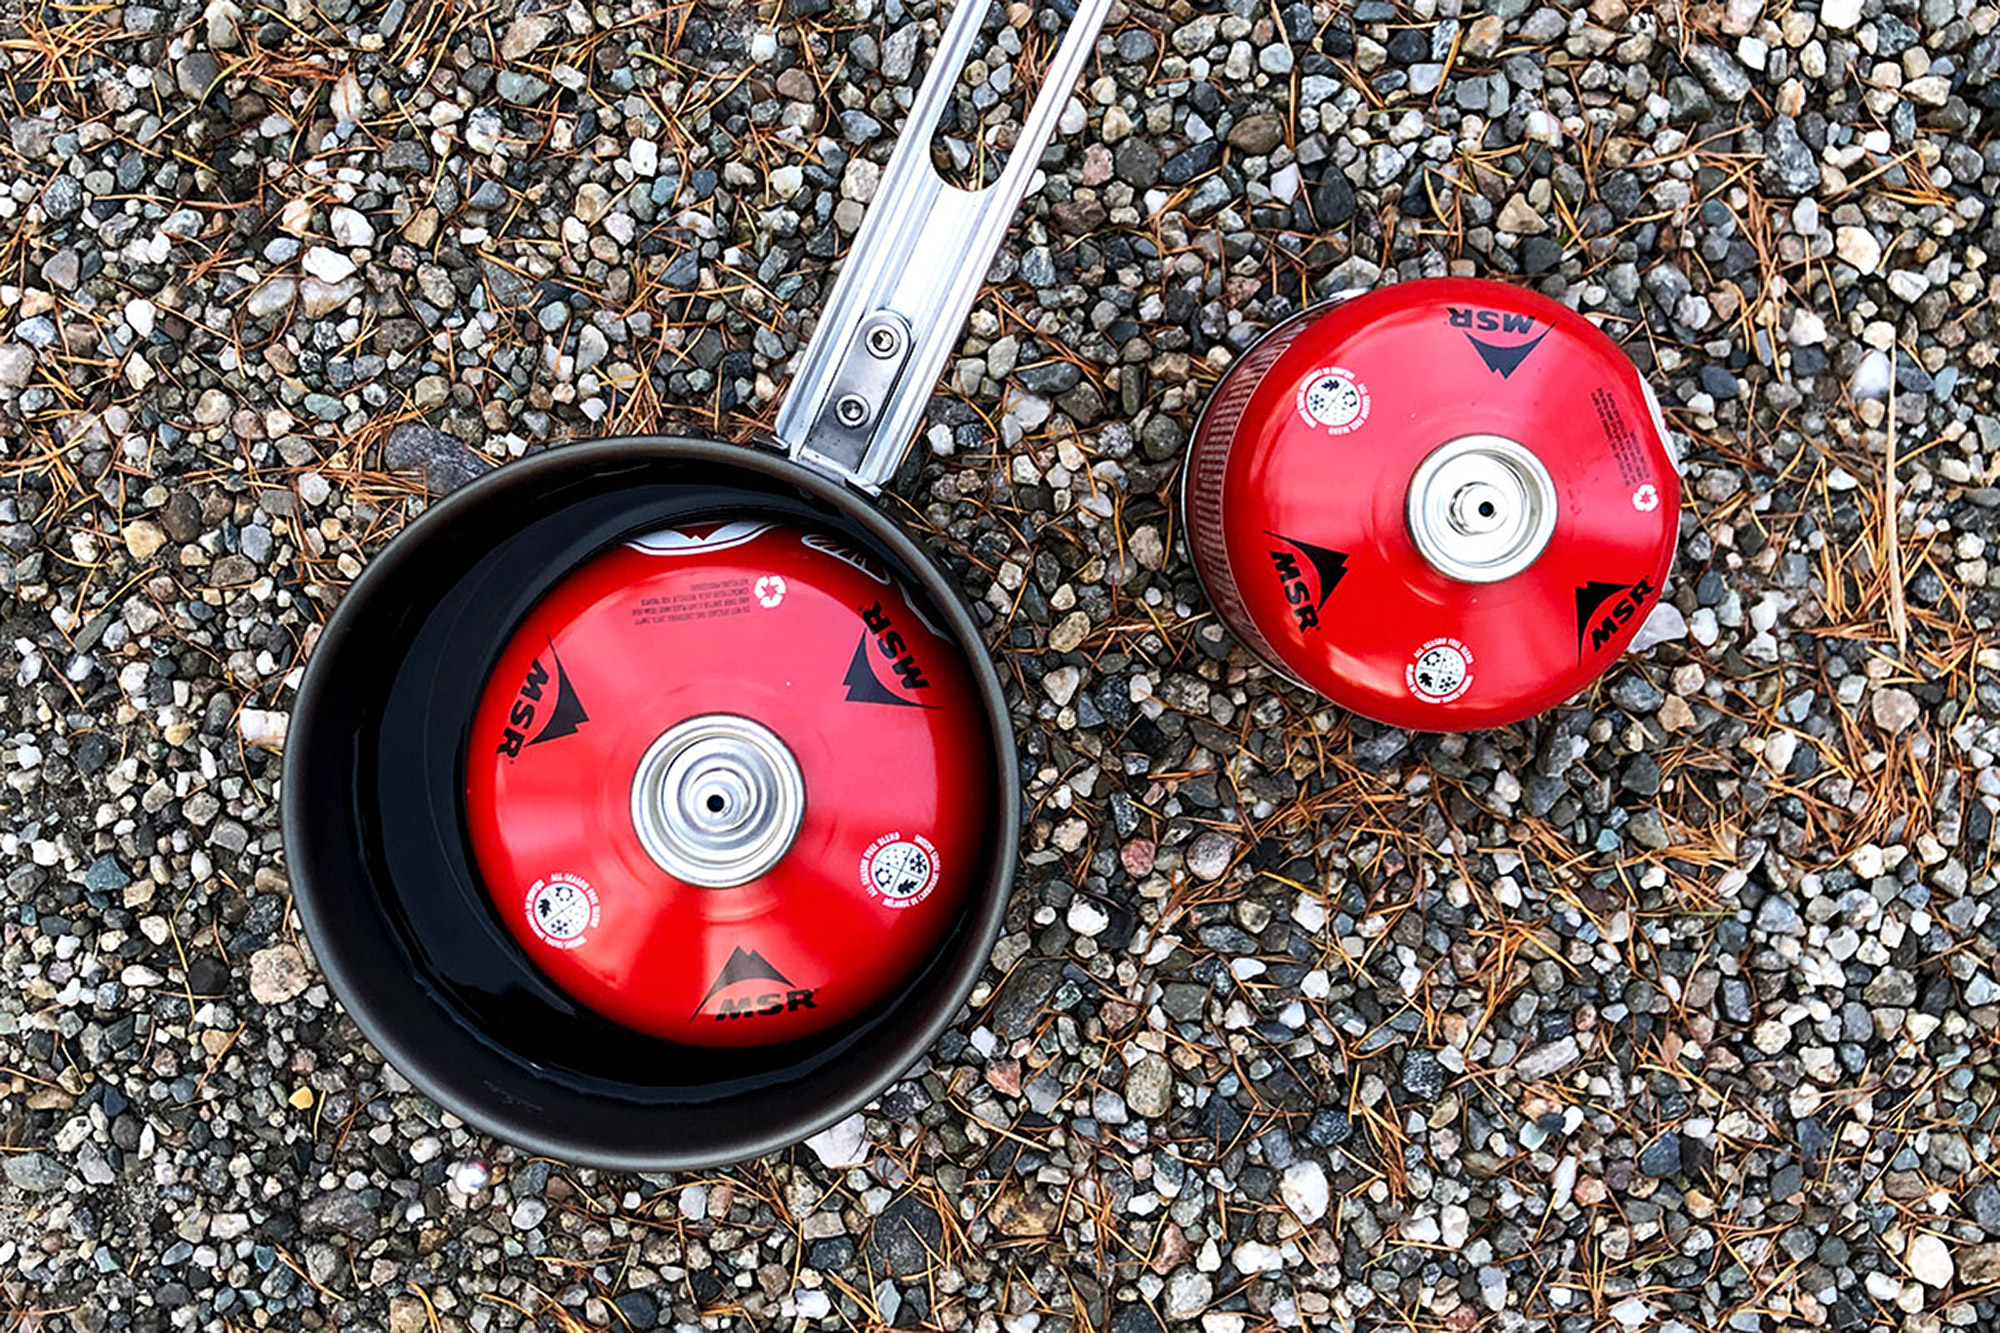
The principle is simple: A full canister weighs more than an empty one. Ergo, the more fuel in the canister, the lower it will float. Start at home with two canisters of the same brand—one full and one empty. You’ll also need a permanent marker and a pot or bowl large enough to hold your canister and a sufficient amount of water to float it.
Fill the vessel with just enough water to submerge a single canister. Then, gently add the full one, tilting it slightly to free up any bubbles that got caught in the concavity underneath. Also, be sure not to get any water in the little area around the valve, as this will skew your reading.
Let the canister settle, and check the water line. Once it’s not moving around as much, take it out of the vessel, and mark the water line with a permanent marker. For accuracy, a good move here is to eyeball a feature printed on the canister that lines up with that water line.
Now, repeat the process with the empty canister. At this point, you’ll clearly notice the difference in where the water line hits.
Finally, line up both canisters on a flat surface and copy the marks from one to the next, so that each has an approximate “full” and “empty” line. Provided you’re using the same brand of fuel moving forward, you can keep one of these marked canisters to use as a template to mark future ones.
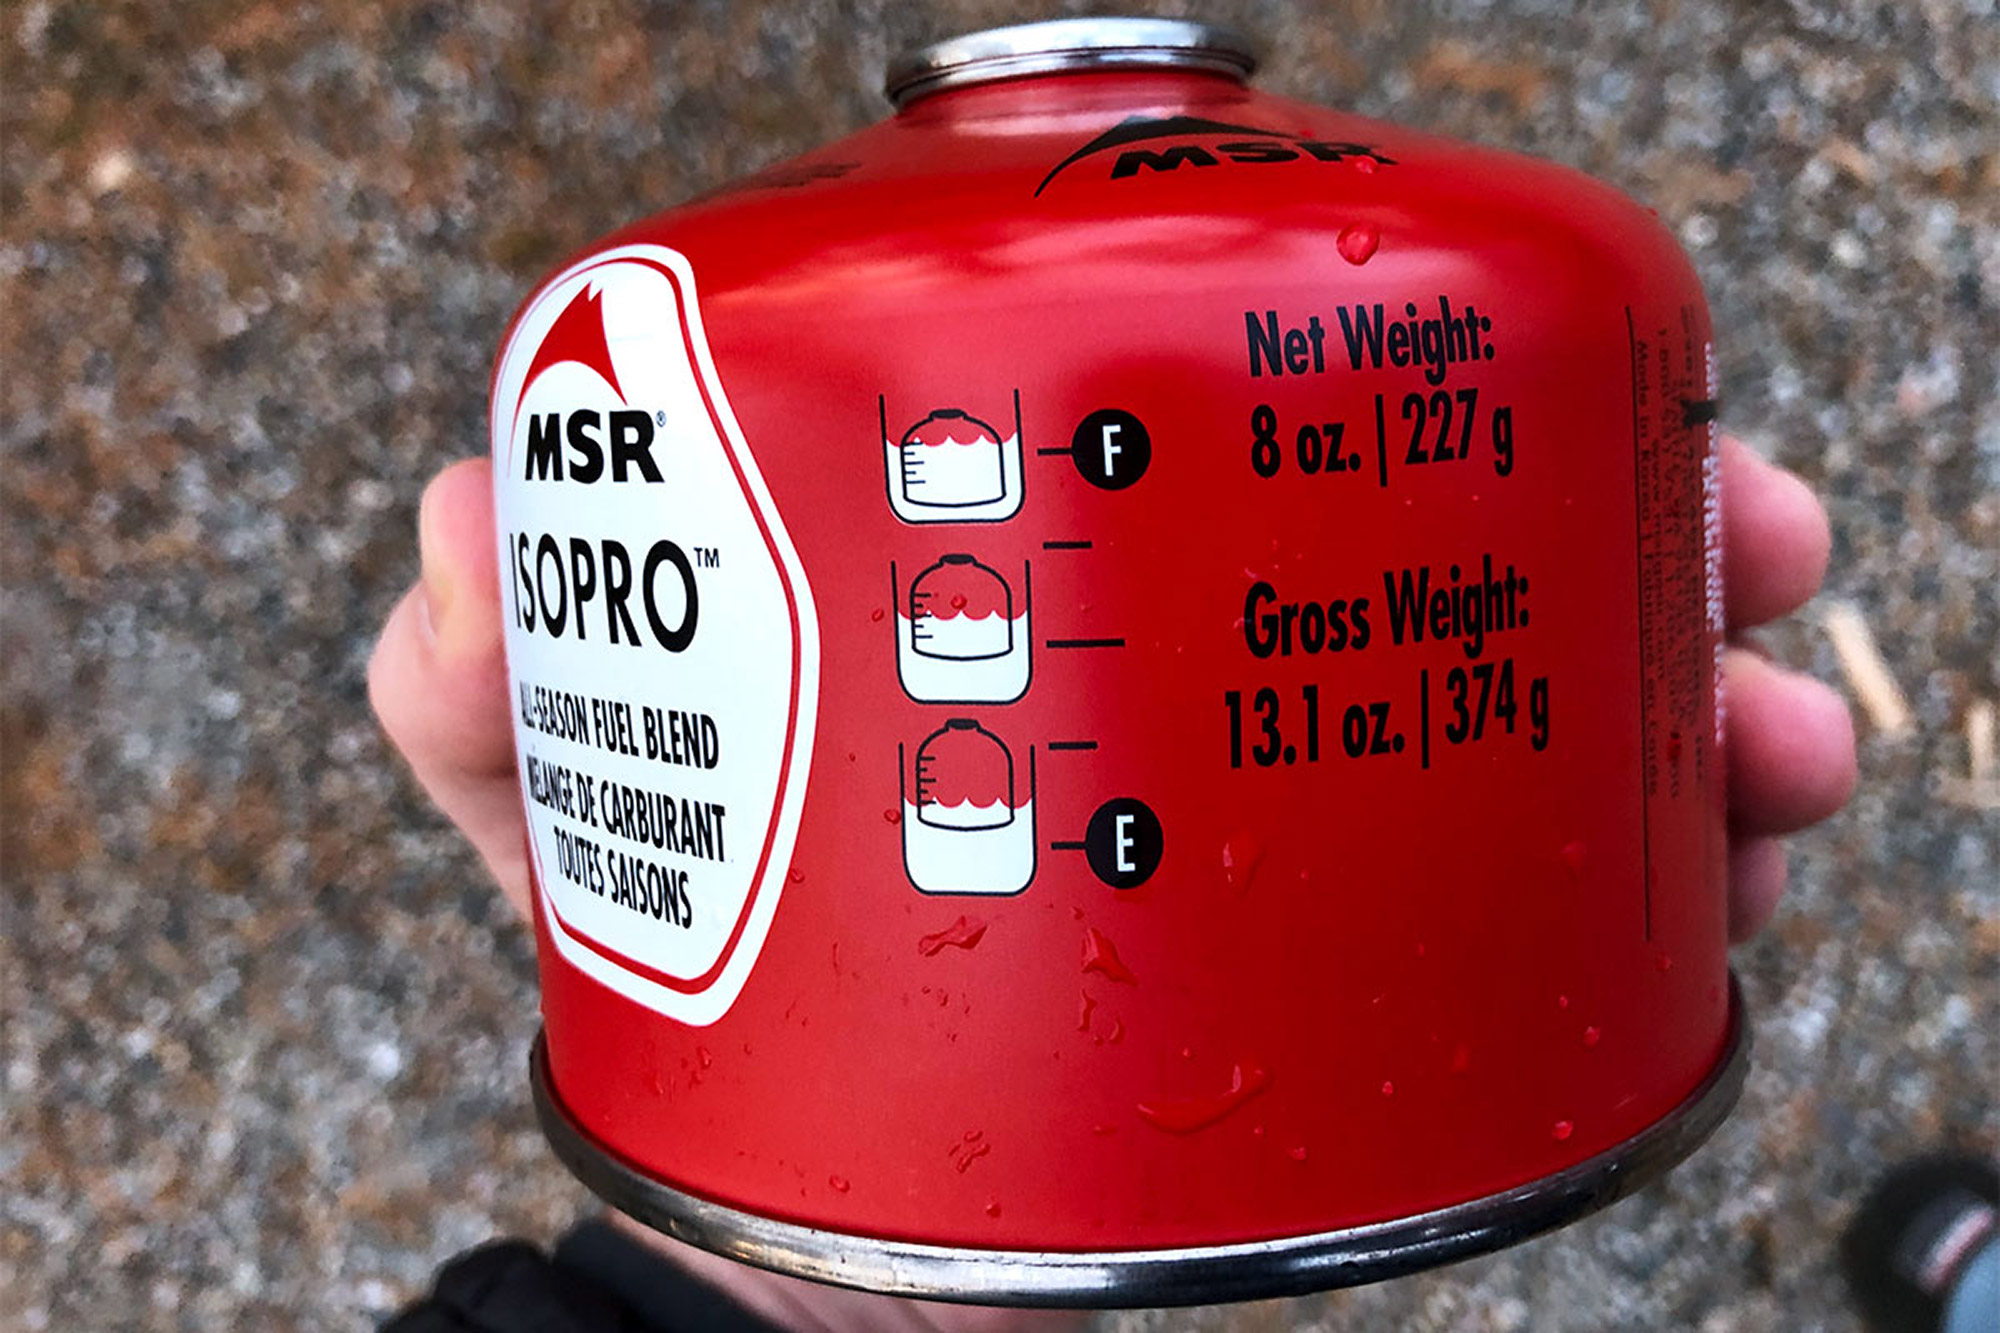
Some companies, like MSR and Jetboil, have taken to printing “fuel gauges” on their canisters. This cuts the advance work out of the picture and allows you to measure your available fuel on the fly.
Honorable Mentions
There are no doubt hordes of OGs out there who swear by the shake method, and that’s cool. For reference, this is when you shake a used canister to see if there’s anything left and make a judgement by touch and heft. It can work, too, but only to a very rough degree of totally subjective accuracy. The method also relies heavily on experience. So, if you’re new to your camp stove, keep away from this approach.
No Substitute for Experience
At the end of the day, preparedness relies on experience, and there’s no way to get that but to spend the time. The more you get out there, the more you’ll know about which type of stove fits your needs, and how much fuel you’ll need to bring along. Waking up without coffee is a bummer, but when you’re really out there, a working stove—that you know how to use and are comfortable with—can be the difference between a good trip and a serious situation.
So, give these methods a shot and let us know which works best for you.
Related Posts