Backpacking poses numerous challenges, the most notable of which is moving multiple days while carrying everything you need to sleep, eat, and stay (somewhat) comfortable. Even the savviest backpackers can find themselves befuddled trying to pack the appropriate layers for shoulder-season trips. Active days, cold nights, and unpredictable weather all conspire to create a perfect storm of varying conditions to prepare for.
The best layering systems are personalized to the individual and refined over numerous trips, but below you’ll find the foundation to begin building your own unique layering system.
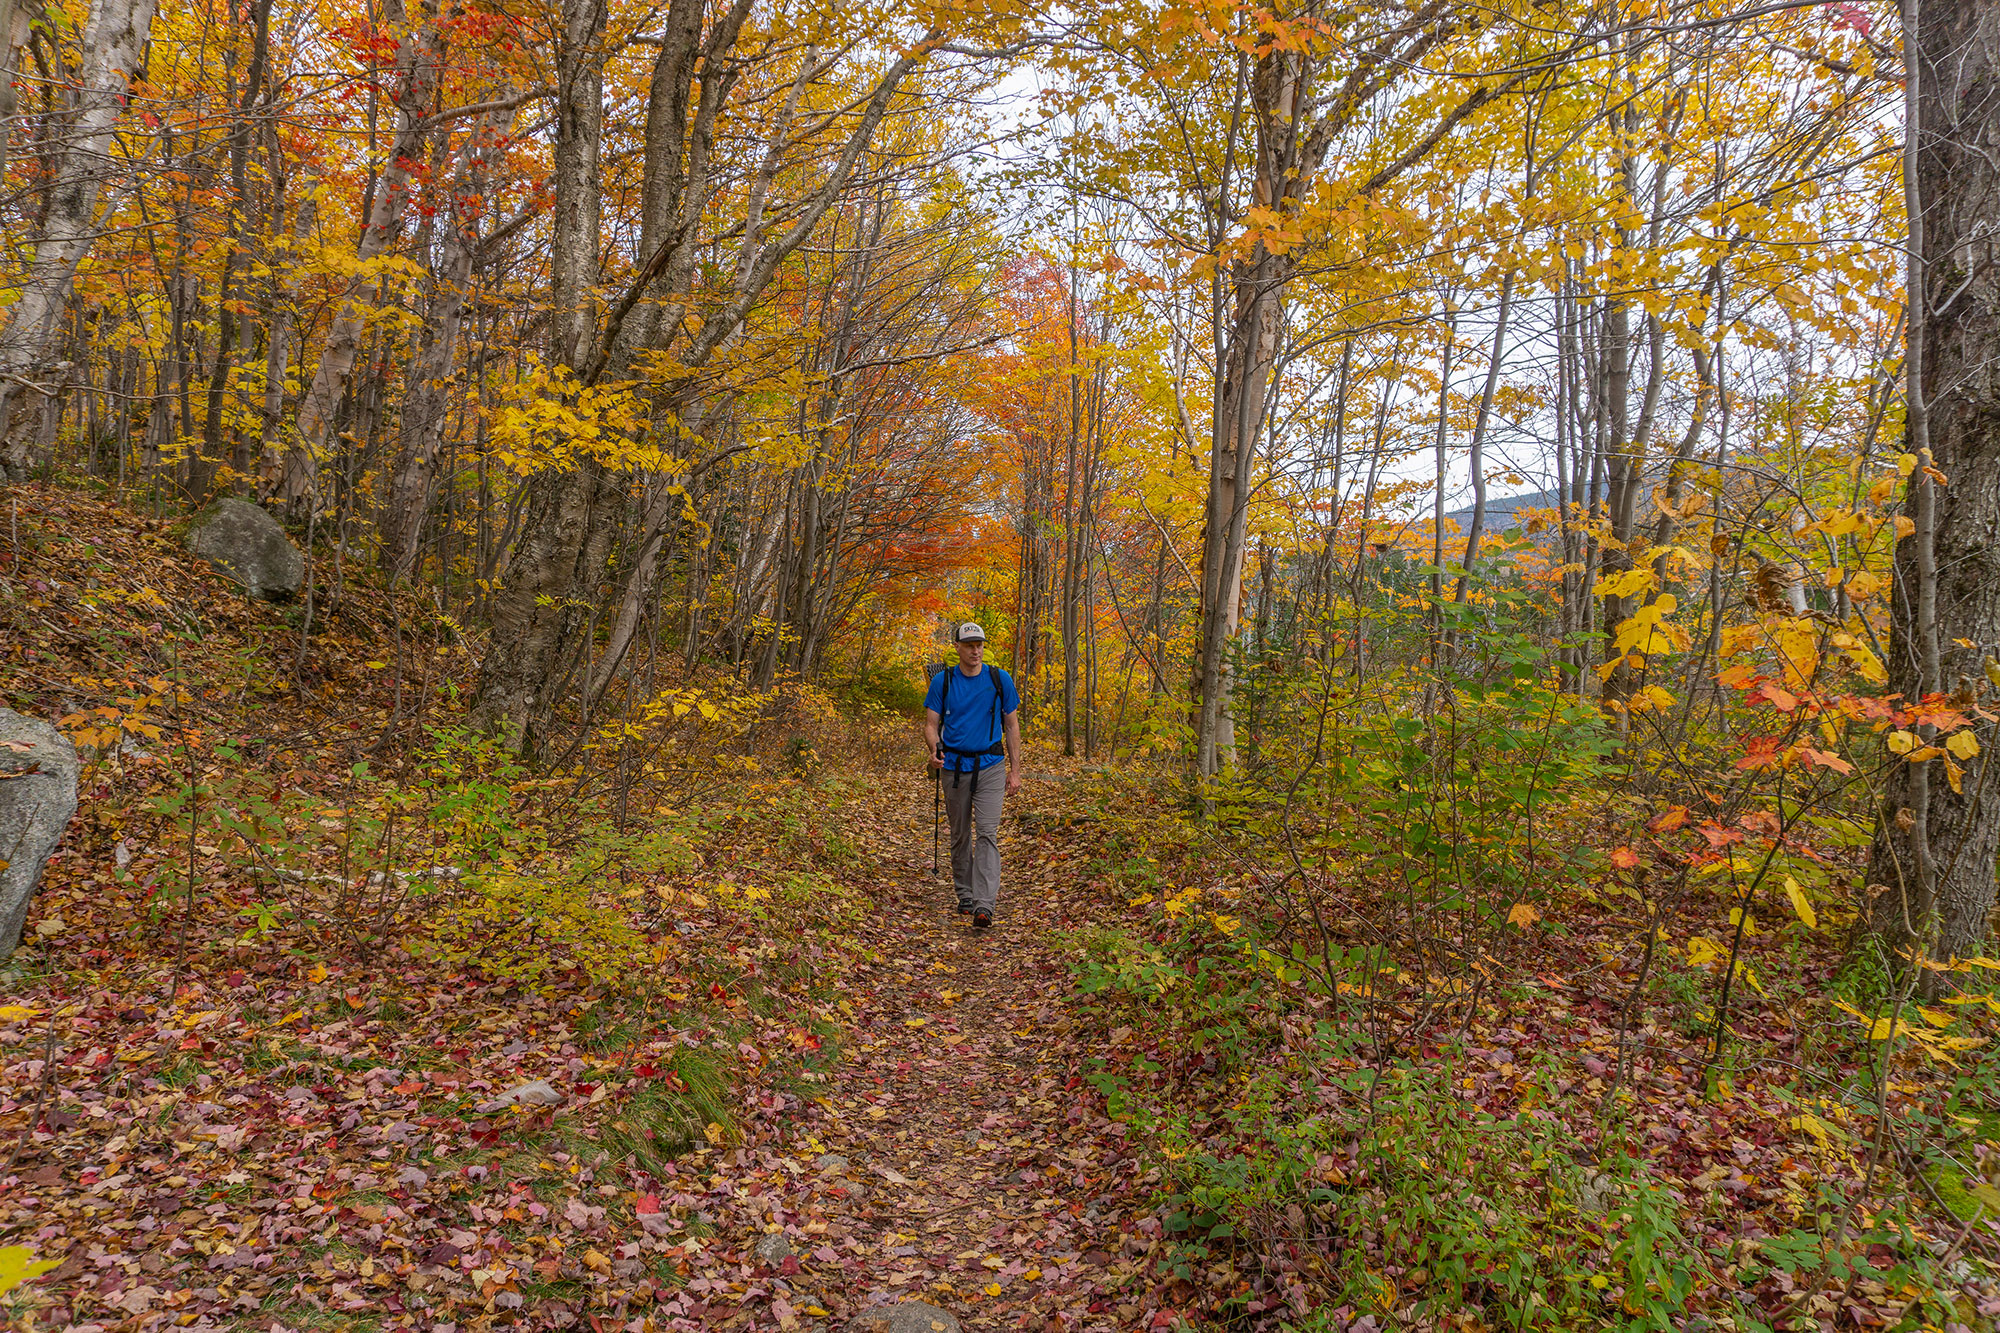
Start Out Cold
It’s fine to be bundled up at the car while making final preparations and pulling your kit together for the day(s) ahead, however, when it’s time to hit the trail you’ll want to strip down to layers meant for moving—think cool while standing still but comfortable when on the go. The last thing you want to do is overheat at the start of your trip and have to deal with days of sweaty and damp layers. Having a dedicated car jacket you can wear while getting ready and then leave behind—ensuring a warm dry layer is waiting for you at the end of the trip—is a true luxury.
A common layer combination used by backpackers is to start off wearing light or midweight softshell pants and a long-sleeve baselayer. Selecting a long-sleeve baselayer with a hood provides backpackers with another method to manage their body heat throughout the day. Lightweight gloves are a nice addition for chilly starts, for example, early mornings before the sun has risen.
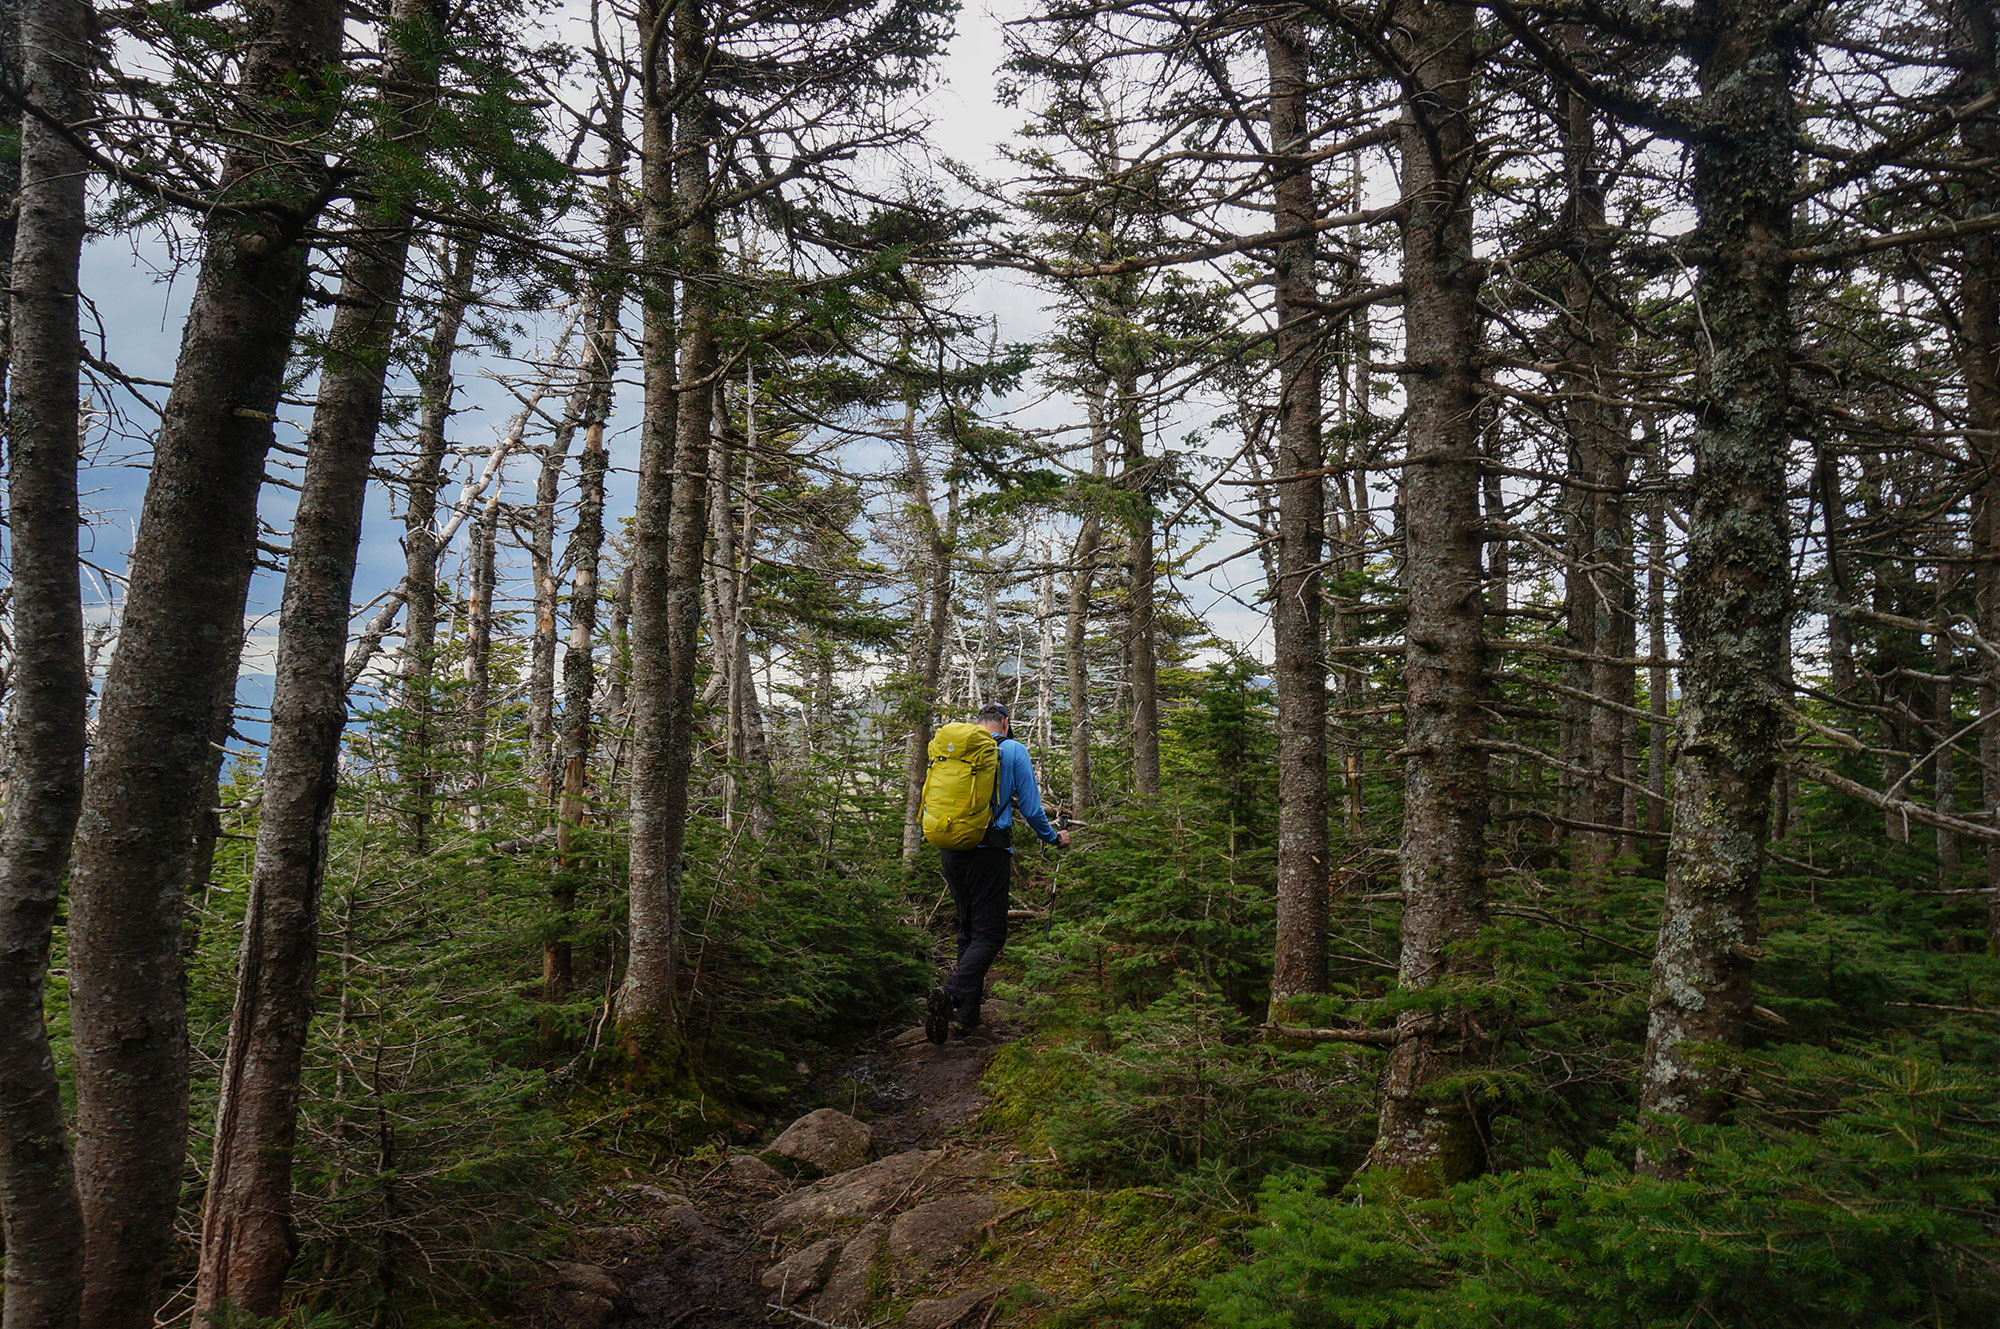
On the Trail
The active layers—that is, softshell pants and a long-sleeve top—are what you’ll spend most of your time hiking in. For particularly cold conditions, higher elevations, and positions exposed to the elements, like an above treeline, consider adding an extra layer such as an insulated vest along with a lightweight winter hat and gloves.
At Rest Breaks
Your body cools off quickly when stopped. Storing a puffy near the top of your pack makes it easy to pull on during breaks and conserves body heat. If your puffy has a hood, pull it up, as a lot of heat is lost through the head. If it doesn’t, make sure to keep a winter hat with your puffy and wear it at rest breaks.
Rather than carrying a single heavyweight puffy, consider a layering system consisting of two puffy coats—one with active insulation and one traditional synthetic or down—and both in the midweight range. They pack about a roughly equivalent size and allow for much more versatility when adjusting to conditions. For example, you can wear the active insulation piece when hiking in cold weather up high and still have a traditional insulation option to put on over everything for when you stop.
Remember to fuel up and rehydrate while stopped. Backpacking burns a lot of calories and your body uses them even faster in cold weather, as they’re not only fueling you along the trail but also keeping you warm. Similarly, you might not feel thirsty in cool weather, but it’s important to drink. A study from the University of New Hamshire explains that your chance of getting dehydrated is higher in cold weather than in warm weather.
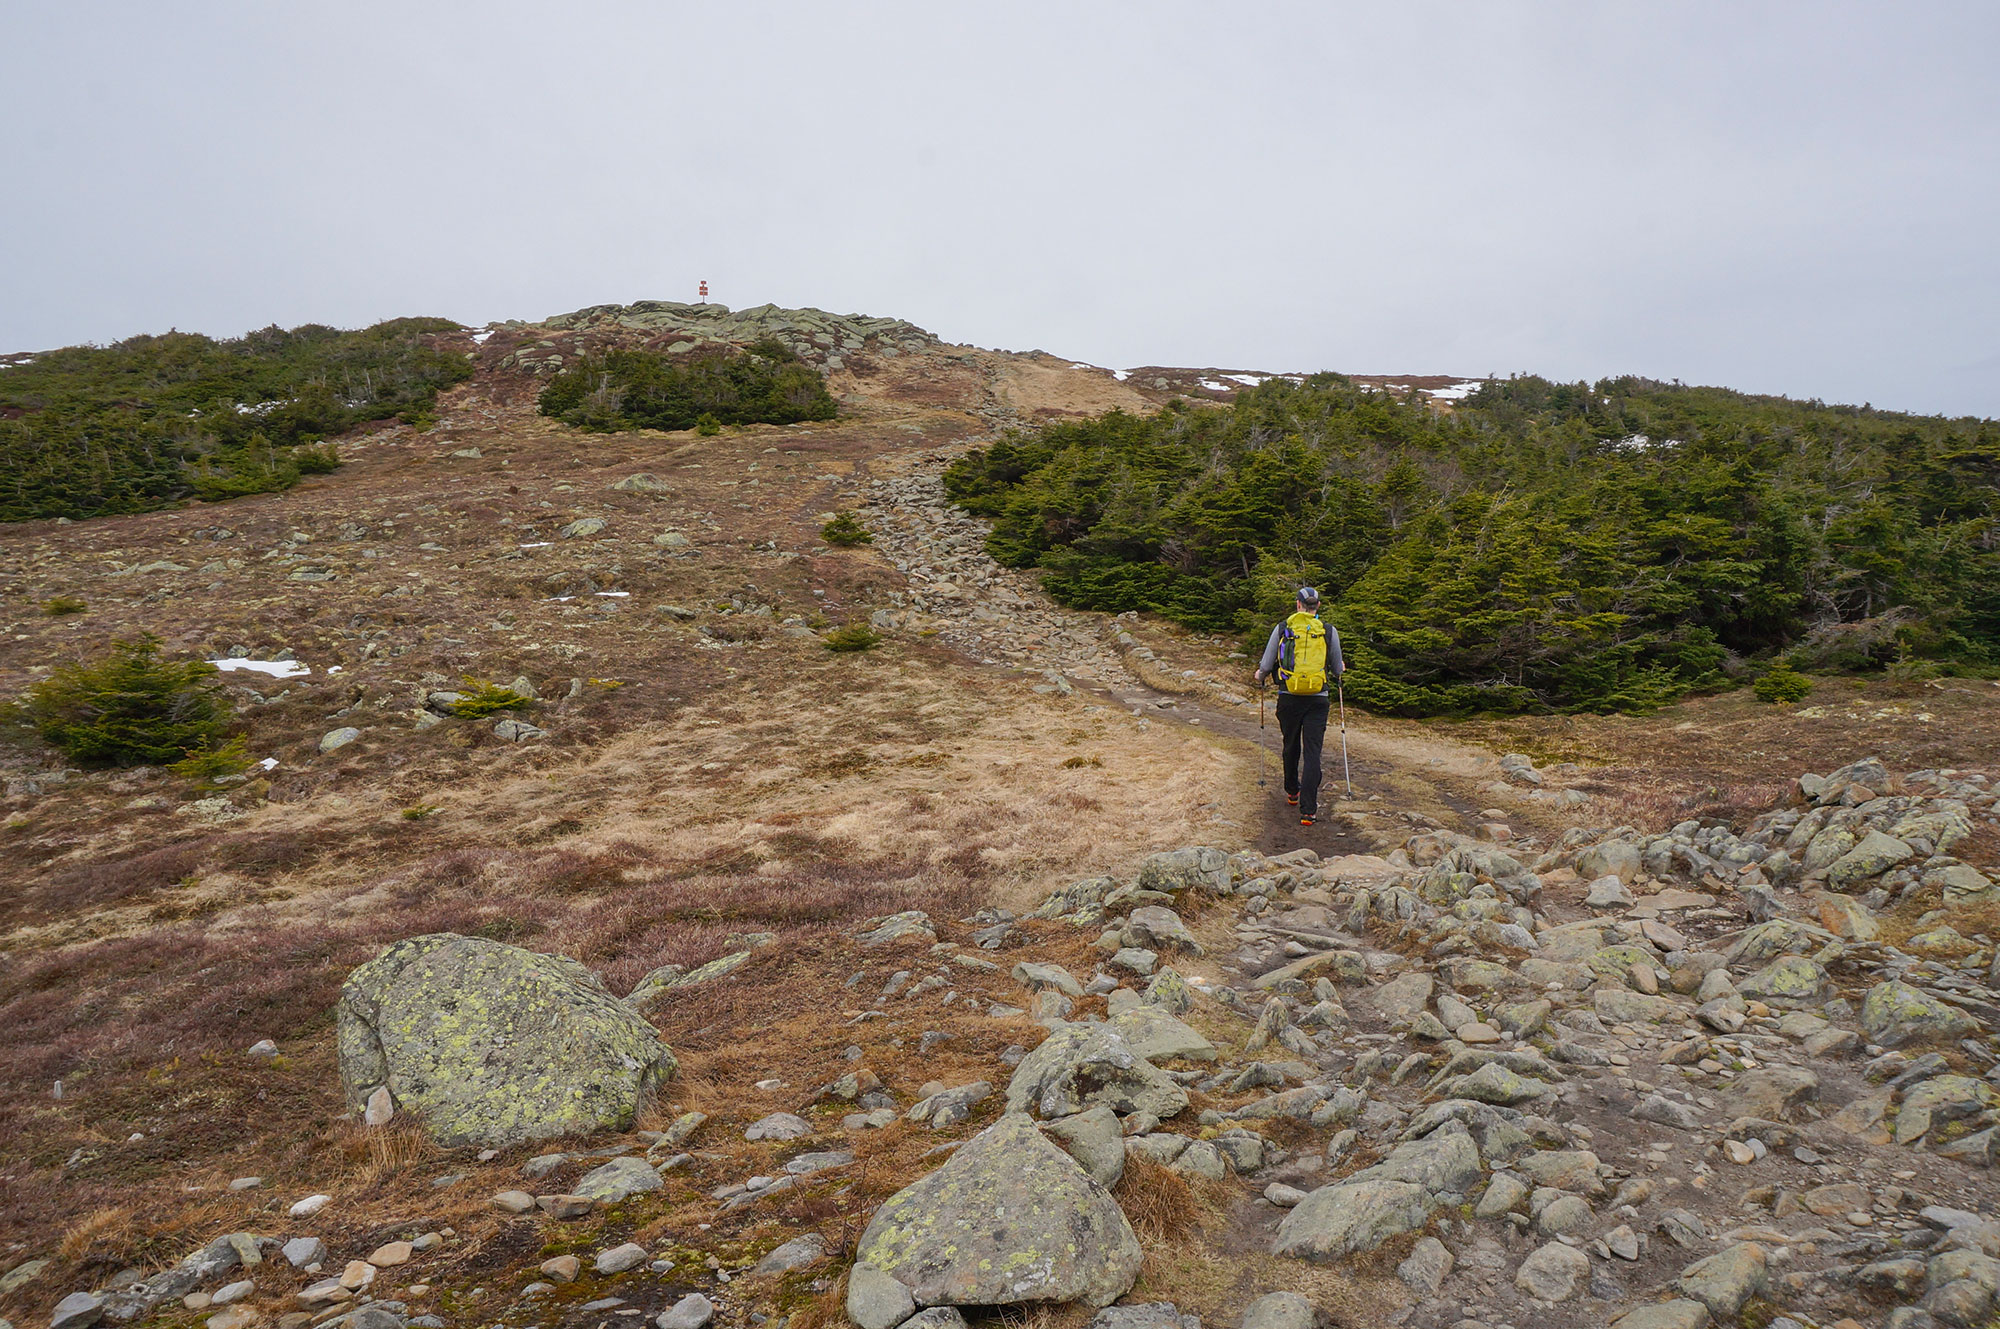
Above Treeline
It’s common to encounter very different conditions above the treeline than below it. If your intended route leaves the protection of the forest for an extended period, such as on the Pemi Loop, you’ll likely want to add a windshirt to your kit. However, those trying to pare down weight or save space can opt to use their raincoat or a lightweight puff. If you pick to wear a raincoat, remember that while it is windproof, it doesn’t breathe as well as a windshirt and you’ll want to be conscious about wearing it for wind protection for long periods of time.
Before heading above the trees, prepare for a change in the weather. In your pre-trip planning, identify locations just before the treeline where you can stop and don your windshirt, raincoat, or puffy along with a hat, gloves, and a buff. (Keeping the items in an easily accessible spot in your pack will help speed up this transition.) There is nothing worse than waiting until you’re already exposed to start digging through your pack looking for that key piece of gear as frozen fingers make things difficult and the cold saps your body heat along with the enjoyment of your trip.
Not a layer per se, but it’s worth mentioning traction devices. Winter can come pretty fast up high and it’s not uncommon for the pristine path you were traveling on to turn into a skating rink above the treeline. Traction devices like Kahtoola Microspikes can make your travel up high a lot faster, getting you out of the most exposed conditions quicker and providing less of an opportunity for you to get chilled.
At Camp
Camp is where you go from extremely active to fairly inactive. It’s also where you’ll refuel, rehydrate, and rest up for the next day’s effort. With that in mind, a dry set of baselayers—a long-sleeve shirt, long underwear pants, and socks—can help you get cozy and make the most out of your recovery time. Whether you’re cooking dinner or setting up the tent, wrap yourself in one or two of your puffies to keep from getting cold. Using your sleeping bag as an additional insulating layer makes sense too; just be extremely cautious about it getting wet or damaged while you move around outside.
Once you’ve made camp, consider having a hot drink or some soup. Not only will the fluid help you rehydrate, but it will also help warm you up.
One other layering-related consideration—think carefully about where you’ll stay the night. If you pick a spot that is not exposed to wind and weather and isn’t high up on the mountain, it’s much less likely to be a really cold night. And that means you won’t have to carry as many layers (or as heavy a sleeping bag).
Overnight
Sleeping in your puffy can extend the range of a three-season sleeping bag, but only if you have ample room in your sleeping bag to wear it—if you’re compressing the down much, you could actually end up colder. Bring any wet layers into your sleeping bag with you to give them a chance to dry out overnight. A water bottle filled with hot water is a favorite trick of backpackers for creating an inviting environment to fall asleep in.
The ground gets cold late in the season which makes it a good idea to add a second sleeping pad to your kit, the R value of one sleeping pad stacks on top of another. Another option is to use an insulated sleeping pad.
The Next Morning
It often feels like the coldest part of a backpacking trip is when you need to get out of your warm sleeping bag to head outside to start the day. To stay warm, do whatever packing you can inside the tent first. Then, have your puffy, hat, and gloves already on before you roll out of the tent. Grabbing a hot drink and/or heating up some food can also help you feel warm.
Because starting hiking again is the surest way to warm up, planning to get going quickly is another way to stay warm on cold mornings. In no time you’ll be moving along the trail shedding a layer.
If the Weather Turns
While packing rain gear is a must on any trip where the weather is uncertain, for trips in optimal conditions it’s possible to leave your rain pants at home. Some may say you can also leave your rain jacket, but that layer is versatile enough that it’s still worth packing.
Shoulder Season Backpacking Checklist
Shoulder Season Layers:
- Midweight or lightweight softshell pant
- Midweight or lightweight baselayer pant
- Rain pants (conditions dependent)
- Two midweight or lightweight long-sleeve shirts
- Windshirt
- Rain coat
- Active insulation midweight puffy
- Tradional insulation midweight puffy
- Insulated vest (optional)
- Two pairs of socks
- Lightweigtht gloves
- Midweight gloves or mittens
- Winter hat
- Neck gaiter
Other Shoulder Season Gear:
- Headlamp
- First-aid kit
- Stove and fuel
- Water treatment system
- Traction devices
- Hiking poles
- Sleeping pad(s)
- Sleeping bag
Have a favorite shoulder-season backpacking tip? Tell us about it in the comments below.
Related Posts