If you use an inflatable sleeping pad you’ve probably experienced the maddening discomfort that occurs when that sleeping pad fails. Whether it’s the hard ground beneath your tent reworking your spine, or the air beneath your hammock turning the temperature way down, the bummer of a deflated sleeping pad has likely driven you to more than one nocturnal fit of manically trying to re-inflate the thing and get back to that much-needed night’s sleep.
Not to overly disparage the inflatable sleeping pad, however—we use them for a reason. They’re comfortable for sure, providing considerably more cushion against rough, uneven surfaces than foam pads. They’re also very packable when deflated, and while they’re not necessarily a lighter-weight option compared to closed-cell foam pads, their virtues grant them some measure of favor in the value-to-ounces equation. They’re also insulating, good in winter and are essential year-round for keeping warm in a hammock (lest you invest in an under quilt).
They are, however, invariably delicate—the very design that affords them their comfort, insulation, and packability also leaves them inherently vulnerable to puncture. An errant rock, twig, or crampon point have been known to evoke a stream of expletives from many a drowsy backpacker.
The good news is that fixing them is not that difficult, and can even be done in the field with the right tools. Here’s how you do it.
Gather Materials
First thing’s first, prepare a workspace and gather your tools. This is wicked easy if you’re at home, but it can be a bit more challenging in the backcountry. Try and find a place that’s clear of debris and is flat enough to work on. Rock slabs, shelter floors, and the bottom of a tent all work.
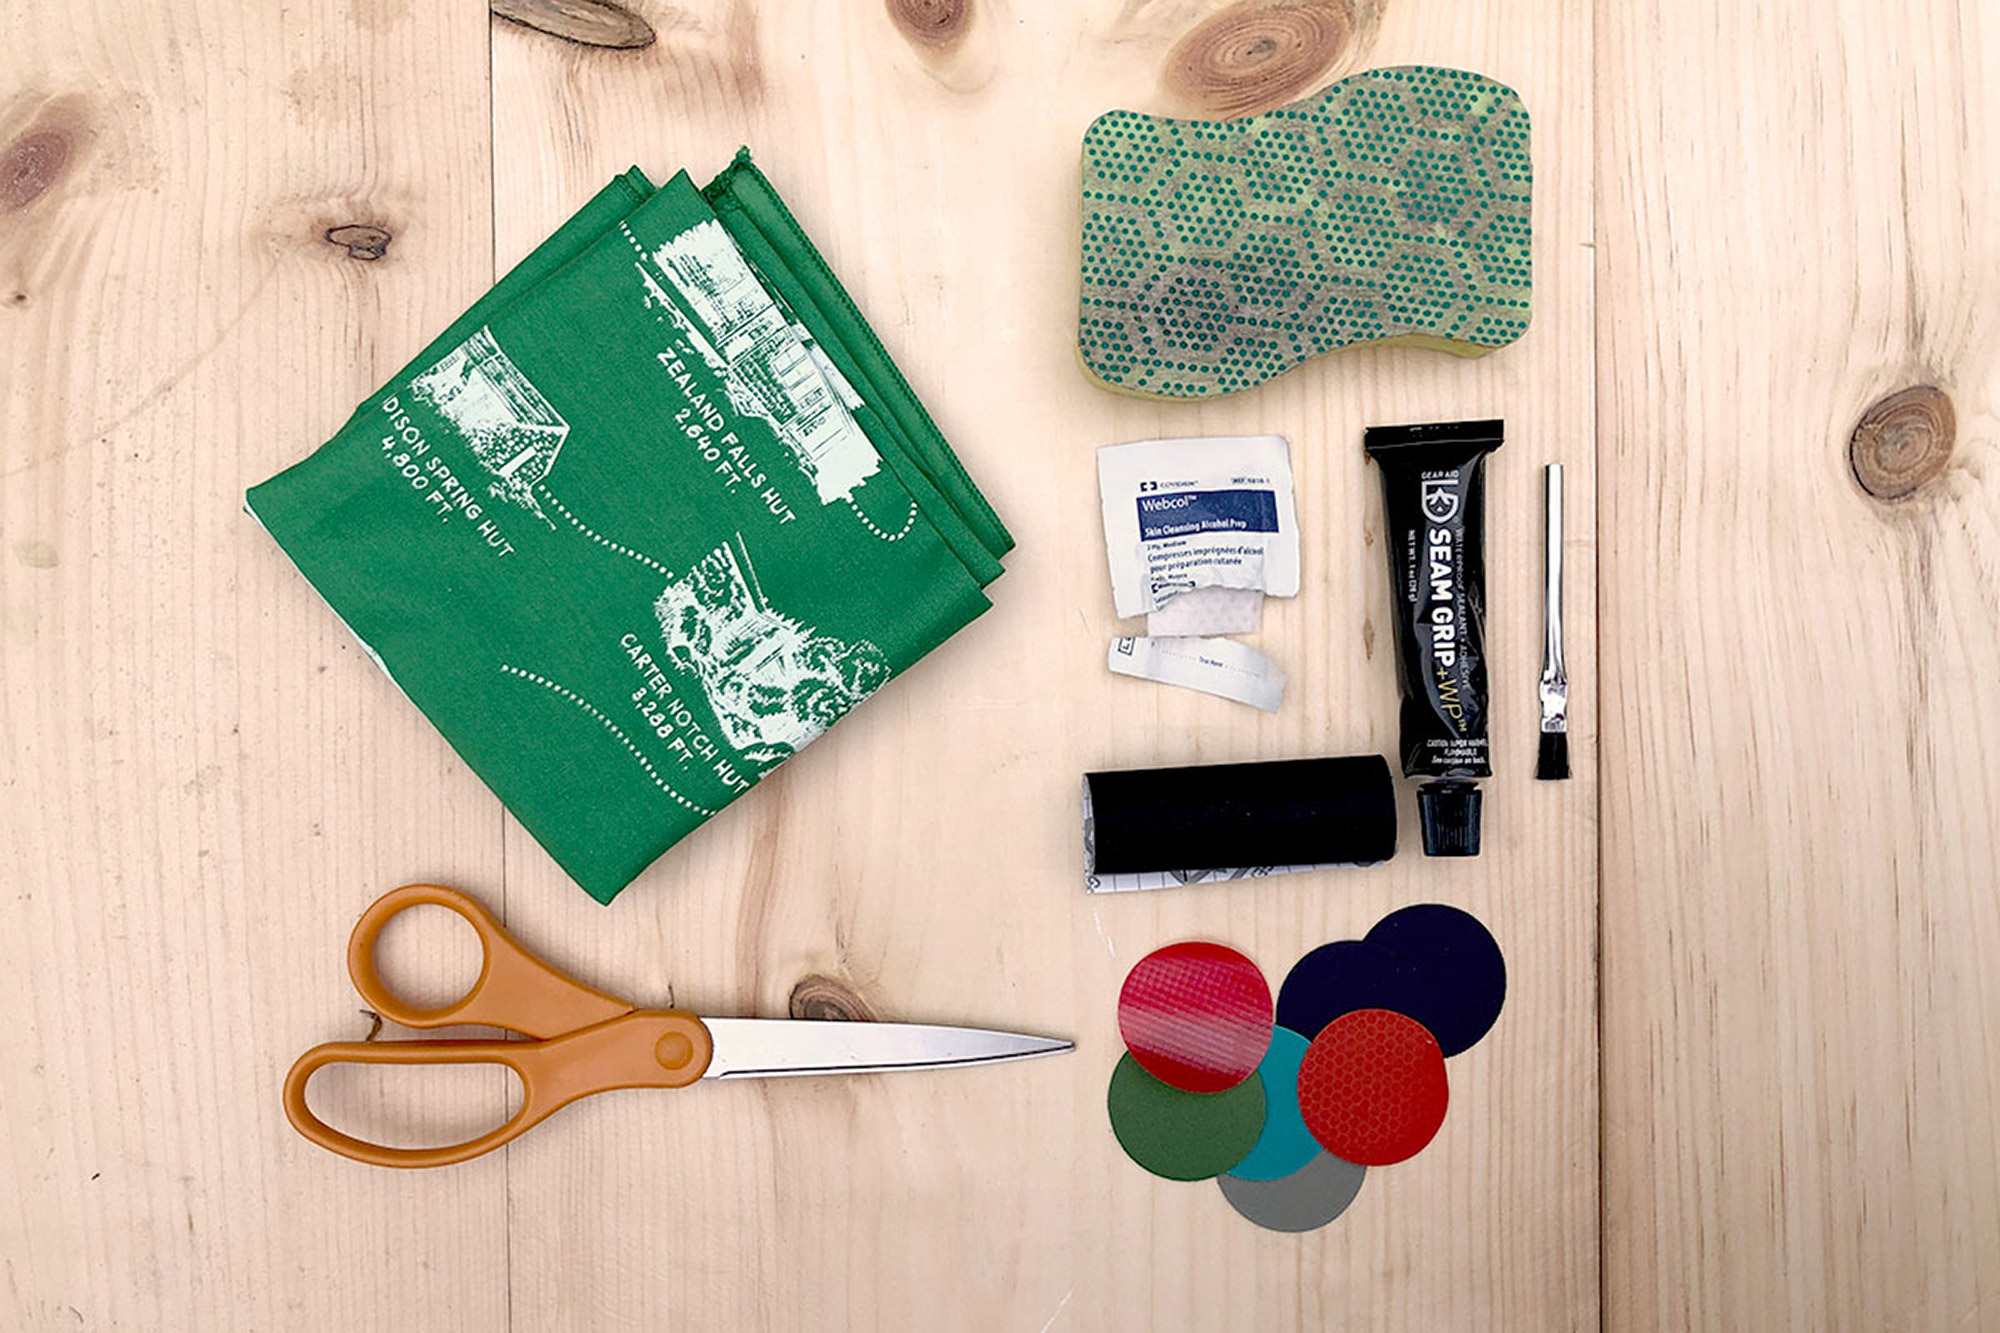
Here’s what you’ll need:
- Rubbing alcohol
- Scissors
- Water
- Dish soap
- Sponge
- Hand towel
- Seam Grip
- Tenacious Tape
Note: You can also go with a packaged repair kit, complete with pre-cut patches, and skip on the Seam Grip and the Tenacious Tape.
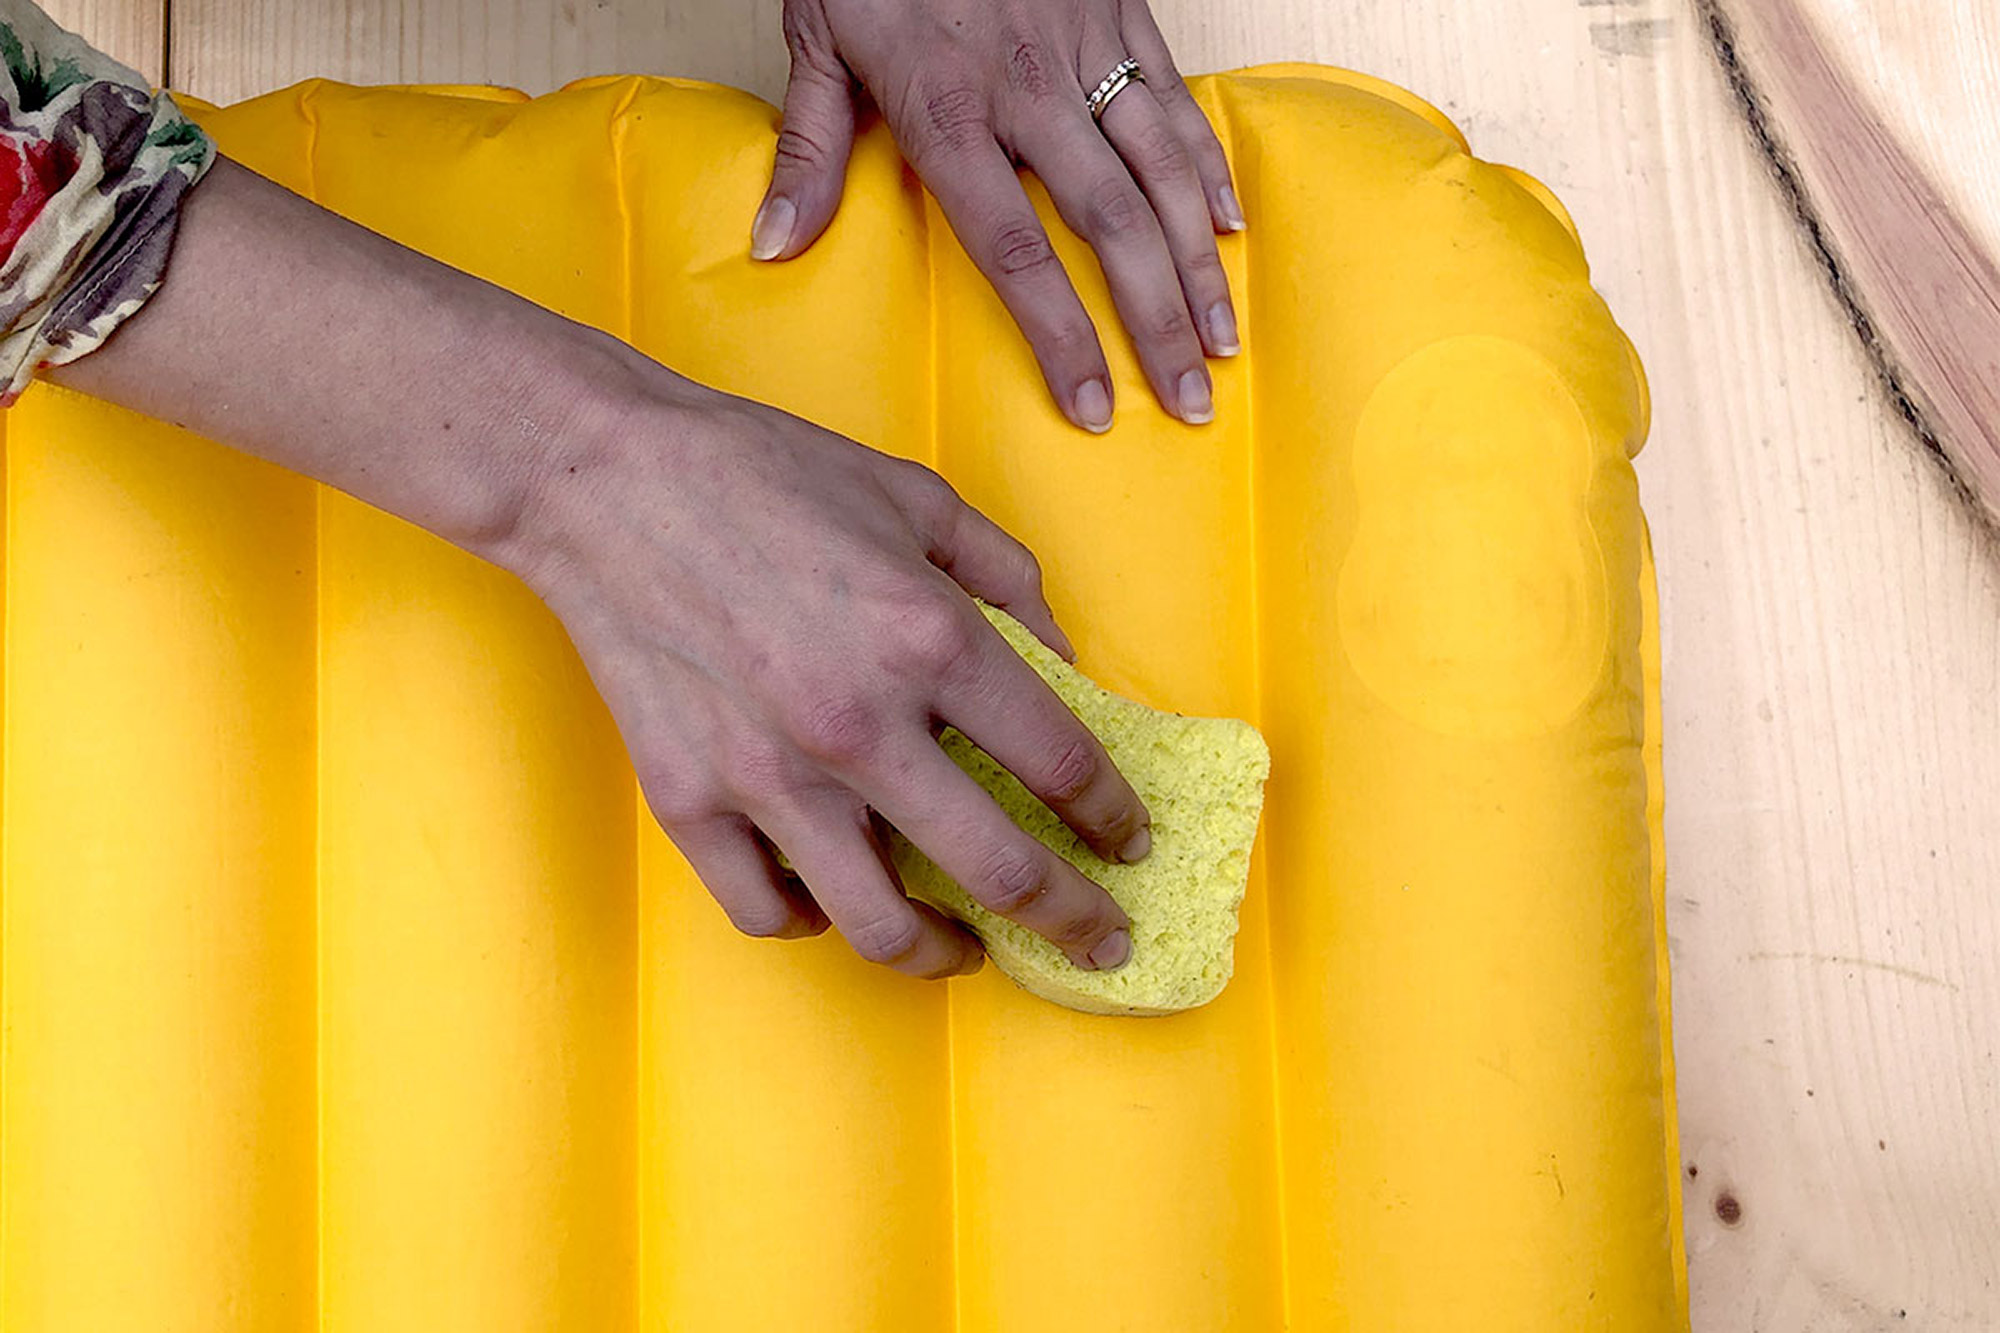
Find the Leak
A big hole in a sleeping pad is a big problem, but finding a pinhole-sized leak is a massive pain. This is a good way to do it without going nuts. Inflate the pad and apply warm, soapy water to it in sections. Watch where the soap bubbles: that’s where you’ll find your problem.
If you’re at home, fill a bathtub and inflate the pad, then submerge it under the water. The bubbles from escaping air will be pretty hard to miss!
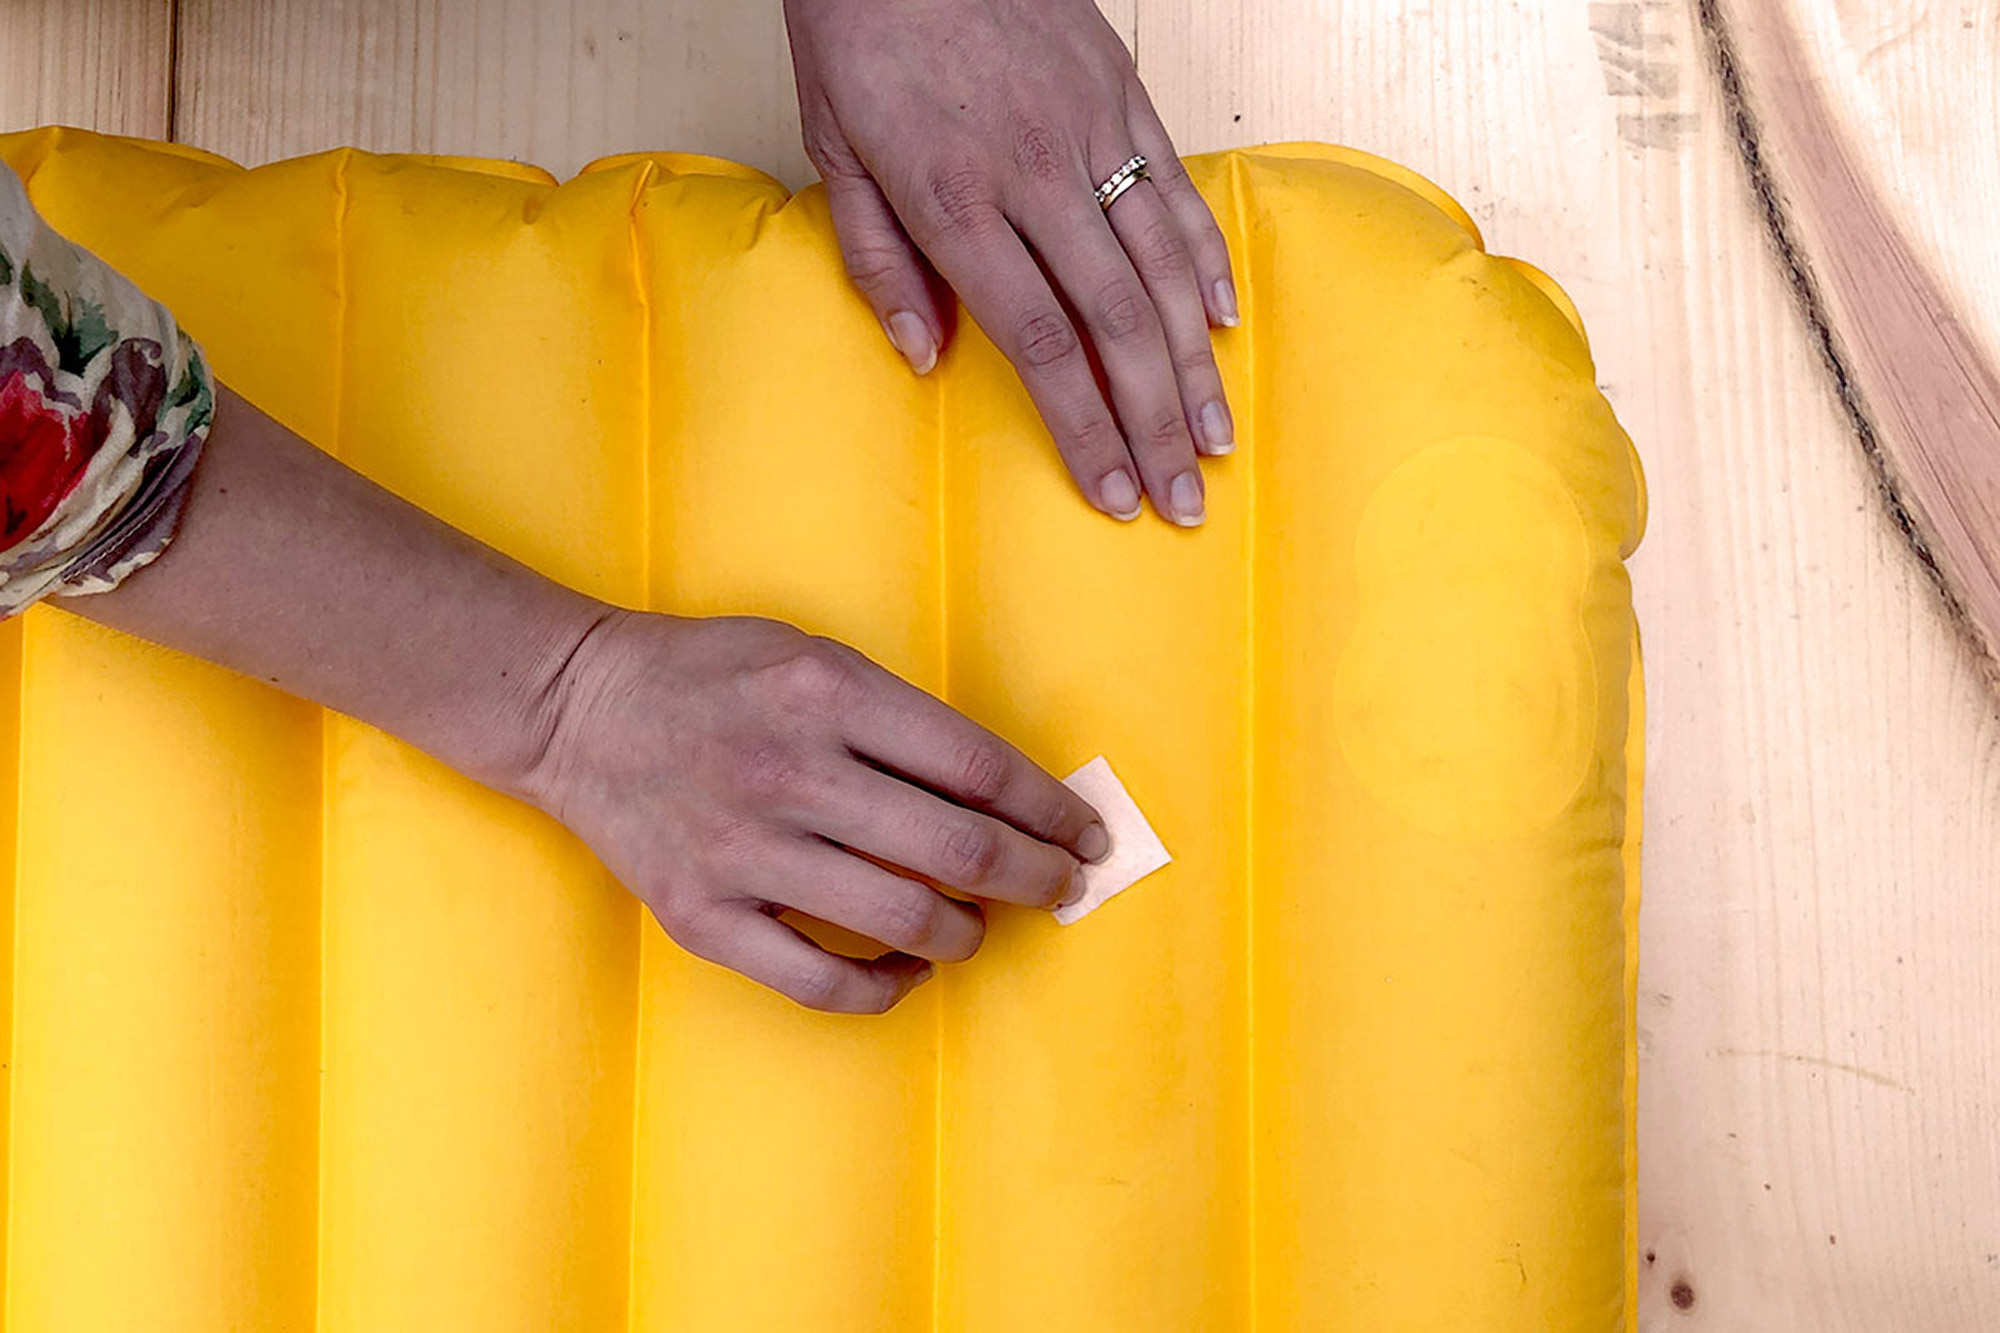
Prep the Damaged Area
Now that you’ve located the issue, deflate the bag, rinse off the soapy water, and dry the area around the leak with a hand towel, wiping it clean. When it’s completely dry, apply a little bit of rubbing alcohol to ensure it’s completely clean—any unwanted residue or debris will interfere with the efficacy of the sealant. If you’re out in the woods, an alcohol wipe from your first aid kit will do the trick. Let it air dry for a minute or two.
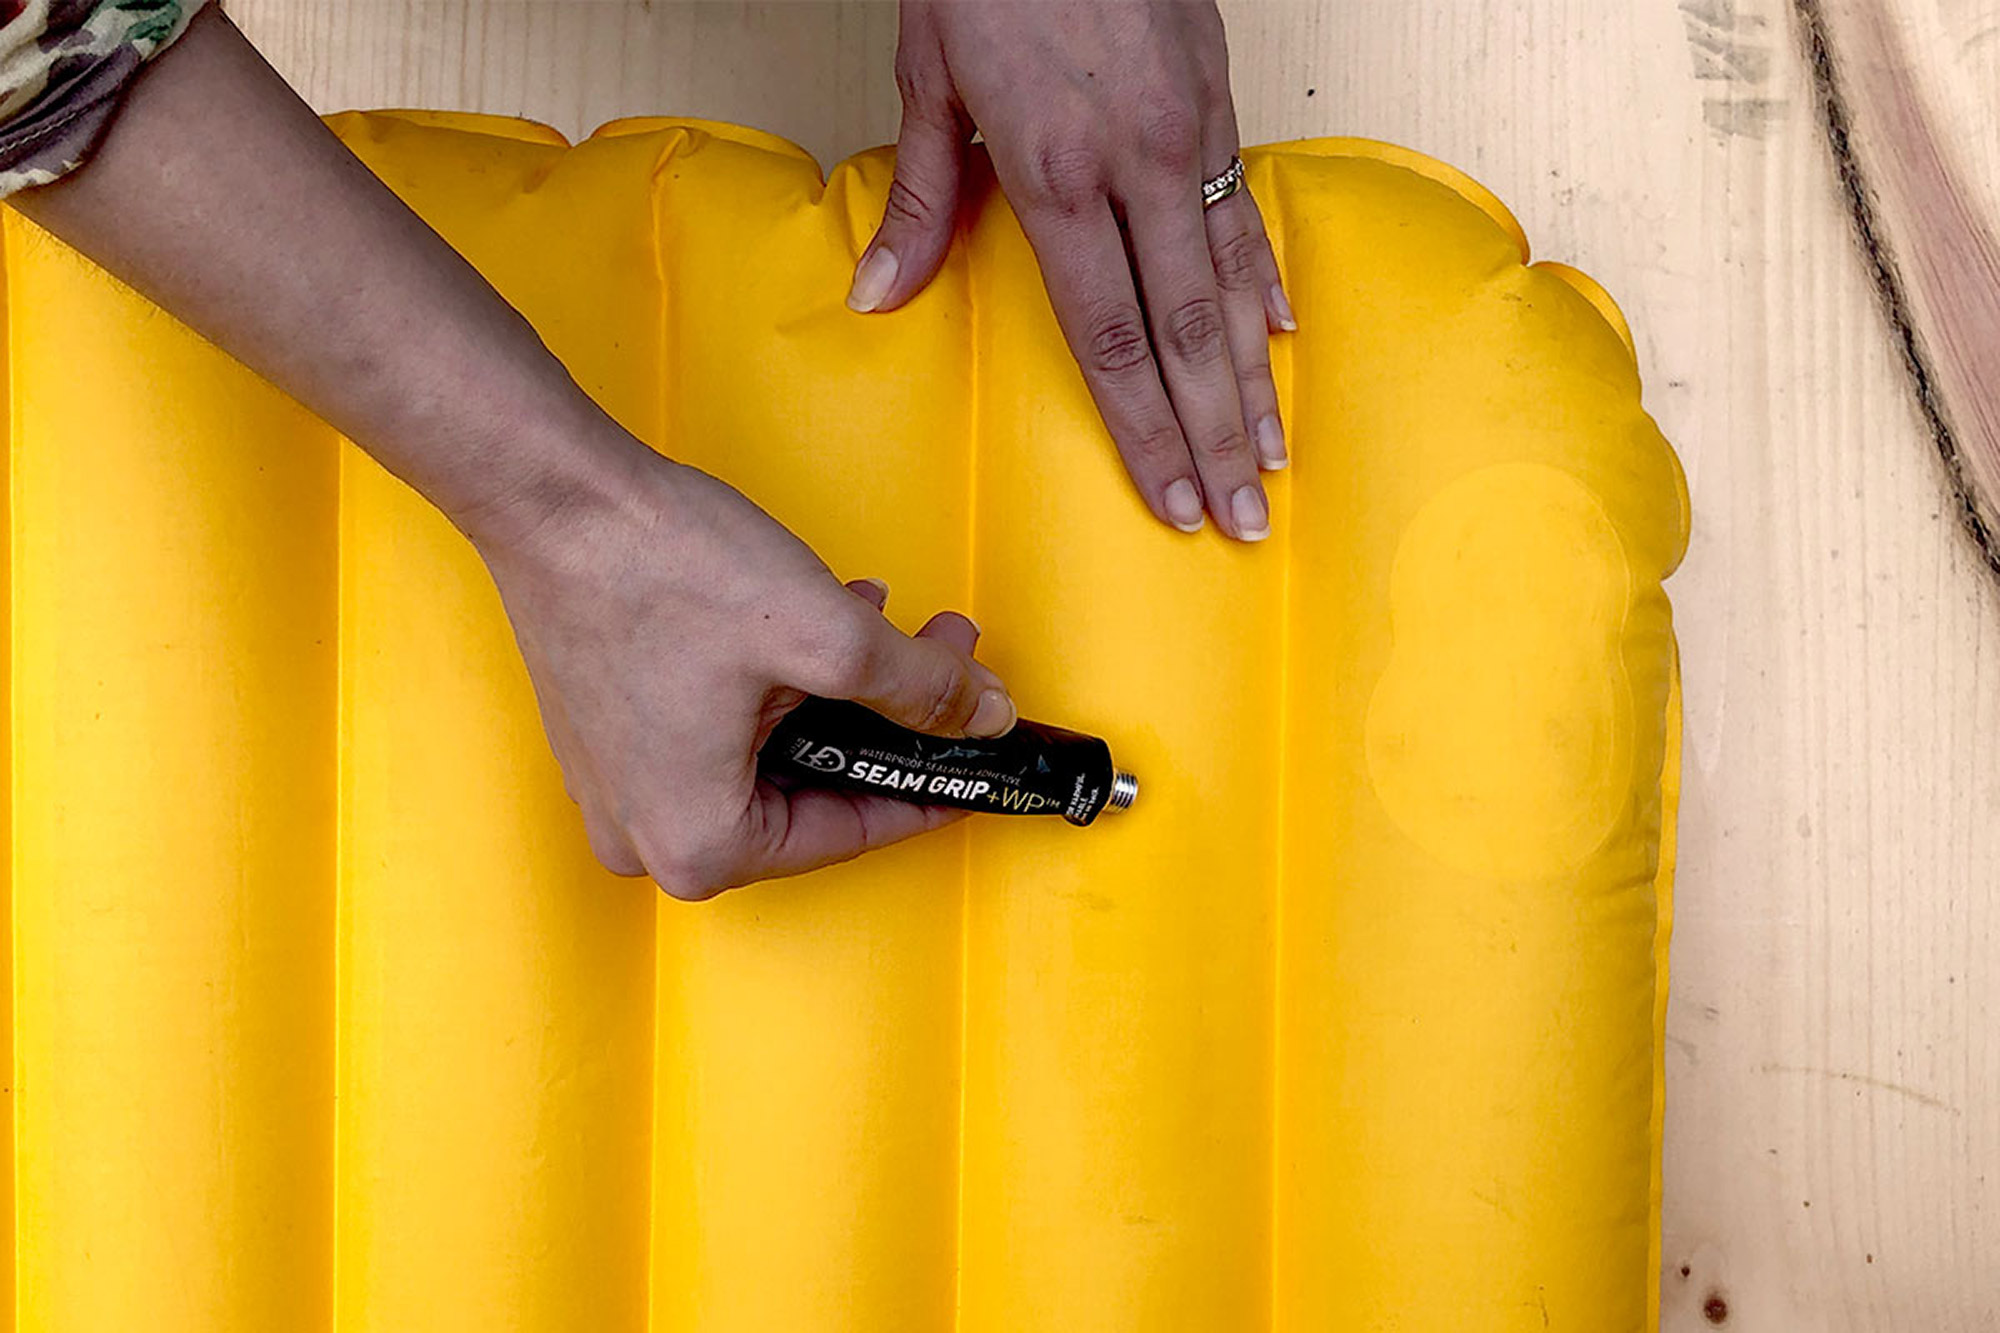
Apply the Patch
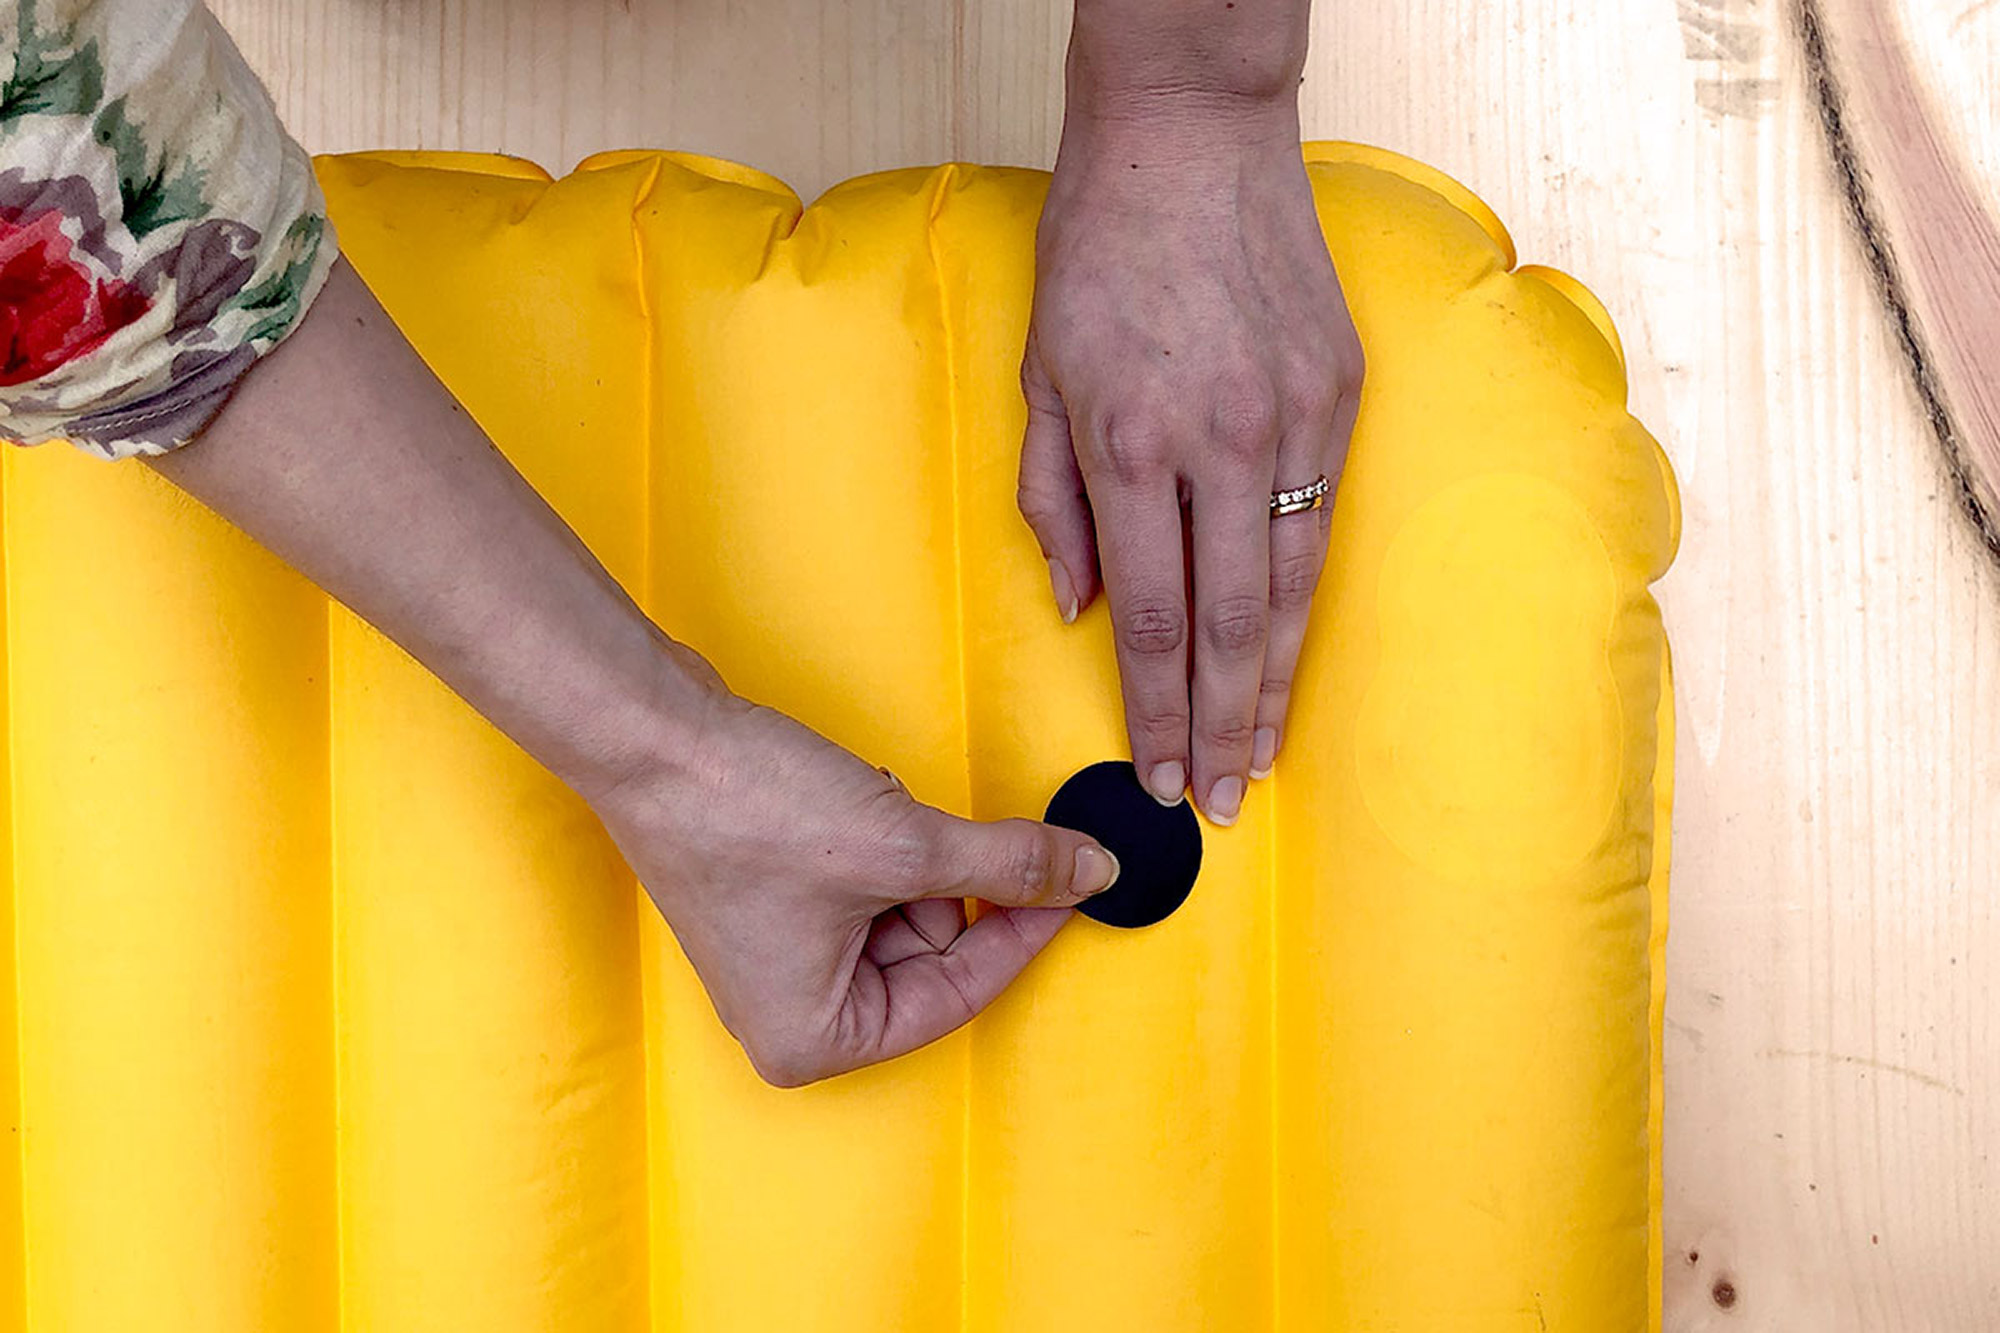
Squeeze a small amount of the sealant onto the hole and spread it thinly over the area, making a circle about the size of your patch. If you’re using a repair kit, it should match your selected, pre-cut patch; if not, cut a patch out of the tape to match the size of your adhesive application.
Next, apply the patch and give it some time—overnight should do the trick. A little extra sealant applied around the edge of the patch will help keep it from catching on something and peeling off.
Once the sealant has properly cured, re-inflate the pad and check your work. Obviously, if you’re already on a trip, overnight isn’t a great option. Give it as much time as you can—you can always go back and fix it for real when you get home.
Now Keep it in One Piece
Keep your sharps separate: that means no knives, tools, or utensils anywhere near that sleeping pad. If snow and ice is on your itinerary, just leave the crampons and the ice axe outside the shelter. Avoid a hot camp stove and, surprisingly enough, bug spray—deet is a solvent that is known to damage plastic. Natural threats, like twigs, branches, roots and rocks abound—not a ton to be done about it in the outdoors but to steer as clear as possible. Eventually, something will poke a hole, but there’s no reason to rush the process.
Related Posts