When your early-morning alarm doesn’t go off in time and you’re forced to frantically rush around, trying to get ready and out the door for your adventure, having your gear organized instantly becomes more important. Of course, right before a trip is when you realize you don’t know where half your gear is. If only you had taken the time to set up some kind of organizational system, you’d know right where everything was, and you’d be on your way already.
Just like the power tools in your shed, your adventure gear deserves a home worthy of its beauty. And, there’s nothing quite as nice looking (or as organized) as hanging everything up on a pegboard. It’s easy to sort and customize, simple to look at, and totally Instagram-worthy. And, thankfully, it’s easier to get organized this way than you might realize.
Materials & Tools
- (2) 2 ft. x 4 ft. pieces of pegboard
- (2) 1 in. x 2 in. x 8 ft. furring strips
- 1 lb. box of Grip-Rite 2 in. construction screws
- Everbilt 47-piece Locking Peg Hook Assortment
- Tape measure
- Level
- Power drill
- Circular saw
Directions
1. Find a room or space where you want to organize your gear.
For me, this space turned out to be my garage. Adding a pegboard here allowed for quick, easy access to all of my gear in a central location whenever I packed my car up for an adventure.
2. Find the wall studs to get an idea of exactly where your pegboard will go.
You can use the tried-and-true method of light pounding with your first and then measuring with a tape measure, or you can use an electronic studfinder. However, most studs in residential construction are 24 or 16 inches apart. So, you can use these measurements to figure out exactly where you will be attaching the furring strip to the wall.
In my garage, the studs were 24 inches apart. So, I used this figure to frame the backing furring strip, as shown below. If yours fall 16 inches apart or even 12, you may want to play around with how you center the pegboard over the furring strip.
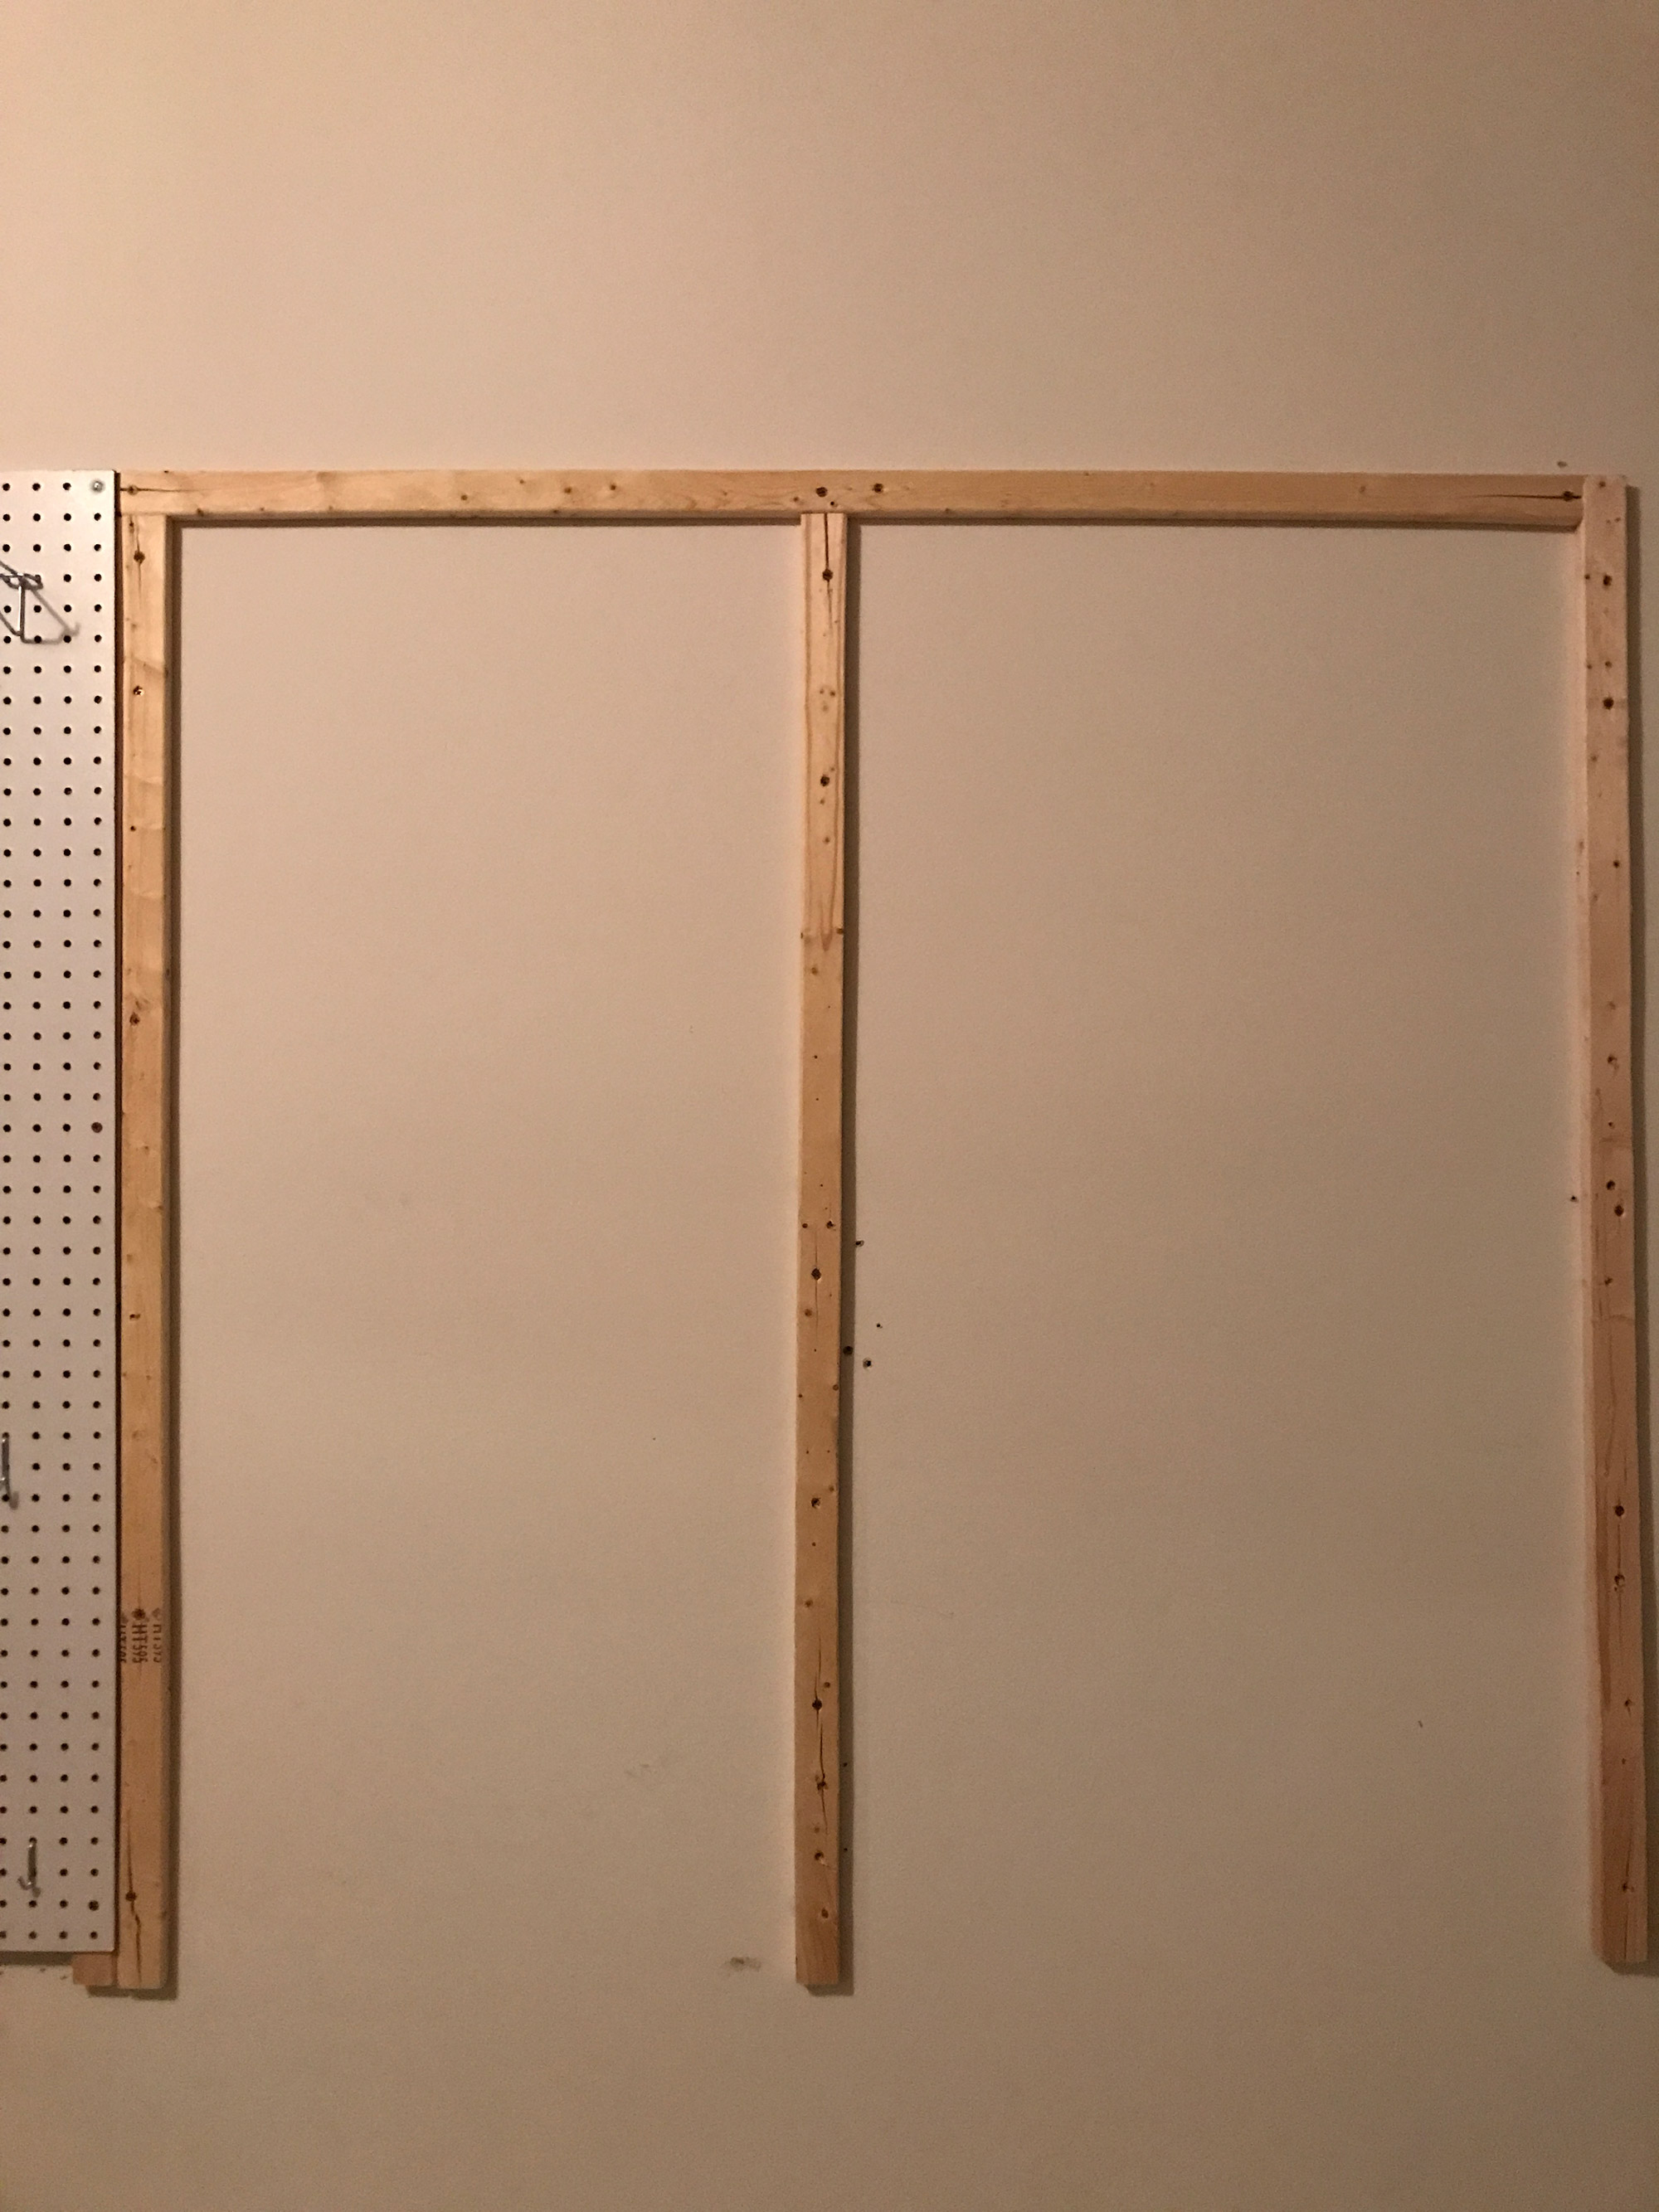
The pegboard accessory kit I used does come with spacers, which you screw through the pegboard and into the wall behind. But, I chose to use the furring strip instead, because of the weight I would be placing on the pegboard. It’s better to be safe than sorry, and this method provides a much sturdier and solid support system that connects your pegboard to the studs and utilizes the strength of the wall itself. Since the pegboard is 2 ft. x 4 ft., and the furring strip comes in eight-foot lengths, you’ll need to cut it in half (at 48 inches). This is where you’ll need the tape measure and saw.
3. After cutting the two pieces of furring strip, it’s time to mount them to the wall.
Make sure you use the level to line everything up nice and straight. As an alternative, your iPhone may have a built-in level based on the accelerometer’s functions. To attach the strips to the wall, I used three screws in each piece: one in the center and one near each end. But, don’t place them too close. Furring strip tends to be a dryer wood and is therefore more susceptible to cracking if you try to add screws right at the edge.
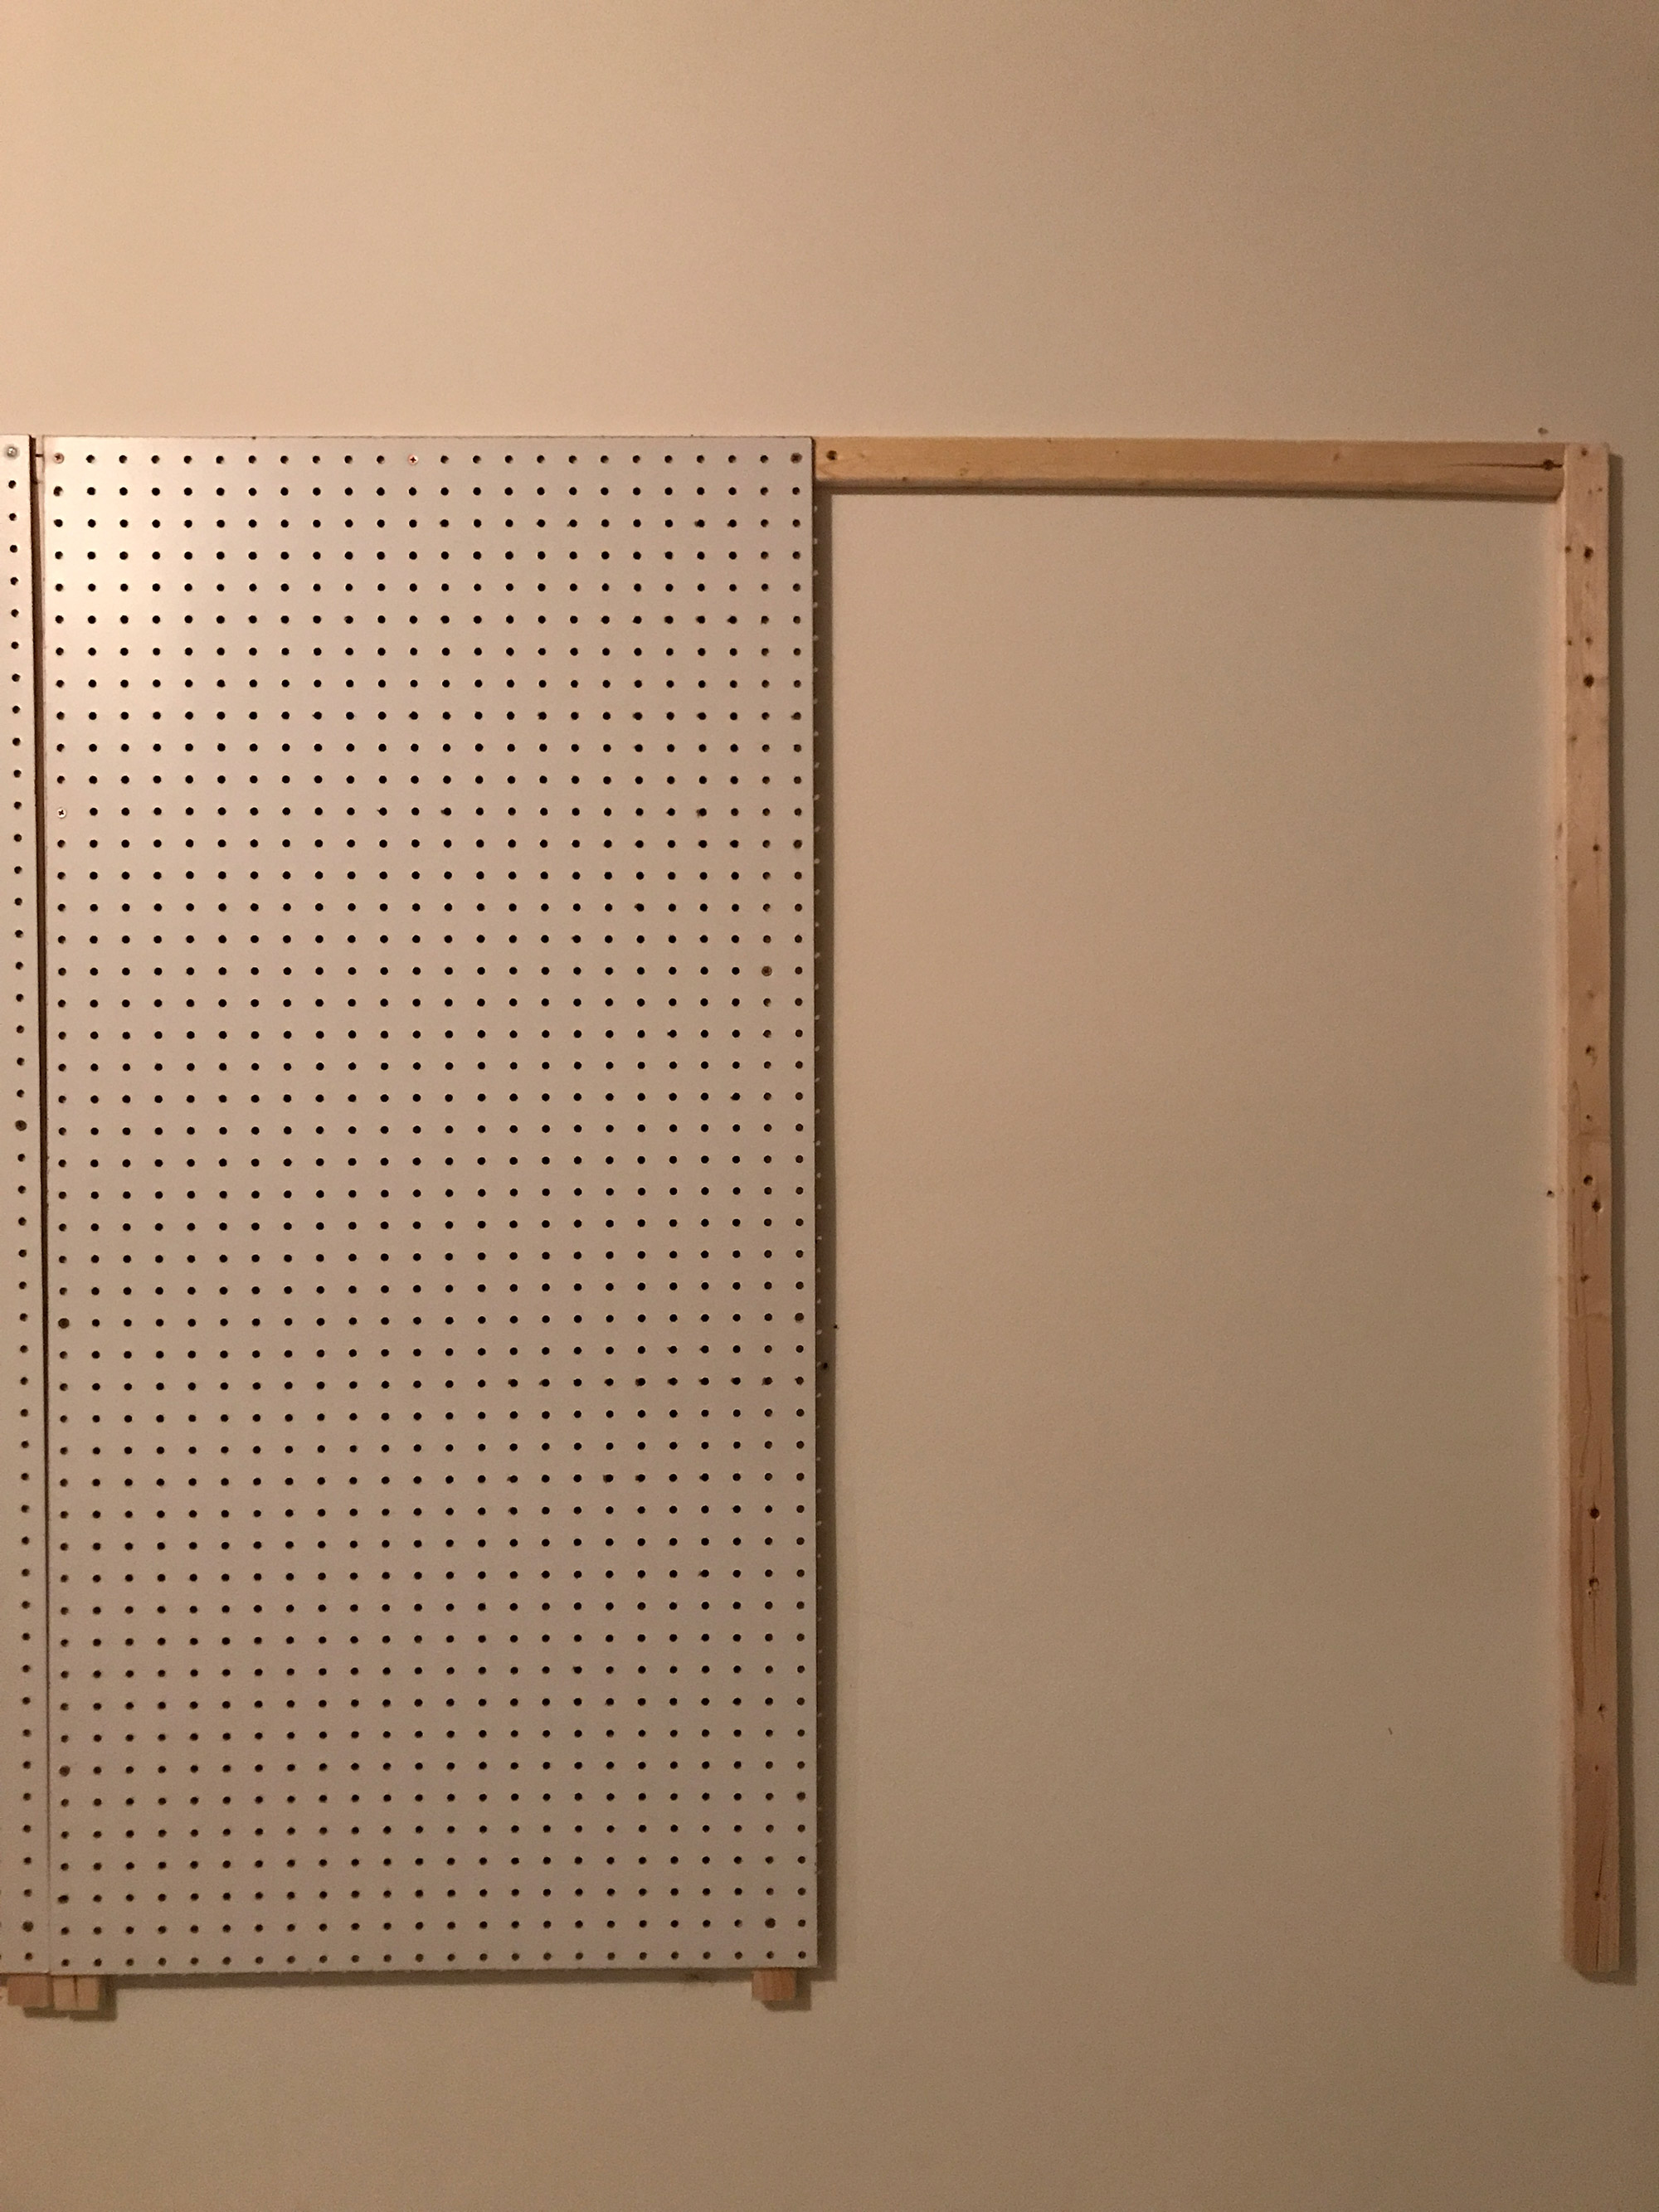
4. After the furring strip is up, it’s time to hang and attach the pegboard!
You’ll want to make sure you center the pegboard’s side edge on your furring strip’s center piece and make the top edge flush with the upper piece of furring strip. Placement is fairly straightforward if your studs are 24 inches apart. If they are 16 inches apart, however, you may have to play around with this.
I used two screws on the longer sides of each edge, between the locations of the furring strip’s existing screws. Once the first piece is up, the second follows quickly. Keep in mind that it’s often easier to do this step with the help of a second person to hold and guide.
5. Now, it’s time to use the hook accessory kit to start arranging and hanging your gear.
I like the accessory variety kit, because it comes with quite a few different shapes and sizes, which can be used for specific items of gear. So, play around to see which pieces work best for your supplies.
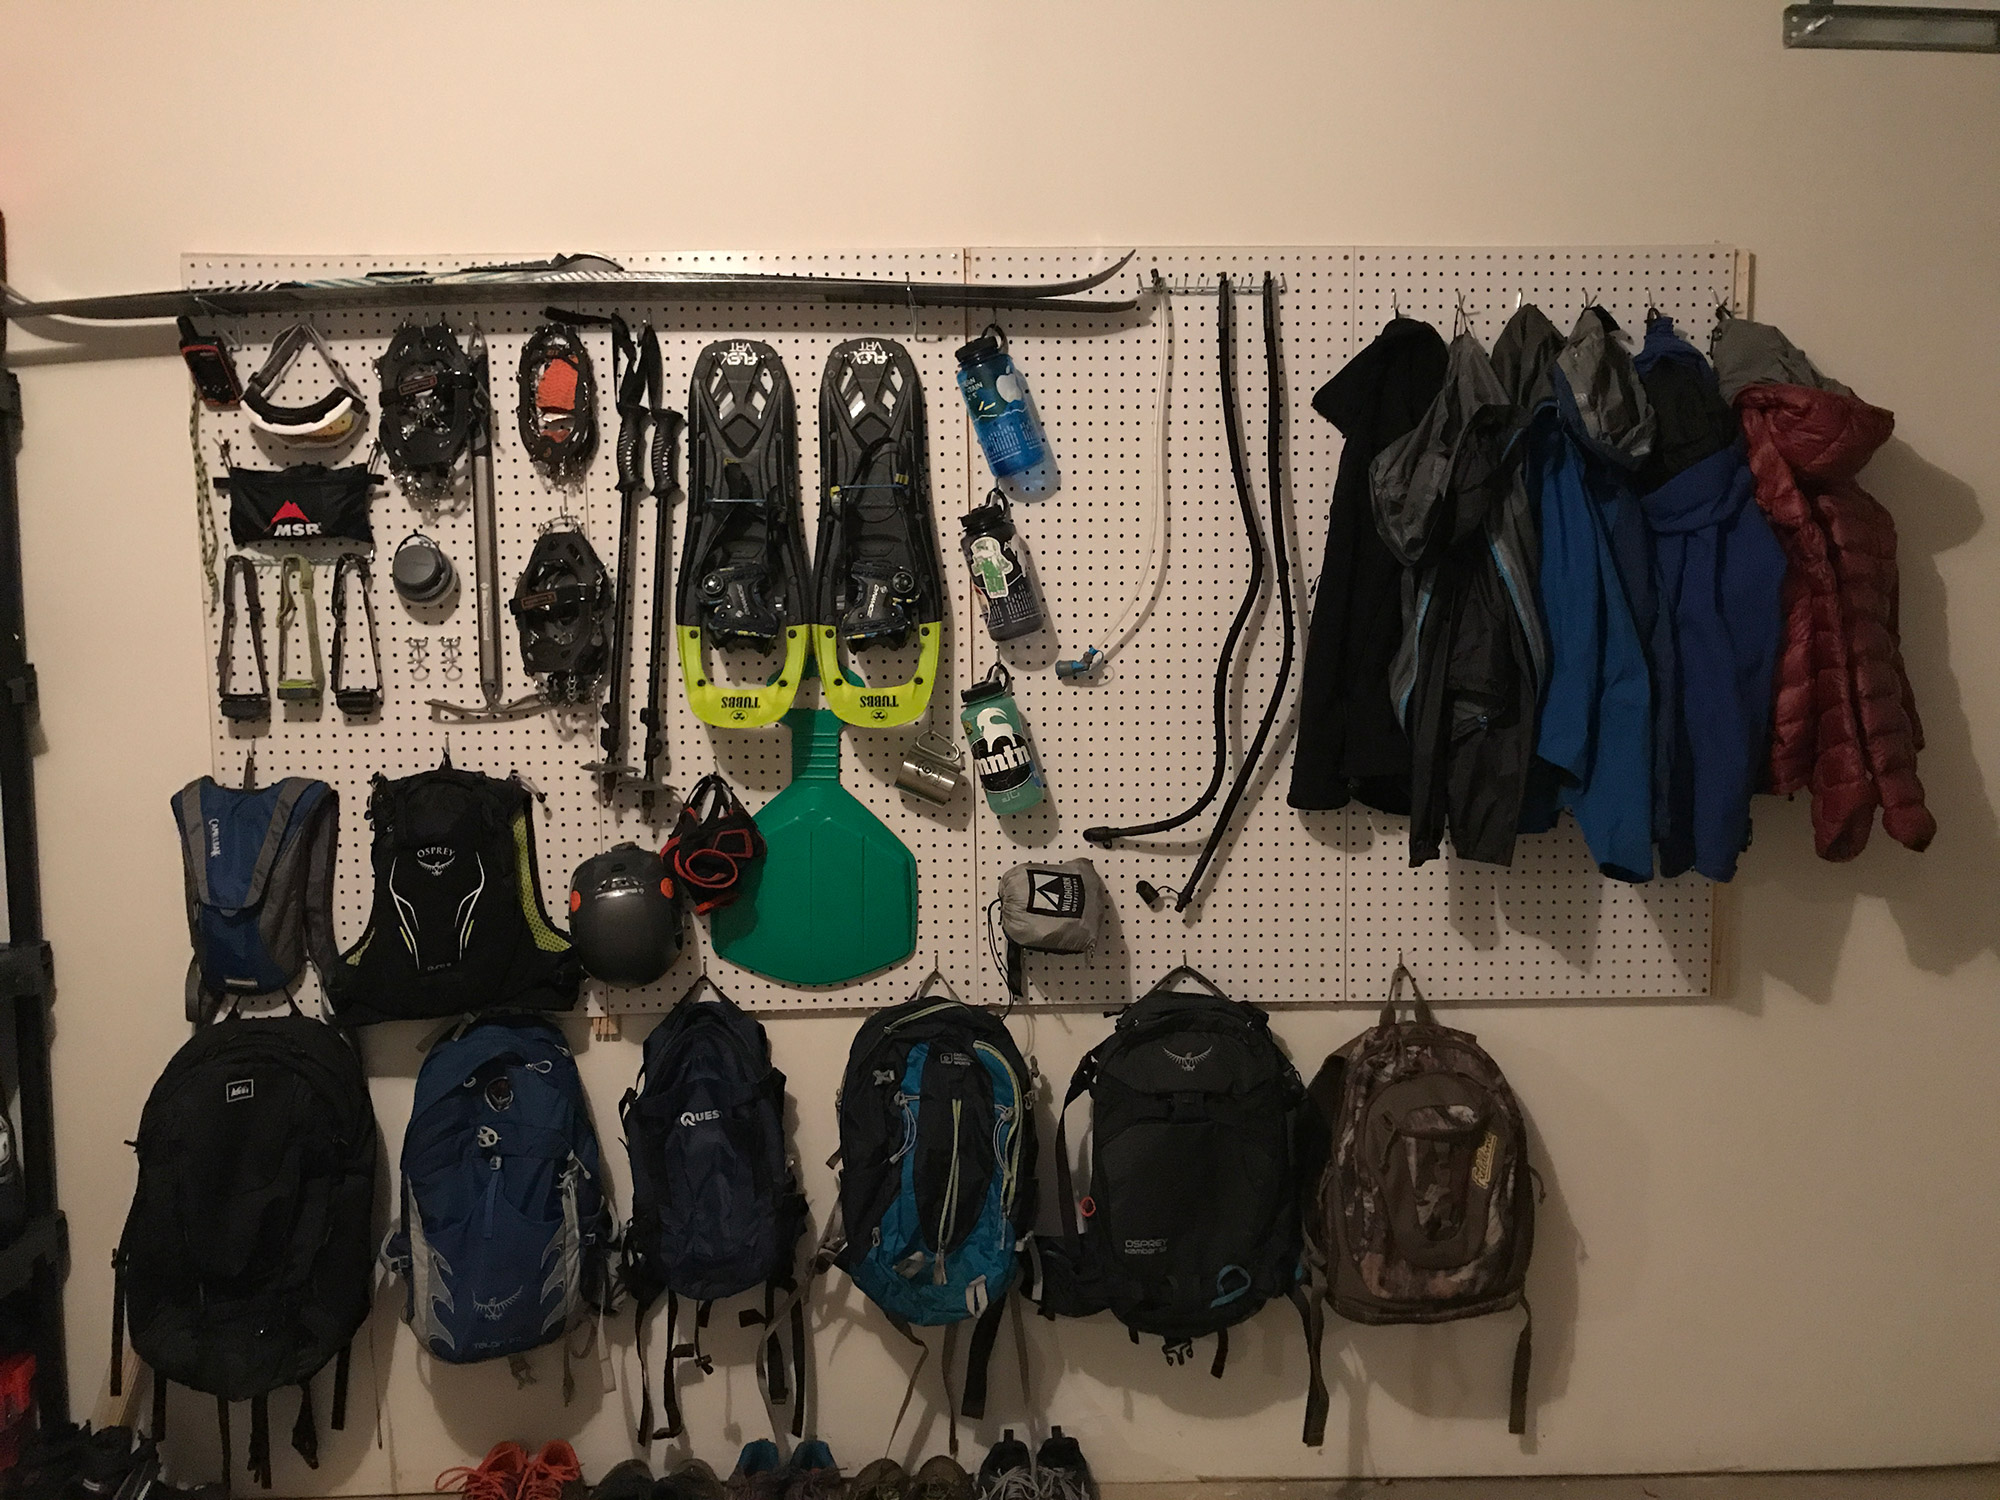
Organization Tips
When it comes to organizing your gear, you want to try to distribute weight as evenly as possible. Take the heavier items and spread them out, and fill in the spaces in between with smaller, lighter items. For my pegboard, I try to keep all items in the same category grouped together—headlamps, water bottles, jackets, etc.—in order to save time looking for them. Since backpacks and jackets tend to take up a lot of volume, a good tip is to hang them on the pegboard’s bottom hooks. Doing so creates more space for other items.
For larger items, camping gear especially, I’ve found that they were just too big and bulky to organize on the pegboard. Instead, I keep them stored and organized on a five-tier plastic storage shelving system. When it comes to grouping smaller gear, you can use stuff sacks, small plastic totes, or similar bags to keep like items together.
Related Posts