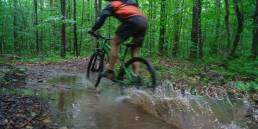
Bikepacking, or using your bike to travel to and access camping, is a fantastic human-powered adventure experience. While the activity itself is nothing new, bikepacking has seen a recent explosion alongside the exponential growth of cycling in general.
But despite the simplicity of the idea, it can be an intimidating endeavor involving specialized gear and, of course, a bike. If you want to go all in, this guide will help figure it all out. But the great part of bikepacking is that anyone on any bike can do it! You can purchase a specific bike, bags, and tent and set off on a week-long expedition in the backcountry. Or you can just pack a backpack, hop on your cruiser bike and ride the greenway to a local camping area with friends. Just as there’s no one way to experience the outdoors, there is no one way to go bikepacking.
Choose a Bikepacking Route
One of the first things to consider is your route. Unless you already have a dedicated bikepacking bike and setup, or want to drop a couple grand on new gear, you’ll need to tailor your route to the equipment you have on hand—road bike, mountain bike, or gravel bike.
For your first bikepacking trip it’s easiest to pick a well known, pre-planned route that has information readily available. Bikepacking.com is an excellent resource with hundreds of routes on every continent, ranging from quick overnights to weeks-long expeditions. The popular thru-hiker app FarOut features some bike routes as well, and includes crowdsourced real-time information such as water availability and camp sites. You can also find routes in your go-to cycling apps such as MTB Project and Trail Forks. And if you’re more experienced or feeling adventurous, you can build your own route! A combination of Gaia, Google Maps, National Forest Service maps, and info from your local bike shop can be used to string together exciting, less traveled routes. Another option is to seek out bikepacking meetups, such as Swift Industries’ Annual Campouts and programs hosted by local shops, to find folks who will show you the ropes.
When picking your first route, there are a few important factors to consider: distance and time, weather, water and camping, and your own abilities. When thinking about distance and time, consider how much time you have for the trip, including packing and preparing. Expect your riding speed to be drastically reduced once you have a loaded bike full of gear, so give yourself some extra time to complete the route.
You also need to consider weather—clothing and tire choice hinge on this factor. Water and camping, however, are super important when you’re creating your own routes. It’s up to you to know the laws and regulations of the land you’re using, and no one likes trying to find a campsite in the dark!
Finally, consider your abilities, and the fact that you’ll likely be carrying anywhere from 10 to 30 pounds of gear on your bike. Are you confident in riding technical singletrack, or more of a greenway cruiser? It’s also important to remember the capabilities of your bike, here. There are routes aplenty for both styles, but it’s important to ride within your abilities, especially when you may be several days into the wilderness and risking serious injury.
Regardless of what route you pick, you’ll need a way to follow it. This could be via a GPX file downloaded onto your bike computer or cell phone, or a paper map, or a combination of the two. It’s risky to rely completely on electronics, so having a backup paper map is always a safe bet.

The Gear You Need
Conveniently, if you’re a backpacker, you probably already have a lot of the gear that you’ll need for your first bikepacking trip. But there are definitely a few specialized things you’ll want.
Your Trusty Steed
If you don’t have a bike, or are ready to make the leap to buy a new one, it’s important to consider what you’re going to be using it for the most. A hardtail mountain bike that also happens to have attachments for bikepacking bags could be great for more trail-focused riding, while a sturdy gravel bike with versatile wheel compatibility might be the best choice for mixed dirt and pavement. Every type of bike has benefits and downsides and experts at your local shop will be stoked to help you pick the best one for your use. At the end of the day, it’s rare to find a cyclist with only one “do it all” bike in their quiver, so you’ll have to decide what features are most important to you.
Pack It Up
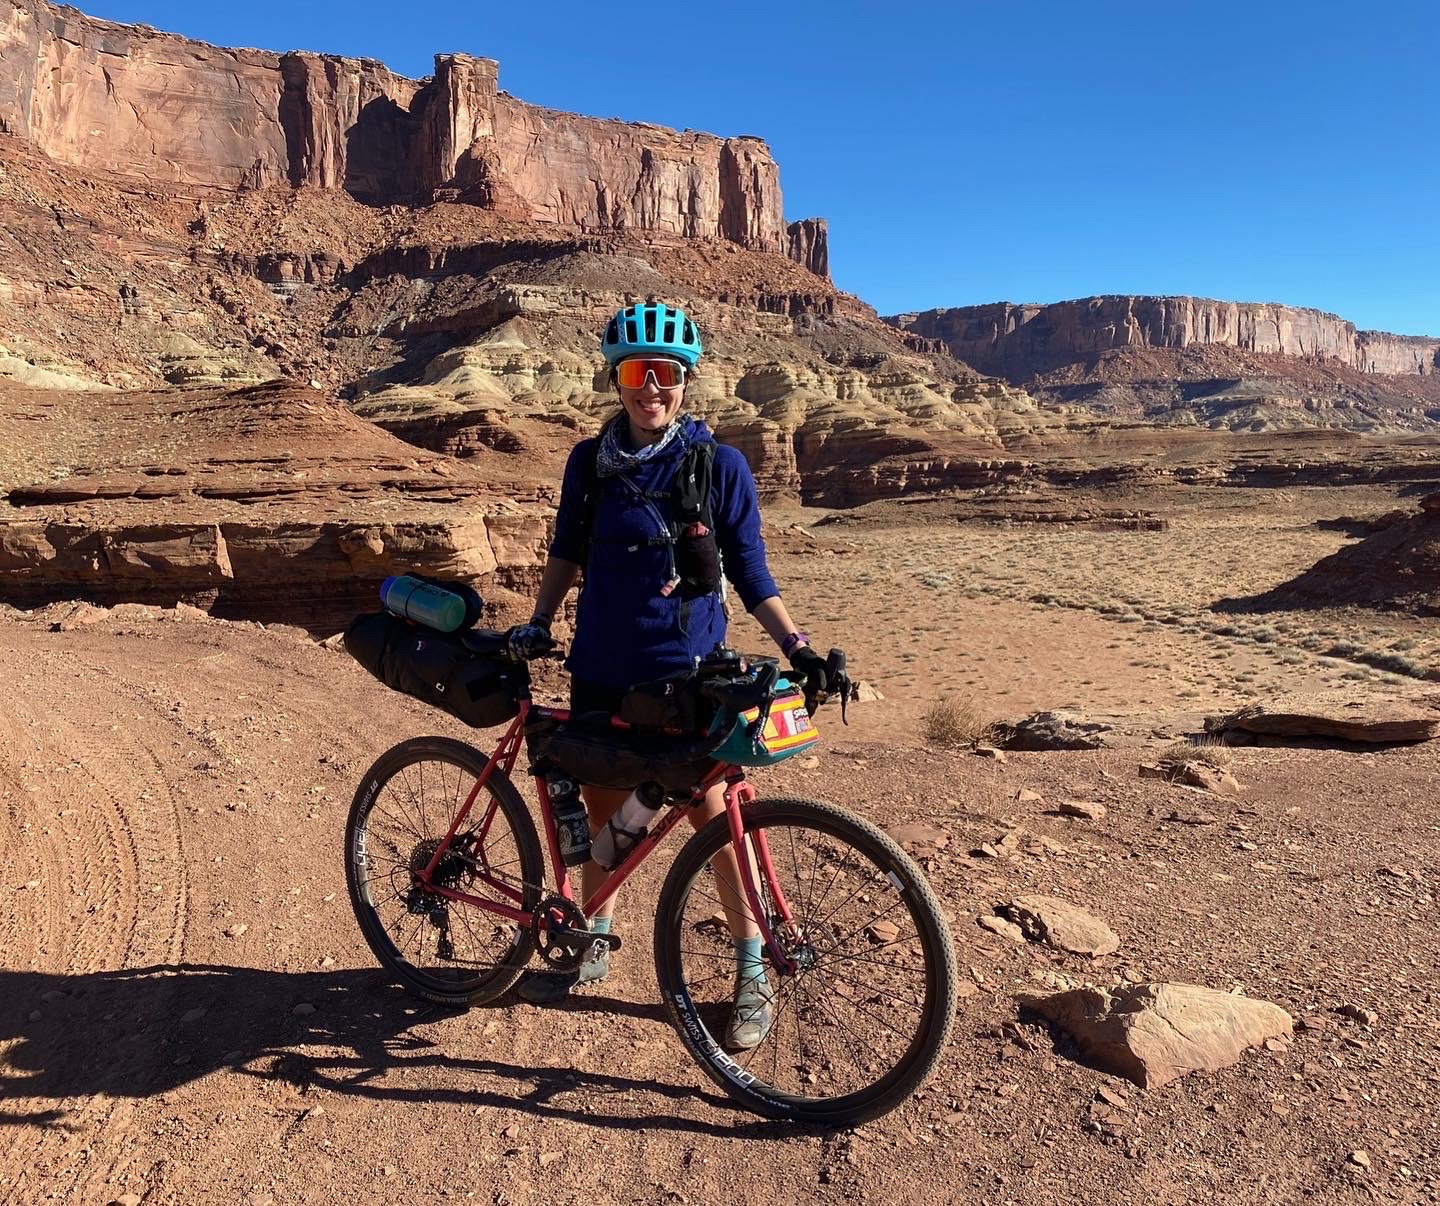
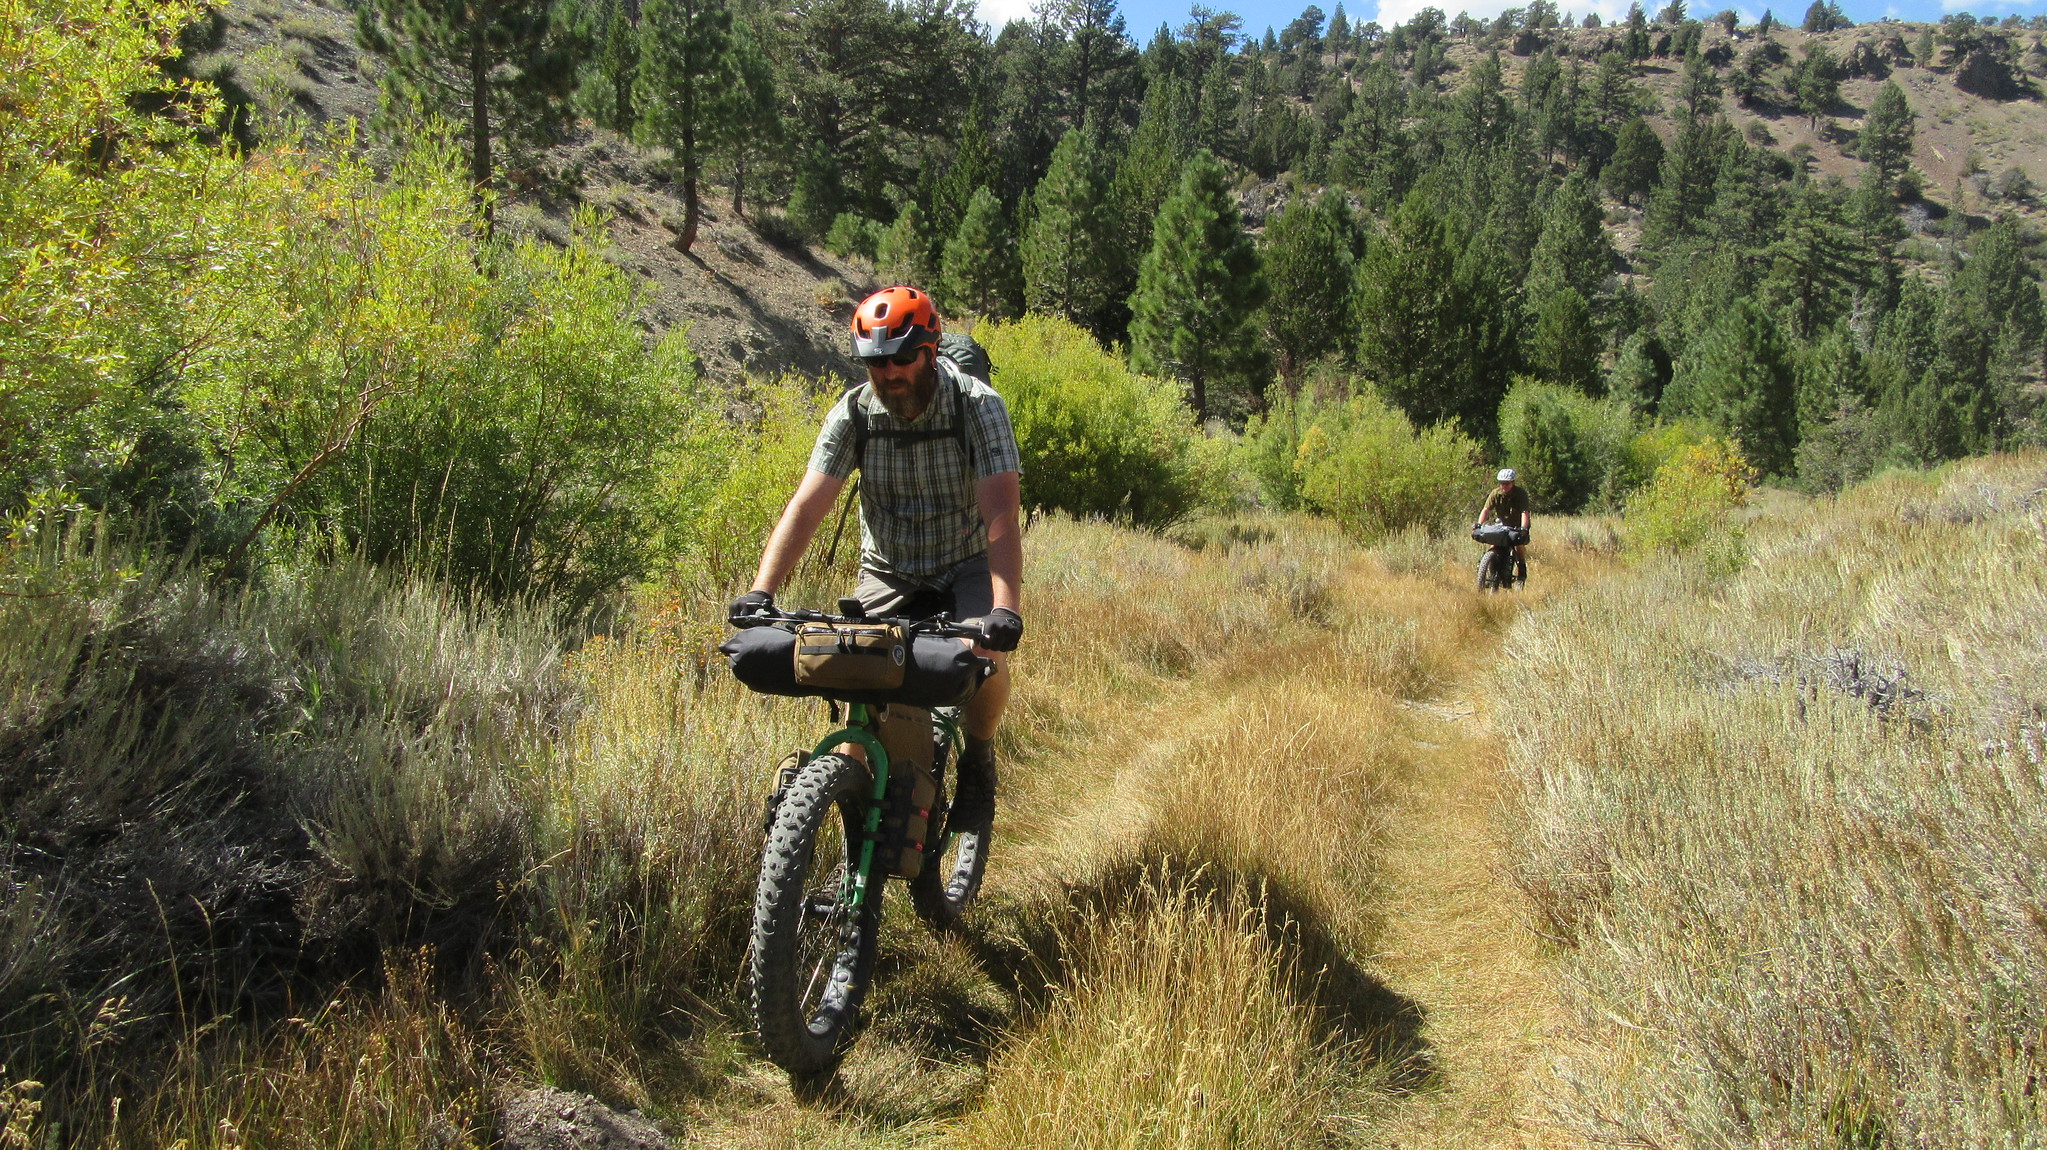
After you’ve settled on your bike, it’s time to consider the rest of your gear, namely, your bags and what will go in them. Most bikepackers prefer to load the weight of their gear onto their bikes with bike-specific bags, as opposed to wearing a heavy backpack that can alter your center of gravity while riding, not to mention hurt your hunched-over back after a long day.
With the recent explosion of bikepacking, there are plenty of brands making bike-specific bags. The important features that you’ll want to focus on are functionality and fit with your bike. The most popular styles of bag are handlebar bags, frame bags, and seat bags, with the latter two being available in both Velcro and bolt-on if your bike has braze-ons for attaching bolted bags.
Handlebar bags can be large, rack-supported bags that span the width of your bars (double check that your bars are wide enough to use this kind of bag). They can also be smaller “feed bag” styles that fit easy-access items like snacks or your phone. Many people use a combination of large bags and small bags, but that’s up to you!
Frame bags fit in the triangle of your bike’s frame and typically come in half frame and full frame sizes. They can be one-size-fits-all, or even custom made for your bike. Full frame bags will provide more storage space, but often render your bottle cages inaccessible and require you to find other ways to carry water. Half frame bags do not carry as much gear, but allow you to access your bottle cages.
Seat bags also come in many styles—some bar bags even have kits to attach them to the bottom of your saddle! They can also be roll-top bags that attach to your seat post and hold large amounts of gear. Seatpost mounted bags are not always dropper post friendly, so keep that in mind if you’re on a mountain bike.
Another popular option, especially for bikepacking with road and gravel style bikes, is panniers. Panniers are specialty racks that attach to the back of your bike and support two bags on either side, such as the Thule rack and bag system.
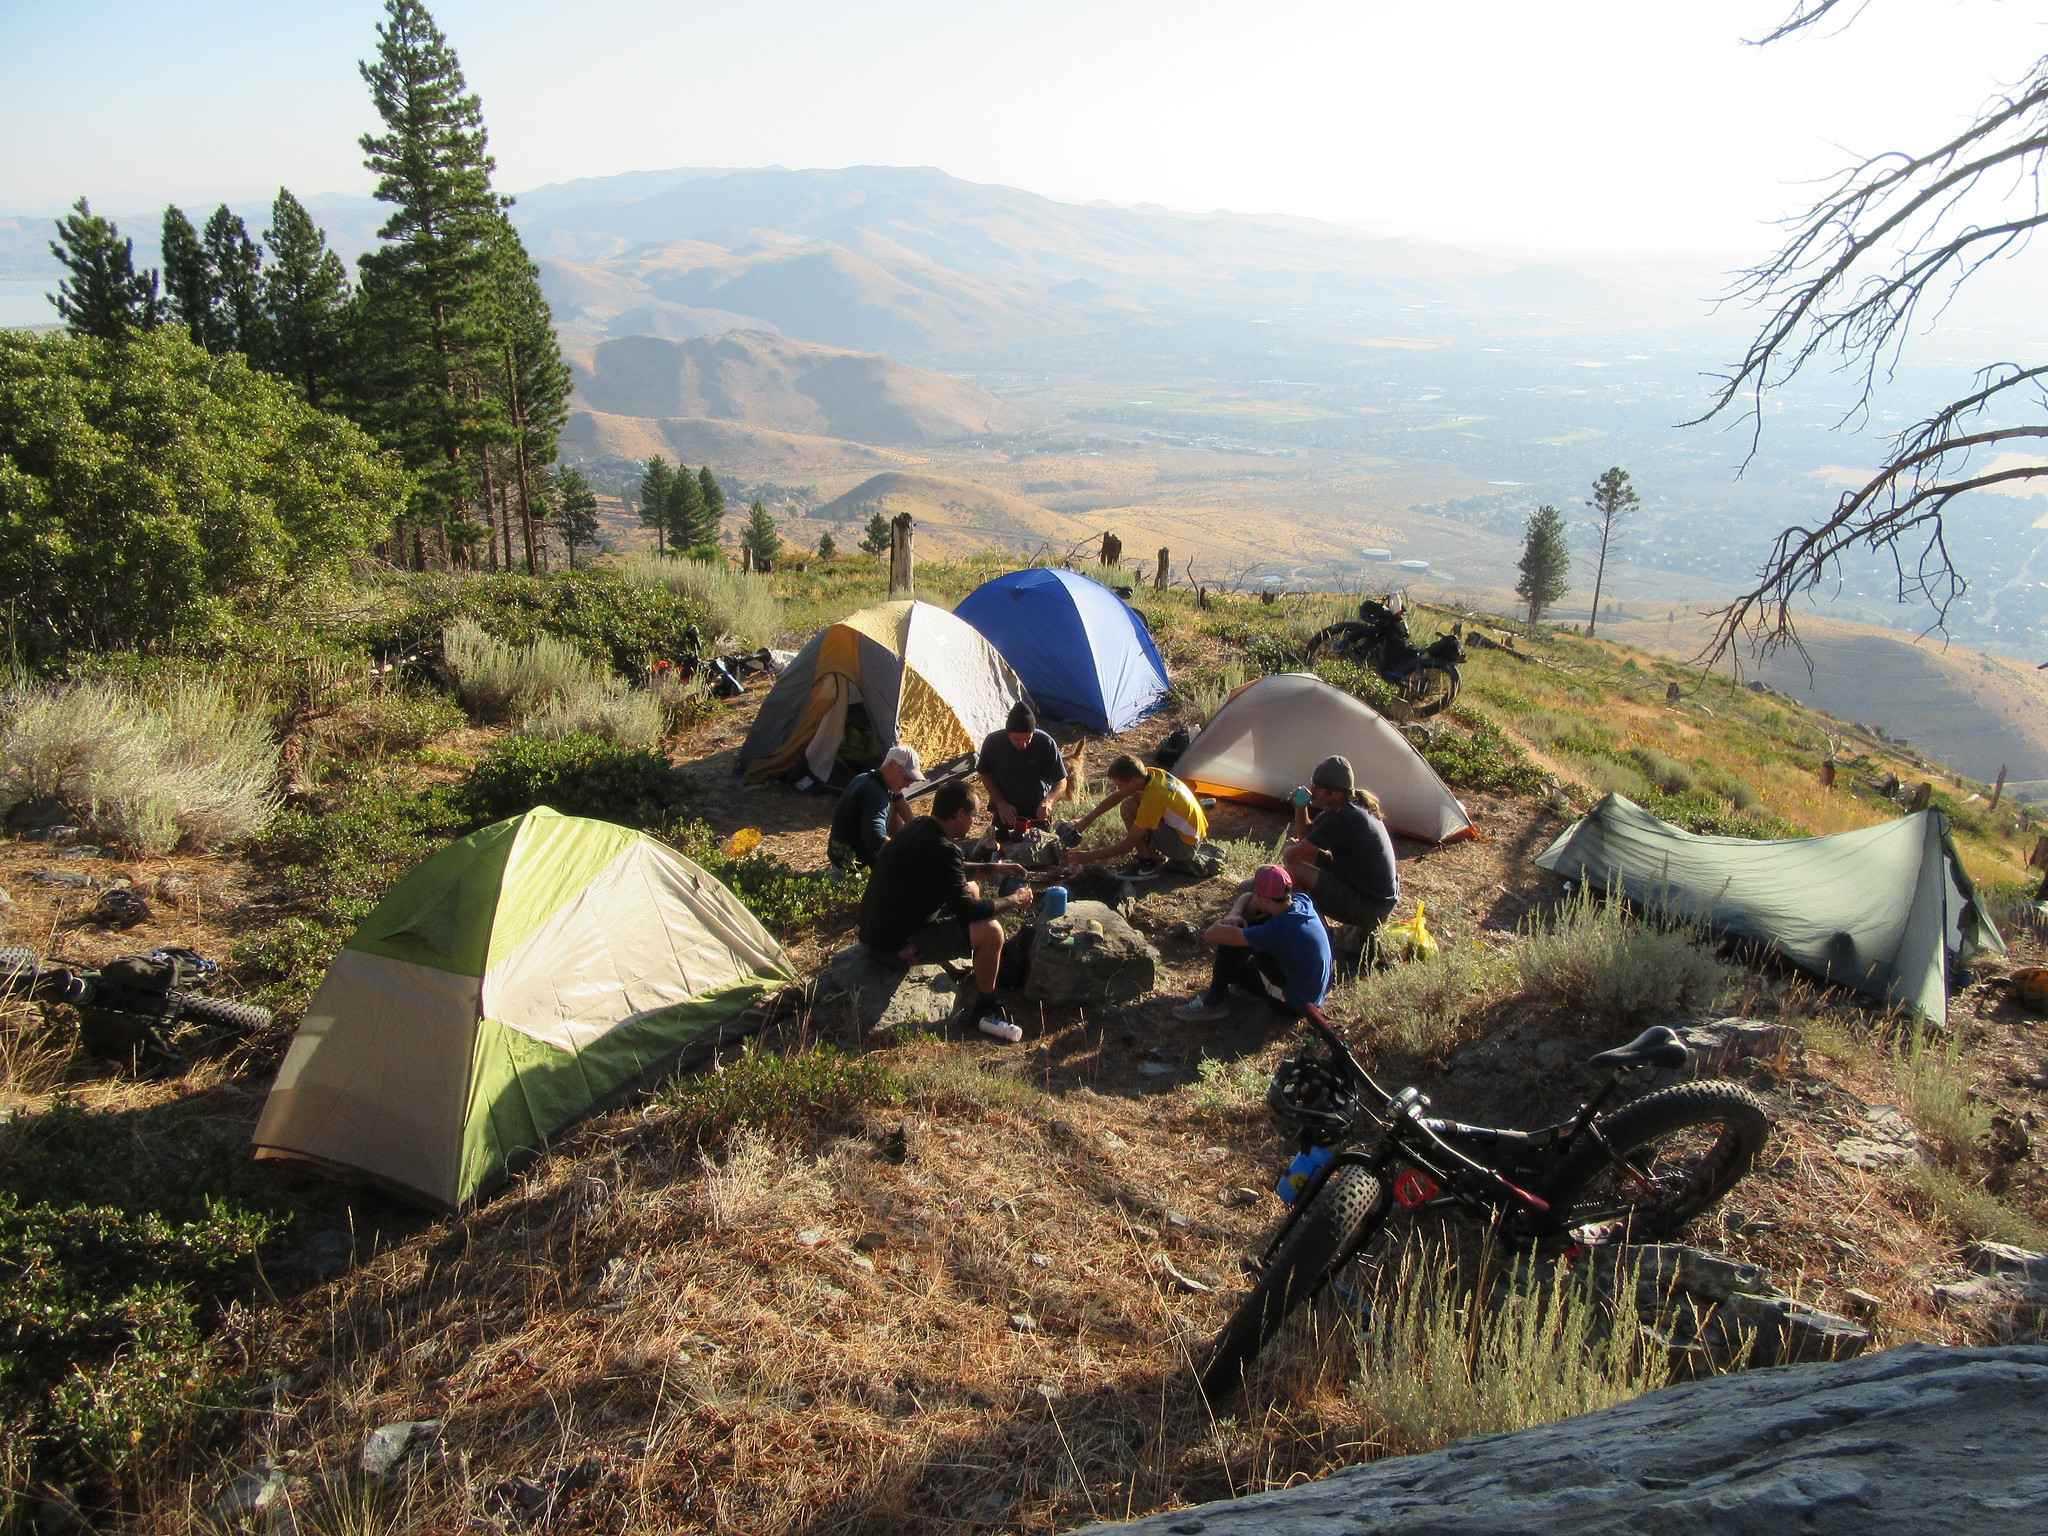
Camping Gear
When it comes to your camping gear, lightweight is the name of the game, as you’ll have to pedal your bike with all of that onboard! Some brands, such as Big Agnes, make bike-specific tents which have poles with shorter segments in order to fit between drop handlebars. Packability is also a serious factor to consider, as bikepacking bags have limited space. Ultralight sleeping bags and quilts are an easy way to cut down on weight and space!
Repair Kit
Your bike repair kit will look fairly similar to what you might carry on any other ride such as a tube and patch kit, portable pump or CO2 cannister and inflator, and a multi tool. Additional items that you may find useful are a length of paracord, ski straps, or zip ties in the event that a bag attachment or any number of things breaks. If you don’t feel comfortable doing basic roadside repairs such as changing a flat or performing a bolt check, many local bike shops offer classes that will get you prepared.
What to Wear
Many people choose to keep their clothing fairly simple, even just limited to a single riding kit and pair of camp clothes. Quick drying materials such as merino and synthetics will be ideal, as well as something to change into when you aren’t on the bike, including lightweight sandals or shoes. Check the weather frequently before heading out to make sure you have appropriate layers! Packing a simple windshell will rarely be regretted on a multi-day bike ride.
What to Eat
The final major grouping of gear is food and water. When it comes to food, lightweight and high in protein, fat, and calories is ideal. If you plan to cook meals, an ultralight stove will pack small and carry well. Carry plenty of snacks, as well as electrolytes to replace what you lose in your sweat. Pedaling a loaded bike is a huge effort, so plan to have a hefty appetite!
Study your route to consider how much water you’ll need to carry. Are there frequent creek crossings that will enable you to filter water, or do you need to carry everything you’ll need? Many frame bags have ports for reservoir hoses, much like a backpacking bag, allowing you to drink while you ride.
But keep in mind that, if you’re doing a lot of road riding, bikepacking is a unique multi-day activity that you can often get away without packing much more than snacks, just eating and filling up water as you pass through towns on your route.
When it comes time to pack, consider what you’ll need to easily access while riding: snacks, phone/camera, water, and extra layers. These items can go in handlebar bags or in the top pockets of your frame back. Your camp gear, extra clothes, stove, etc can be packed into the bottoms of your bags as you won’t likely need to get to them while riding.
Finally, you’ve planned your route, picked your gear, packed your bags, and you’re at the trailhead. It’s time to start rolling! You may have to walk your bike up a steep climb or through a creek—Thats OK! Bikepacking isn’t a race or a Strava contest. You may encounter wildlife, fellow cyclists, or natural hazards. Make good, safe choices and most importantly, have fun! The joy of riding a bike is even further amplified when you spend several days carrying everything you need to get by. Human powered movement is beautiful—embrace the occasional suck and enjoy the ride.