Get views for days on this three-peak traverse that includes the Adirondacks’ second-tallest.
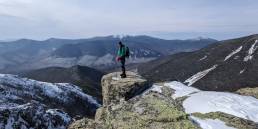
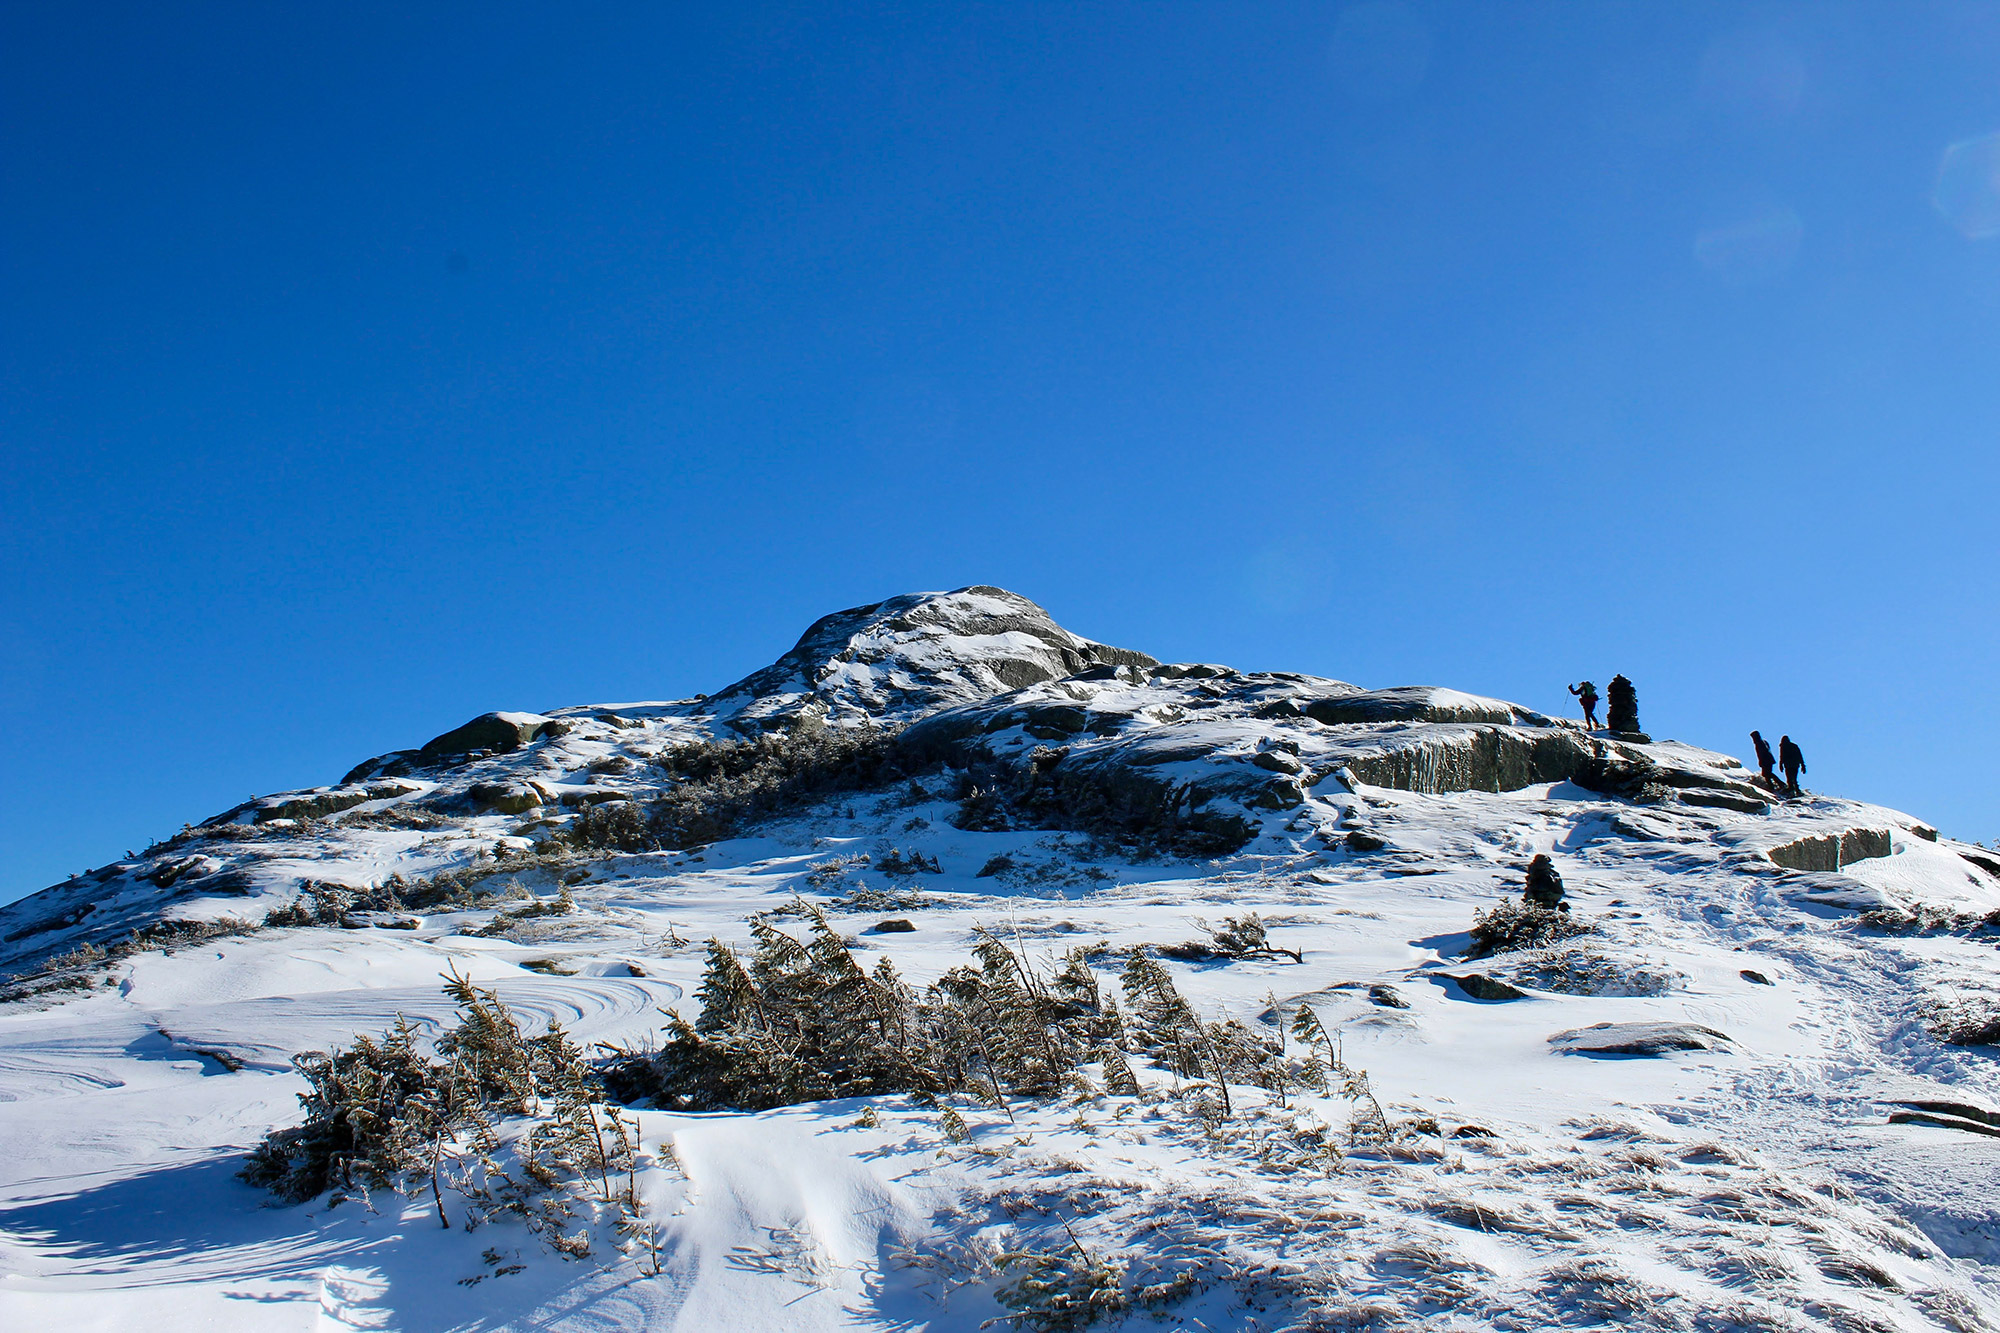
The MacIntyre Range has it all: stiff climbs, a frozen waterfall, scrambling, and more than enough incredible views to keep you enjoying it from the second you step on the trail to the moment you return to the parking lot. While it’s certainly not the longest hike out there, the elevation gain you’ll have to tackle over this chain of three High Peaks makes you really feel like you’re earning the 360-degree views that await you on each exposed summit.
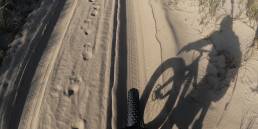
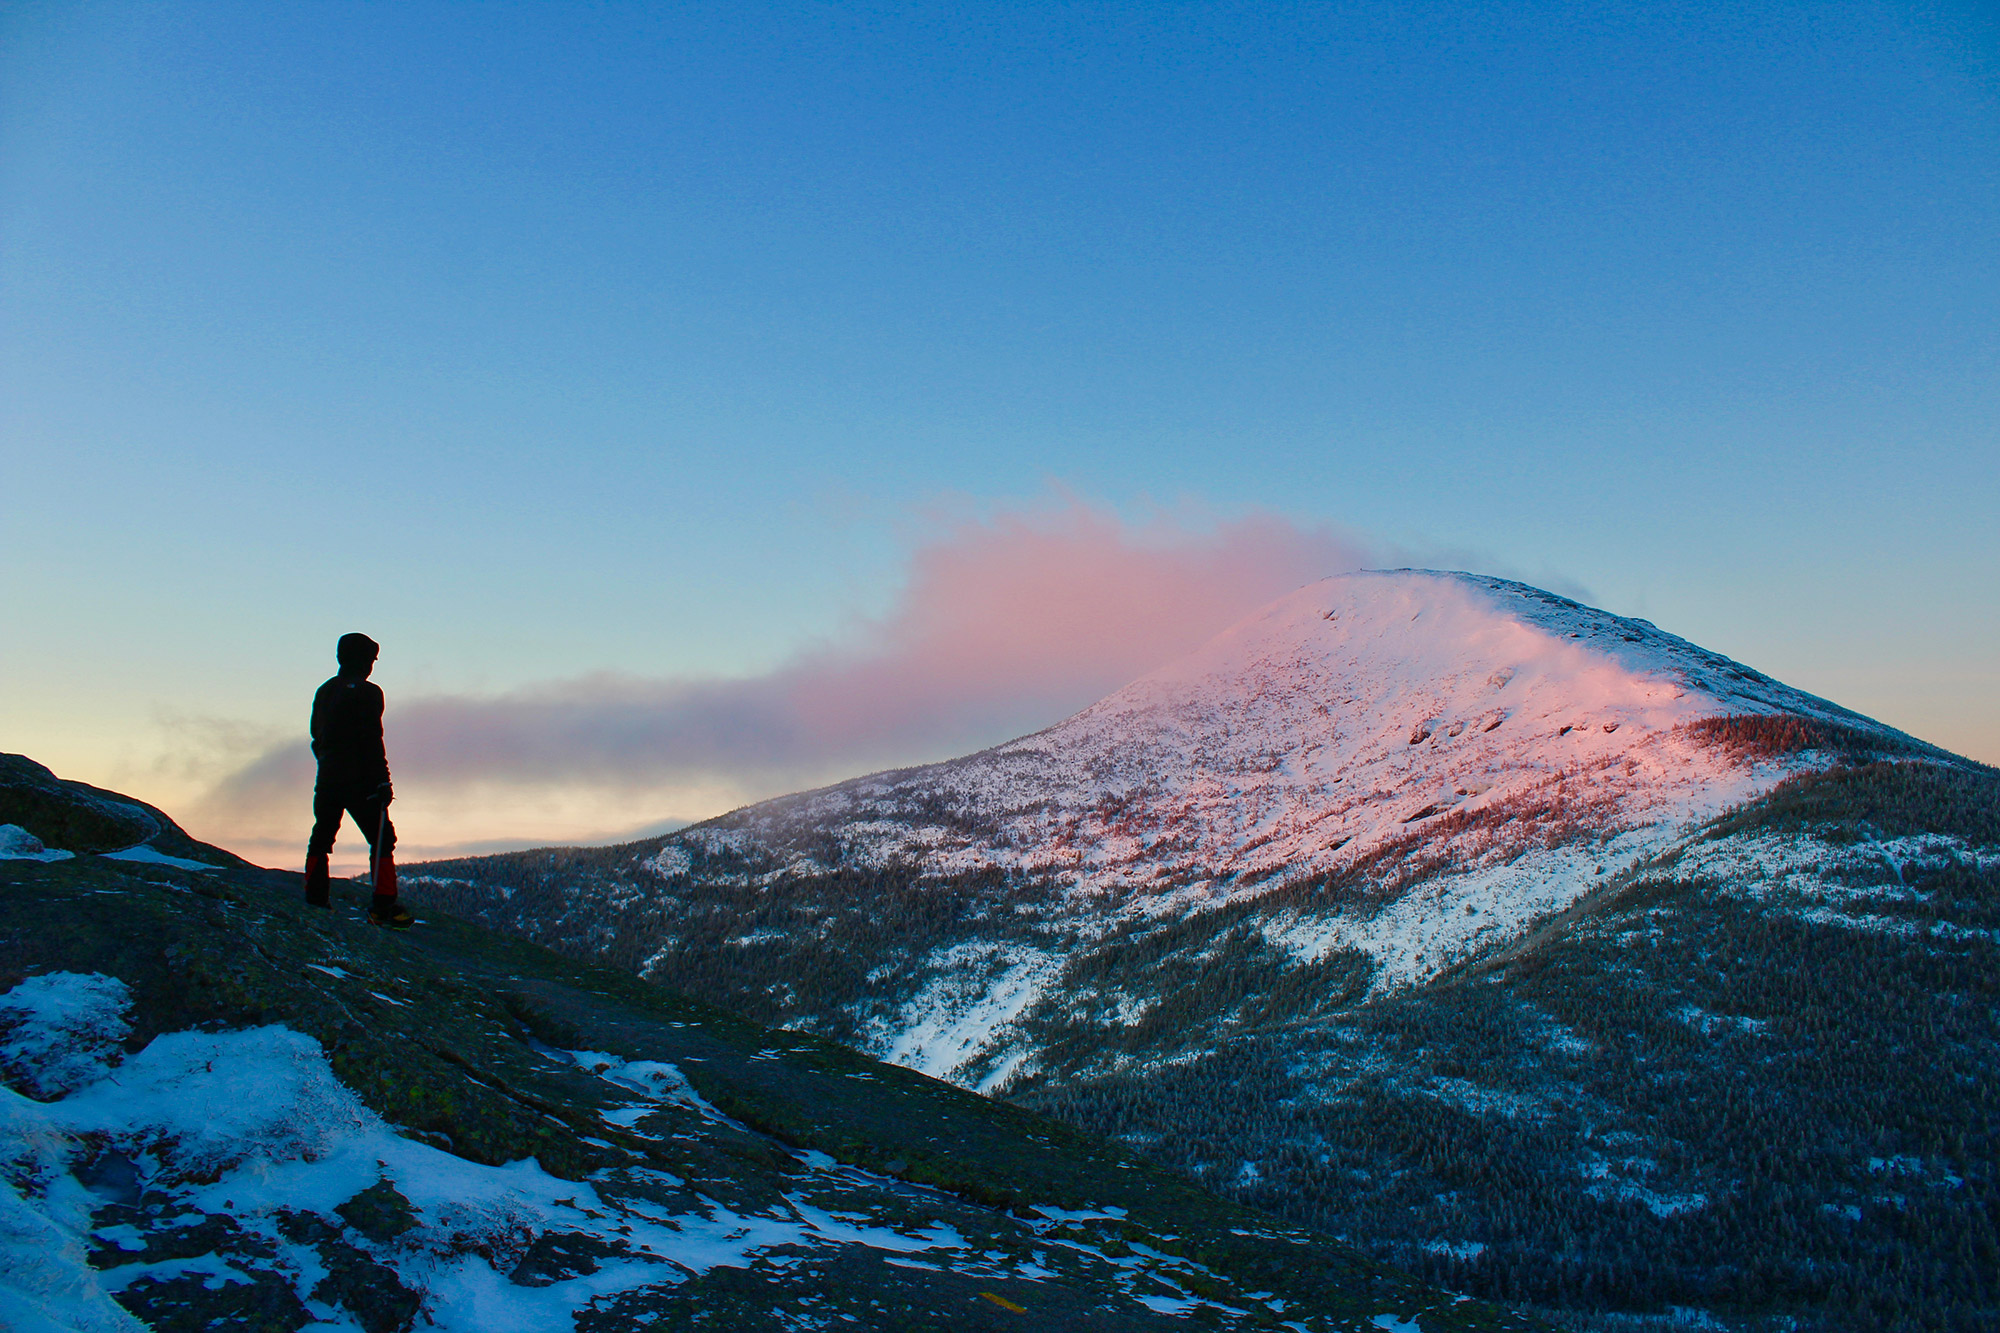
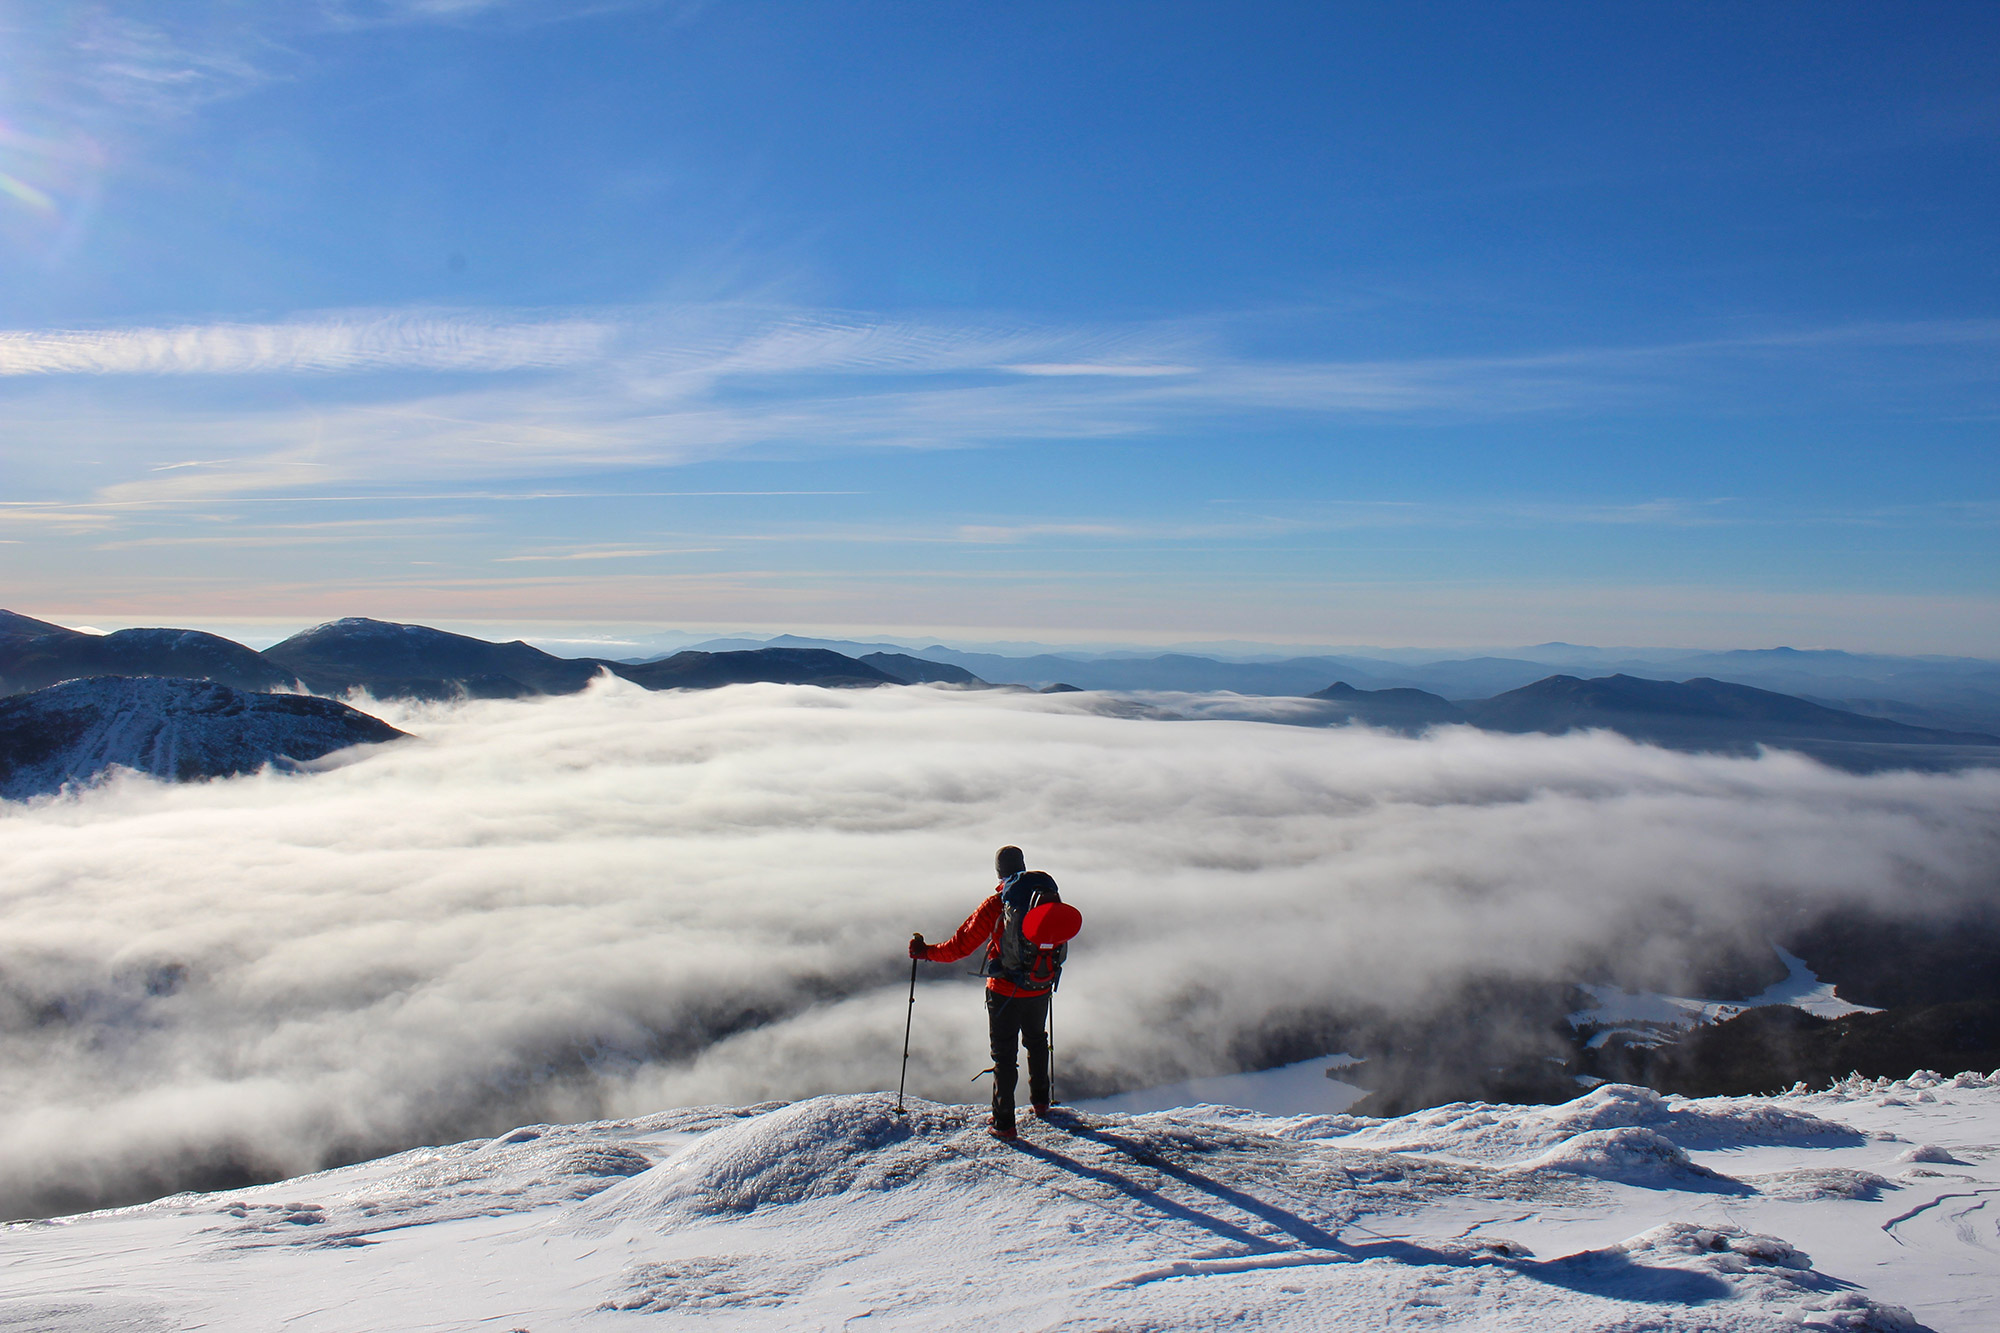
Winter daylight is fleeting, and temperatures on summits often reach well into the negatives. But, the sharp contrasts in the sights of the surrounding mountains and lakes make this a unique experience in the winter. Sunrises and sunsets in the spring, summer, and fall are always wonderful, but ones in winter tend to be a little more colorful due to the ice crystals in the air. Inversions, too, are more common, as clouds hang low over bodies of water after being heated from the day before. Summer rock-scrambling sections become a little easier with the packed-down snow. Overall, this route has an incredible amount of long, steep stretches that are practically designed for butt-sledding, thus making it the perfect winter day hike.
Quick Facts
Distance: 10.6 miles, out-and-back
Time to Complete: 1 day
Difficulty: ★★★★
Scenery: ★★★★
Fees/Permits: $10 parking at Heart Lake ($5 for ADK Members)
Contact: http://www.dec.ny.gov/lands/9164.html
Turn-By-Turn
The trailhead for the MacIntyre Range is the same one you use for Marcy, Phelps, and Table Top, starting on the Van Hoevenberg Trail as it leaves the High Peaks Information Center (HPIC) parking lot on Adirondack Loj Road (44.183061, -73.963870).
From the south (Albany or New York City), take I-87 north to Exit 30, and head west (left) on Route 73 towards Lake Placid for 26.5 miles, where you’ll take a left onto Adirondack Loj Road. The road is winding and becomes unpaved, however; you’ll reach the ticket booth after 4.8 miles. From the north (Plattsburgh or Montreal), take I-87 south to Exit 34 and head west (left) on Route 9N towards Lake Placid for 26 miles, where you will bear right (west) on Route 73. After approximately 11 miles on Route 73, take a left onto Adirondack Loj Road.
Stepping into Nature
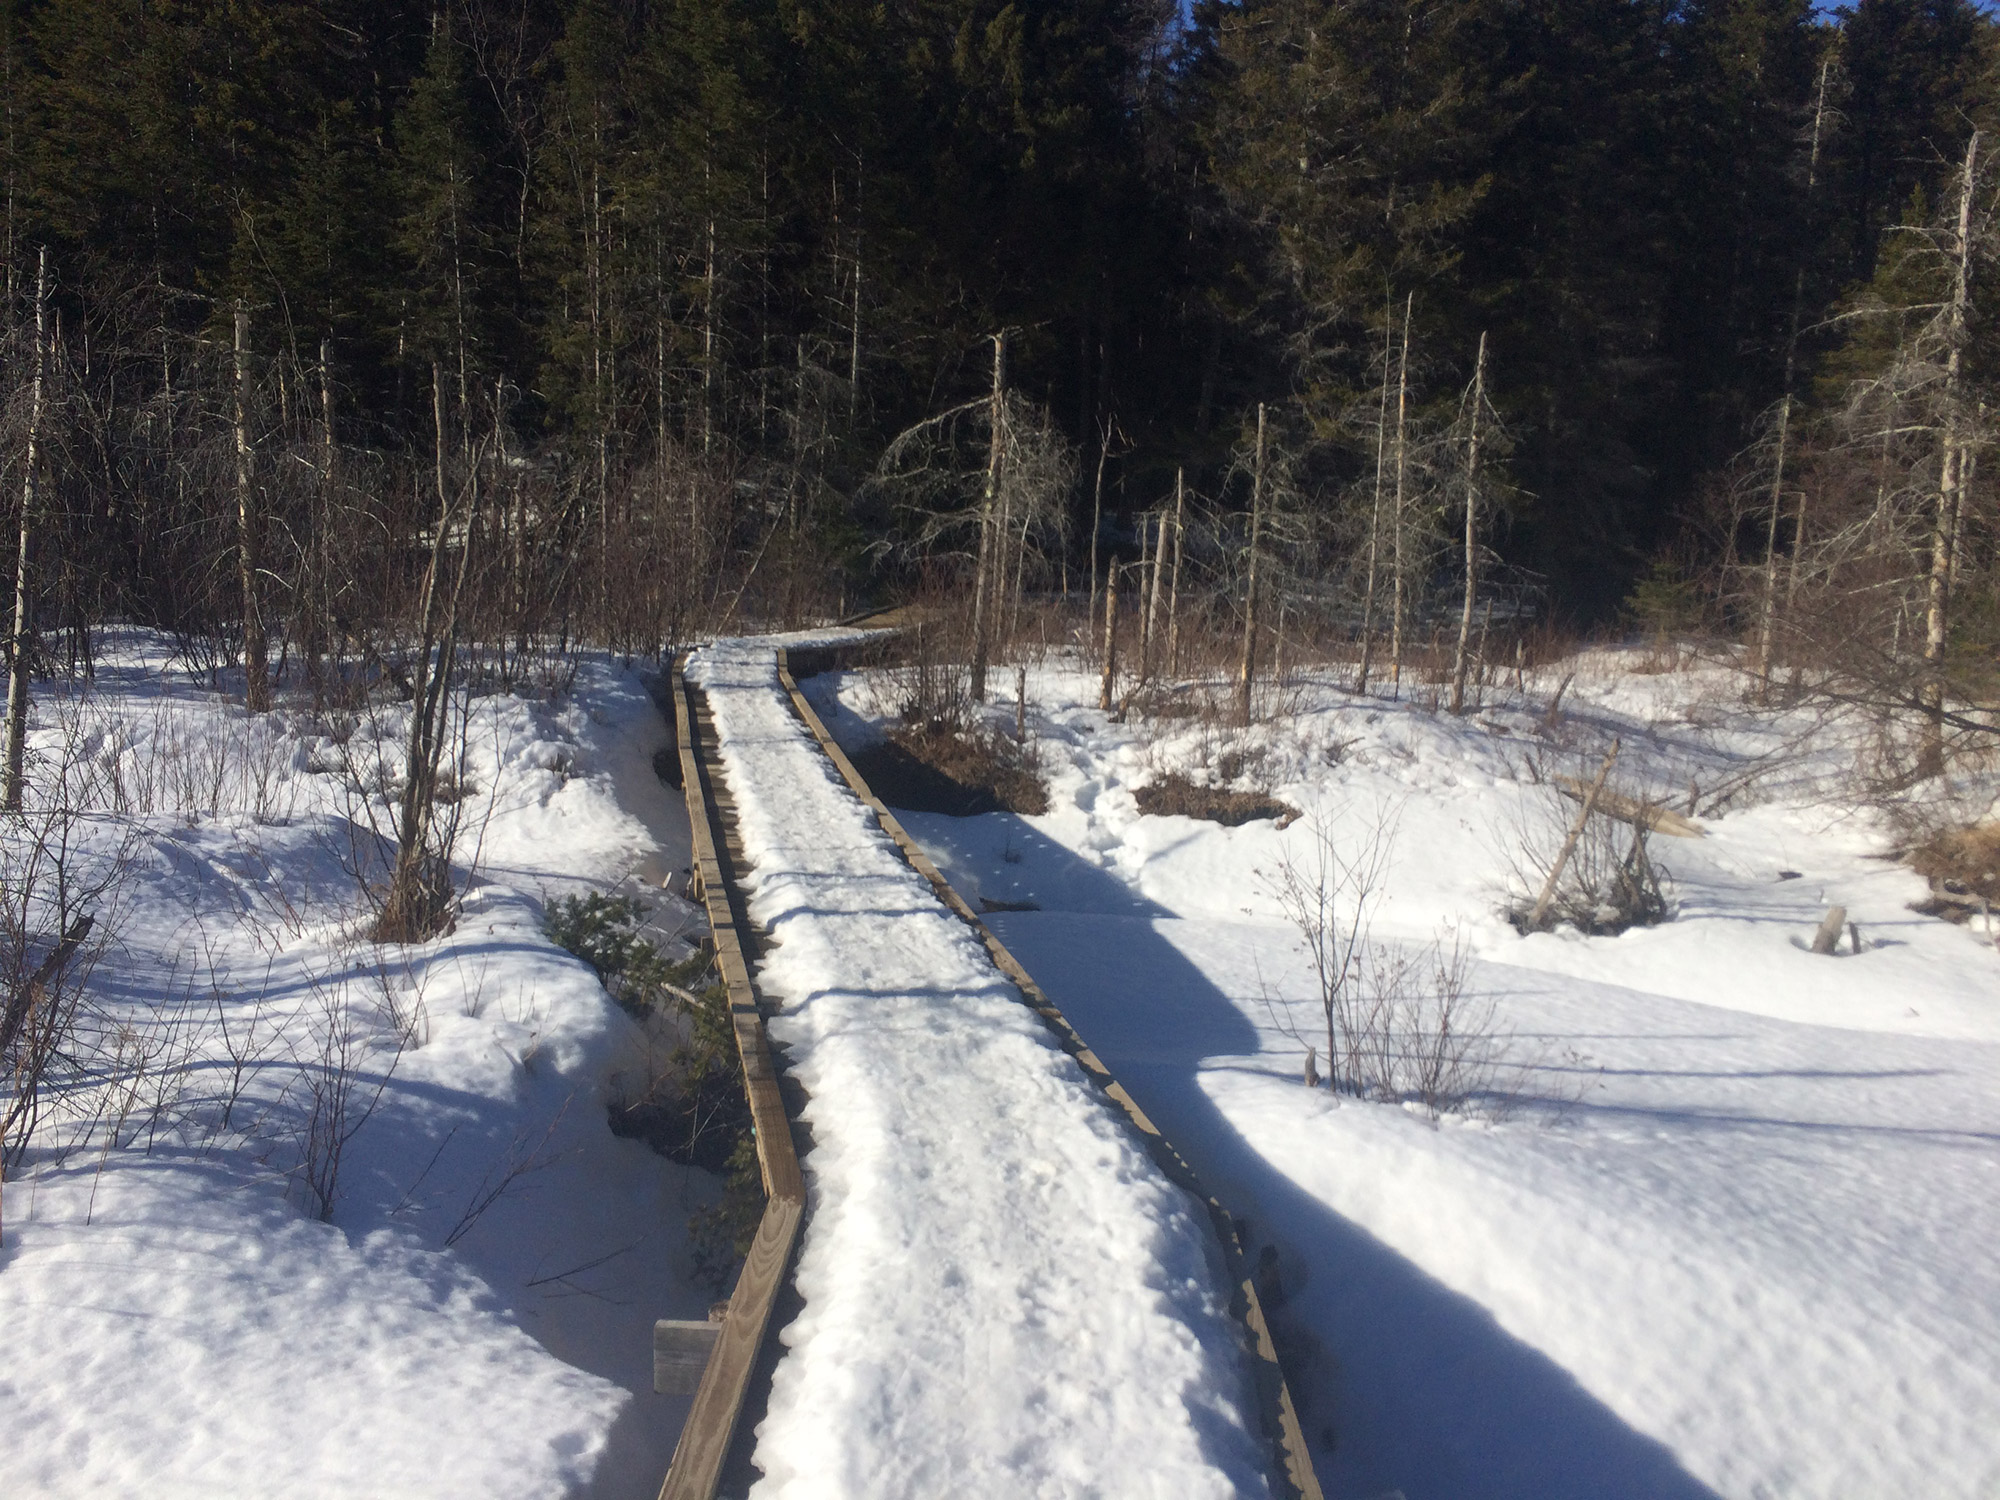
After signing the trail register at the eastern end of the parking lot, follow the Van Hoevenberg Trail for approximately 1 mile. The Van Ho Trail, here, is unique, as it is well-marked with blue DEC trail markers and well-traveled by hikers. It also crosses many oft-traveled cross-country ski trails, identifiable by their wooden signs. A favorite trail you will cross is the Fangorn Forest Trail, named after a location in the Lord of the Rings series. After a mile, you will reach a junction (44.172403, -73.958979) where the Van Ho Trail connects with the Algonquin Trail. Here, the Van Hoevenberg Trail breaks left, but you should continue straight ahead, onto the Algonquin Trail.
The Thigh-Burning Begins
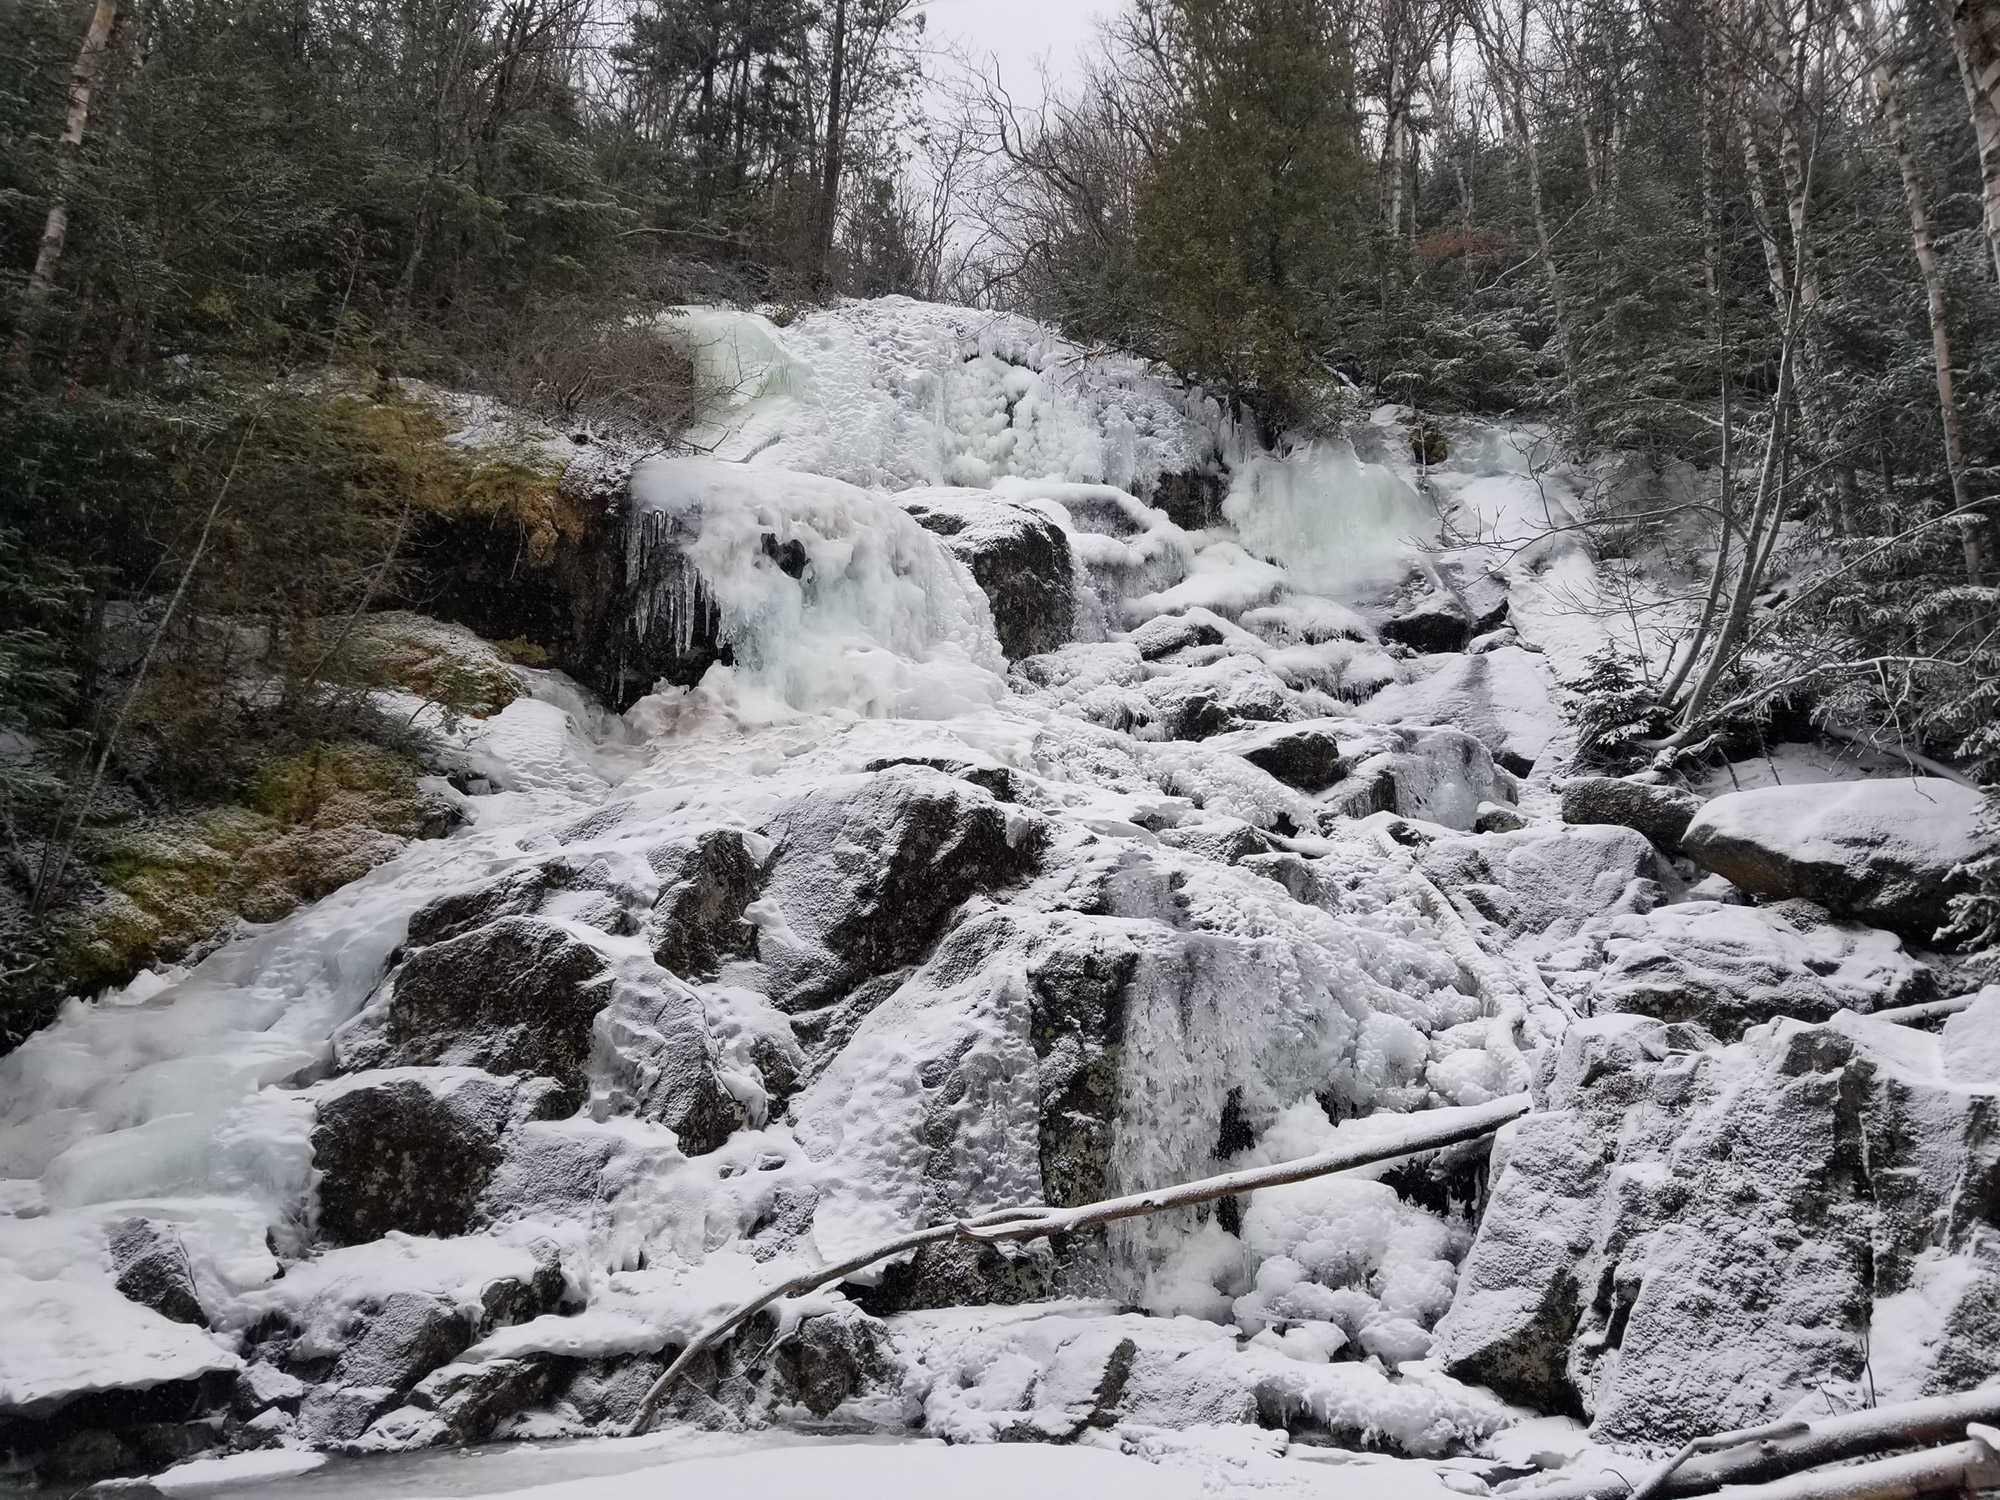
The real work begins after the junction. Continue to follow the Algonquin Trail, where you’ll steadily gain elevation as you twist and turn your way through the range’s foothills. Expect to slow down considerably here, as there are some notoriously steep parts. After approximately two miles of following the path through the trees, you’ll find yourself at MacIntyre Brook. Here, there is a beautiful waterfall to your left, called MacIntyre Falls (44.159344, -73.979633).
Continue along the trail as you gain more elevation. Between MacIntyre Falls and the next junction, a few treacherous sections ice over early in the winter season and stay that way until the spring thaw turns the ice to rivulets of water flowing through the rock. Be prepared to use your feet, hands, and wits in order to find the safest way to traverse these sections. Oftentimes, you will be able to see the path that hikers before you took and can get some insight into how to proceed safely.
After these sections, you will reach a small, unofficial junction. Here, some people branch off to the west to climb a small shoulder of Wright, affectionately nicknamed “Rong.” After this small junction, continue following the Algonquin Trail to reach the Algonquin/Wright junction (44.152531, -73.985754).
Heading the Wright Way
At this junction, many people will often leave their packs as they take the left fork and head up the 0.4-mile trail to Wright’s summit (44.151635, -73.979473), itself quick but steep (0.8 miles, 500′ elevation gain) and great for butt-sledding back down. However, only take this route if you are experienced and prepared enough to handle any accidents, should something happen between the junction and the summit. Wright’s summit is open and offers amazing views of the park, especially when you look toward the northeastern face of Algonquin. Also, be prepared for winds, as strong gusts often buffet the exposed summit, regardless of the season. You’ll have great views of Heart Lake down below, and if you look to the northeast, you’ll see Whiteface rising into the sky all by itself, creating an impressive silhouette.
After leaving the treeline and heading to the summit, be sure to keep your eyes out for any kind of debris. In 1962, a B-47 plane crashed on the mountain, and the impact threw its parts all over and around the summit. Today, much of it is still readily visible.
Short and Steep to the Summit
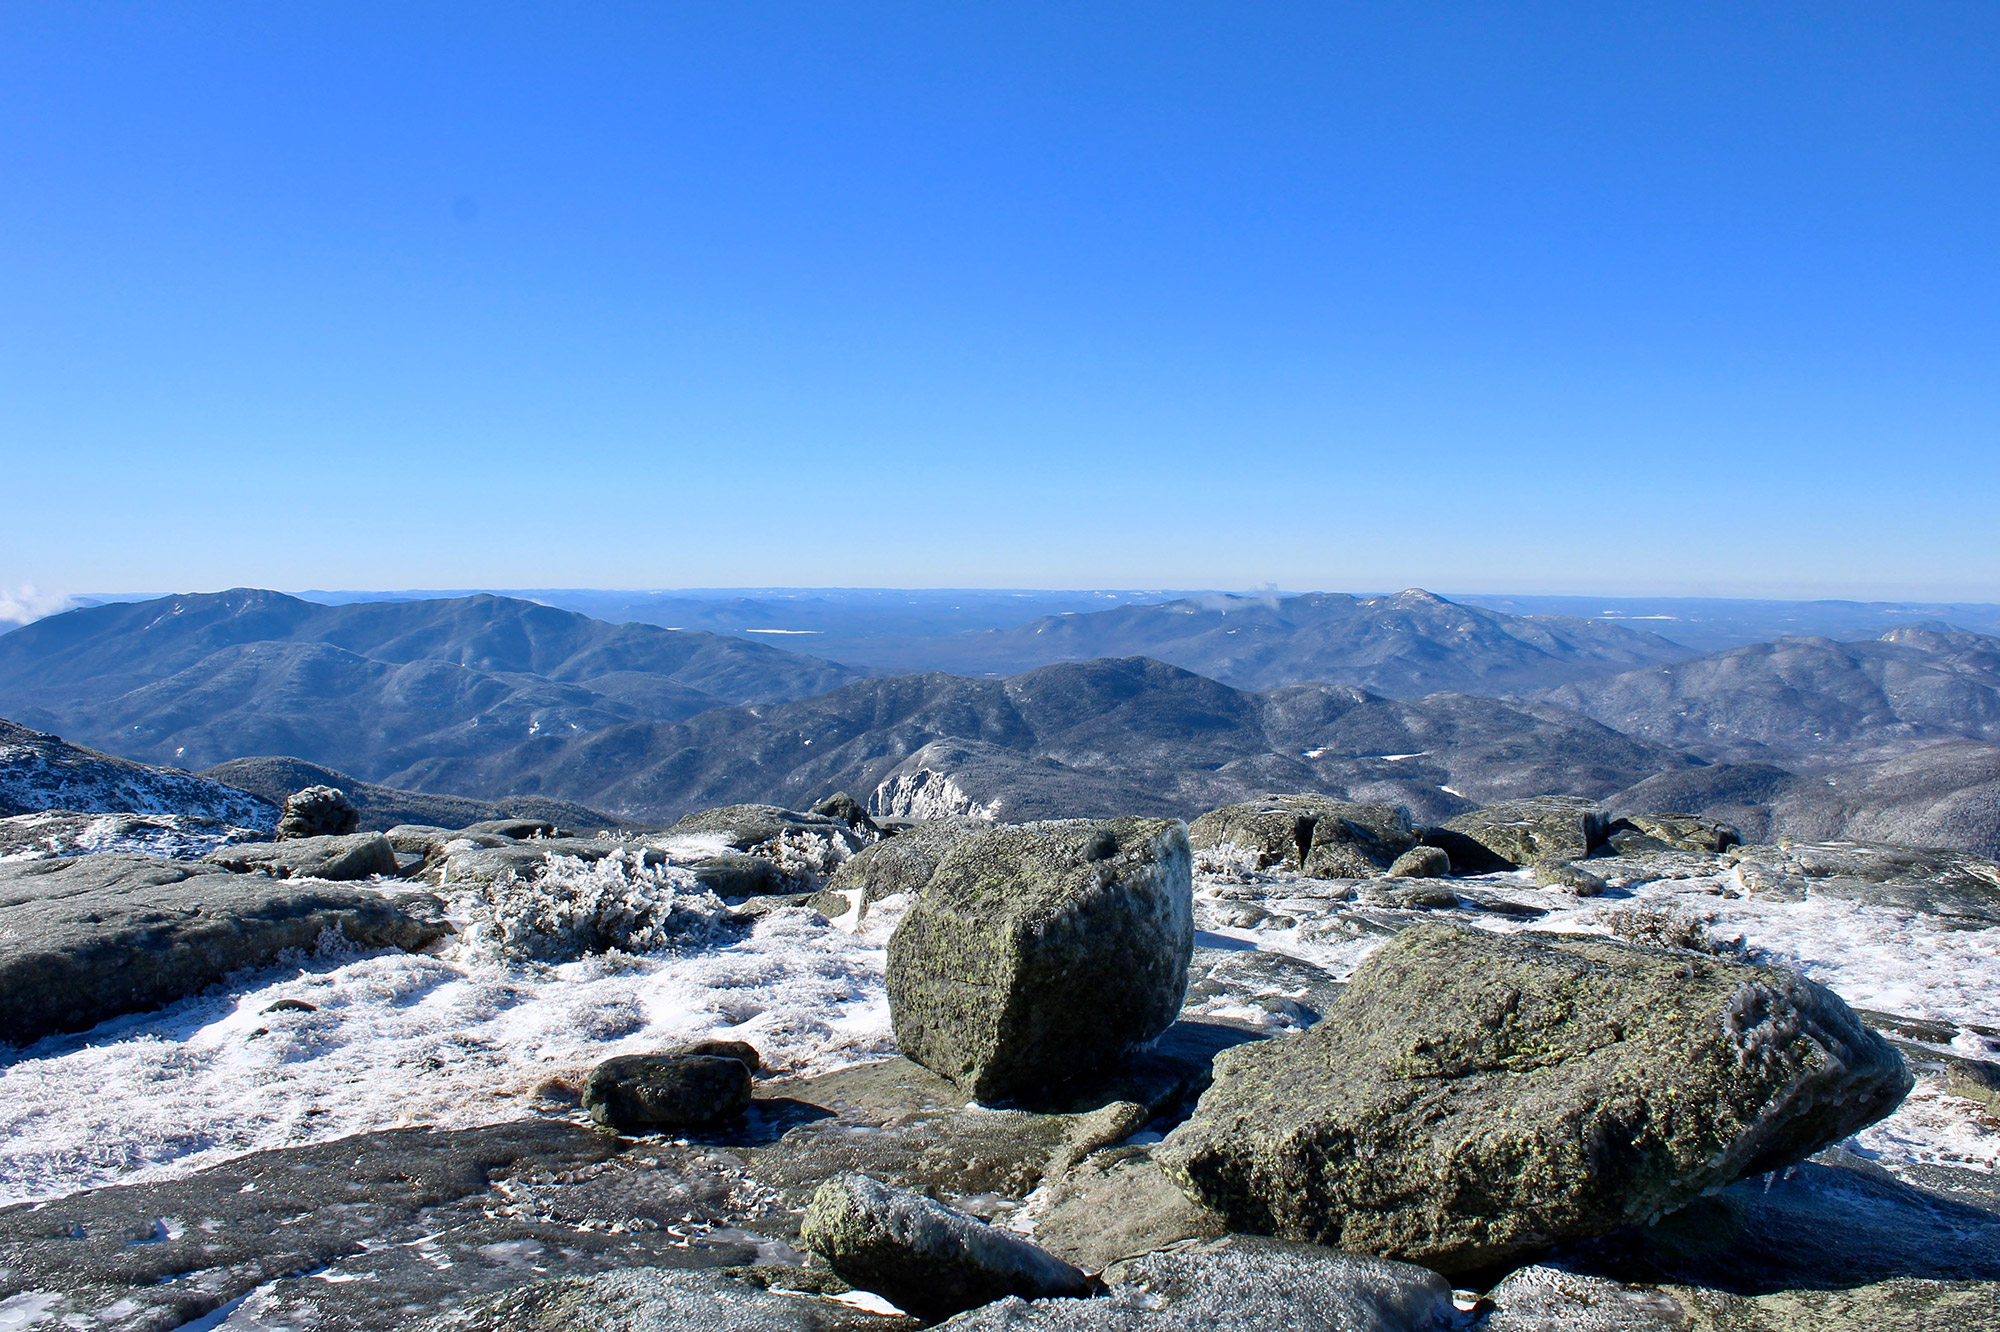
After returning to the Algonquin Trail junction, make a left and begin the final ascent to Algonquin’s summit (44.143693, -73.986437). This section is undoubtedly the toughest you will encounter all day. Particularly, slick, packed-down snow and ice make the hike’s 28-percent grade (0.7 miles, 1050′ elevation) far more difficult. After climbing steadily through the trees, leave the treeline, and follow the highly visible, human-sized cairns that mark the official path to the summit. Even in winter, you’ll want to stay on the trail, because any step on snow covering the fragile alpine vegetation can still do serious damage.
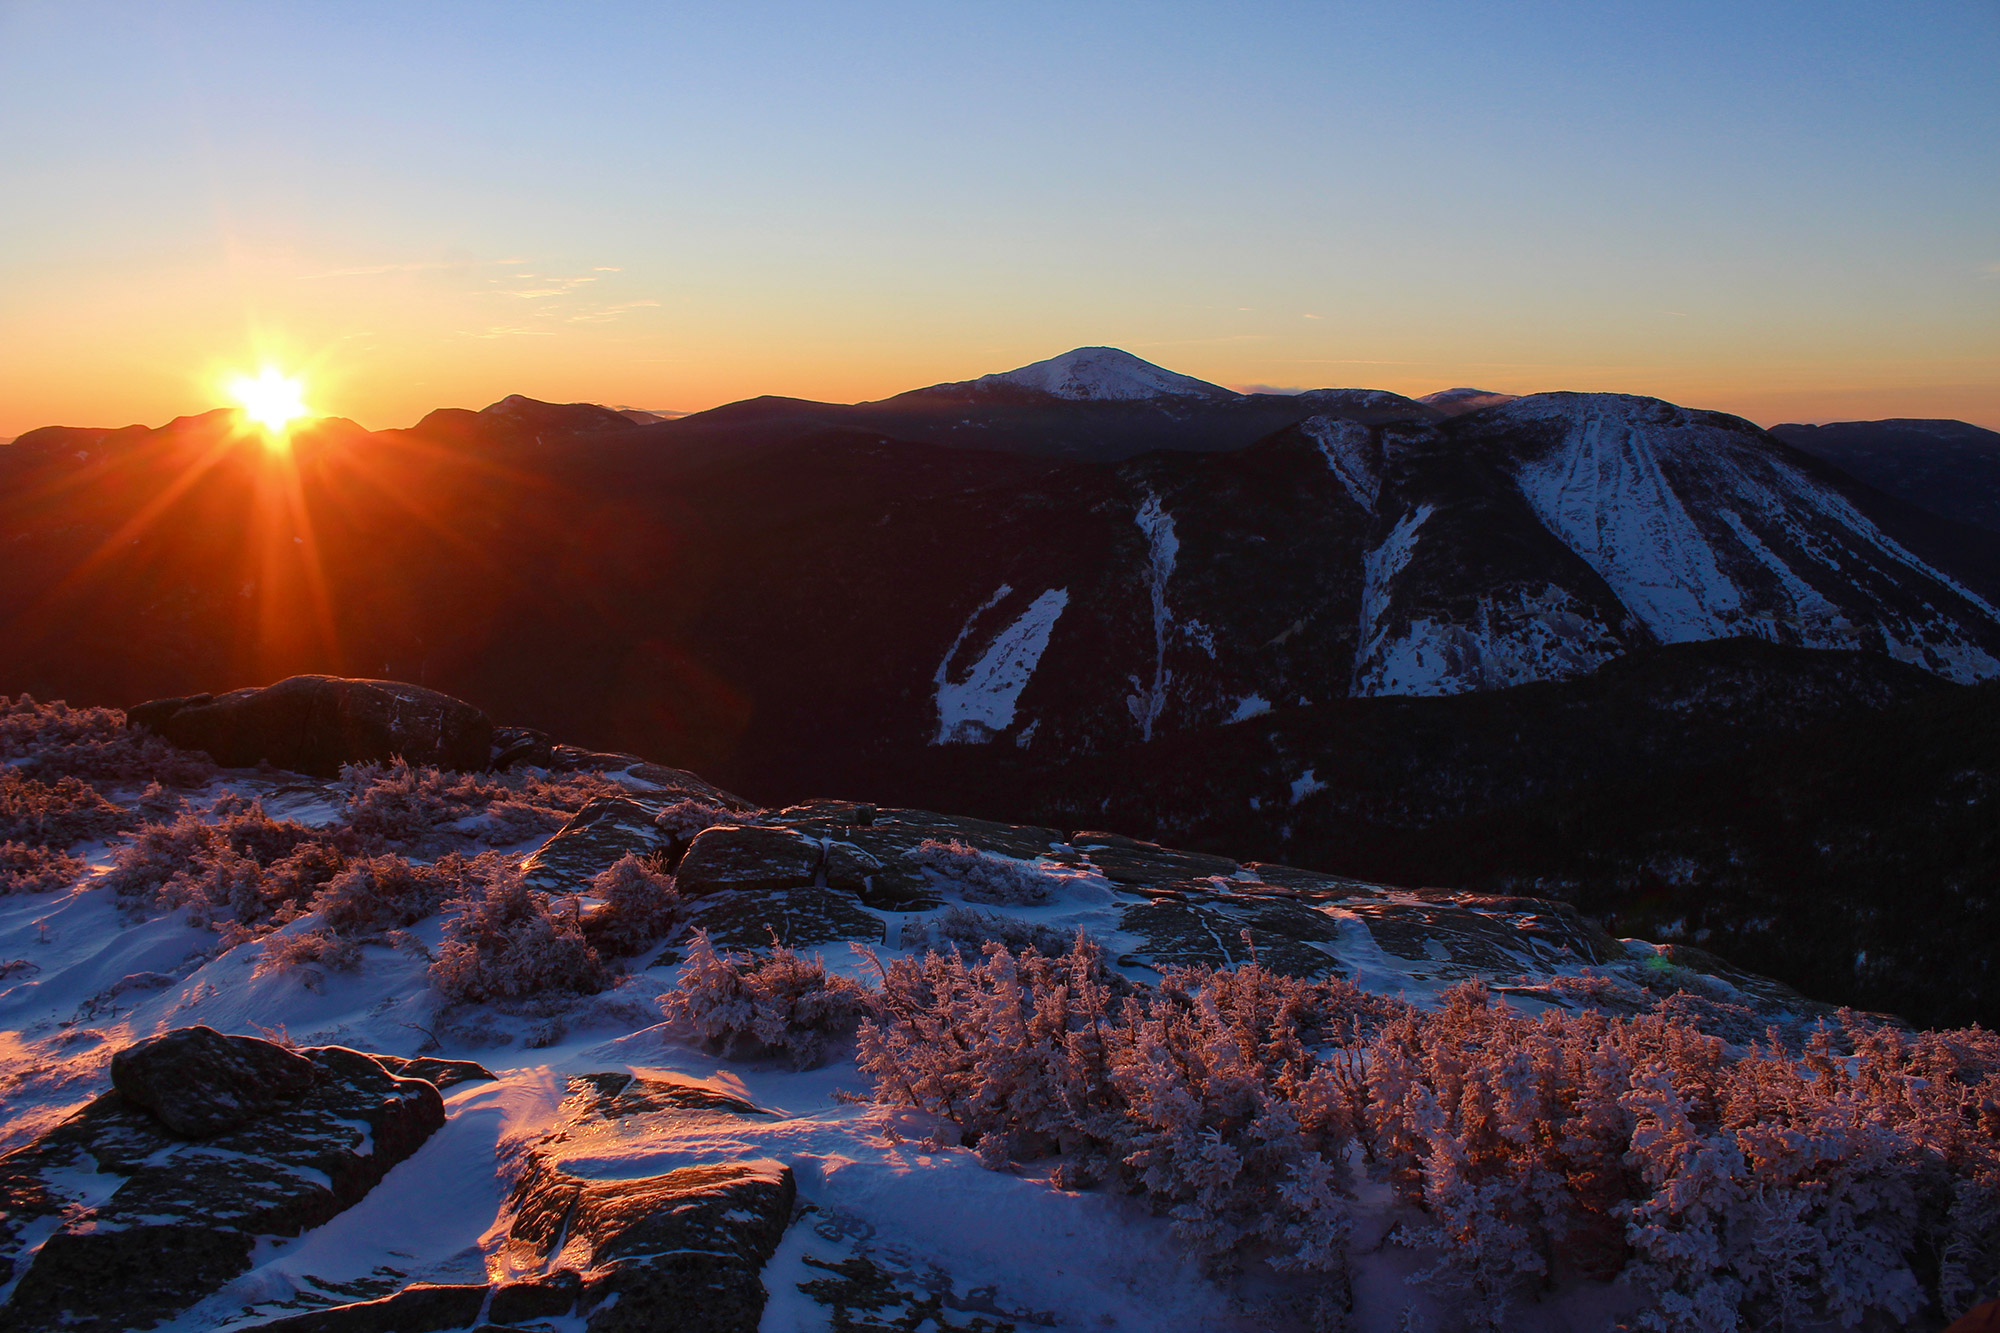
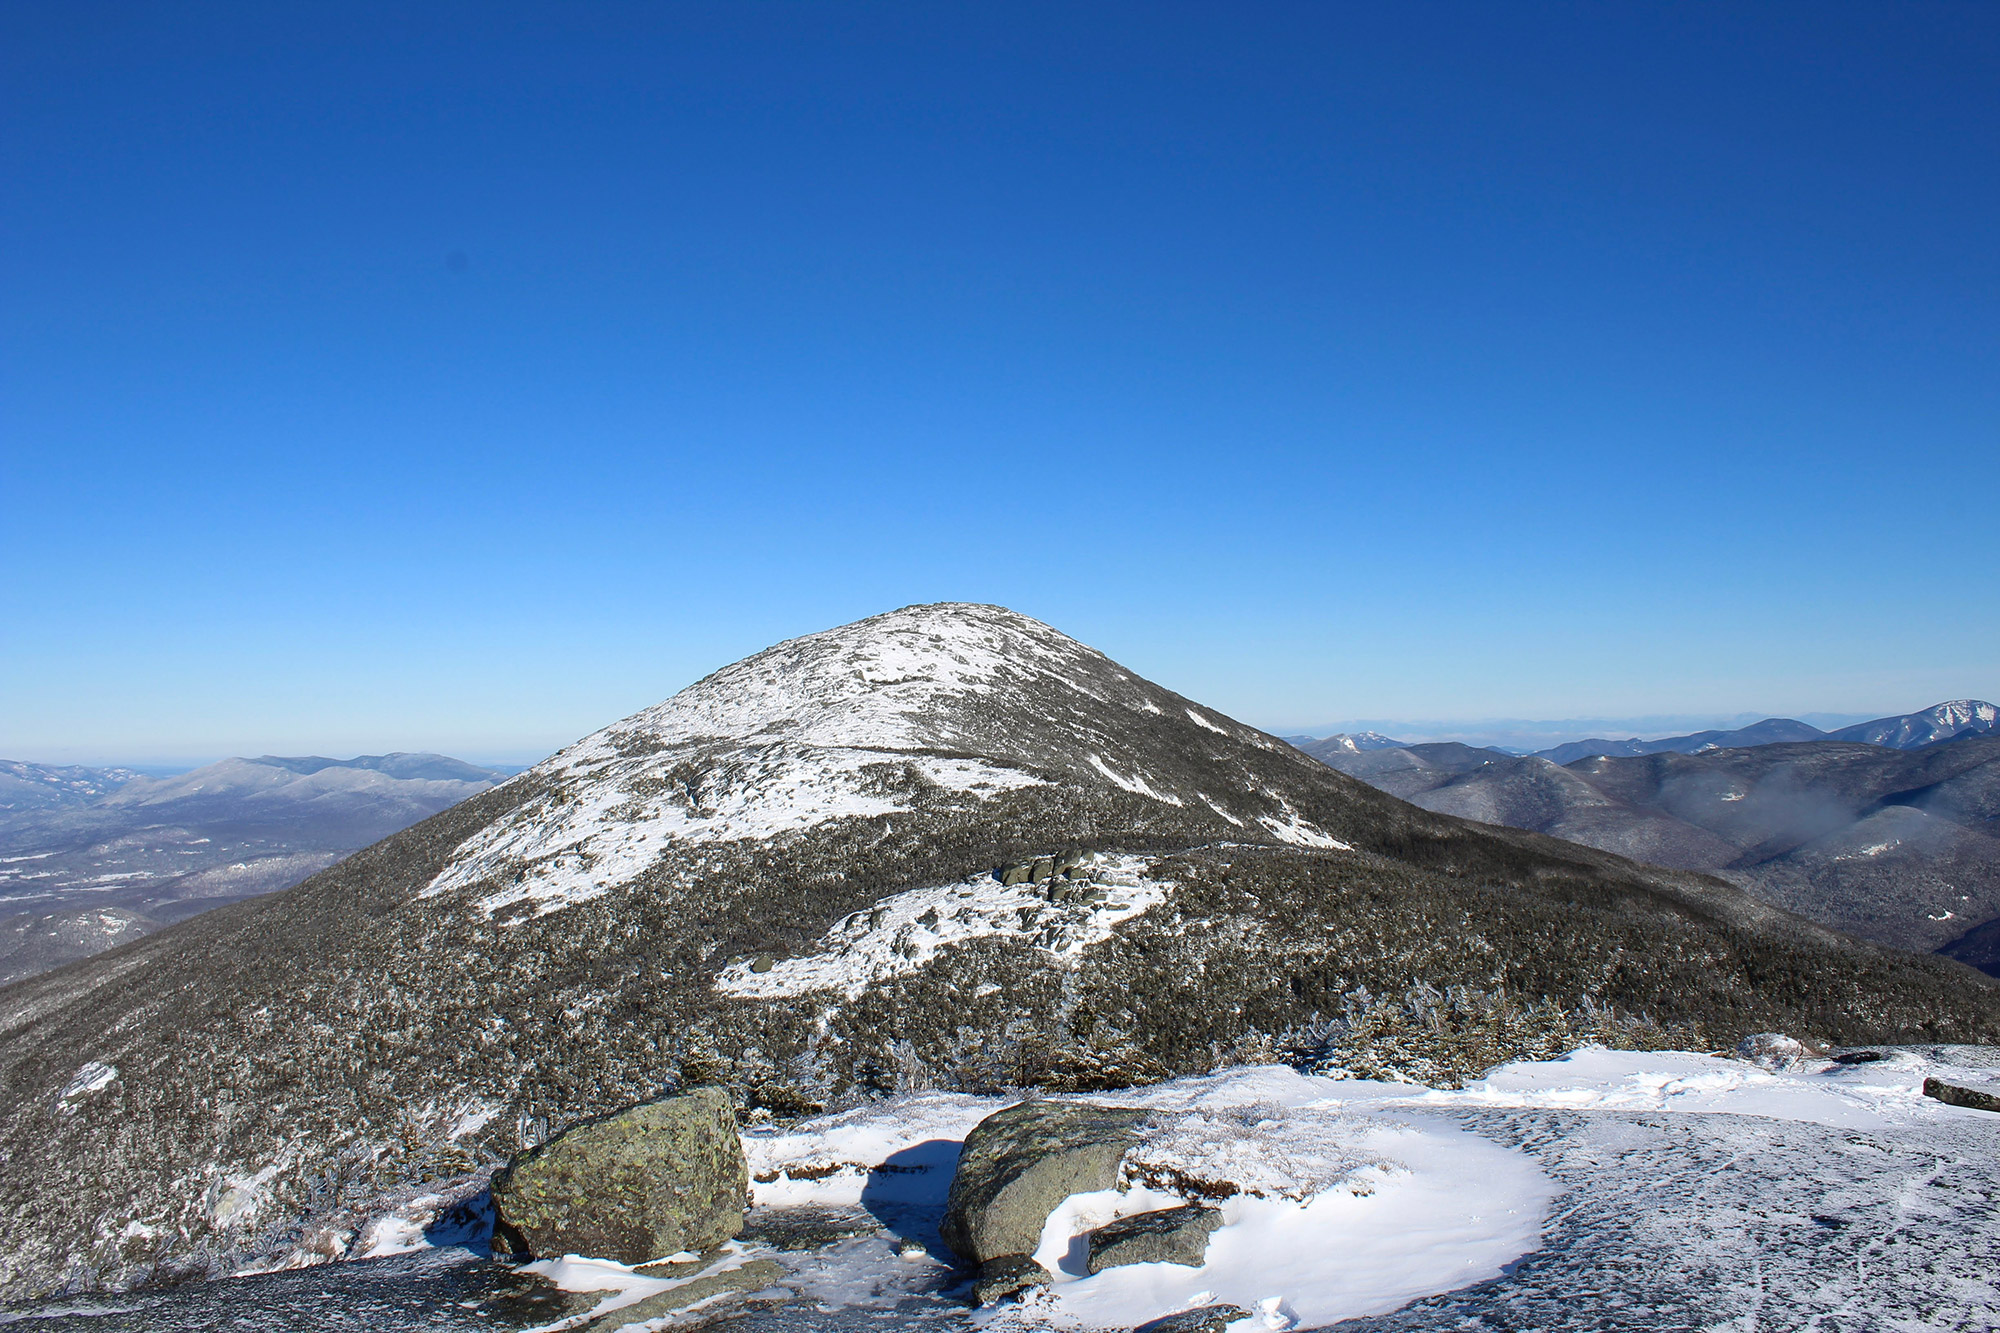
From Algonquin’s open summit, you get amazing views of nearly every High Peak, including everything from Whiteface to the Sewards, Santanonis, and especially Mount Marcy as it rises over Mt. Colden. Algonquin also offers a very unique view of Colden’s famous Trap Dike, a fun climb for those adventurous and prepared enough to tackle a High Peak in an unconventional manner.
Boundary, the Poor Peak That Doesn’t Count
After taking in the view, head over the other side of Algonquin toward your final High Peak of the day, Iroquois. After dropping down to the col between Algonquin and its neighbor, Boundary Peak, you will reach another intersection where the Algonquin Trail meets the Iroquois Trail (44.141591, -73.991251). Here, the Algonquin Trail becomes what is commonly referred to as the Boundary Peak Trail and begins a very steep descent toward the Lake Colden Trail. While not traveled nearly as often in winter, it forms a beautiful loop after descending Iroquois by heading back to your starting point through Avalanche Pass.
Just after this intersection, as you head along the Iroquois Trail, make a short climb to the summit of Boundary Peak (44.139831, -73.993863). This 4,800-foot mountain is unfortunately not counted as a High Peak due to its proximity and lack of prominence to both Algonquin and Iroquois. Boundary has some great views of its own, however. It offers a different perspective of both neighboring peaks that you won’t get from anywhere else while also offering a unique view of the wilderness to the range’s west. After dropping down the other side of Boundary’s summit, you will have a short and easy final push to Iroquois’ (44.136802, -73.998087). If you’ve been keeping track, there’s just an .85-mile distance from Algonquin’s summit to Iroquois’, with an elevation gain of 180 ft.
The Return Trip
After celebrating your third major summit of the day, it’s time to turn around and head back to your car! Retrace your steps, heading back the exact way you came. The only tedious portion lies in ascending Algonquin from the col between it and Boundary Peak. You will have to gain approximately 500 feet of elevation to reach the summit again, but then, you will have a completely downhill hike on the way out (a total of five miles).
The Kit
- When it comes to staying dry and warm during a winter hike, midweight base layers are usually the way to go, unless it’s an incredibly cold day. Midweight products will be more than sufficient on all but the very coldest winter days. You also want to be careful to not overheat, because you will be working hard throughout the hike. EMS’ Techwick Base Layers are perfect, because they’re inexpensive, comfortable, and work perfectly for winter hiking.
- When hiking in the High Peaks region in the winter, you are legally required to have snowshoes or skis on your person when there is eight inches of snow or more on the ground. While there are a variety of brands and styles available, the MSR Evo line is a favorite choice of many seasoned winter 46ers for its durable deck that twists and flexes when it needs to. This feature can save your ankles and knees when you misstep or have an awkward landing.
- When it comes to hard-packed trails, snowshoes are better left on your pack. Instead, you’ll want something that digs in and still allows you to step with confidence. Kahtoola MICROspikes are an oft-chosen option for such conditions, with a durable rubber frame that grips your boot snugly, and spikes that allow for a sense of security and safety as you trek along.
- Even on mild and moderate days, you’ll want to make sure you have some kind of hard-shell jacket for when you leave the treeline. On warmer days, with dry base layers on, a heavier rain jacket, like the Marmot Minimalist, works wonders, but on colder days, when the wind chill may drag the temperature well below zero, you’ll want something with a little more insulation and protection – like the EMS Alpine Ascender Stretch.
Keys to the Trip
- While this hike typically takes most of the day, you can move the start time around in order to catch a sunrise or sunset from any one of the three peaks. Sunsets on Algonquin never disappoint, and neither do sunrises. It’s a quick hike out afterwards if you time it to catch the sun setting there before you head back down. Just bring a headlamp.
- Wright Peak is notoriously windy—more so than any other peak in the Adirondacks. Many first-time Wright summitters are unaware of the conditions, however, and it’s quite common to see or experience the feeling of having to crawl the last section to avoid being blown right off the summit. Because of the surrounding mountains and valleys’ shape, wind gets funneled over Wright’s summit and can easily reach gusts of 50 mph on any given day, so be prepared with warmer layers and traction.
- Hungry after your hike? A favorite spot to grab food is the ‘Dack Shack in Lake Placid. They have a wonderful menu that consists of 46 unique sandwiches, all served on fresh homemade breads and named after the 46 High Peaks. The Blake sandwich on Asiago peppercorn bread is one that won’t disappoint!
- If you’re feeling a bit parched, not far from the trailhead is the Big Slide Brewery. From IPAs to stouts and more, Big Slide Brewery is home to a delicious variety of microbrews, with a rotating selection of 10 on tap. For the perfect post-hike relaxation atmosphere, this brewery never disappoints.
Current Conditions
Have you been in the MacIntyres recently? Post your experience and the trail conditions (with the date of your hike) in the comments for others!
Related Posts