Coffee in the backcountry is as important as a warm sleeping bag and comfortable boots. But it’s almost never as simple to make at camp as it is at home, and methods are limitless. Can’t decide the best way to brew your precious bean water in the backcountry? Or are you hoping to create a good batch of coffee for your friends while car camping? We’ve compiled a list of the best ways to make coffee outdoors, from the strong single serve options to the I-only-have-coffee-grounds method so you can enjoy your cup o’ joe with a side of fresh air, no matter what equipment you have on you.
Before deciding which method to brew, consider the following things:
- Group size: Are you making coffee just for yourself or brewing a bunch for a whole group?
- Cleanup and trash: What do you have access to for cleaning up, and what are you going to do with trash? These answers are different if you’re car camping versus making coffee on a long backpacking trip.
- Size and weight: Similarly, different systems have different sizes and weights and might be better for backpacking versus car camping.
- Time: How long do you have to make your coffee?
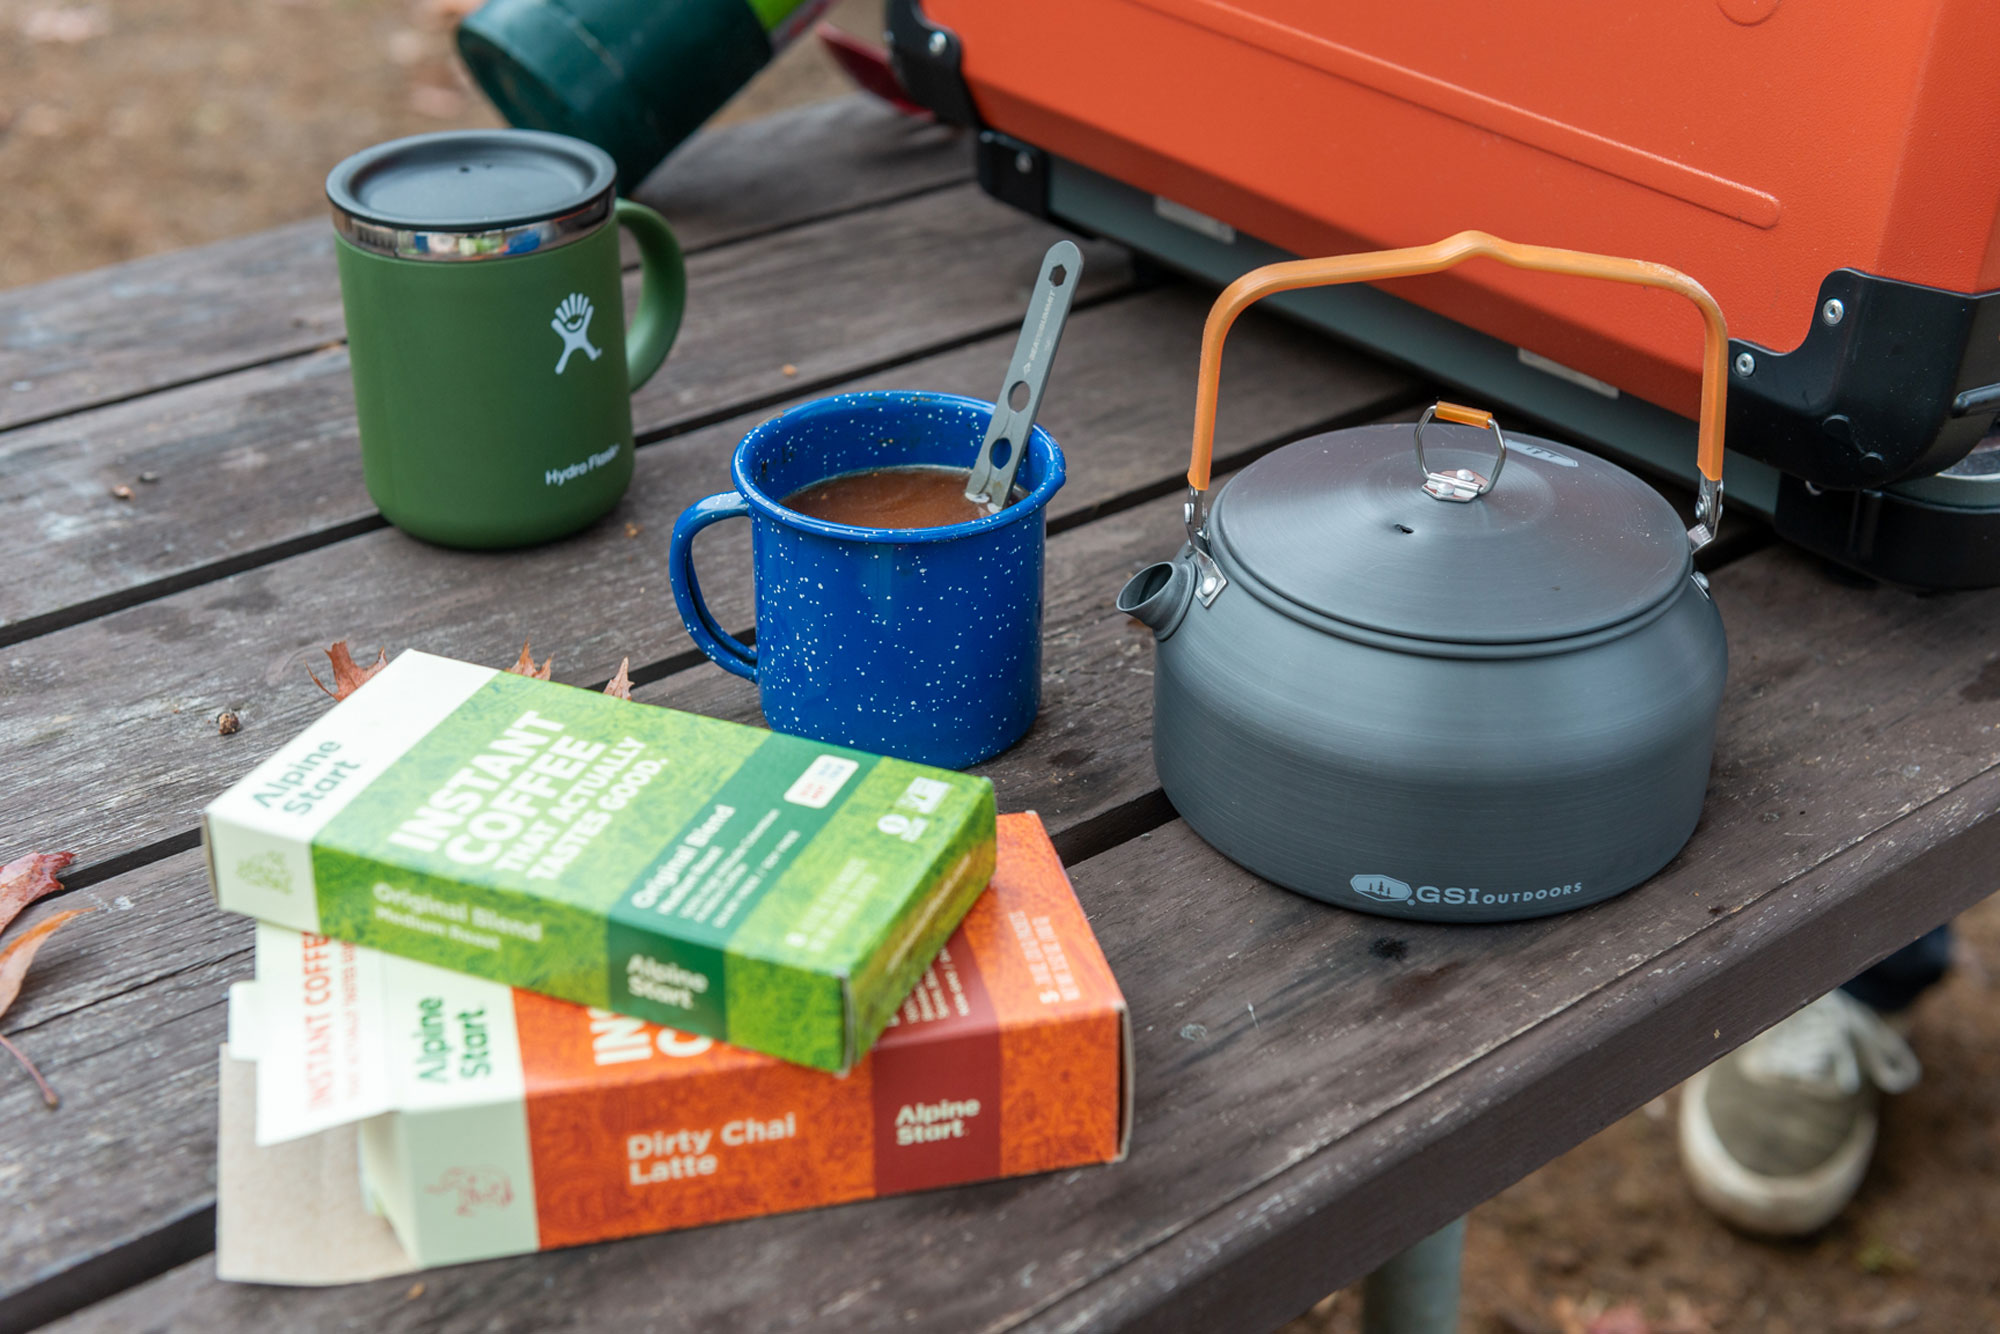
Using anything from a clunky camping pot to a GSI kettle or an MSR pot works great for boiling water. But you can also go more lightweight with aJetboil or a Whisperlight to get your H2O ready to go for your beans. For those coffee consumers who are picky about fresh grounds, BYO grinder! The half-pound GSI Java Mill is a must-have in the backcountry. If you’re more about convenience, pre-ground coffee beans are a great option. Also, bringing your coffee on the go in an insulated tightly-capped mug is a game changer.
1. Instant Coffee
The fastest, most lightweight coffee option lies within a tiny 1/10th of an ounce packet like the ones Alpine Start makes. Throw it in your pocket and fill a to-go mug with boiling water and you’ve got a recipe for caffeinated success. There’s minimal waste with each single-use pack, which makes it easy for backcountry use and packing out, and is a great grab-and-go option for alpine starts. This is not for the coffee snobs, however. Flavor is definitely compromised with this dissolvable option, but for convenience sake? Some days any caffeine is better than none!
2. The All-In-One Mug
For the rush-out-the-door outdoorist, all-in-one mugs like the GSI Commuter Java Press are just the ticket. The luxury of having an individual French press within an insulated container keeps your coffee system dialed no matter what the day has in store for you. Plus, cleaning after downing your coffee is just a quick dump-and-rinse procedure that allows you to start brewing that second cup within minutes.
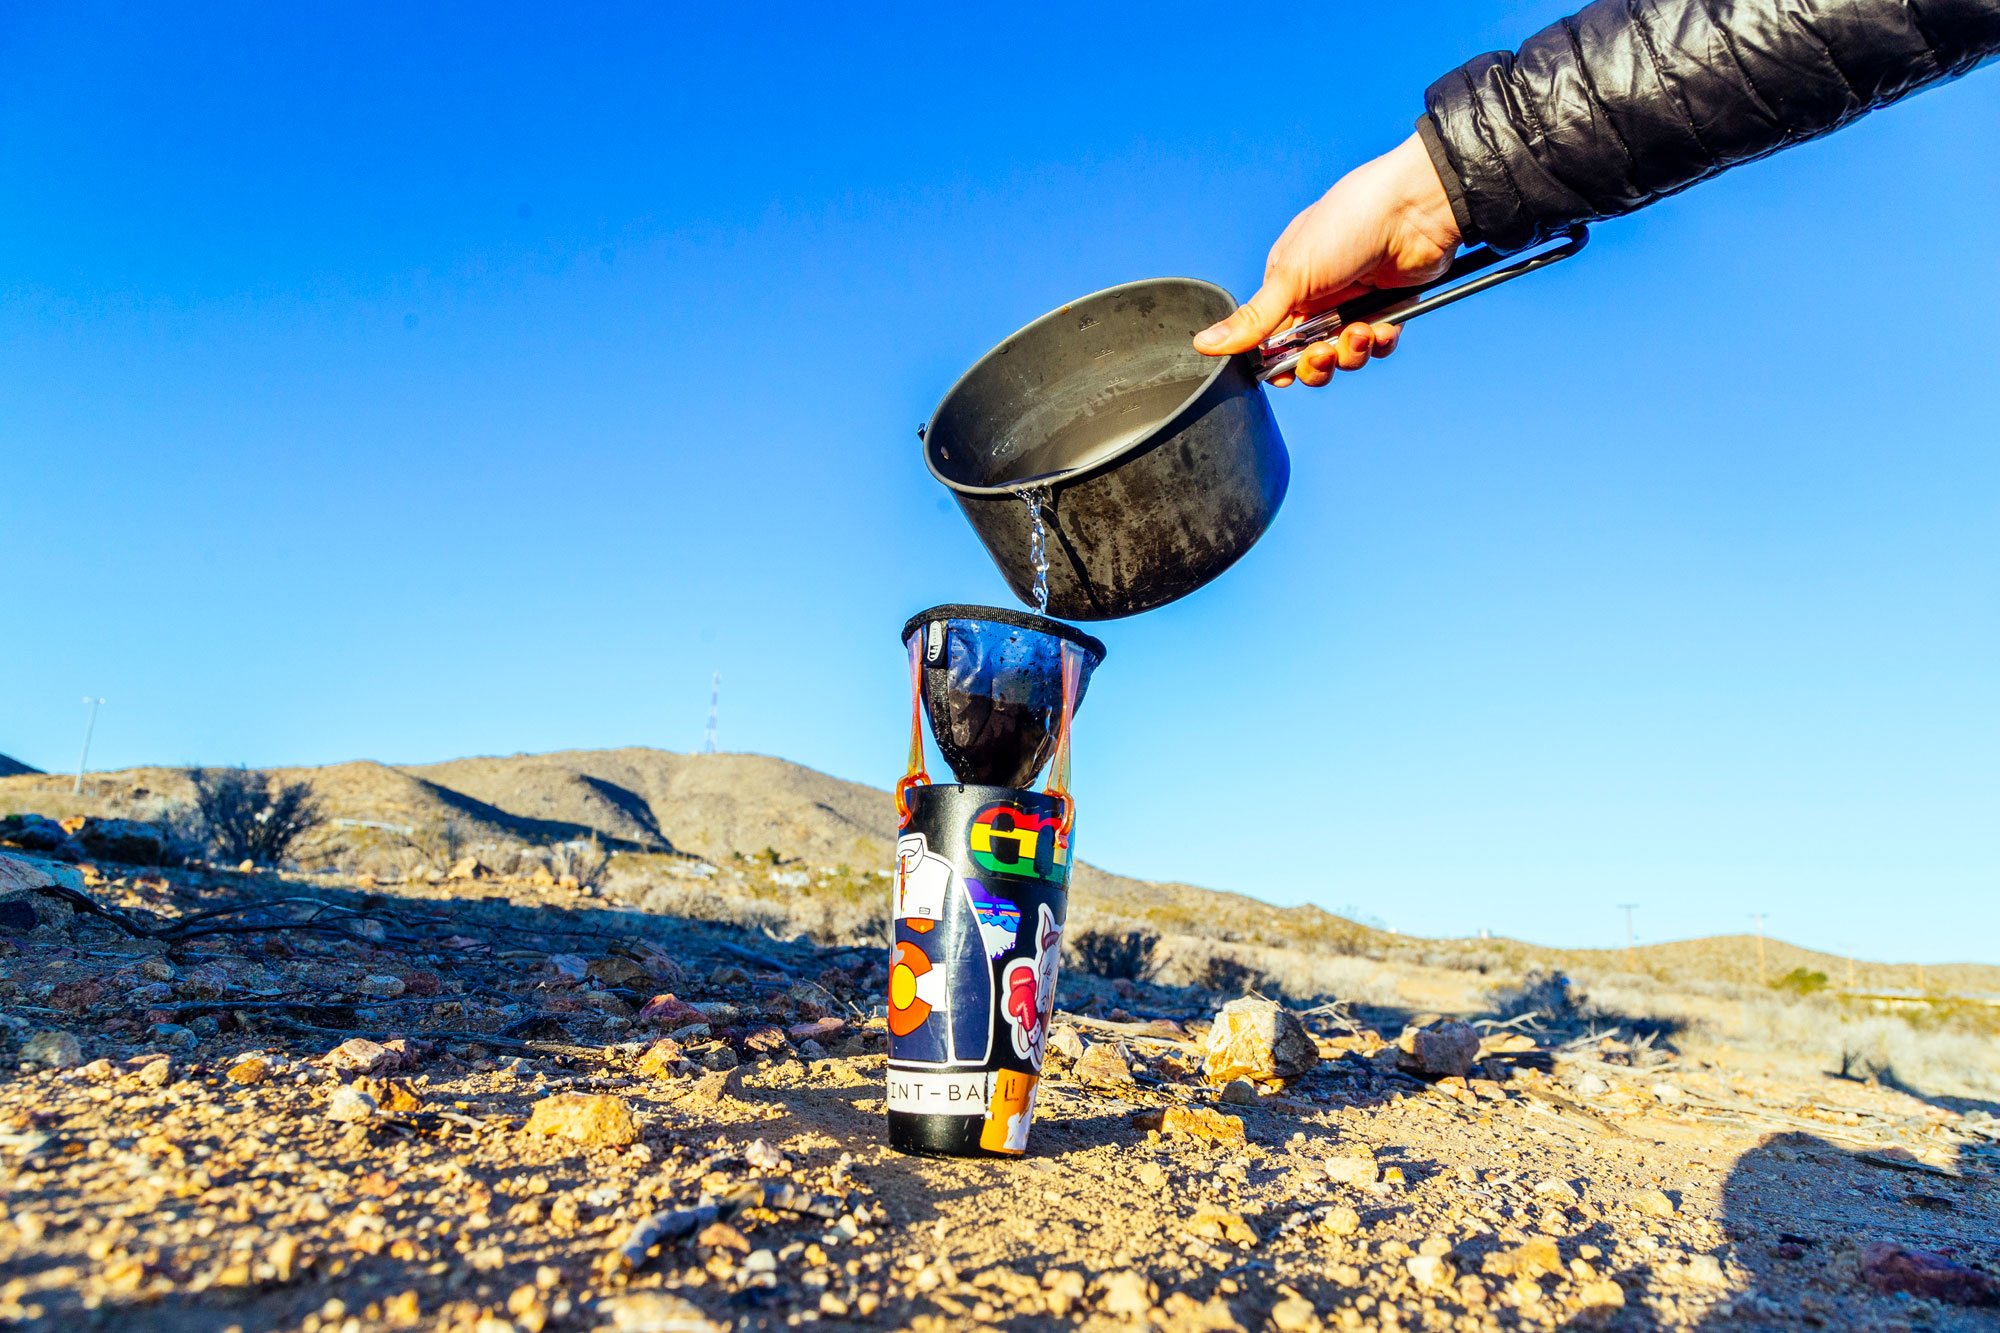
3. Pour Over
For the dedicated coffee drinker who wants an easy clean up, your best option might be a pour over like the Sea to Summit Coffee Dripper or EUREKA Camp Coffee Brewer Kit. You can use coffee grounds you love and get the best flavor out of them too! Pour over options are one of the best cost-per-use options, especially when investing in a reusable nylon java filter or a durable metal mesh dripper. The meditative process of slowly pouring water into fresh coffee grounds, taking in the aromas of the roast and the nature surrounding them, and taking in that first sip is the coffee connoisseur’s dream. Systems ranging from lightweight grinders and kettles, to heavier ceramic drippers are at your disposal. The downside for backpackers? You’ve gotta find a way to pack in those coffee grounds and hope they don’t spill—and then pack the wet ones back out again.
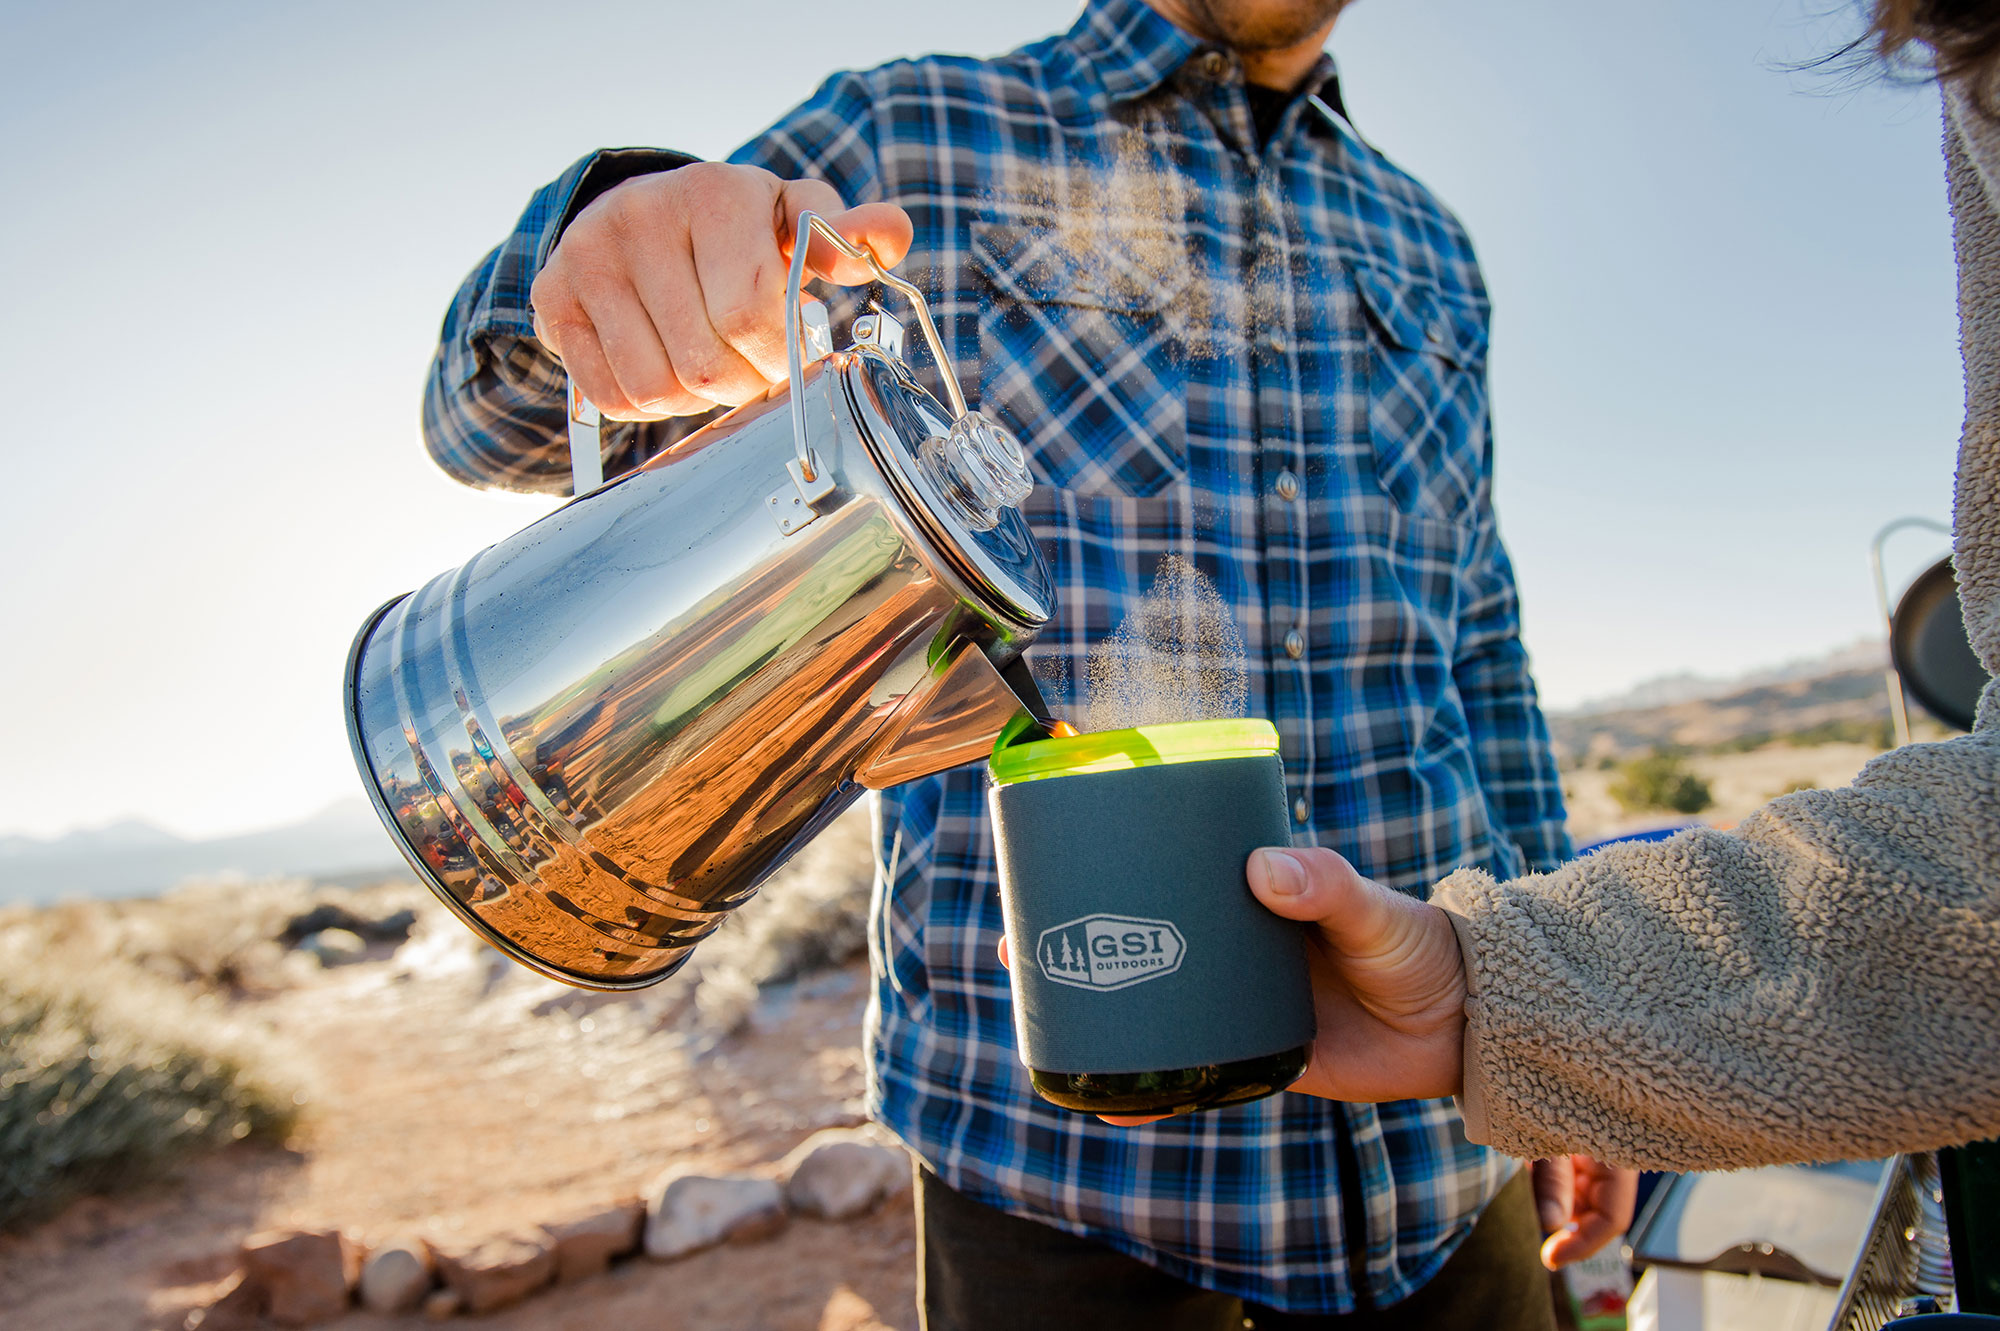
4. Percolator
A percolator like the GSI Glacier Perc is great for the adventurer who’s not willing to give up a good full-bodied coffee. From an 8-cup to a 36-cup vessel, the ability to serve groups of various sizes while camping could not be easier. This stainless steel classic is durable and fool proof, but definitely a bit on the heavier side. Keeping this as the trailhead breakfast workhorse while cooking eggs on the stove is the way to go, as carrying this while backpacking might not be worth it. This brew method will never let you down while caffeinating large groups at a campground. However, be prepared to have a few grounds in your brew, as the process of water bubbling up and through the filter will cause a bit of grit at the bottom of your cup. Nothing your dirtbag friends can’t handle, though!
5. French Press
Need multiple cups of coffee for your friends, without the hassle of percolator grounds in your cup? Or if you’re a more-than-one-coffee-in-the-AM type of adventurer, a French Press like the GSI 30oz JavaPress method is for you. French presses come in lightweight plastic vessels, heavier stainless steel containers, and as accessories that pair with multi-use backcountry pots. Although this method is not very difficult, the steeping time and size of your grounds will affect the final taste of your brew. The hard and fast rule with this process is “too long, too strong,” and a great ratio to remember is 1 tablespoon of grounds per 4oz of water. This option is definitely not space friendly for backpackers, and may be best enjoyed in the front country.

6. Espresso
An AeroPress is another great choice for coffee connoisseur to make a solid strong cup of coffee in the wilderness. There are definitely more steps in the process and some patience involved, but the resulting flavor is totally worth it.
To make an espresso with an AeroPress, simply place the filter inside the coffee chamber, pour in fine grounds into the tube on top of your filter, let the grounds steep for a few minutes, stir around, then the saturated coffee is pressed through a filter straight into your mug. Careful to find a solid, flat surface while pressing the “plunger”, so you don’t spill your brew. If used as a true espresso maker, and not just a french press, you can use less water and get a stronger caffeine bang for your buck. Disposal for this method is easy, as the grounds come out in a compressed puck shape that’s easy to pack up or toss. This pour over/French press hybrid allows the water to soak in the grounds before being filtered into a mug, creating a robust cup of coffee with phenomenal flavor.
7. Cowboy Coffee
The best process for the one who forgets all their fancy coffee making gear at home, or ultralight purists. Have no fear! All that’s needed is something to boil water in, coffee grounds, and a mug. Luckily, this last resort is not a total downgrade. For one person, bring a cup of water to a boil, add a generous tablespoon of grounds to the water and turn down the heat to simmer. Give it a bit of a stir and wait for some of the grounds to sink. After a few minutes, turn off the heat and use a spoon to skim off the remaining floating grounds. Carefully and slowly proceed to pour your cowboy coffee into a mug while keeping the grounds in the bottom of the pot as best you can. Or, you can go the riskier route and pour grounds and hot water straight into your mug of choice. And enjoy! Just be sure to not tip your mug too far on that last sip.
Related Posts