

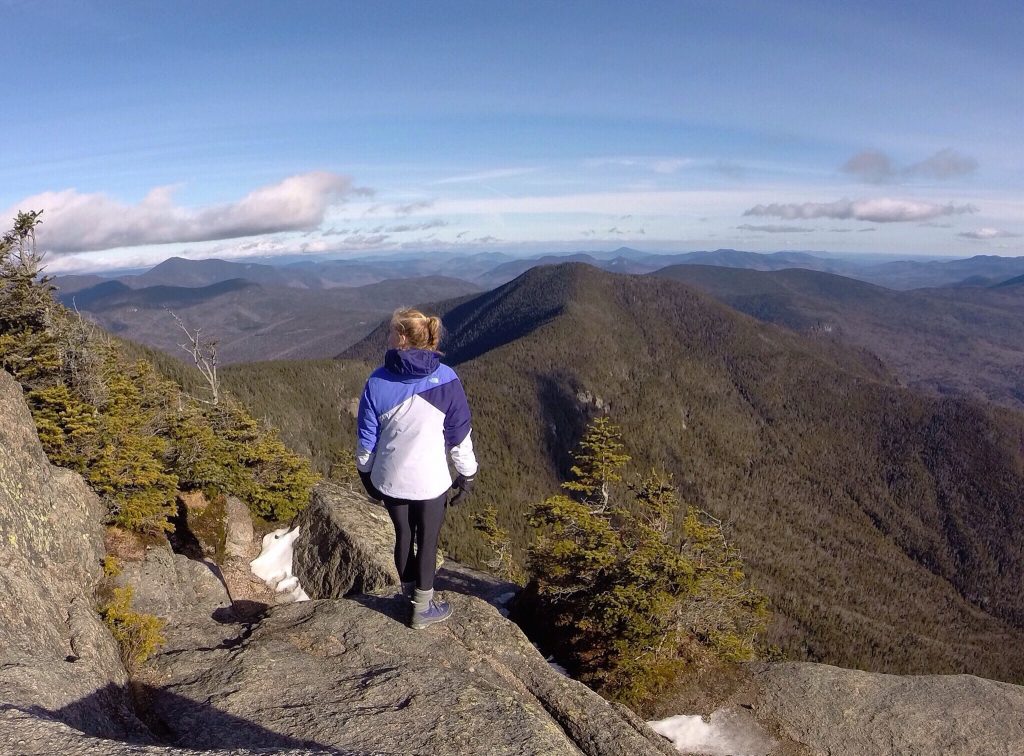
New Hampshire, home to the beautiful White Mountains, is one of the most underrated states. People travel from all around to hike, bike, swim, fish, camp, explore, and do so much more, but for many hikers, a common goal is to reach all 48 of the state’s 4,000-plus foot peaks. Doing so puts you among a growing list of AMC Club members. In 2014, I started my trek to 48, and even if I had little-to-no idea what I was getting myself into, I brought my reliable GoPro along every time to document this undertaking.
Hiking with my GoPro has inspired me to further my knowledge of photography and to share what I have acquired along the way. I still have more to learn, but here are a few tips that may help you grab the perfect photo in the White Mountains, in any season and in any weather.
1. Always keep your GoPro in its case
Only take it out to charge it up or clean the lens. I thought this was common knowledge, but I’ve witnessed countless people remove a GoPro to take some shots in the mountains. Doing so could mean you’ll scratch the lens or potentially drop the device in the process.
2. Follow GoPro on Instagram
They post a “Photo of the Day” every day, which can be inspirational but also give you more information about what you’re doing and what settings to shoot in. Before I hike each mountain, I go on Instagram to search where I’m climbing to see what to expect and to get ideas for cool shots.
3. Download the GoPro app onto your smartphone
GoPros come with built-in WiFi, so if you are shooting with a GoPro Hero 3 or newer model, you can see what you’re shooting on your smartphone. Some don’t come with a screen on the back, so by using this free app, you can make sure you get the perfect shot.
4. Invest in REAL accessories
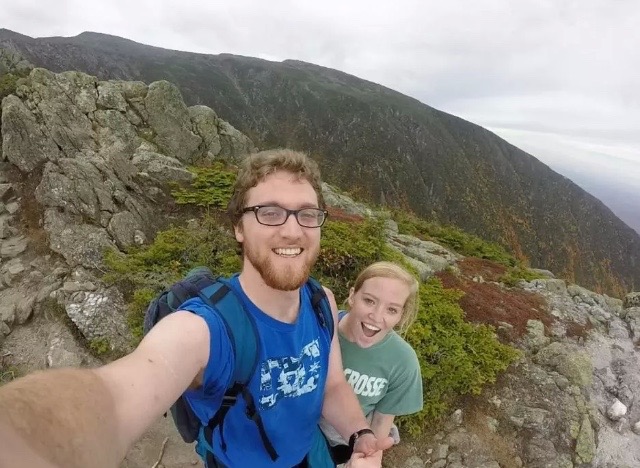
Like most things, you get what you pay for, and I’ve gone through more cheap selfie sticks than I can count. They would break or fall apart, so eventually, I invested in a GoPro 3-Way Mount, and it has been the best accessory I’ve had to this day. This mount doubles as a selfie stick and a tripod, so whenever I hike alone, I can set my tripod down and snap away!
5. Anti-fog inserts are a must-have
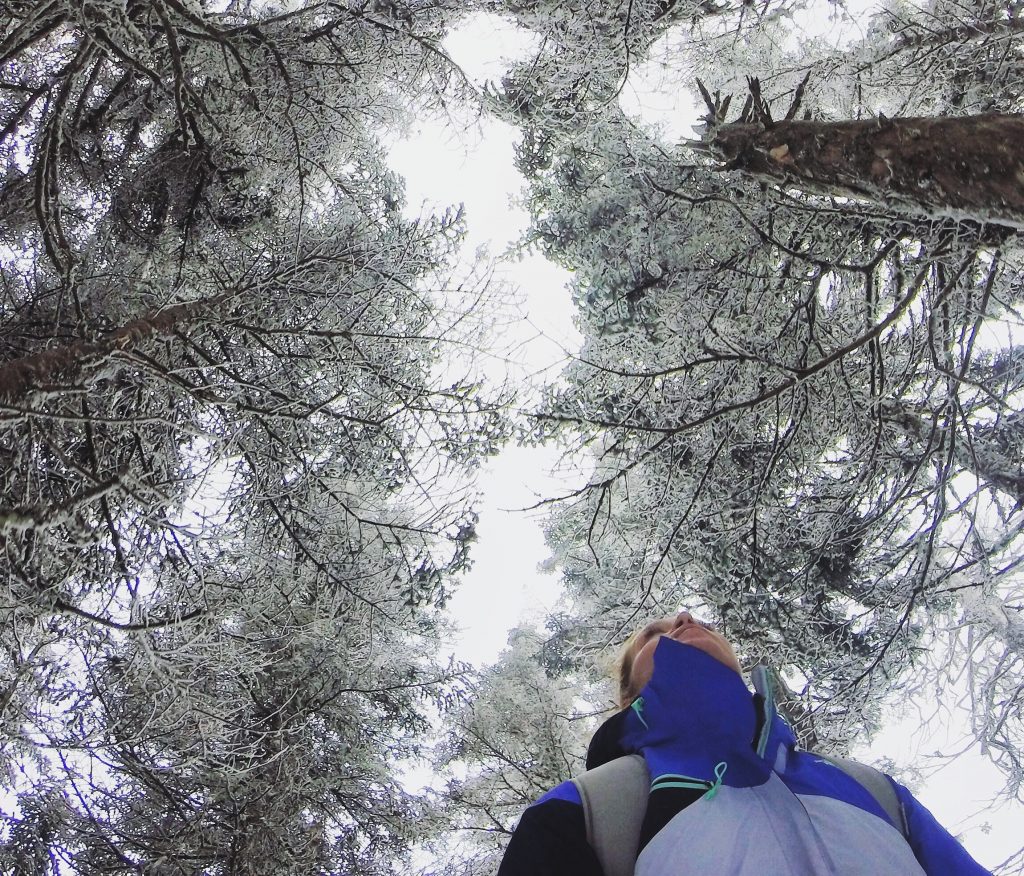
When I bought my GoPro, I was fortunate enough to work with a salesperson who is also an avid hiker. He recommended I get the GoPro Anti-Fog Inserts in order to prevent water collecting between the camera and the case, which can completely ruin the photos. As a note, I have forgotten the inserts at times, and I was extremely disappointed when the photos didn’t come out. My very first hike with the GoPro and inserts quickly made it clear how helpful they are.
6. Time-lapse will be your best friend
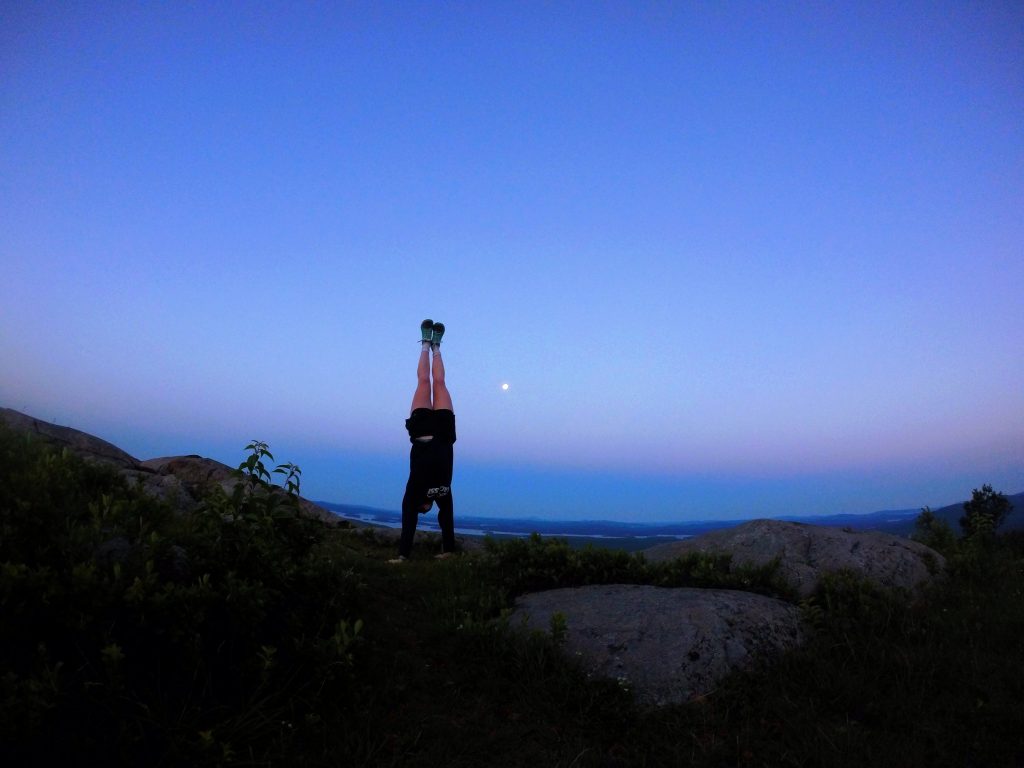
I typically only shoot in this setting: I set my camera on 0.5-second time-lapse and let the camera do the rest. Whether I’m trying to get the classic mountain jumping shot, the perfectly timed one-handed handstand, or a great selfie, this is my biggest secret to timing those awesome photos.
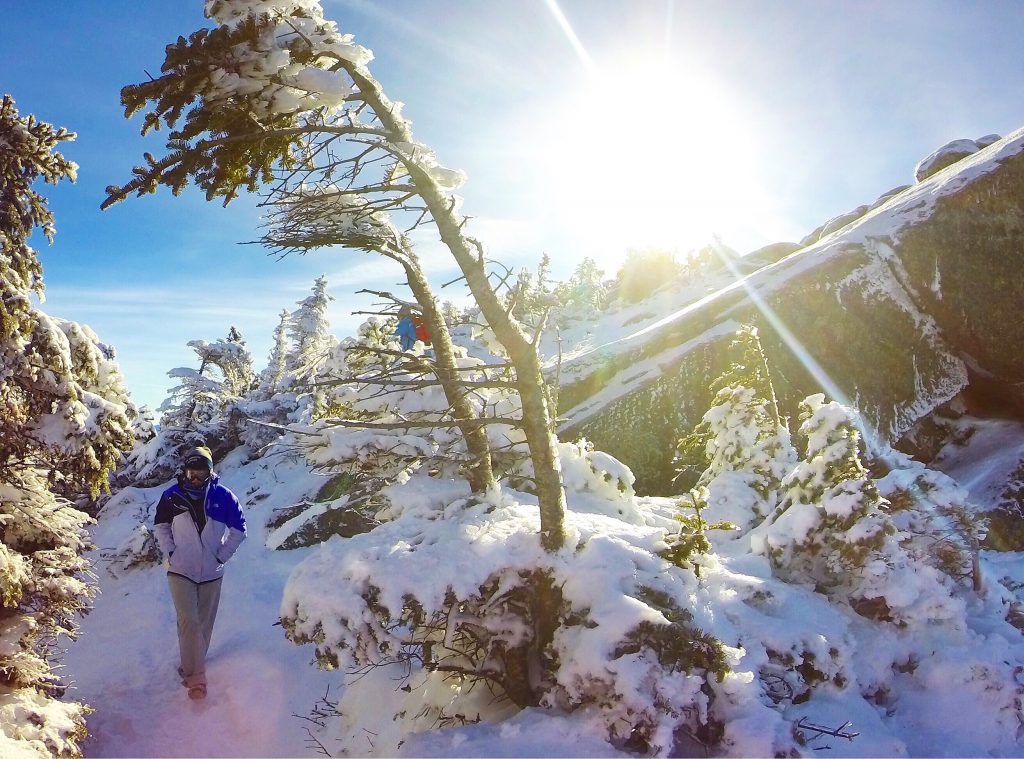
7. Bring two batteries for the big hikes and winter days
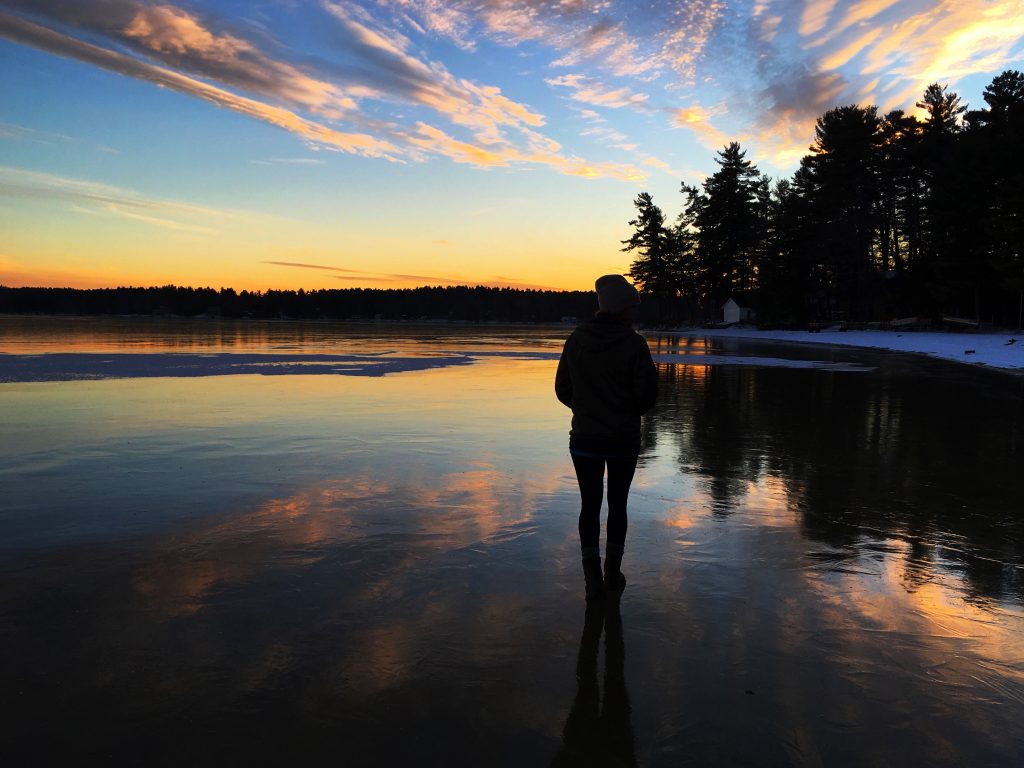
If you plan on shooting things the entire way up and down the mountain, bring two batteries, as there are plenty of hikes that offer more than just views from the summit. When I hiked Mount Pierce in the winter, there was a beautiful waterfall on the way up, gorgeous snow-capped trees, and the summit itself. By the time I reached the top, my battery was running very low, but I was able to quickly swap it out and not worry that it would die. Cold temperatures can also sap the battery quicker than normal, so a backup is a good idea on winter days, too. For the best luck, keep everything, if possible, somewhere warmer, like inside a jacket.
8. Play around with the wide angle
GoPro’s signature is the wide-angle, fish-eye view that makes the photos and videos you shoot look awesome without even trying. I recently discovered that, when I am trying to take landscape shots, I could lessen the width’s degree. To do so, go to your GoPro’s settings and click on the photo settings. With a GoPro Hero 3, you can change your shot from 10MP/Wide to 7MP/Wide or 5MP/Medium.
9. Edit your photos directly on Instagram
I have tried so many different apps to edit my GoPro photos, but nothing has been better than downloading the photo from my GoPro to my phone, pulling it up on Instagram, and playing with the settings to get the perfect shot. Even if you don’t plan on Instagramming it, just put your phone on airplane mode for a moment and hit post. The post will fail, but you will then have your new perfectly edited photo sitting in your camera roll ready for whatever you need!
10. Have fun and be safe!
The best part about the GoPro is putting everything together, editing the perfect photo, and tricking your Instagram followers into thinking you’re super cool and adventurous. When I hiked Passaconaway, there were limited views at the summit, so I climbed up a tree with my camera to get the perfect photo. I didn’t think through getting down and had to toss the camera and jump from the tree. Moral of the story: Think twice before you try to go for the tricky shot. Know your limits, good luck, and happy hiking!


[…] For camera gear, I used the Nikon D750 and mostly the Tamron 15-30mm lens. I also used the Nikon 24-120, 50, and 70-200mm lenses for a few sequences. I get many questions about my gear, but honestly, you can get great time lapses with even fairly basic camera equipment, like a GoPro! […]