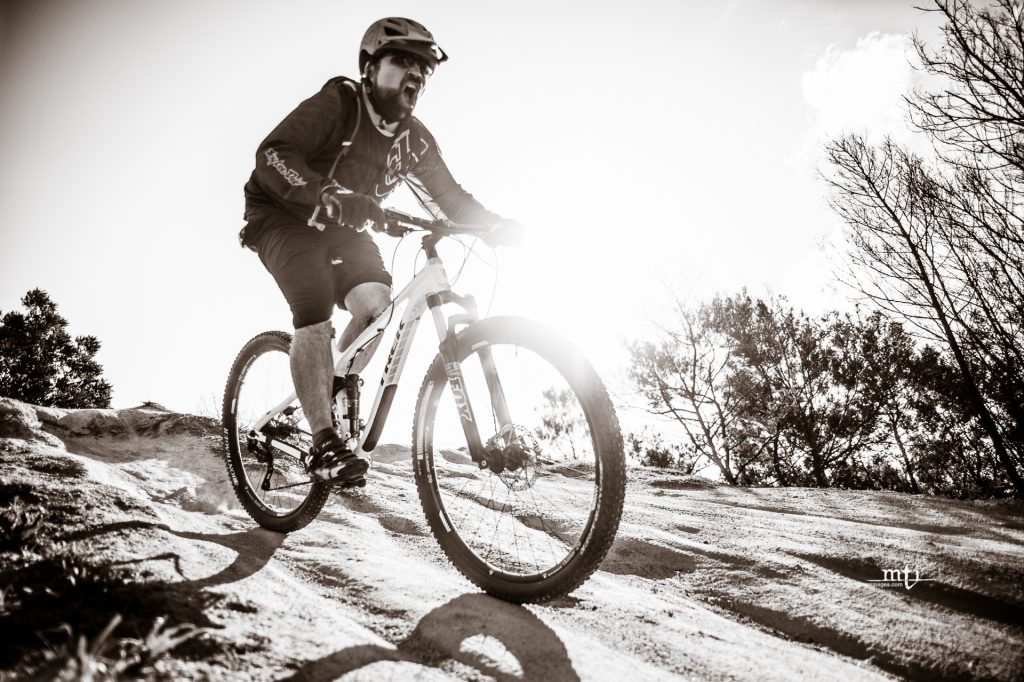
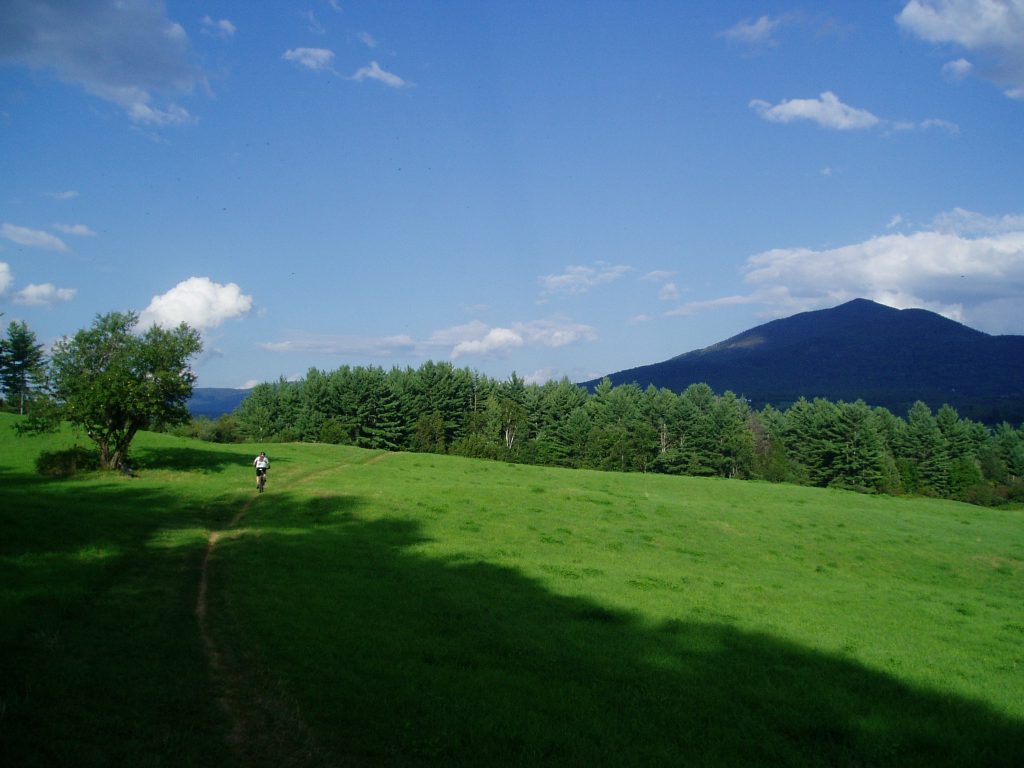
If you’re like me, sometime over the next few weeks, you’ll be digging your mountain bike out of the basement, garage, or shed and hitting the trails for the first time since last fall. If you’re also like me, the last time you thought about your mountain bike was when you rode it way back in October or November.
Whether it’s the shorter days, the impending stoke of skiing, or just the fact that the seasons change too quickly, I seemingly never take the time or care to go through my bike before winter. Although it’s tempting to just dig your bike out of storage and go for a rip, a few simple actions before heading out on that first ride can set you up for a great season while preventing a lot of aggravation.
Clean Up Your Act
The first thing to consider is some spring cleaning. Whether you buried your mud-covered bike in the back of the basement or gave it a good scrub before the off-season, a thorough washing now lets you start with a clean slate and makes the following steps significantly easier.
Cleaning your bike is pretty simple and can easily be done in the driveway or backyard. All you need is a hose, a stiff-bristled brush for components like cassettes and chains, a soft-bristled brush or sponge for your bike’s frame, and some dish detergent or bike wash.
One thing to remember when using a hose on your bike is, you want to avoid anything high pressure. Especially in sensitive areas like the headset, bottom bracket, and hubs, think gentle rain—not a fire hose. The great thing about washing your bike is that it’s the perfect activity for those first warm days of spring. You get psyched to ride as you wait for the end of mud season.
Get On a Roll
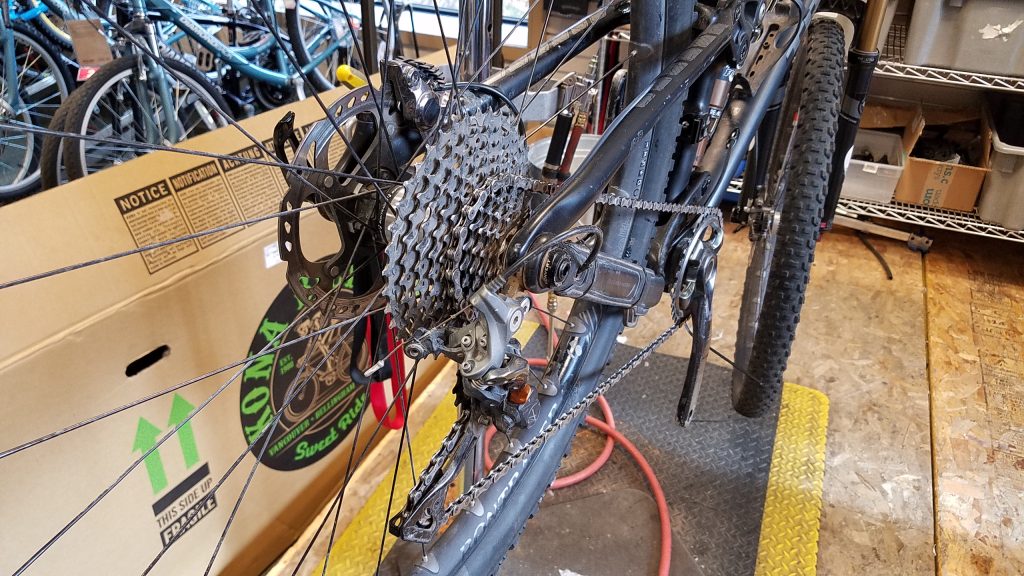
With your bike clean, now is the time to start visually inspecting it. A great place to begin is the tires. How is the tread? Is there much left? What about the knobs? Are they peeling off? While there is no “penny test” for mountain bike tires, a good rule of thumb is that if you’re questioning how much life they have left in them, it’s probably time for a new set.
After checking the tread, inspect them for any signs of damage. Make sure there are no small holes in the tread and no embedded objects. After that, go over the tires’ sidewalls to check for cuts and tears. Keep in mind that a damaged tire is never going to get any better, and nothing kills early-season stoke more than being plagued by flats. If you’re running tubeless tires, add in some of your favorite sealant before heading out.
Oh, and one more thing—don’t forget to inflate your tires before hitting the trail!
With your tires all set, give your rims a closer look to check for any dings or dents. Next, elevate the bike, and spin its wheels to make sure they don’t wobble.
As well, check the spokes to ensure none are loose. Wobbling and loose spokes mean your wheels need to be trued. If you don’t have a truing stand at home, bring your wheels to the shop before your first ride to prevent an unfortunate tacoing situation.
Don’t Stop Now
Before tackling the season’s first gnarly descent, first make sure your bike will stop. Most mountain bikes today are running disc brakes. These give pretty obvious cues when they need work, as, if they are out of alignment, they will make a scraping sound when the wheel spins. The silent enemy of many hydraulic disc brakes, however, is air building up in the fluid. While you can find a bunch of great resources online for bleeding your own brakes, the only thing I’ve ever accomplished by trying to do it is getting frustrated. Bring it to a pro—they get paid to be annoyed.
Now you’re ready to roll-check your bike’s brake pads. To do that, simply remove the wheel, and give them a look. Most pads start with 3 to 4mm of compound on them and should be replaced when they get to 1mm. Don’t feel like measuring? Take a peek at what new pads look like the next time you visit the bike shop to drool over your dream rig. If your pads have less than half of what you see on the new ones, replace them, and be amazed at how much better your bike stops.
Get Crankin’
Nothing sucks the joy out of getting back on your bike more than shifting issues. Before heading out on your first ride, examine the teeth on your cassette and chainrings to ensure none are bent or missing. Next, shift through the gears. Unless you shift, you shouldn’t hear any popping or skipping between cogs.
While you’re looking over the drivetrain, you should also check your chain length. If it’s stretched out, replace it. Remember, waiting to replace wearing drivetrain parts can be expensive, as a single worn part can accelerate the wear of other components. Also, nothing is more deflating than when a snapped chain has you mountain hiking instead of mountain biking.
With everything still clean, be sure to lube up the drivetrain before your first ride.
Suspension
You paid good money for your bike’s suspension, so make sure it’s in working order before you hit the trail. While much of your bike’s suspension requires an expert’s hand, a simple examination of your fork and shock seals (if you’re riding a full-suspension bike) can save you a lot of hassle down the road. If the seals either look to be dry and cracking or have fluid buildup, it’s probably time to get your suspension serviced.
If you’re riding a full-suspension mountain bike, having all of the bushings greased and tightened is good preventative maintenance. Doing this now is an easy way to avoid excessive wear and expensive fixes later. Sadly, this can be a complicated job, and is most easily left to your local bike shop. With the bushings ready for a season of abuse, set the sag, and be ready to roll.
Don’t Forget To Accessorize
Did you take an epic fall last season? Before heading out, scrutinize your helmet’s condition. If it’s had any significant impacts or any cracks, it’s time for a new one. Helmet technology seems to improve every year, allowing them to vent better while providing more protection. These days, you can get a helmet with MIPS technology, which reduces the impact to your brain in the event of an accident, for under a hundred dollars.
The type of person who discovers their bike still covered in last season’s mud is the same kind of person who will find their hydration bladder with water still in it. Surprise—you’re growing something! Even if you did clean and dry your bladder before storing it, I like to pop a cleaning tablet in to make sure I am starting from a good place.
Since you have your hydration bag out, clean all of last season’s empty gel packets and energy bar wrappers out of it. Once you take out all of the junk, make sure your pack has a spare tube, a pump or CO2 inflator, a chain master link, a multitool, and a small first aid kit.
Let Us Do It
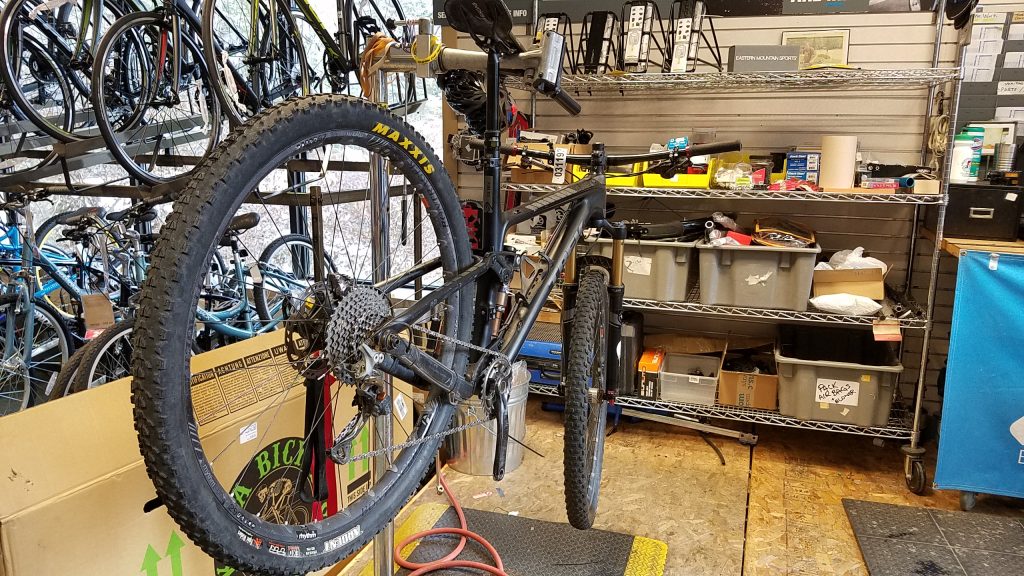
If you like riding more than working on your bike, or simply don’t feel comfortable doing everything yourself, bring it to one of EMS’ fantastic bike techs, and let them get you ready for the season! Just remember: You’re not the only one digging a bike out from behind a pile of skis, snowboards, and snowshoes this spring. So, the sooner you get your bike in the shop, the quicker it’ll be ready to hit the trail.
Of course, you could do what I’ve done for the majority of my mountain-biking life and just pull your bike out and ride it. But, that has never worked out particularly well for me. It’s amazing how spending just a few hours on maintenance before the season can save you hours of aggravation—and perhaps even add days of riding.
Related Posts