Video and text by Kris Roller
Video help from Nick Girard
Behind every great photo lies a story, one that describes the process and events leading up to the photograph. To me, the amount of planning and effort you put into its creation makes it that much better, and no photos require more work and preparation than astrophotos. When planning a shoot that involves the night sky, you have to take a few things into account: the equipment you are using, the location, and timing.
With astrophotography, the Milky Way is an extremely popular subject. But, depending on what part of the world you are in and the time of year, getting the perfect shot can be tricky.
Location
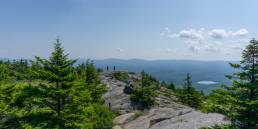
Generally, you want to be in an area with little-to-no light pollution. I use Google’s light pollution maps to help me pinpoint the darkest spots anywhere I travel. Also, the farther south you go, the more you can see the Milky Way and its galactic core. When you are in the Northern Hemisphere, the Milky Way always faces south. So, for this photo, I knew I had to choose a location that would allow me to face in that direction, and Google Earth 3D helped me identify possible spots. And, because I knew I was shooting rock climbers, I also had to find a climbable rock that was pretty exposed to the night sky. Acadia, Maine, turned out to be perfect.
Timing
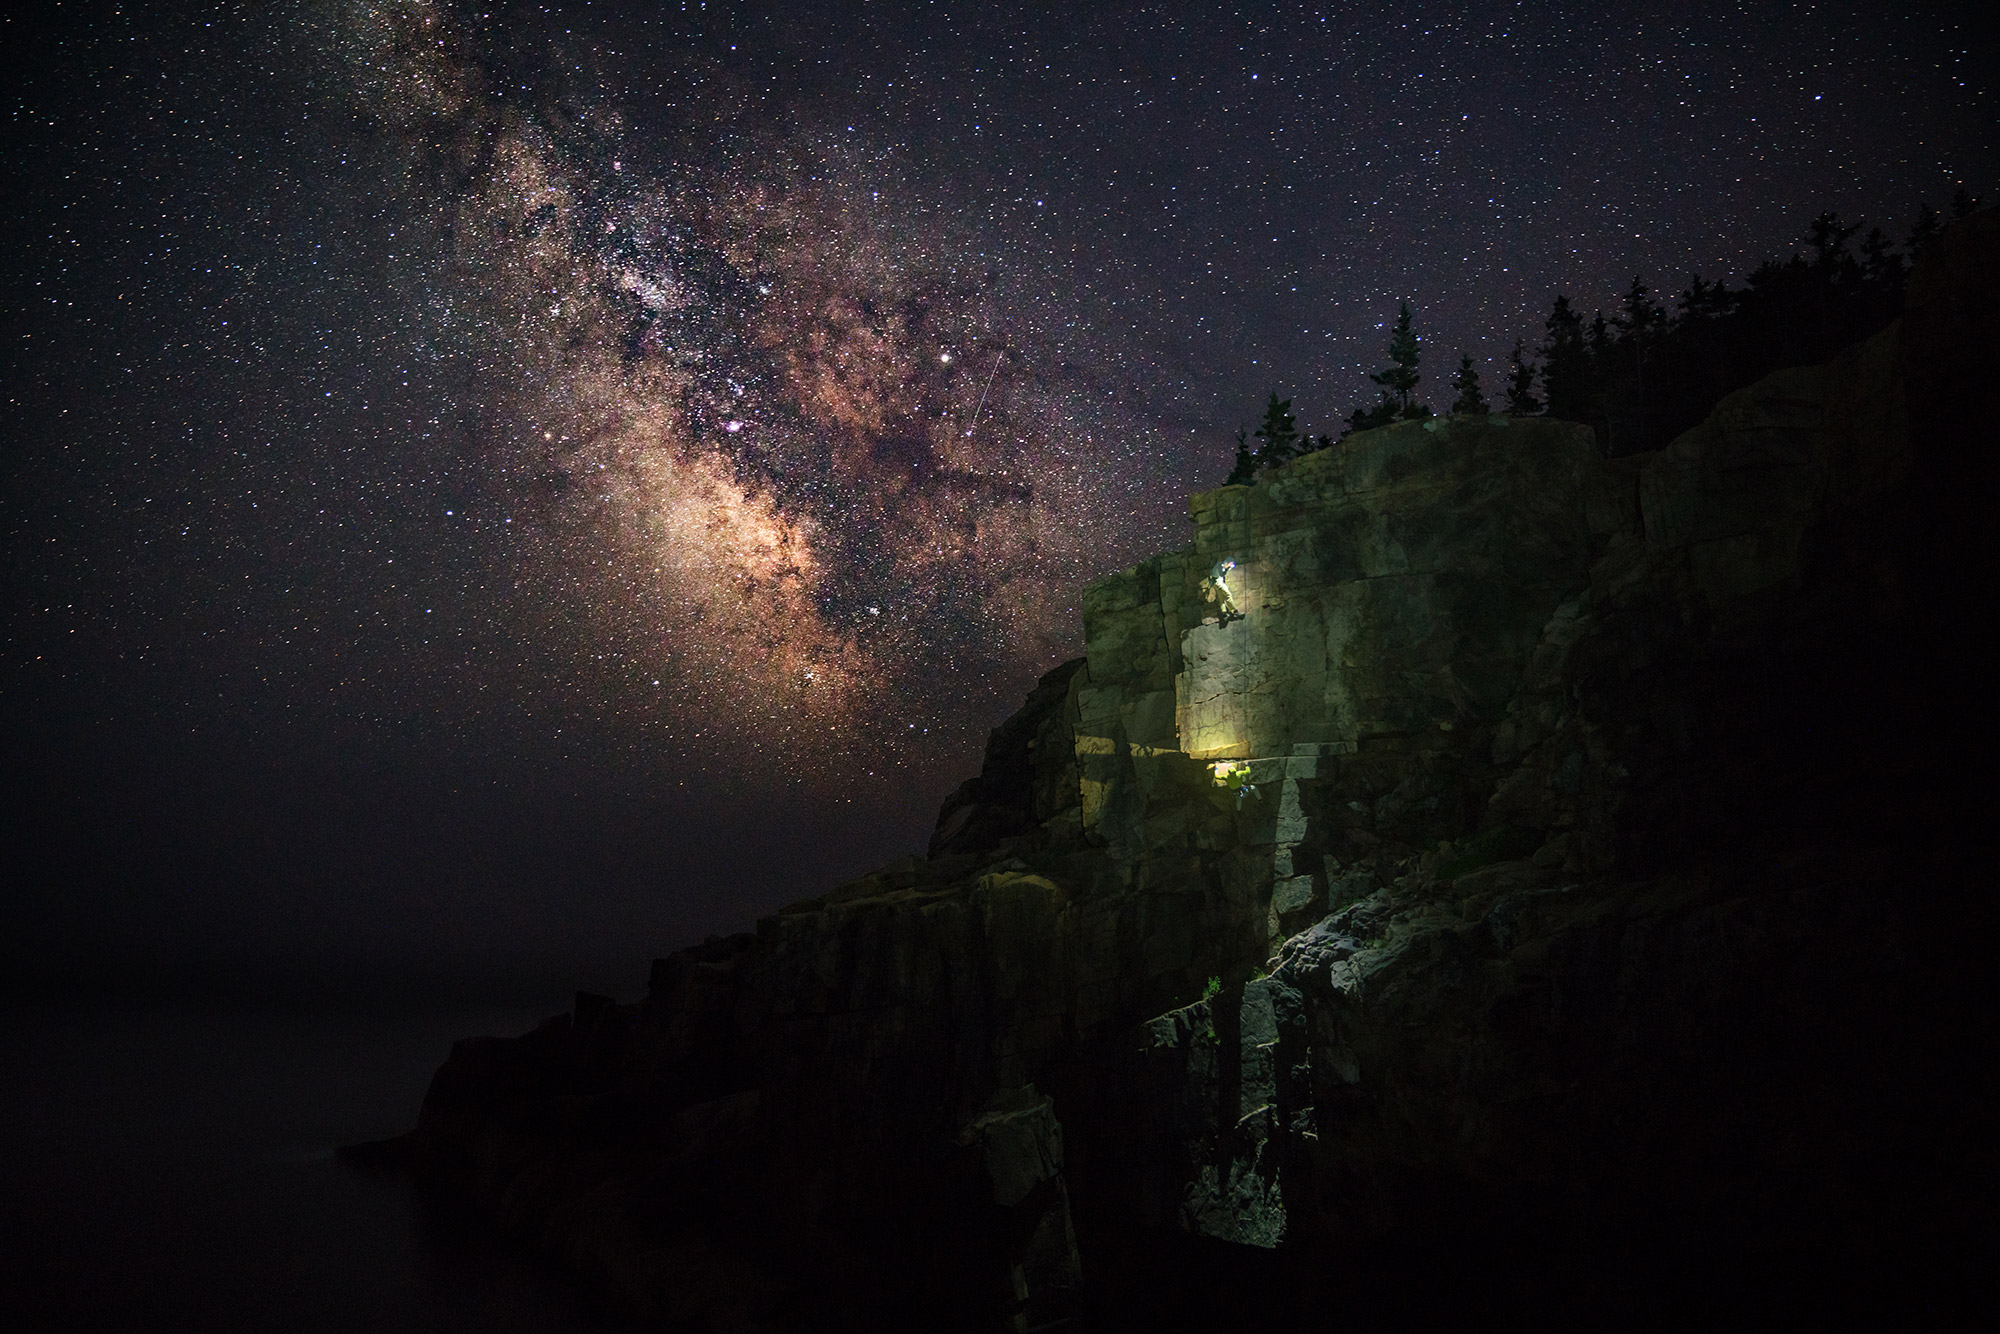
For those in the Northern Hemisphere, the Milky Way’s core can only be seen from February to late October. Depending on what’s in the foreground and where you want the Milky Way to be, you will want to plan your shoot during certain months. Various apps can help you organize this, and for this specific photo in Acadia, I used PhotoPills. The timing of the year was important, too, because I had to get the Milky Way a couple of hours into its initial rise above the eastern horizon. July ended up being ideal.
Equipment
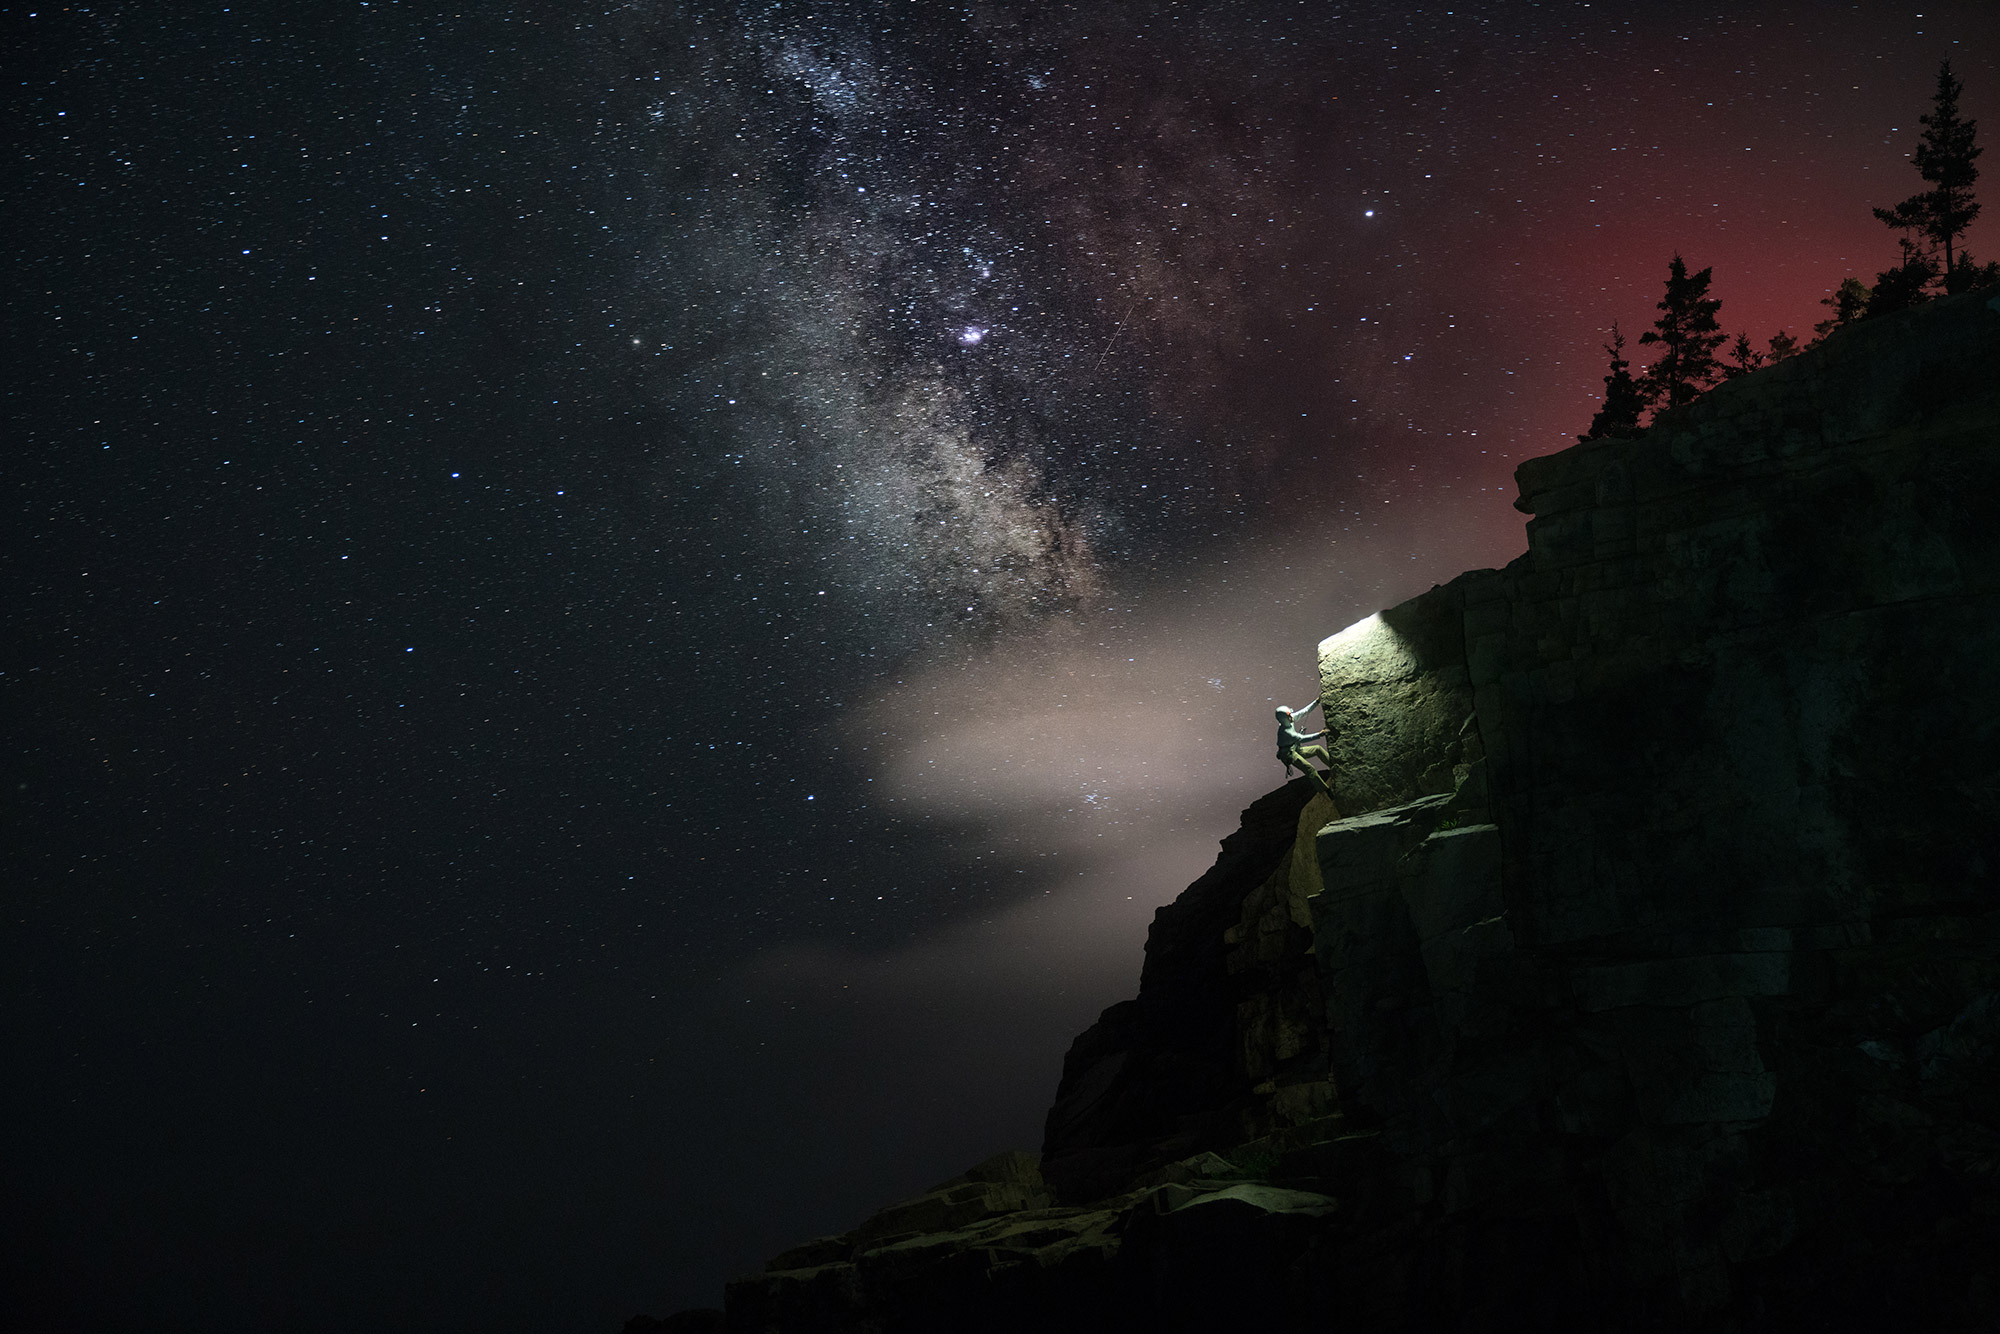
Most DSLR cameras are great for shooting astrophotography. The equipment that I used was a Sony a7RII with a 24-70 mm f2.8 lens. Usually, you want to shoot the night sky anywhere from 14 to 24 mm—wide enough to see the Milky Way’s vastness. My setting was 24 mm 2500 ISO for 15 seconds. Generally, you can set the shutter speed to 20 or 25 seconds, but I had live subjects, so I had to keep it shorter than usual. Otherwise, any sudden movements would’ve made them come out blurry.
Post Processing
After I took the photo, I processed it in Adobe Photoshop first to bring the Milky Way’s details out. Then, I imported it into Lightroom to touch up the rest of the composition and balance the light on the foreground. After your shoot, there are numerous ways to process your work, but these two programs are the most common for night photography.
Song credit: “Pyrite Promises” by Dionysia