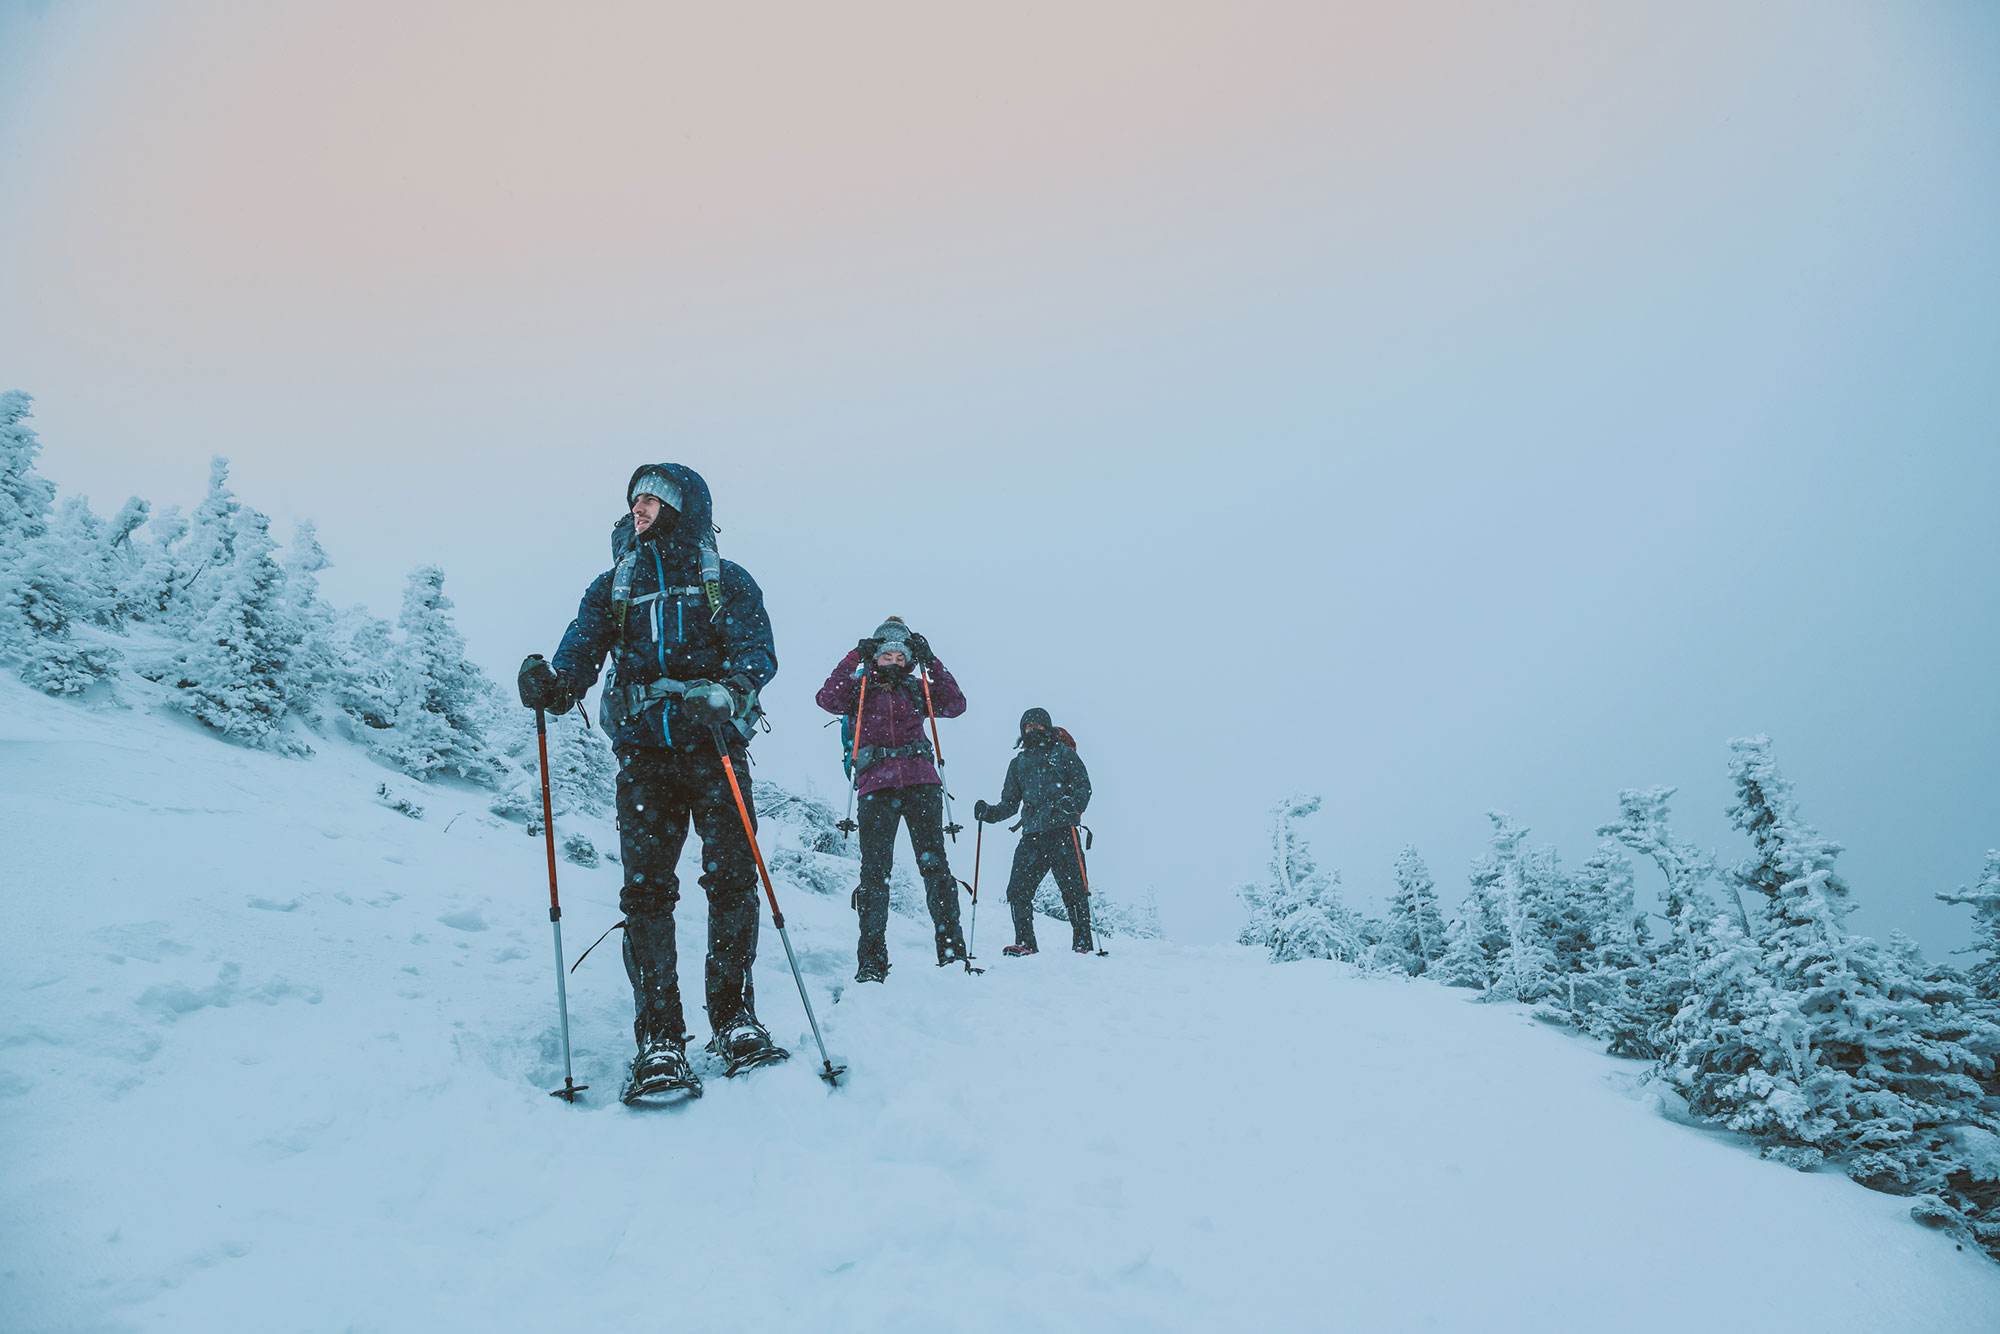
Trekking the winter trails can be peaceful and exhilarating, and snowshoeing is a great way for people of all ages to experience it first-hand. Yet given the lower temps, managing thermal and moisture comfort become critical. You’re wearing more layers than you would in summer, and you’re exerting your body more as you trek through the snow. But with the right layers and approach, it can be safe, comfortable, and fun.

The Four Tenets of Layering
- Stay warm but don’t sweat. The whole point of wearing layers, instead of just throwing your big ski jacket overtop when you go snowshoeing, is to stay just as warm as you need to be comfortable, without sweating. Getting wet and sweaty while snowshoeing, aside from just being uncomfortable, could cool you down to the point of being unsafe. Having multiple thin layers allows you to take them off or put them on as needed to hit that Goldilocks zone of warmth.
- If it works for you, it works for you. There is no law about how many layers you should wear, how thick or thin they should be, whether wool, down, or synthetic is better, or how much money you should spend on layers. Experiment with different options to find out which works best for you.
- No two days are the same. Just because you wore these layers the last time you went out, doesn’t mean they will work today. While large parts of your system can remain the same, you may need to add or remove layers for certain days, change your base layers from lightweight to heavyweight when it gets cold, or bring an extra big parka for summit days. Watch the weather and choose what will work for today.
- Leave the cotton at home. While cotton clothing is soft, comfortable, and likely hanging in your closet already, it is not recommended for use on the trails, especially during the winter. Cotton fabric retains moisture and holds it against your skin and can create an unsafe condition, particularly in cold, wet weather. Cotton socks can also retain moisture on your feet and contribute to blistering. It’s ok to carry a cotton bandana to wipe the sweat away, but not as one of your primary clothing layers.
Break it Down: The Layers
These layers generally break down into three categories: Base or under-layer, the mid or insulation layer, and the outer or shell layer. After that, layers for your hands, neck, face, and your eyes are all important, too. You will need all of these layers for snowshoeing, but use them strategically as you go.
Number 1: The Base Layer
This is the “long underwear” layer, or any fabric layer that touches your skin. It comes in different weights from light to heavy, and includes your shirt and pants/leggings. The intent here is to add just enough warmth while effectively wicking moisture away from your skin. This smooth base layer also creates a ‘slip’ between your skin and the outer garments which reduces rubs and blistering.
Look for synthetics like polyester, or wool layers for colder days.
Number 2: The Midlayer
This is your insulating layer and it should keep you just warm enough while you’re snowshoeing without causing you to sweat. You will likely need a couple of garments, like a fleece or light sweater, as well as a vest or puffy jacket. Vests work great because they keep your core warm which can allow heat to radiate to your arms and legs naturally.
Midlayers themselves can be layered. Many start with something lightweight and breathable, like a fleece to wear while you’re hiking, because they add just a little warmth. But you may want a second insulating layer, like a down or synthetic parka, similar to the EMS Feather Pack, to pull on when you stop or when you venture above treeline. These are lightweight and pack well into small spaces, so it won’t take up much room if the spend most of the day in your pack. Down is an excellent choice and is super-lightweight and insulates exceedingly well, but can be pricier than synthetic options. Just know that you have to keep this layer dry, when it gets wet it loses much of its insulating value and takes a long time to dry-out. Synthetic insulation is a nice alternative to down. It’s also lightweight and will dry-out quicker than down, but aren’t as lightweight and packable.
Number 3: Shell
This is your weather protection (wind and precipitation), so you’ll need a jacket and pants like the EMS Thunderhead line that are both waterproof and breathable, with taped seams, and zippered ventilation options. Ideally, the shell layer is not insulated, in order to keep your layering options flexible. Use your mid layers to stay warm, then add the shell when it’s really windy or precipitating, especially above tree line. If you do wear it while you’re moving, features like arm pit zippers can help you stay ventilated.
There are multiple options for a waterproof/breathable system: A laminate lining system like EMS’s System 3 Technology, or GORE-TEX. Each provide the same basic service, at different price points.
The Extremities
Socks are also critical during winter hikes. Wool or synthetic materials work well. Wool blends make great socks too, as does Merino wool, a softer, fine wool material. Don’t forget to bring a spare pair!
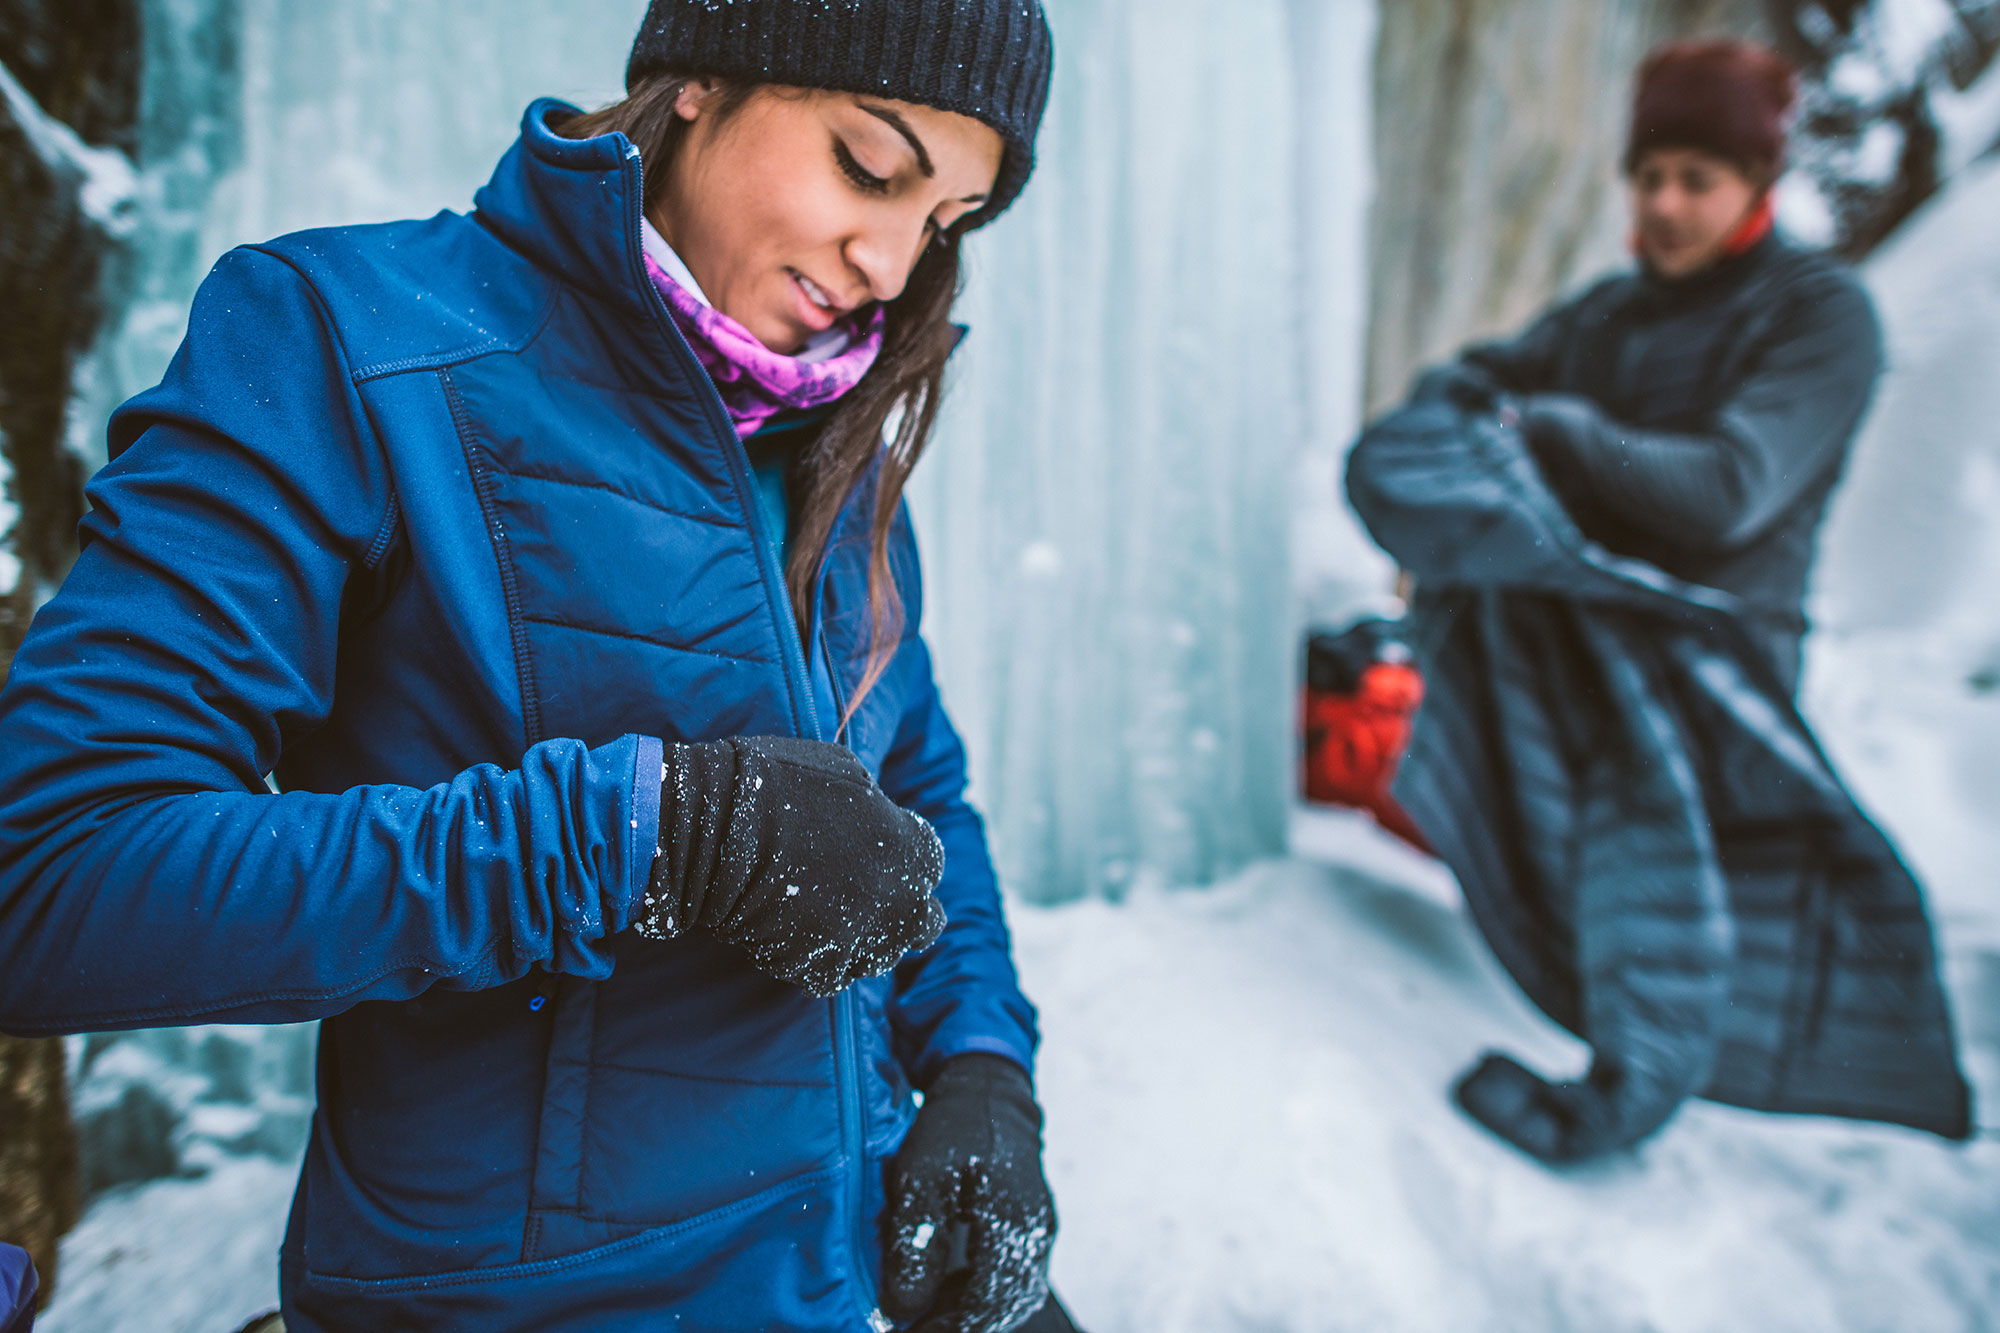
Much like your other layers, you should have a pair of gloves or mittens for warmth, and an outer waterproof glove/mitten shell. Try using a pair of fleece or polypro gloves, then add a GORE-TEX mitten shell when its wet. A pair of thin polypro glove liners are nice because you can take your hands out and adjust your snowshoes, without exposing your skin to the cold.
A warm hat is always good, but try using a headband if you’re getting too hot. Knit caps are great, but make sure they have a fleece lining for additional warmth and wind protection. Balaclavas, scarves, neck gaiters work well for face and neck protection, and if it’s really cold and windy, consider using a face mask or balaclava, especially if you’re venturing above tree line.
There are plenty of layer options out there for you to choose from, and since each of us has a different physiology, be sure to find what works best for you. Remember to stay just warm enough, but not too warm, and add that layer when you stop for a break to preserve heat.
So How Do I Use This?
There are generally two schools of thought when it comes to dressing for winter adventure, including snowshoeing.
Option 1: Start Warm
This is a very common approach, to begin in a comfortable state then remove those extra layers as you warm-up on the trail. It’s a logical technique, just keep in mind that you have to shed those layers proactively as you go so that perspiration and moisture does not build-up inside your clothing. If you start to sweat, it’s already too late as wet clothes can quickly create a safety hazard for you or your fellow snowshoe hikers.
Option 2: Start Cool
Another option for snowshoeing is to begin cool, and only wear the minimum layers you’ll need when you’re fully warmed up. This means starting out cool, even cold, knowing you will soon warm-up as you go. It takes a little fortitude at first, but it does work. And you’ll be less likely to sweat out those extra layers, making this the most popular option.
Make Adjustments
Regardless of the route you take, remember that layers aren’t meant to be stagnant. Not warming up as much as you thought? Put a layer on. Did you overshoot? Take a layer off. Stopping for a break? Keep a warm layer close at hand to throw on when you come to a rest to trap body heat, then take it back off before you start moving again. Add and remove layers as needed as your activity level changes, as the weather changes, and however you think you need to to stay comfortable without sweating.
Related Posts