Road running requires conditioning and form. Trail running requires these, too, but it additionally requires skill and coordination in order to negotiate obstructions. In this way it’s like skiing or mountain biking: when everything is going flawlessly, it’s known as being “in the flow.” In trail running you are “in the flow” when you are taking all the right steps, dodging each obstacle perfectly, and seeing everything you need to see. This is the state in which we as trail runners seek to be in. Here are some techniques that those new to trail running can use to help them get “in the flow.”
Vision
The first technique has to do with your eyes. When you start running on the trails the natural tendency is to look down at your feet for roots and rocks that might trip you. This is especially the case if you already have tripped (everybody trips in trail running). The problem with this is that this gives you little time to react. Things go much more smoothly if you are able to keep your vision 6 to 8 feet ahead of you. This allows you to see and anticipate obstacles and use your peripheral vision to avoid them.
Shorter Steps
One of the most common mistakes that runners make is over-striding. On the road, this leads to inefficiency. On the trail it can lead to injury. When you take long strides on the trail you dramatically increase the likelihood that you will trip on an obstruction. In order to avoid this, trail runners need to take much shorter strides. It seems like this should be a simple adjustment—just take your current running stride and shorten it. In practicality, this is harder than it seems.
A way to determine the optimum stride length for the trail is to do a good quick jog—in place. When we run in one spot we tend to have a good natural cadence with our legs underneath like they should be. After the minute is up, try to duplicate that cadence while running forward. You should notice that your strides are shorter.
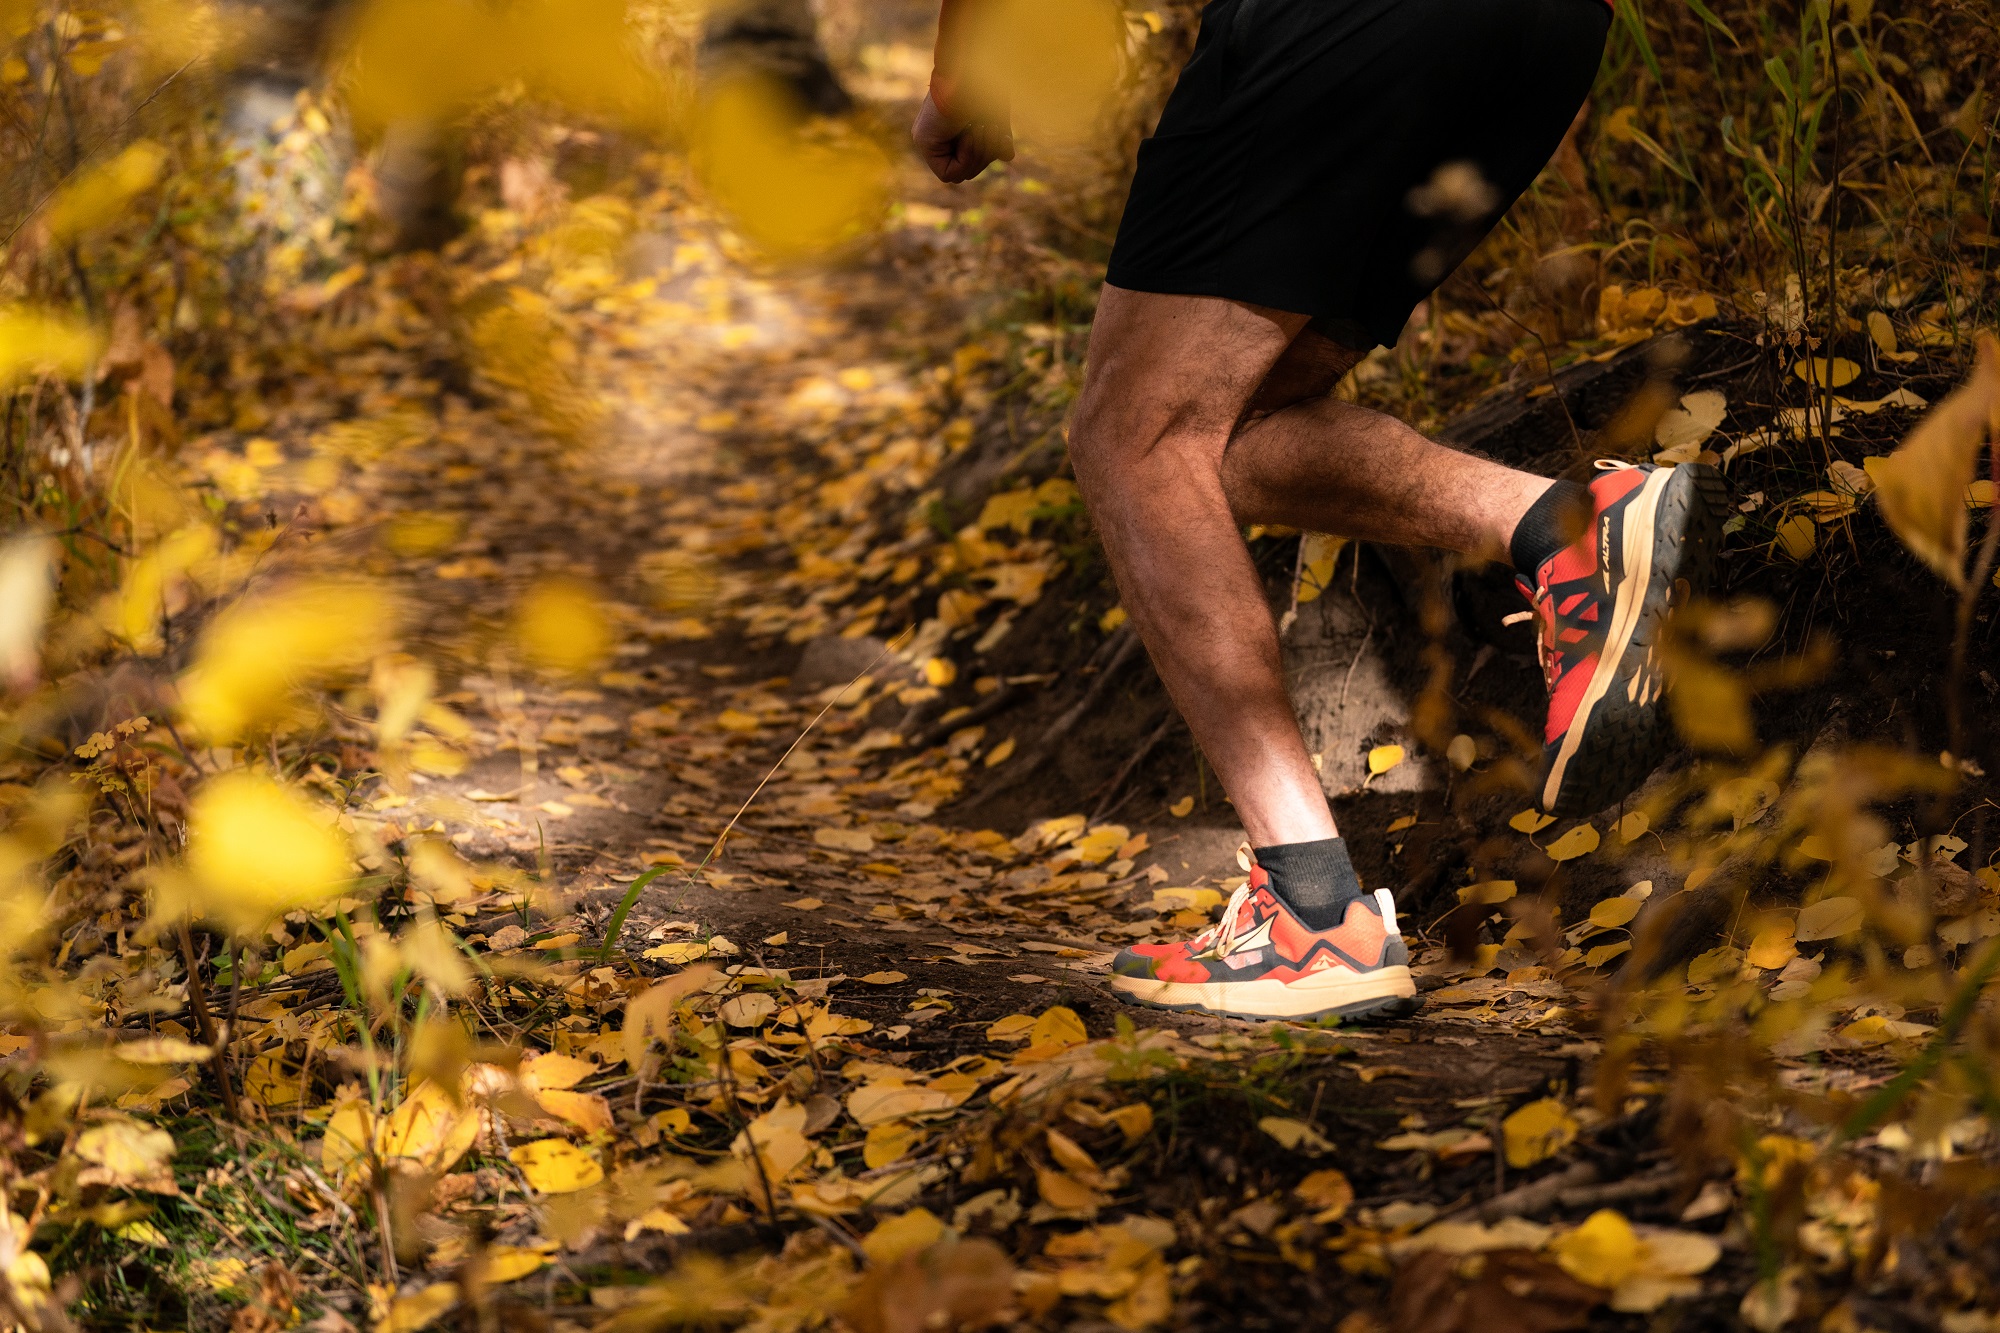
Toes Up
In addition to shorter strides it is important to keep your toes up when you step. I wouldn’t even attempt to get into the debate about which is better—heel striking or mid-foot striking—that’s for running gurus. But I will say that in trail running—where there is an endless supply of tangled roots, downed tree branches, and gnarly rocks—it is a good idea to stride with your toes up to prevent them from getting under any of those obstacles and sending you head over heels.
Elbows Out
Another technique that will help you, is to swing your elbows out wide. This movement can help you keep your balance much like a surfer might use to stay on his board. It can be especially helpful on downhill sections and combined with fast feet and shortened strides.
Walking and Power Hiking
When I run on the road I never stop to walk. I am out there to run and anything less seems like a failure. I know it is silly but I also know that I am not the only one who feels that way. One of the great things about trail running is that it knocks that “run at all costs” attitude right out of you. There are sections of trail that are just impossible to run—hills that are too steep, wet rock scrambles that are dangerous, or downhill sections with loose footing.
Even the best trail runners in the world find that in these conditions running is no longer efficient and that is better to hike. When hiking an uphill section that is steep, you want to make sure that you lean forward to keep your weight under your feet. You can even put your hands just above your knees on your quad muscles. This will keep you forward and you can even push on them to get leverage. This is known as power hiking.

Trekking Poles
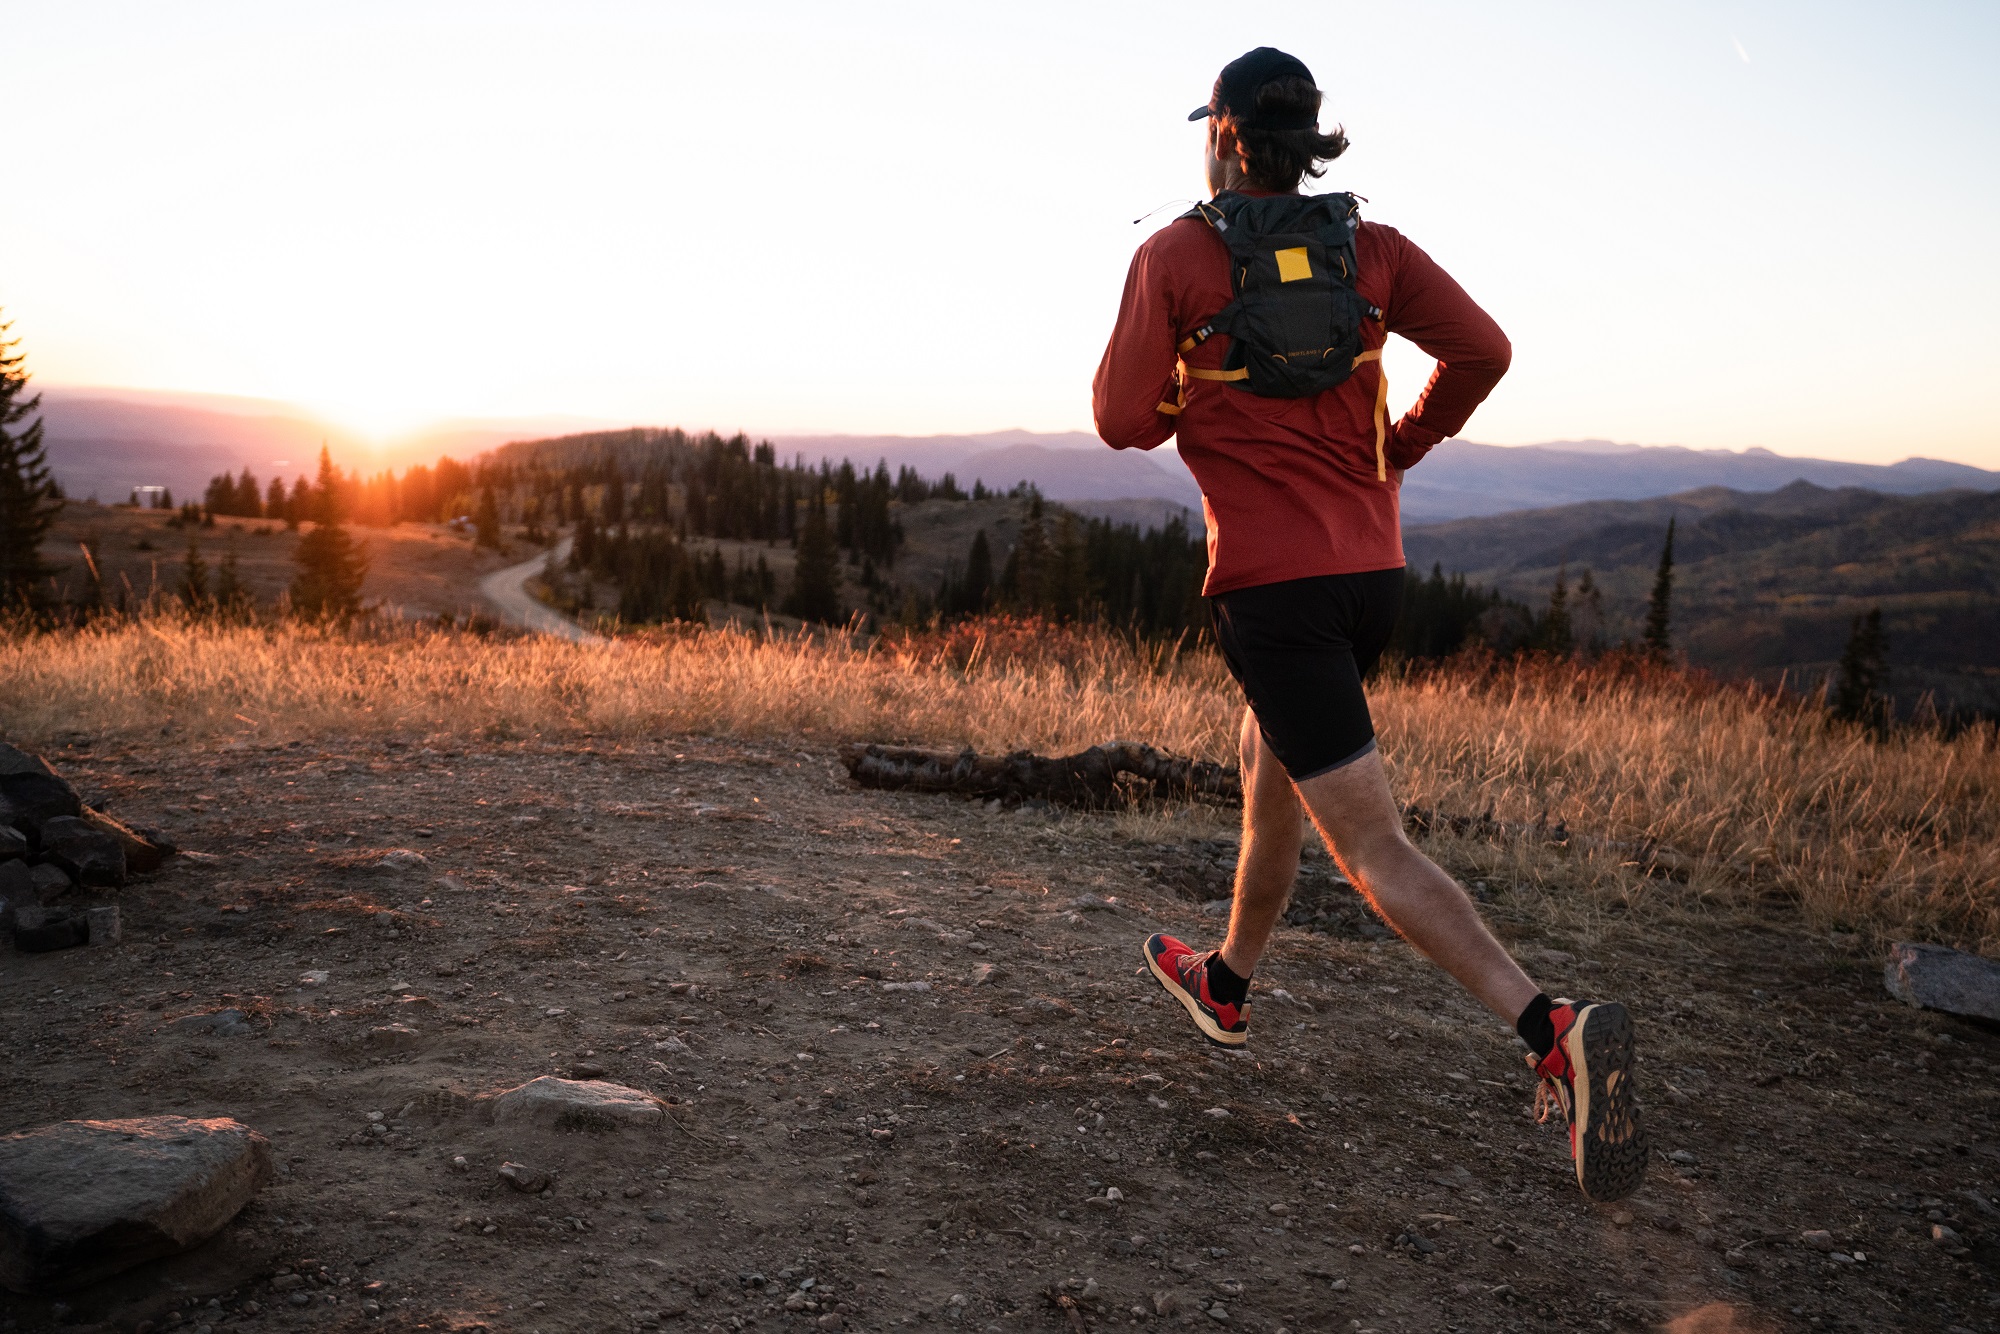
When trails are particularly difficult you might consider using trekking poles. These might seem like something that would be used for strictly hiking, but many trail runners—including professionals—have been using them more and more in recent years. Poles help you to generate force by using your arms as well as your legs and can take some pressure off of your knees. They are best used on climbs or descents since running is much more efficient on flat sections. If you decide to use poles for only part of the time you will need to make sure that you have a running vest or pack that allows for stowing collapsed poles for when you are running. You will also want to make sure that the poles you use collapse small enough so that they are easily stored or secured.
There are three main techniques when using poles. Diagonal poling is when you step with one leg, and plant the pole with the opposite arm. It is the most natural technique since it mimics natural walking or running. This can be very effective because it helps you develop a rhythm. It is best used when things are starting to get difficult but you can still go at a good clip or when going down.
Another technique is called offset poling. This is when you step with one leg and then plant the pole of the same arm. With this technique, you only stick the pole on every other stride. This method is great for when uphill portions start to get really difficult.
The last way to use poles is called double poling. This is best used on really steep hills and can be used both up and down. This move is comparable to cross-country skiing where you plant both poles out ahead of you, then pull yourself through. This move can take a little practice to get used to and is best done with one pole coming down ever so slightly before the next.