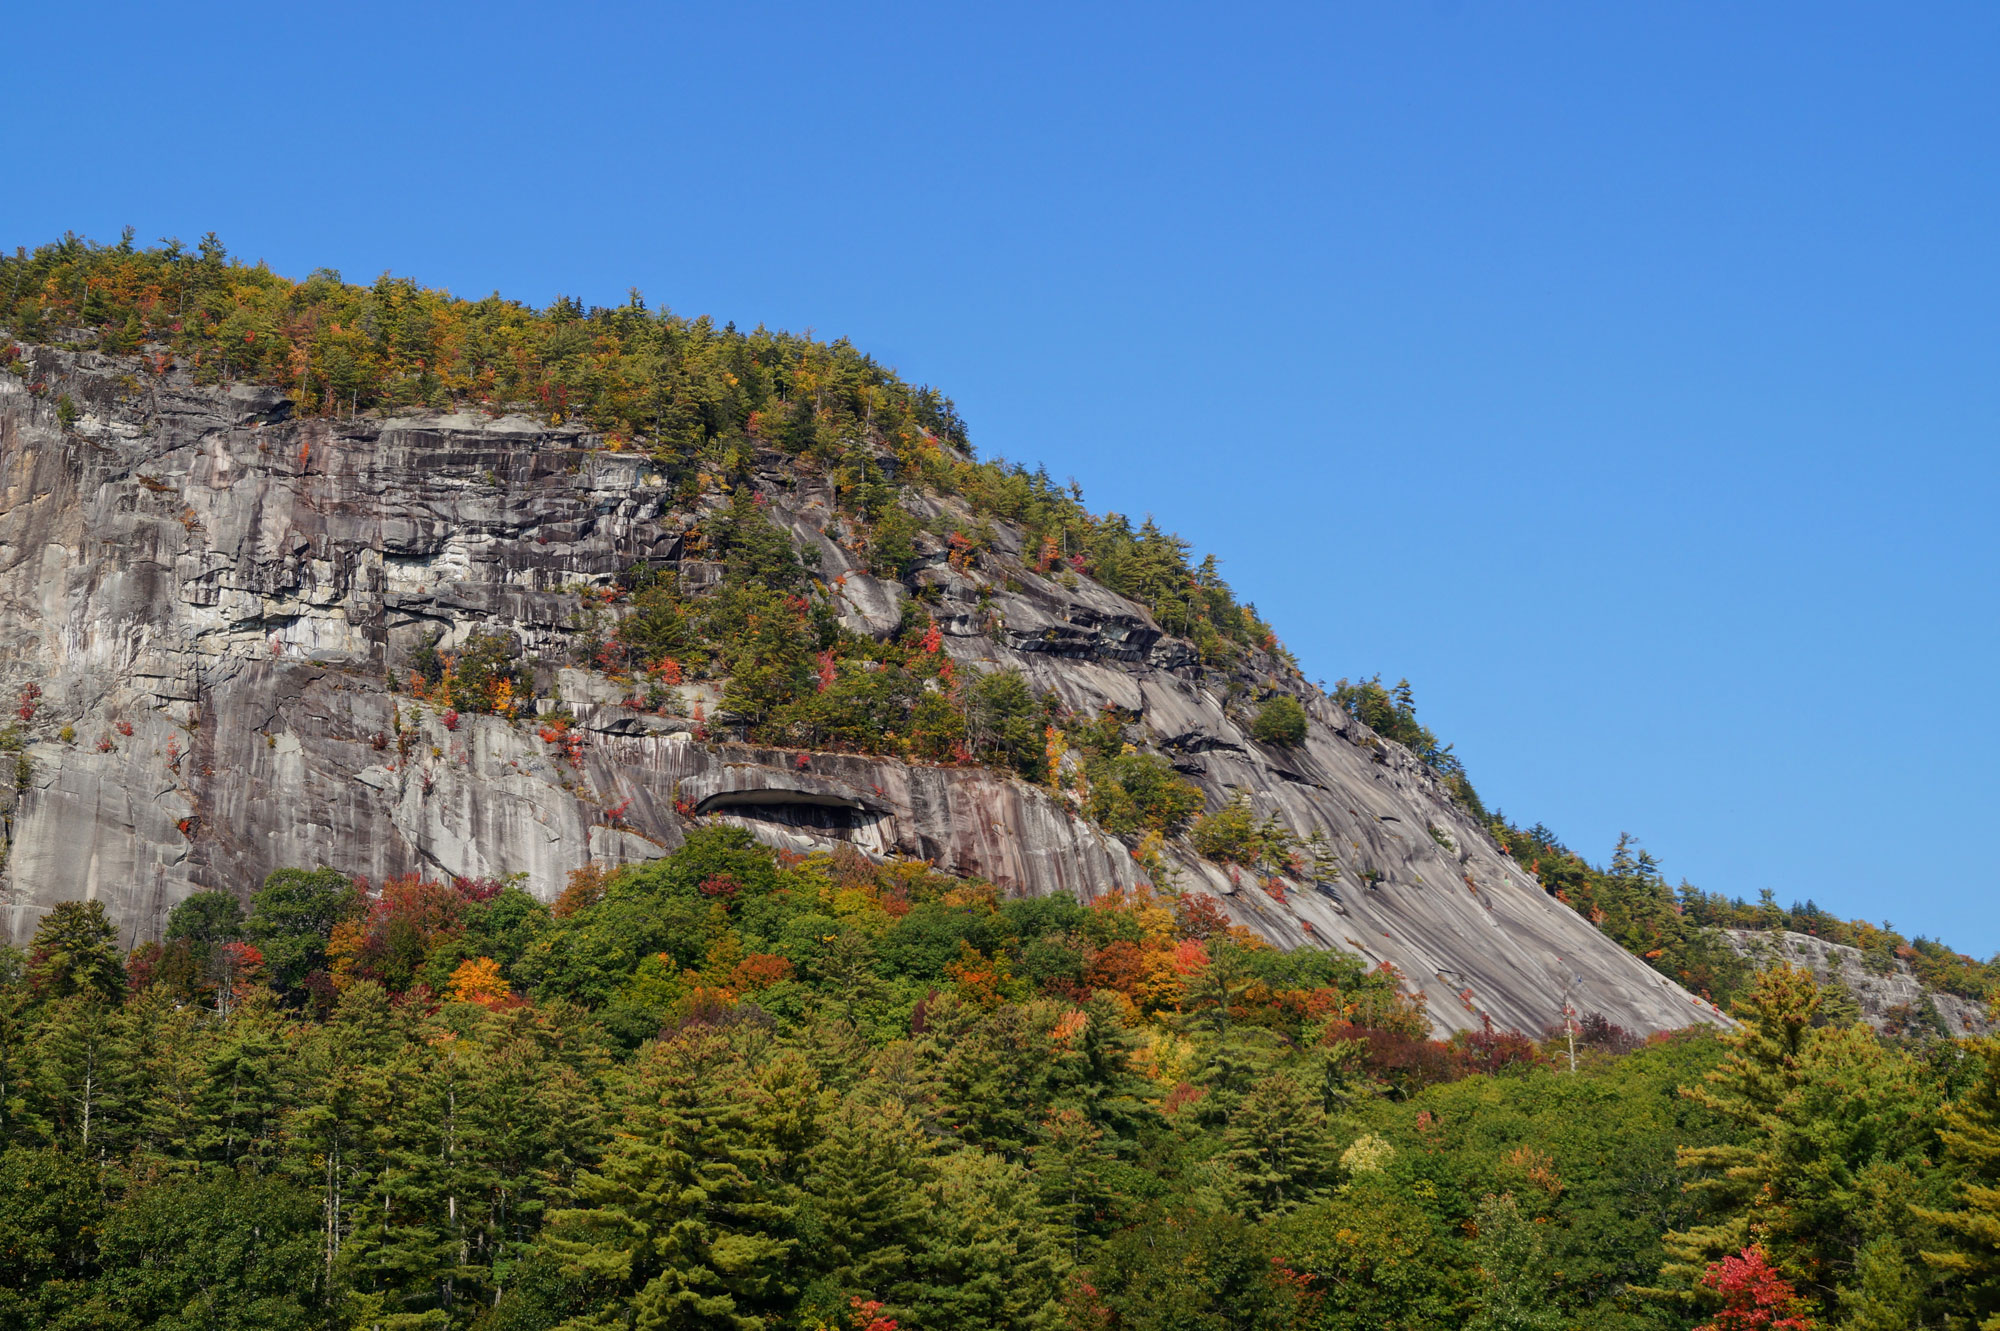
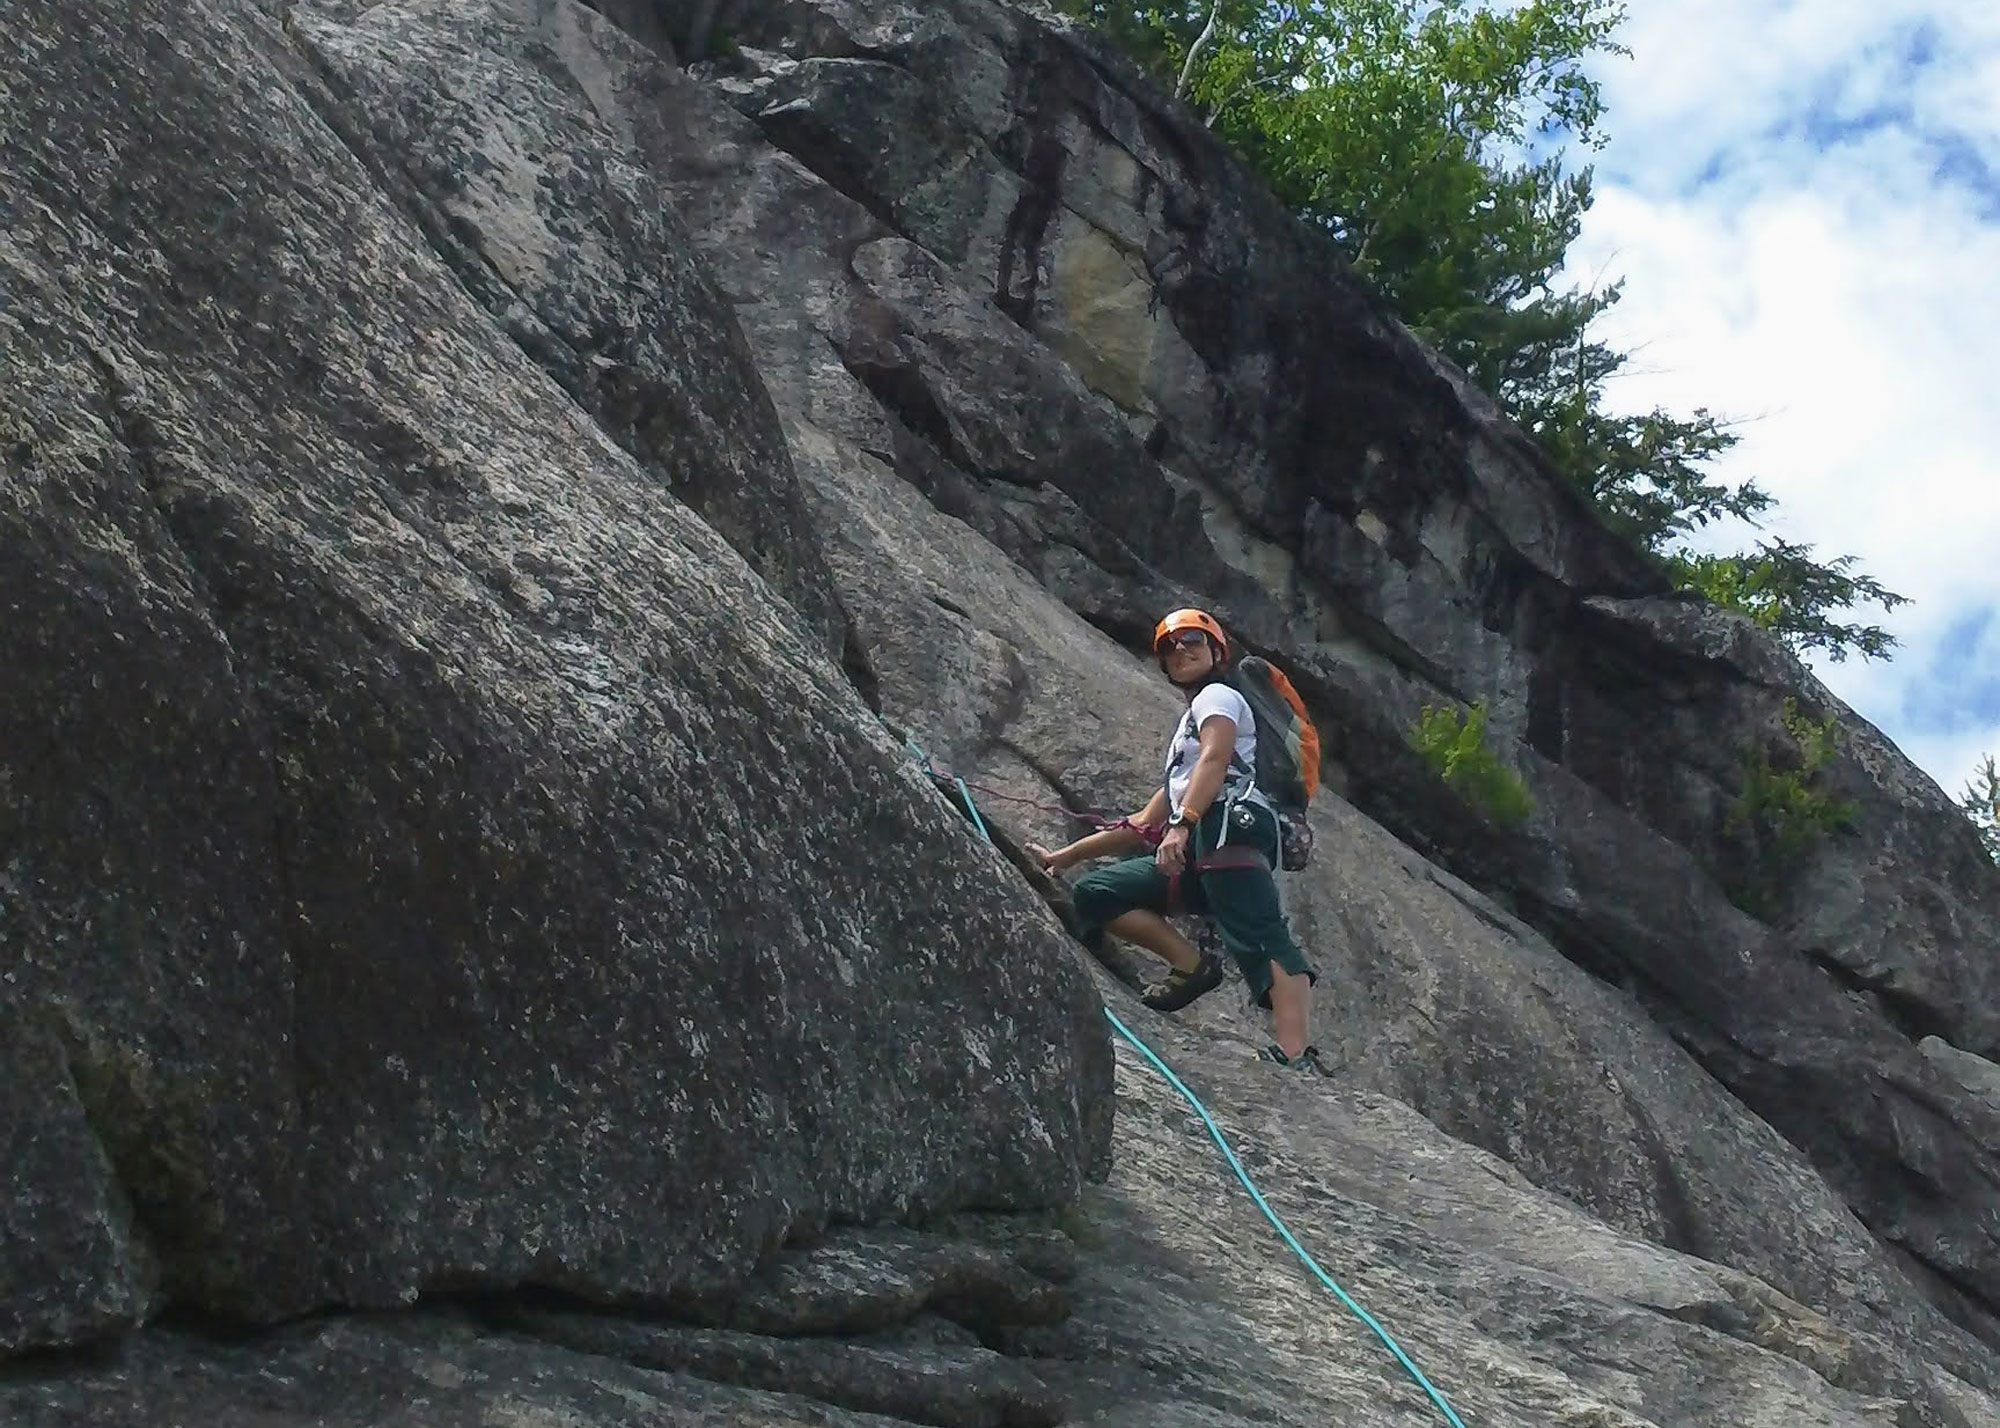
Steeped in history, Standard Route on Whitehorse Ledge is a must-do 1,000-foot route offering exposed slab climbing at a moderate grade.
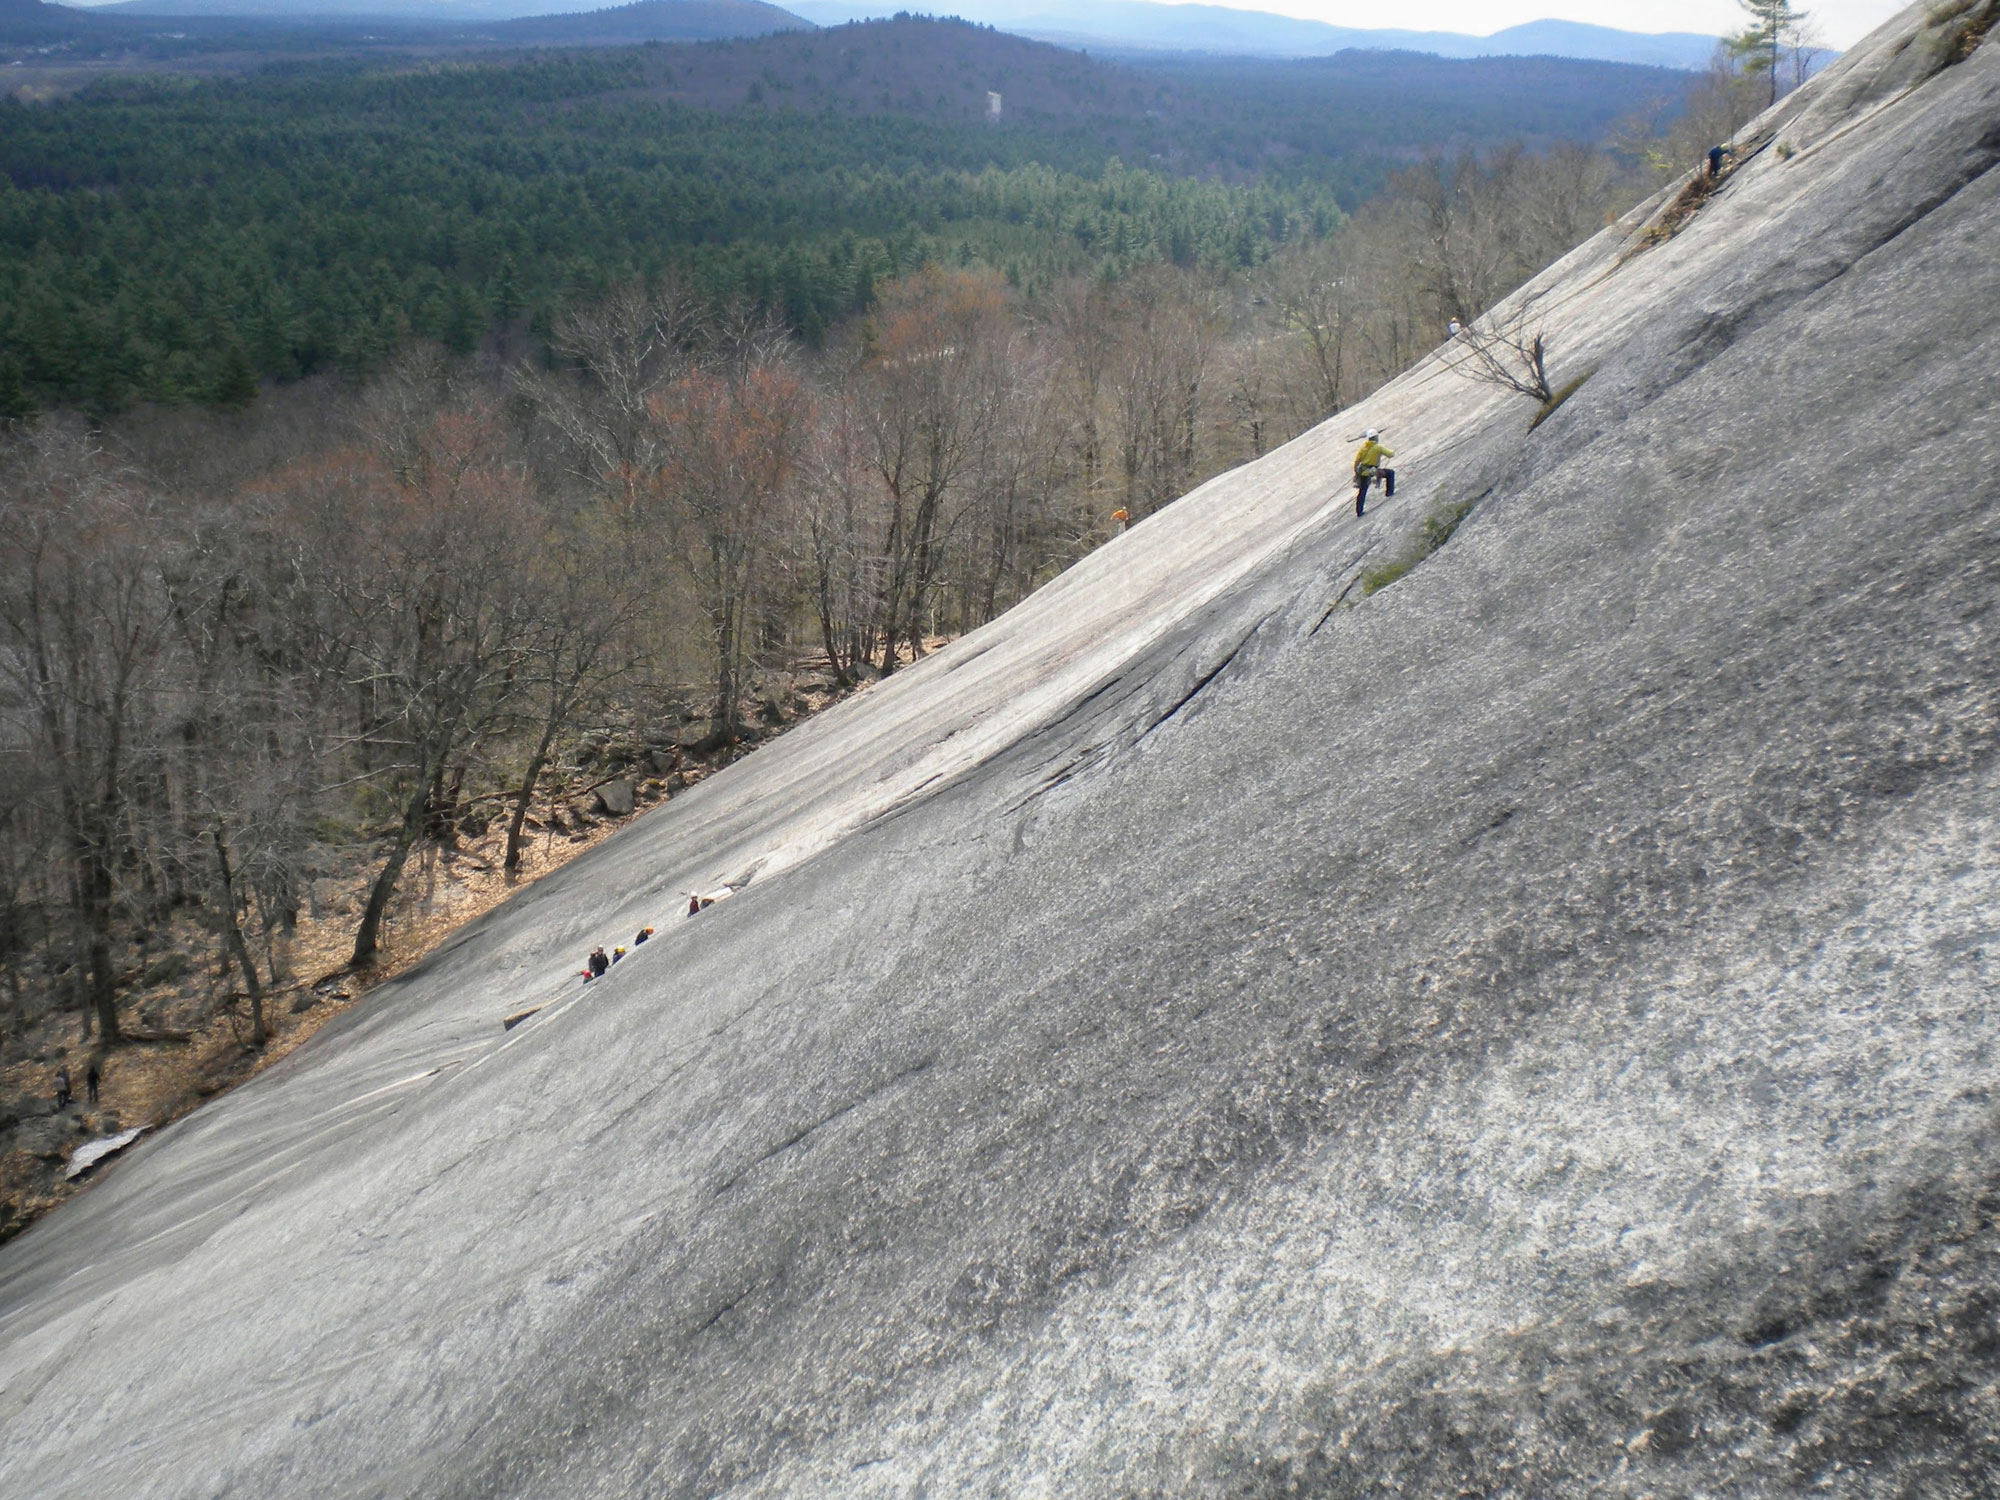
A route almost as old as technical climbing in the Northeast, Standard Route on Whitehorse Ledge was explored by early climbing luminaries Robert Underhill and Kenneth Henderson back in the 1920s. Today, Standard Route is a must-do for old and new climbers alike—offering over a 1,000 feet of moderate, often runout slab climbing with enough spice to keep veteran climbers on their toes and remind rookies just how full on 5.5 can feel, making it a classic moderate slab climbing route in North Conway, New England’s trad climbing mecca.
Quick Facts
Distance: 9 pitches
Time to Complete: Half day for most.
Difficulty: ★★★ (5.5, Grade II)
Scenery:★★★★
Turn-By-Turn
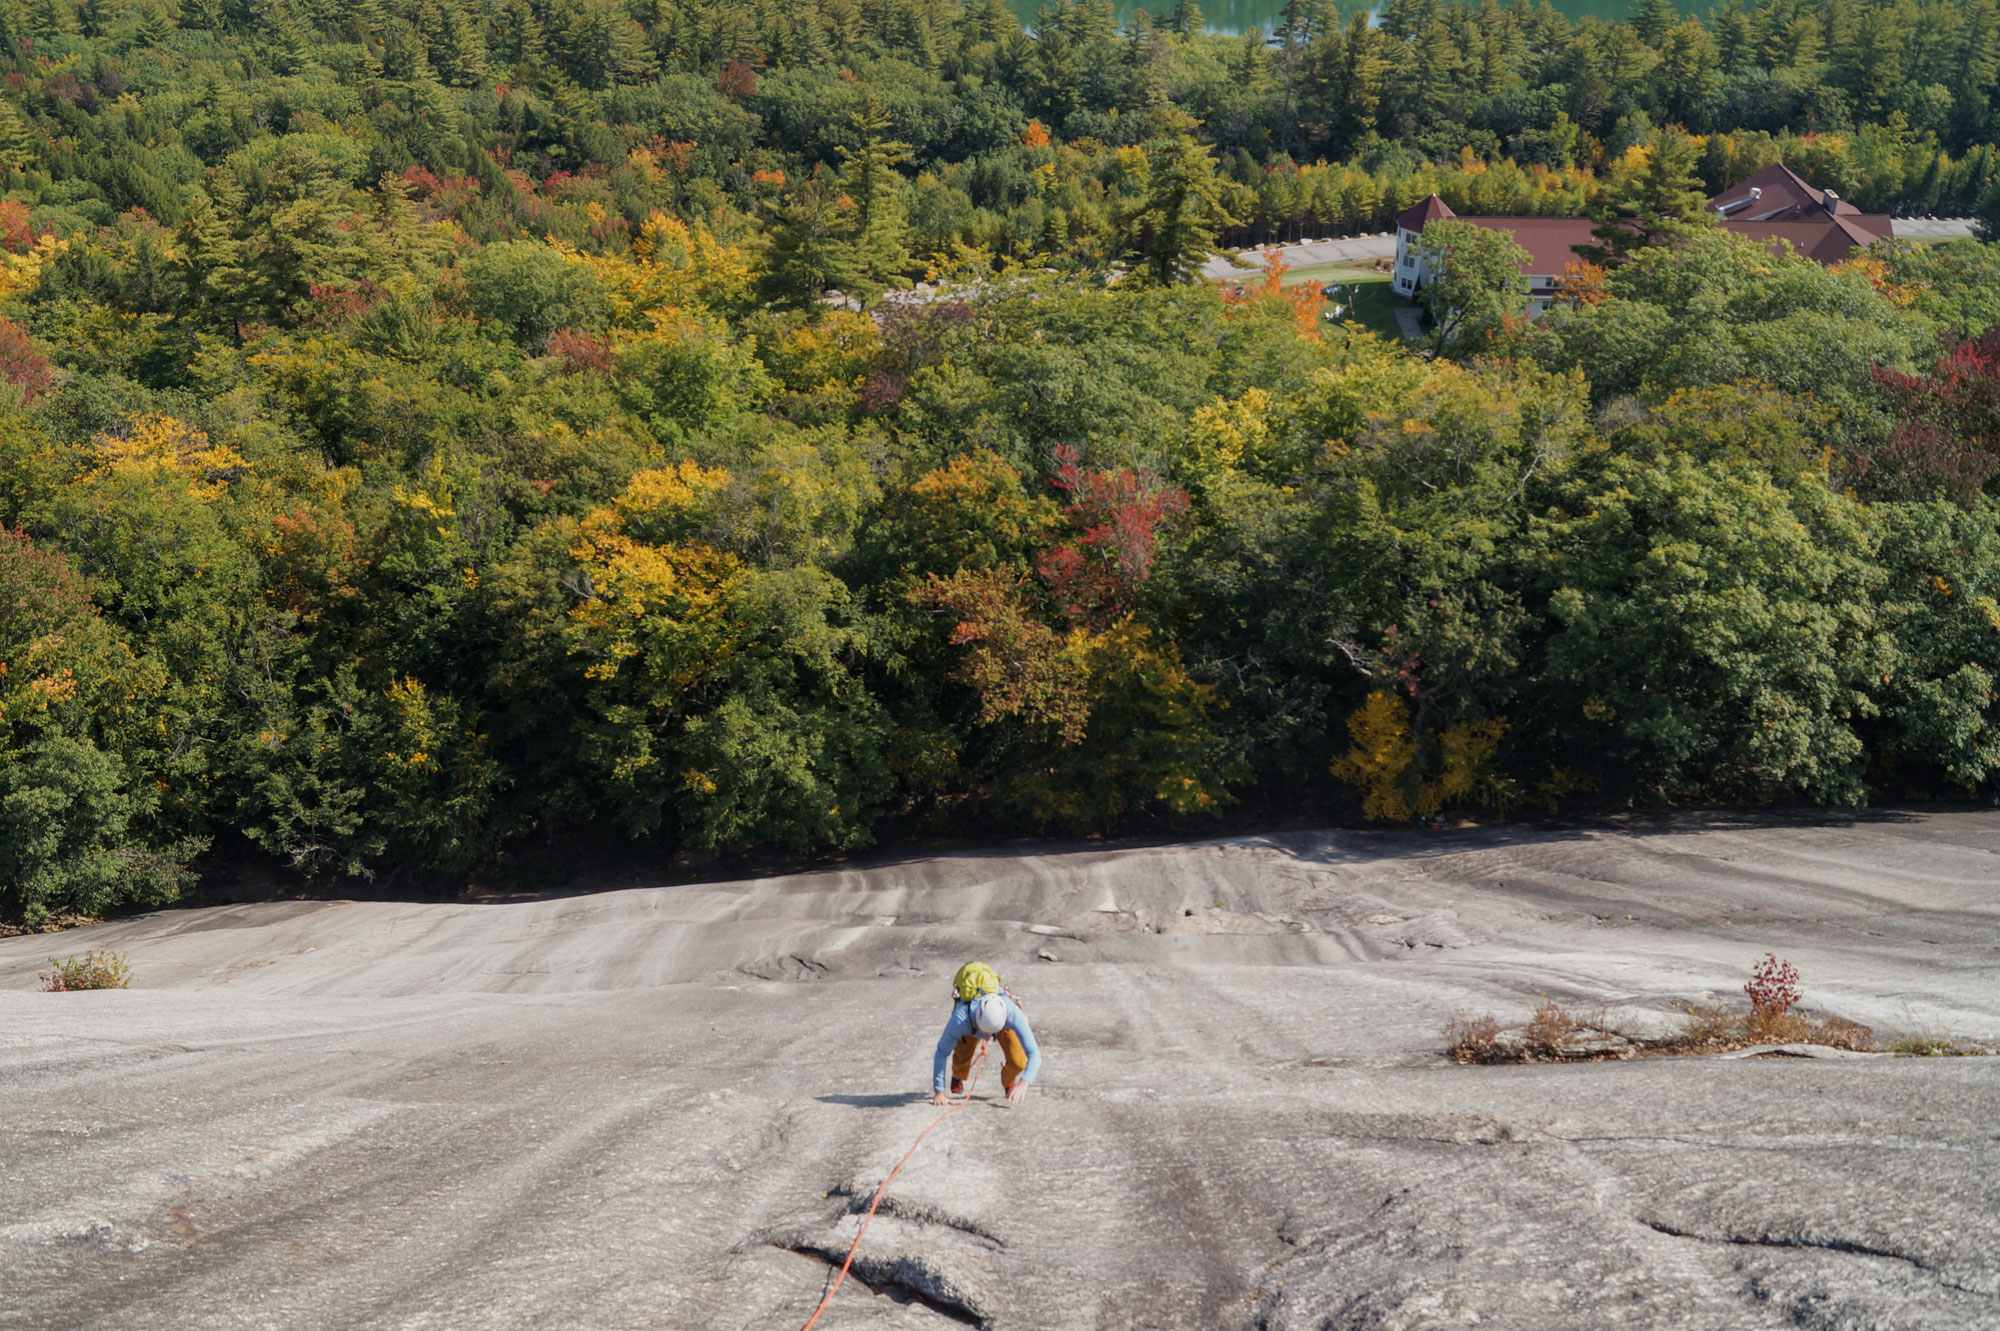
Most climbers approach Whitehorse Ledge from the climbers’ parking lot in a maintenance area just below the White Mountain Hotel. To get there from North Conway, take Route 16 toward the Eastern Slope Inn, turn left onto River Road at the traffic lights just past the inn, and then after about a mile, make another left onto West Side Road. After about another mile, look for a large sign for Hales Location on the right and turn in. Follow that road until the first intersection and turn right. This road will pass a couple of large homes, some of the golf course, and then start bending up toward the hotel. As the road bends uphill to the left, the maintenance area and climbers’ lot are straight ahead.
The climbers’ lot holds about 10 cars, so get there early on busy weekends if you want a spot. Beware that cars parked in the hotel’s regular lot may be towed. Also, there are no facilities in the climbers’ lot, so consider stopping in North Conway beforehand.
The Traditional Approach
The approach to Whitehorse Ledge is quick and straightforward. Simply leave the climbers’ lot and walk up the road toward the hotel parking lot. Once you reach the parking lot, look for a well-defined trail leaving from the lot’s right corner. Follow this path for about 5 to 7 minutes to the base of the cliff. As it nears the cliff, the path is a little rocky, so watch your step.
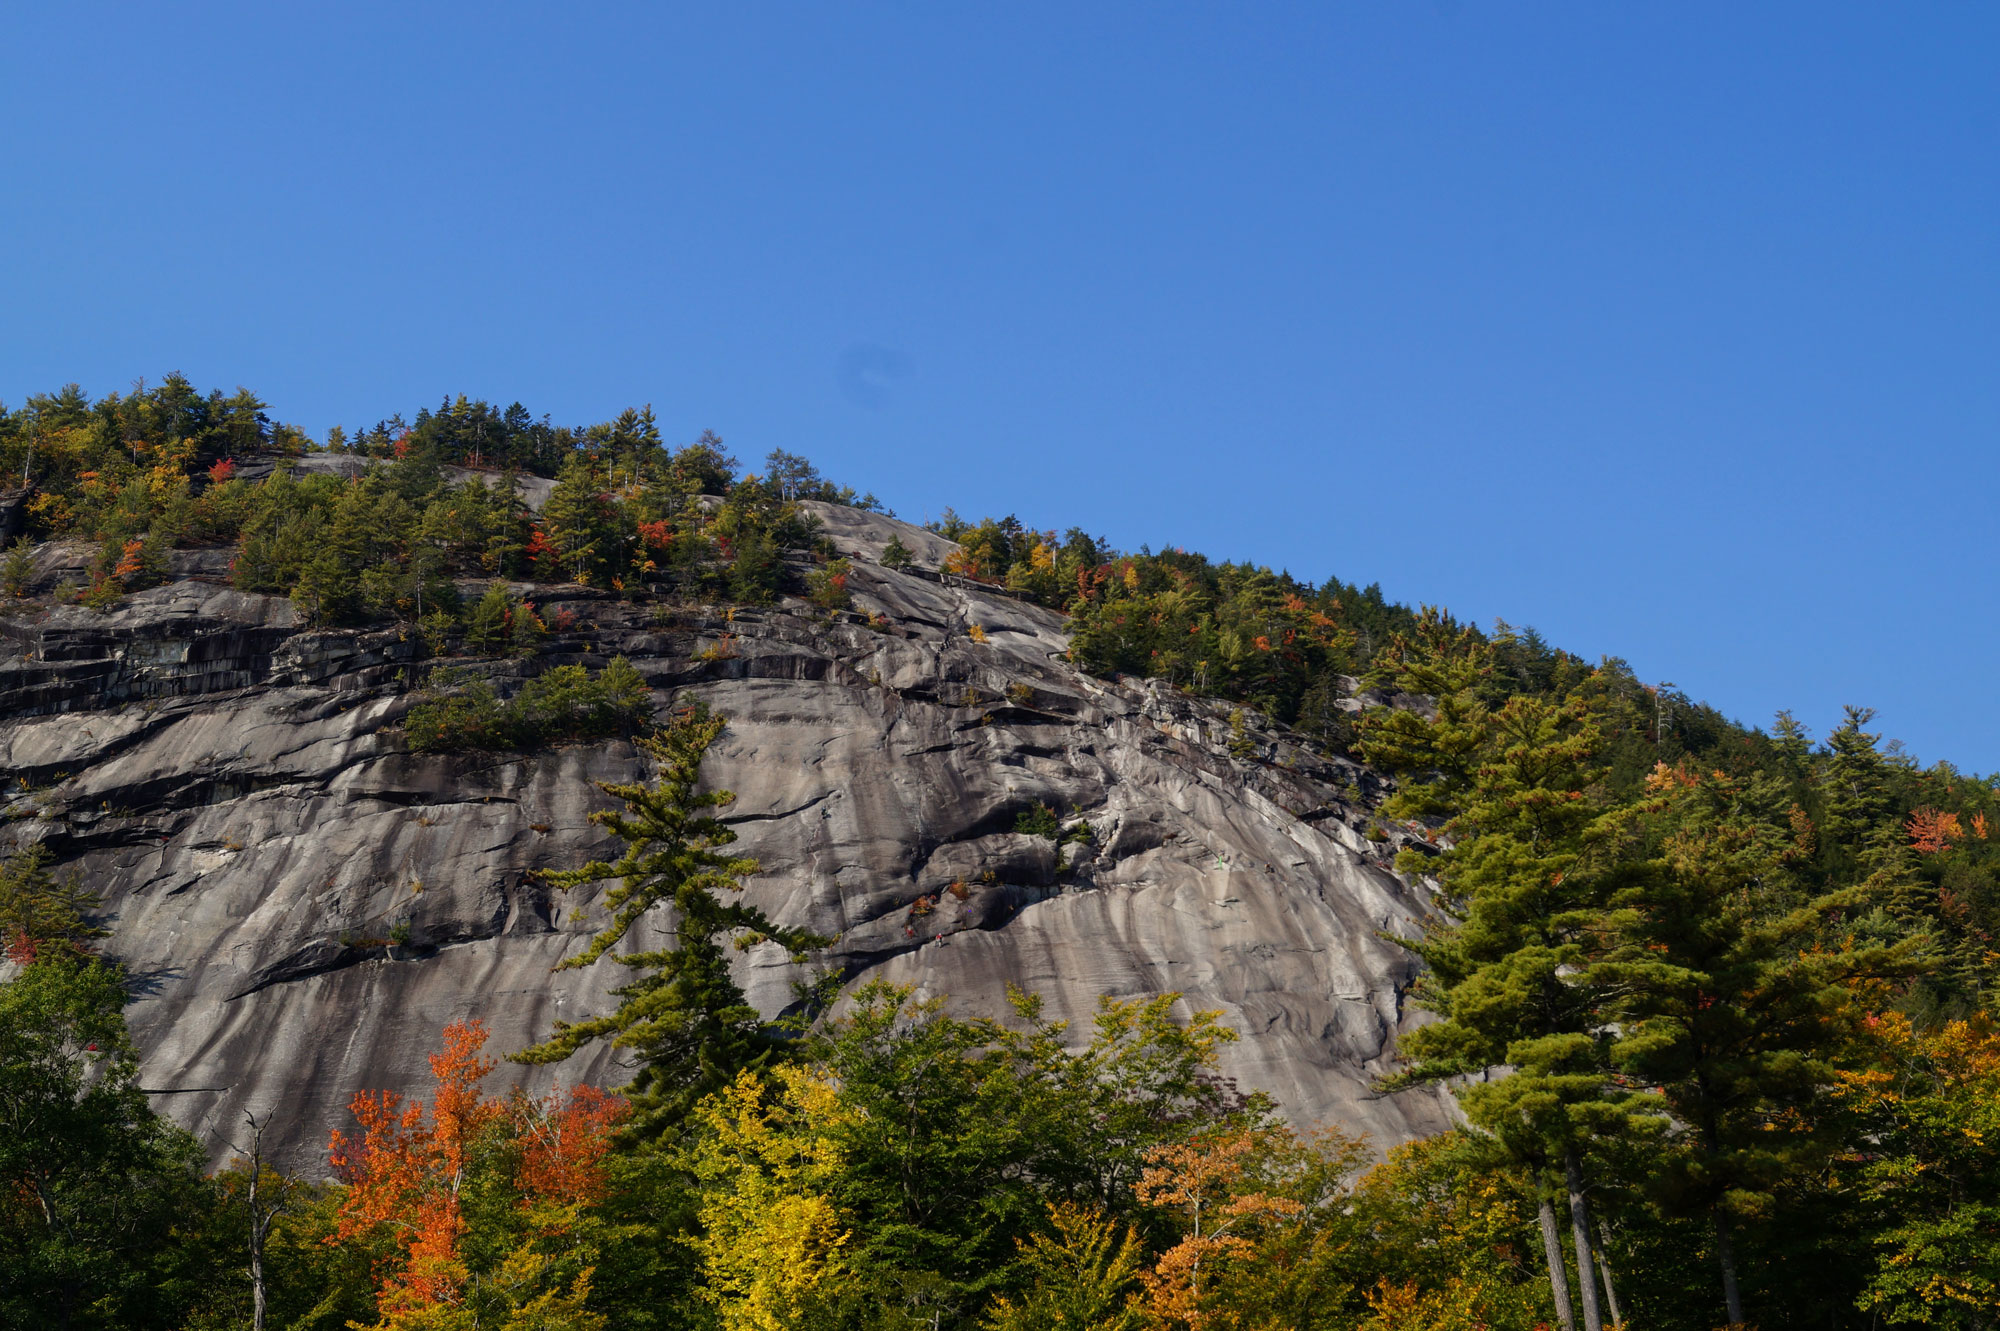
Once you’re at the base of the cliff, picking out Standard Route from the expanse of granite slab before you may seem overwhelming. An easy way to identify Standard Route is to look for the prominent arch rising up the middle of the slab. Trace the arch to the ground—Standard Route’s first pitch starts almost directly below it.
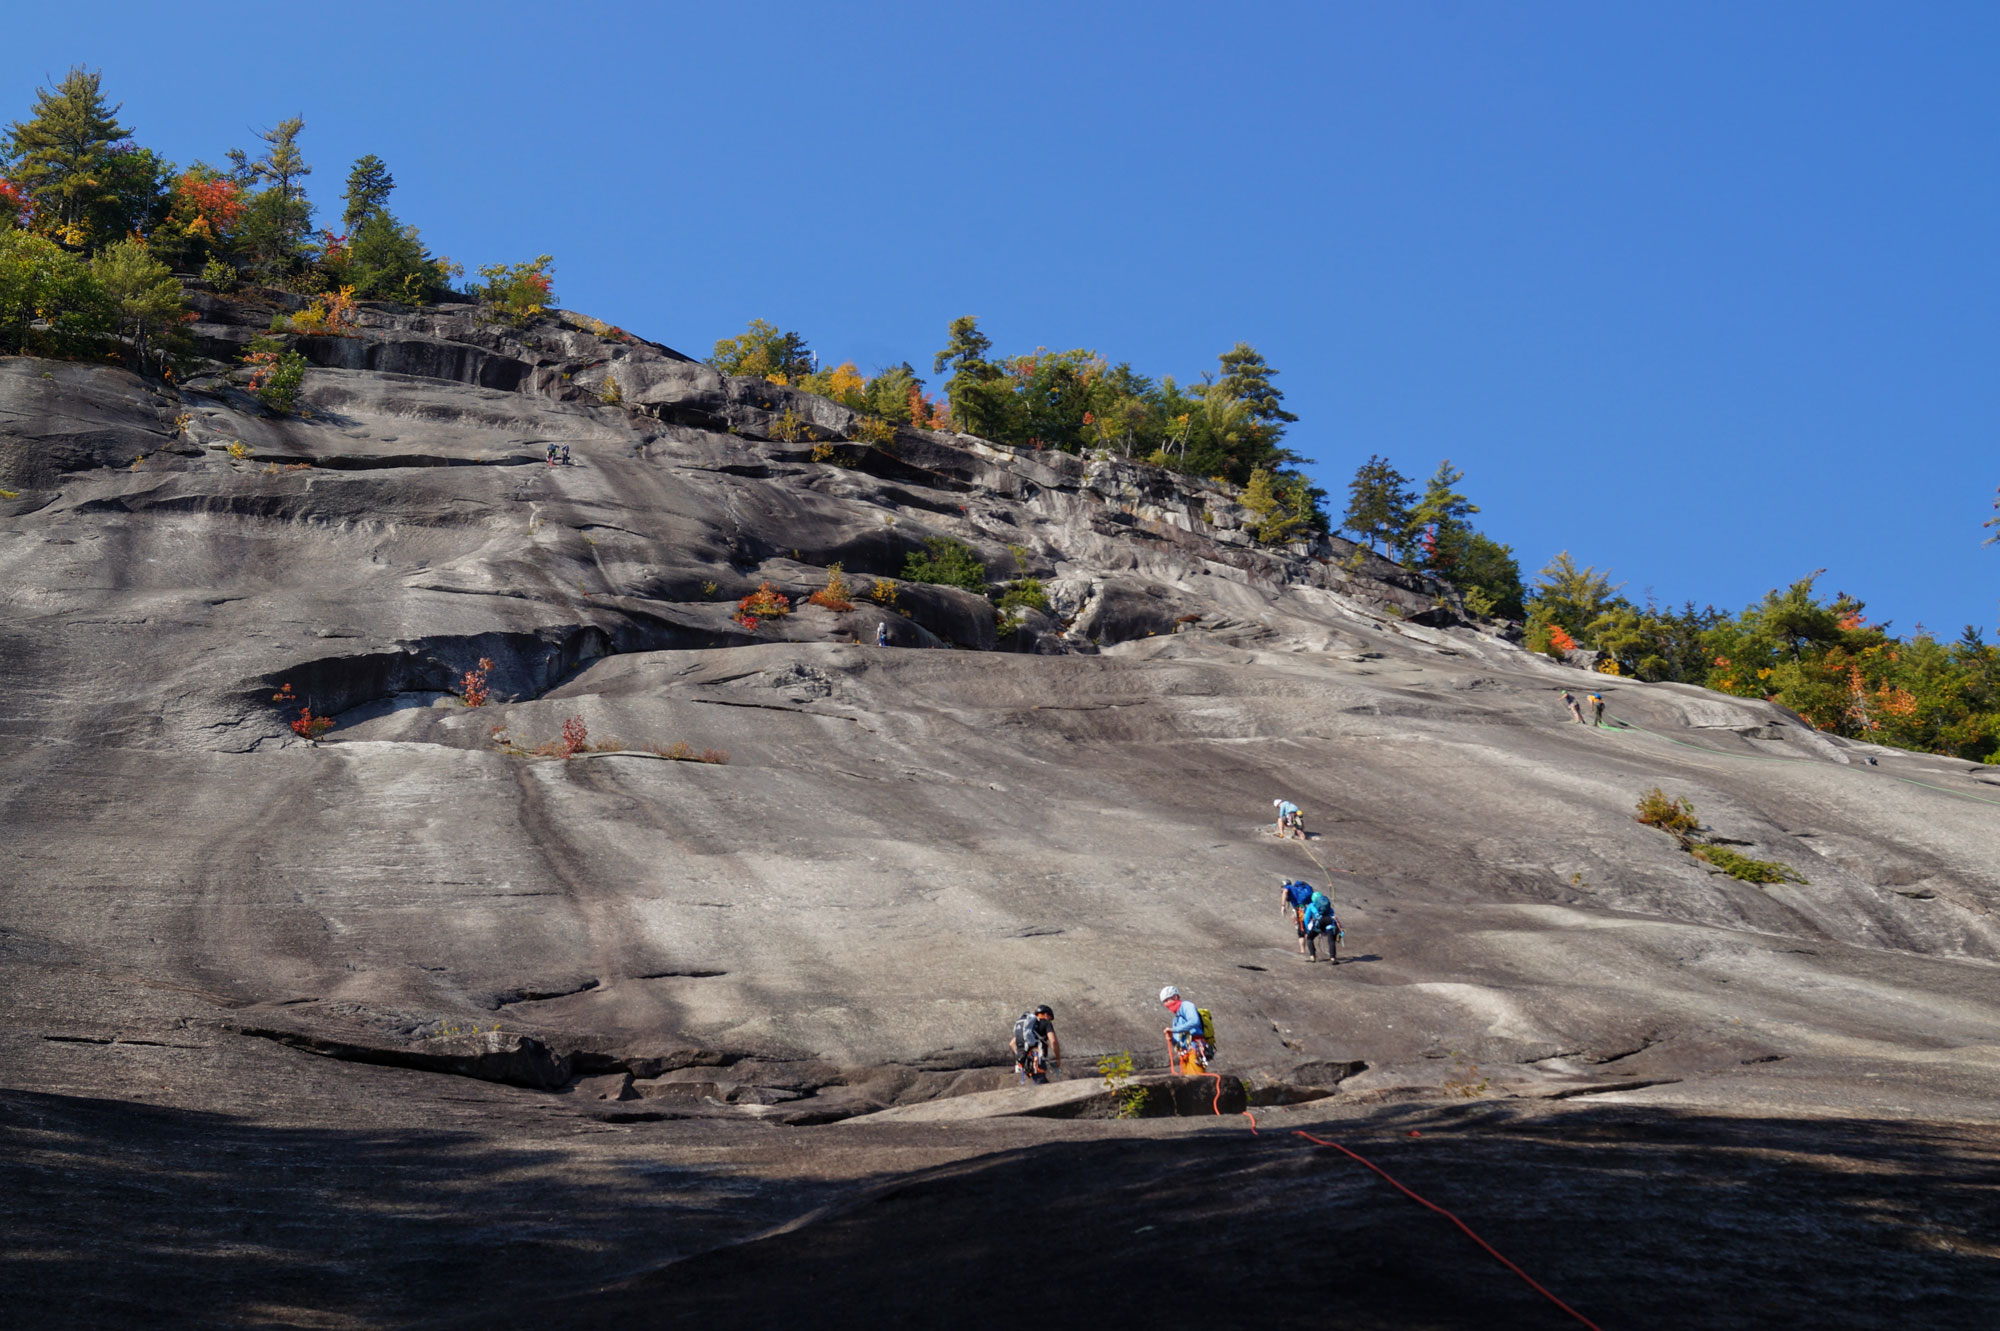
Lift Off
Standard Route’s first pitch leaves the ground and heads up and slightly right about 100 feet toward a broad bench that climbers call the Launch Pad. Barely fifth class, some parties just scramble up this pitch then transition to roped climbing on the Launch Pad. However you decide to head up, you’ll eventually want to get situated toward the right side of the Launch Pad for the easiest access to the pitches that follow. There are options for anchors near your feet if you look carefully.
The Toilet Bowl
Standard Route’s next pitch (5.1R, 110 ft) heads up and slightly right to one of the more humorous features on Whitehorse—the Toilet Bowl. It’s a big hole in the slab with a two-bolt anchor at the top. The pitch is somewhat run-out, although you will pass several flakes that have some options for gear along the way.
Crystal Pocket
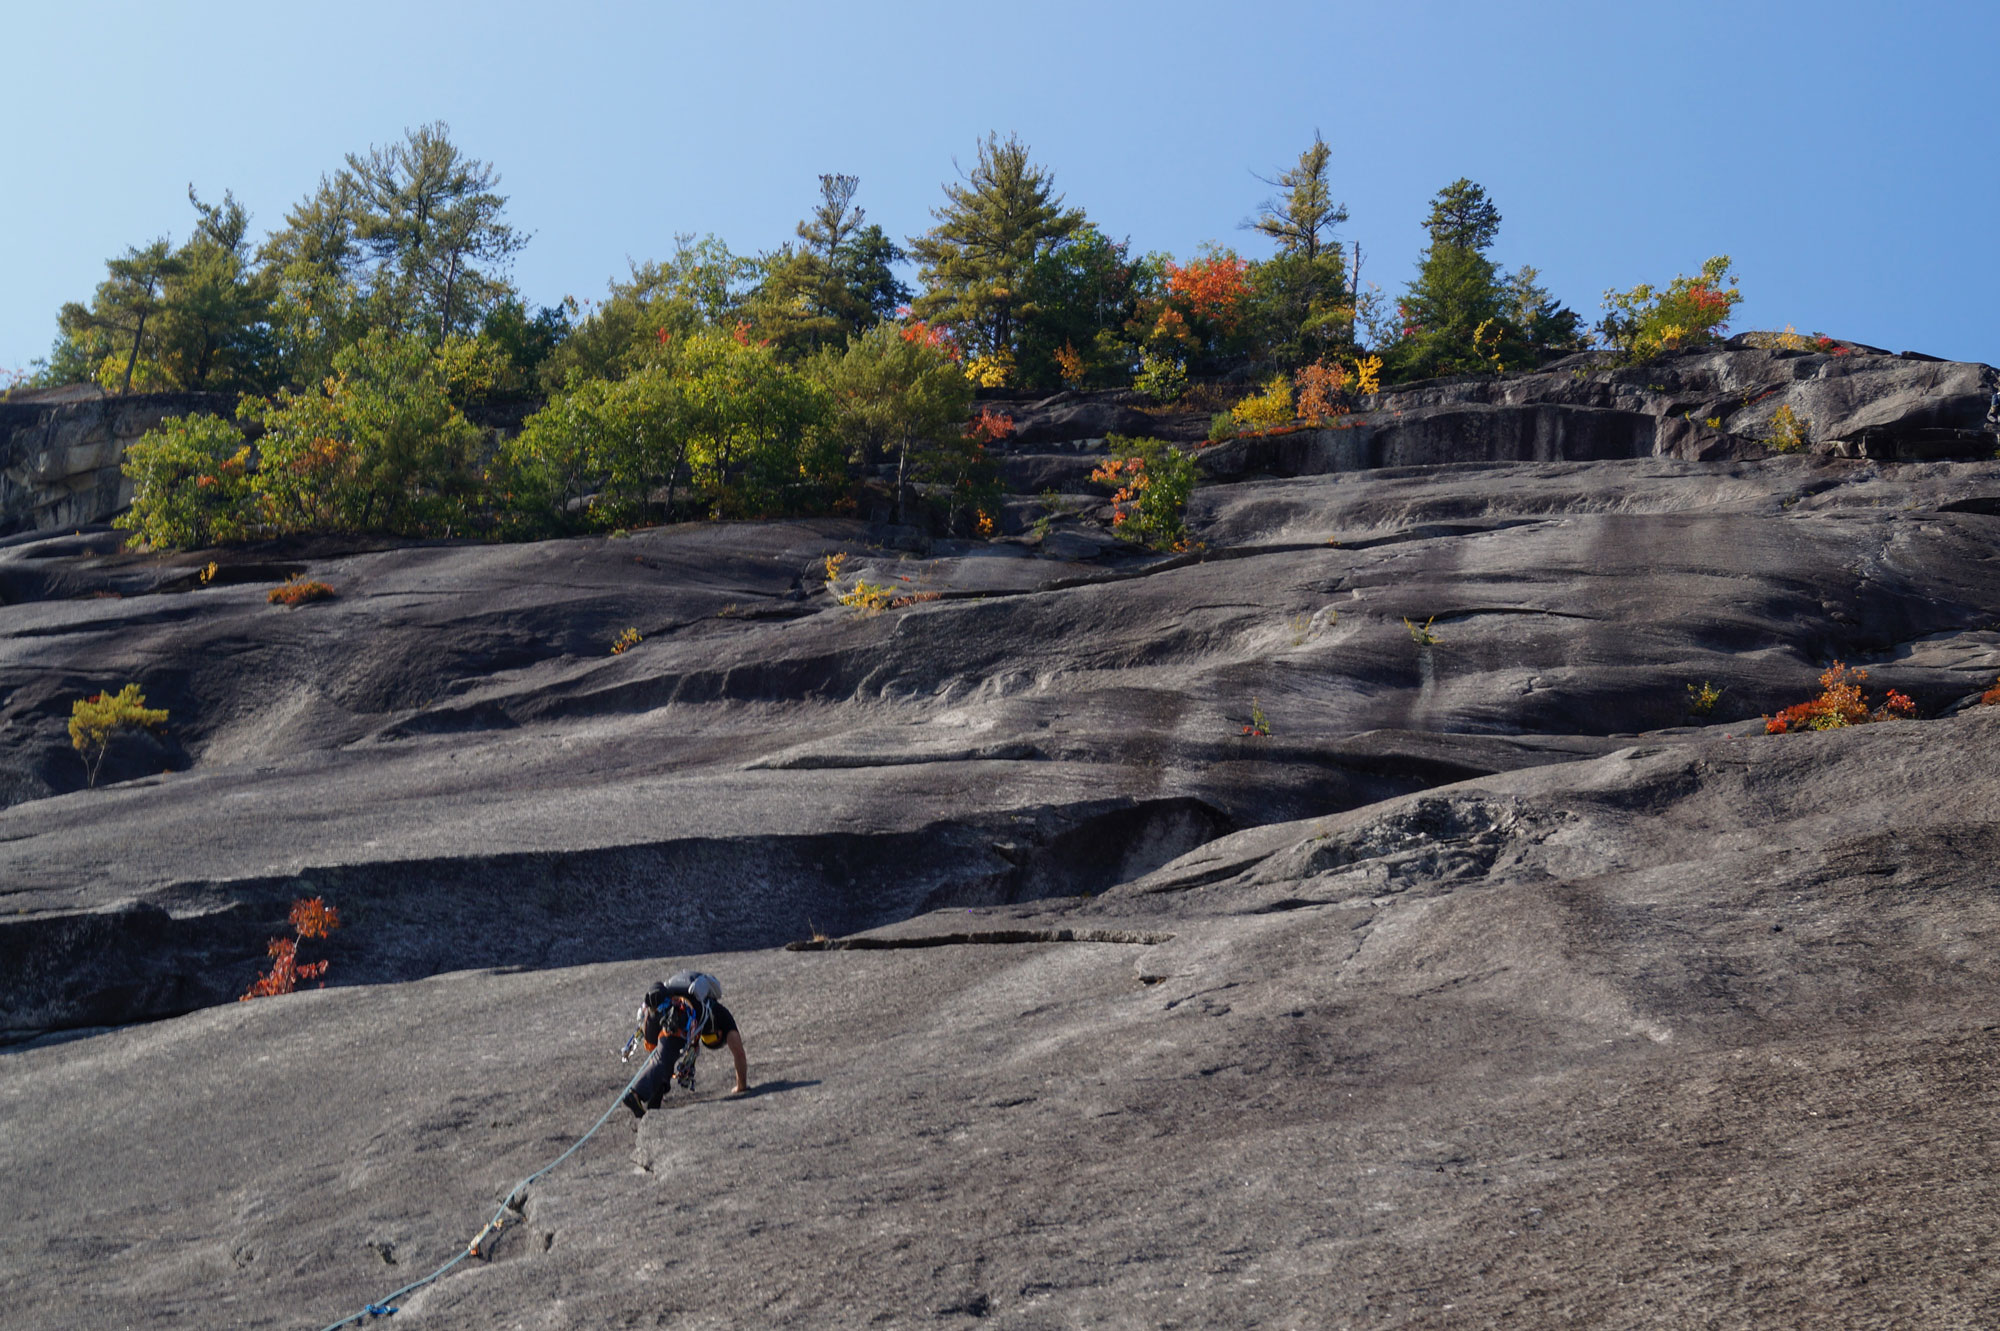
With your crew converged on the Toilet Bowl, leave the anchor and head up the next pitch. One of the longer pitches on the route (150 feet, 5.2R), it angles slightly left leaving the anchor heading toward two bolts. From the higher bolt, delicately pad a bit more up and left toward a flake at mid-pitch (place some gear here), then blast up the slab toward the Crystal Pocket anchor, a two-tiered ledge covered in crystals with a two-bolt anchor.
Getting to the Arch
From the Crystal Pocket, your next destination is a thread anchor in Standard Route’s main arch about 100 feet up. To get there, first climb a steeper swell (crux, 5.3), then follow a series of pockets out and right as you angle up to the arch. If you have tricams on your rack, they’ll definitely find homes in these cool-looking pockets.
Once you’re at the thread, either build an anchor or proceed a few feet up and around the corner to a vertical crack that eats mid-sized cams. Neither of these anchors is particularly comfortable, but from the latter anchor, your second will have a better view of the pitch ahead and won’t be hassled at the rap station by a party rappelling off Sliding Board or Wave Length.
Lunch Ledge
Perhaps the most enjoyable section of the climb, the next pitch (5.4, 130 ft) first follows the large arch as it arcs up and right. At a weakness, the pitch then ascends a small break in the slab up featured, vertical terrain to a two-bolt anchor atop Lunch Ledge. This section of hero climbing has great hands and feet and is quite moderate—so long as you climb the easier, left side of the intersecting arch.
Due to its size and location (more than halfway up the climb), Lunch Ledge is the perfect spot to pause, have a snack, and rehydrate. Many parties rappel from here—working down to the ground in five double-rope rappels. If you’re at all wavering about going higher, this is one of the last good spots to rappel from.
Pro Tip: Since rappelling on Whitehorse requires two 60m ropes, plan on climbing as a party of three or carrying a long tag line so that you can get down if you decide to rap.
The Business
The pitch above Lunch Ledge is the 5.5 crux of Standard Route. Start on the right end of Lunch Ledge and climb up about 20 feet. From here, climbers traverse right to a left-leaning ramp that takes you to the top of the pitch. Start by making a sharp right and padding delicately across a smooth slab protected by a bolt. Next, step slightly down onto a small ledge, clip another bolt, and continue padding right past the infamous “Brown Spot” and toward the ramp. Once on the ramp, continue up for about 40 feet to a right-facing corner. Climb through the corner and then continue up and left for a few additional moves. Build an anchor below the final overlap.
Besides presenting the route’s physical crux, this twisty-turny pitch also presents a rope management challenge. To minimize rope drag, consider placing long slings on your pieces. Another alternative is to do the more direct 5.7 variation.
The Finishing Pitches
From the anchor above the Brown Spot, there are three more pitches to the top of Standard Route. The first pitch (5.2R, 80 ft) follows the overlap left, reaching a featured dike that you’ll ascend briefly to a ledge. Build an anchor here.
The last two pitches (both 5.2R, 150 ft) follow the dike to the top of Whitehorse. These two pitches are split in the middle by another large overlap, which is easily passed on its left end near a small pine tree. Just above the pine tree, look for a small ledge where you can build an anchor.
The final pitch stays in the dike, passing one old bolt before reaching the top of the cliff. Build an anchor on a solid tree and bring the rest of your crew up.
The Variations
The Original Route: If the opening pitches above the Toilet Bowl are crowded, an excellent alternative is to start up the pitch and climb to about the half-way point. Once there, move left toward a long ledge leading over to the base of the route’s namesake arch and a two-bolt anchor. From this anchor, climbers ascend the arch for two pitches (both 5.3) rejoining the normal route at the thread anchor atop the Crystal Pocket pitch. Best avoided in wet conditions, this variation is the original Standard Route and a must-do for aficionados of Northeast climbing history.
The 5.7 Variation: A spicier alternative to the Brown Spot pitch is to take a straighter, more direct route to the anchor. Technically the fourth pitch of Slabs Direct (5.7 PG, 120 ft), this pitch starts the same way as the normal route. It climbs up and right for about 20 feet toward a left-leaning corner then deviates from the normal route—climb the corner then step right onto a slab protected by a bolt. Continue moving up and right toward a ramp. Follow the ramp left to a corner, ascend the corner (pin) and build a belay just below the final overlap, at the same spot where the Brown Spot pitch normally ends. Use long slings to minimize rope drag.
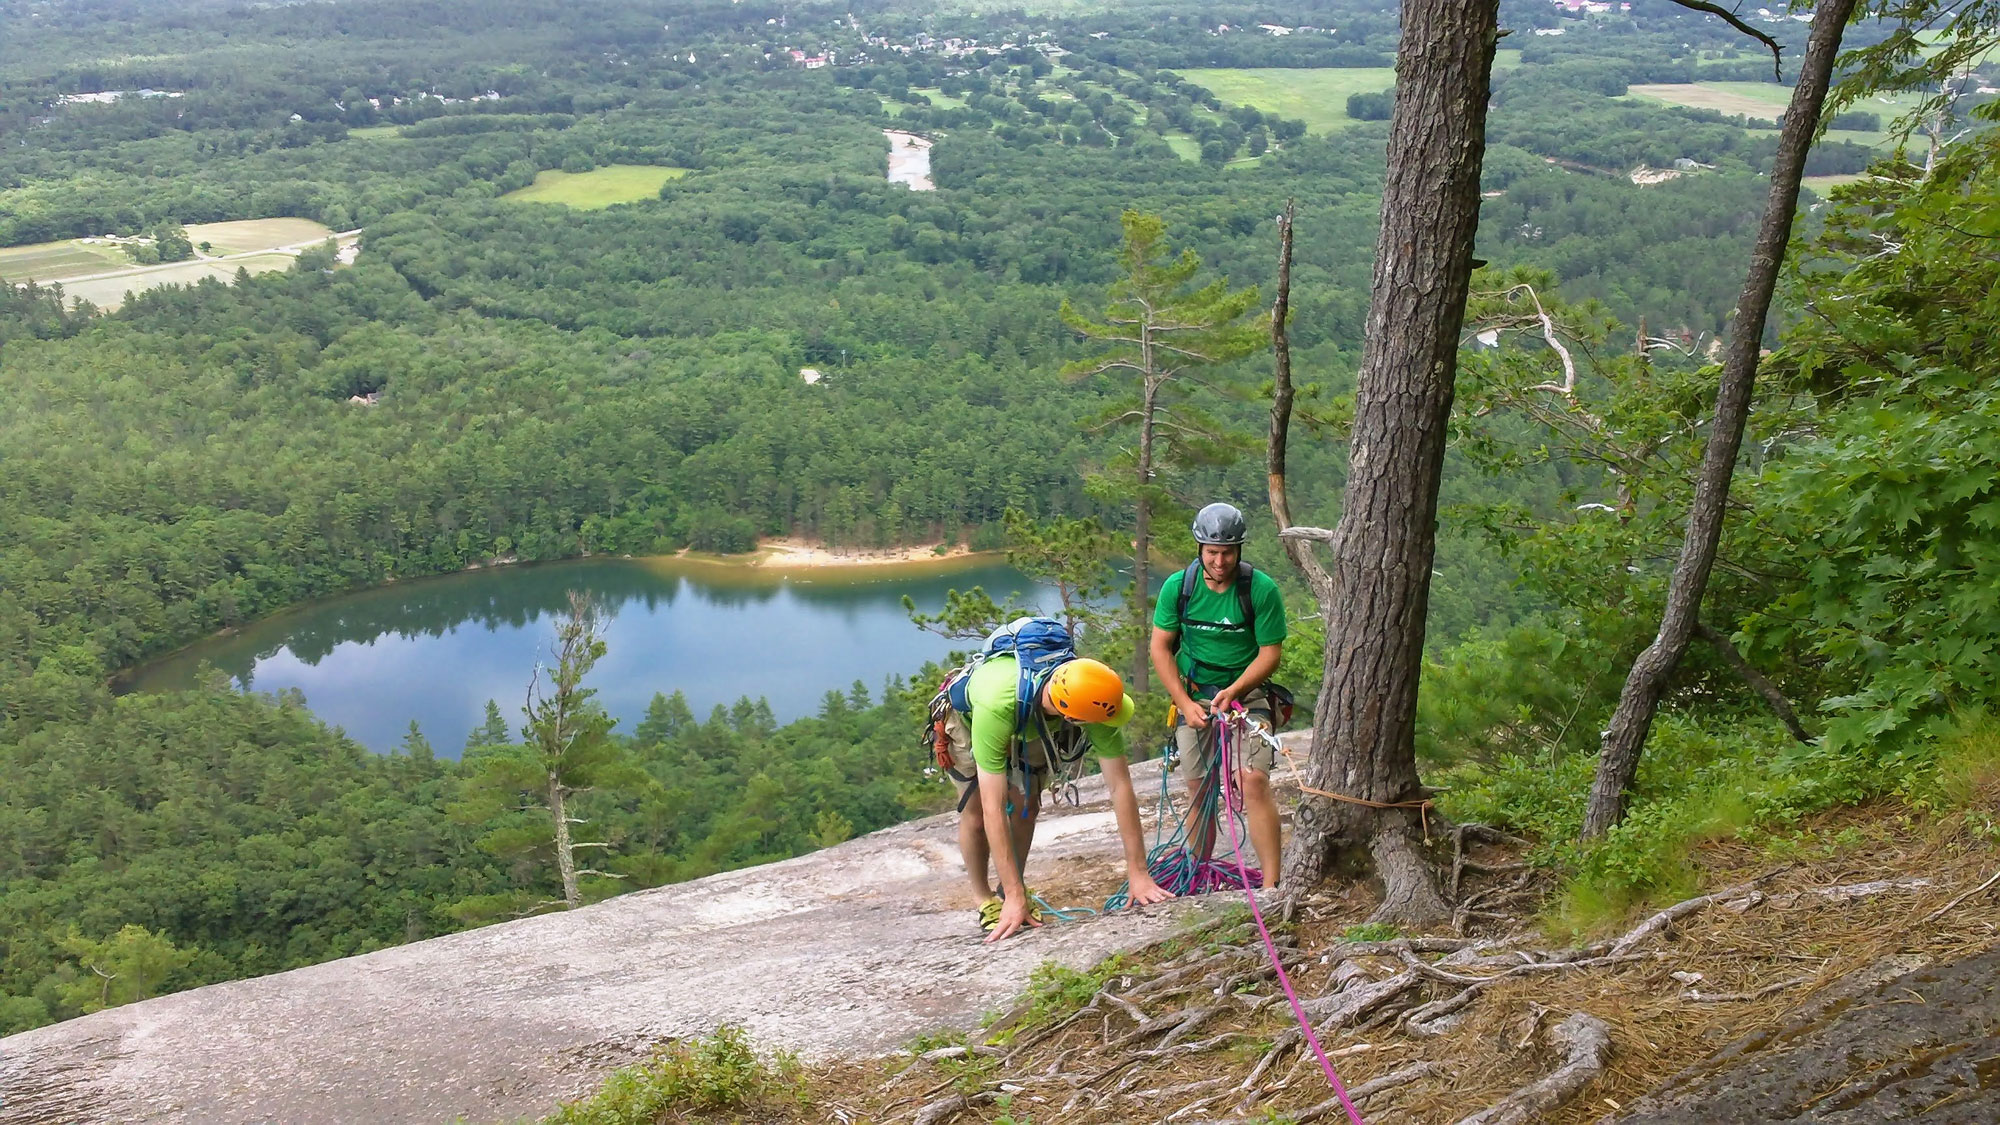
Atop Whitehorse
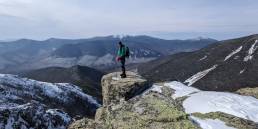
With the technical climbing behind you and ample places to sit comfortably, the top of Whitehorse Ledge provides a picturesque setting for rehydrating, switching from climbing to approach shoes, packing your rope and rack, and getting ready for the descent. Before leaving, be sure to soak up the fantastic views, with North Conway in the foreground and the White Mountains spilling out north.

Getting Down
From the top of the climb, start walking climbers’ right toward the saddle between Whitehorse and Cathedral, following a well-trod path ducking in and out of the woods and occasionally onto some low-angle slabs. Shortly after the trail departs from the slabs for a final time, it forks. Head right (going left will bring you to Cathedral), and follow the initially steep, but eventually mellow, trail for 15 to 20 minutes to the base of the slabs.

The Kit
- Tricams are a particularly useful piece of protection on Standard Route, as they slide into pockets that don’t accommodate nuts or cams.
- A 60-meter rope is the perfect length for Standard Route and you won’t go wrong with a Sterling Nano IX 9.0 mm, but like we said above, if you plan on repelling, you’ll need two.
- Big enough to carry your climbing kit, layers, food, and water, the Black Diamond Speed 22 is the ideal-sized climbing pack for a trip up Whitehorse.
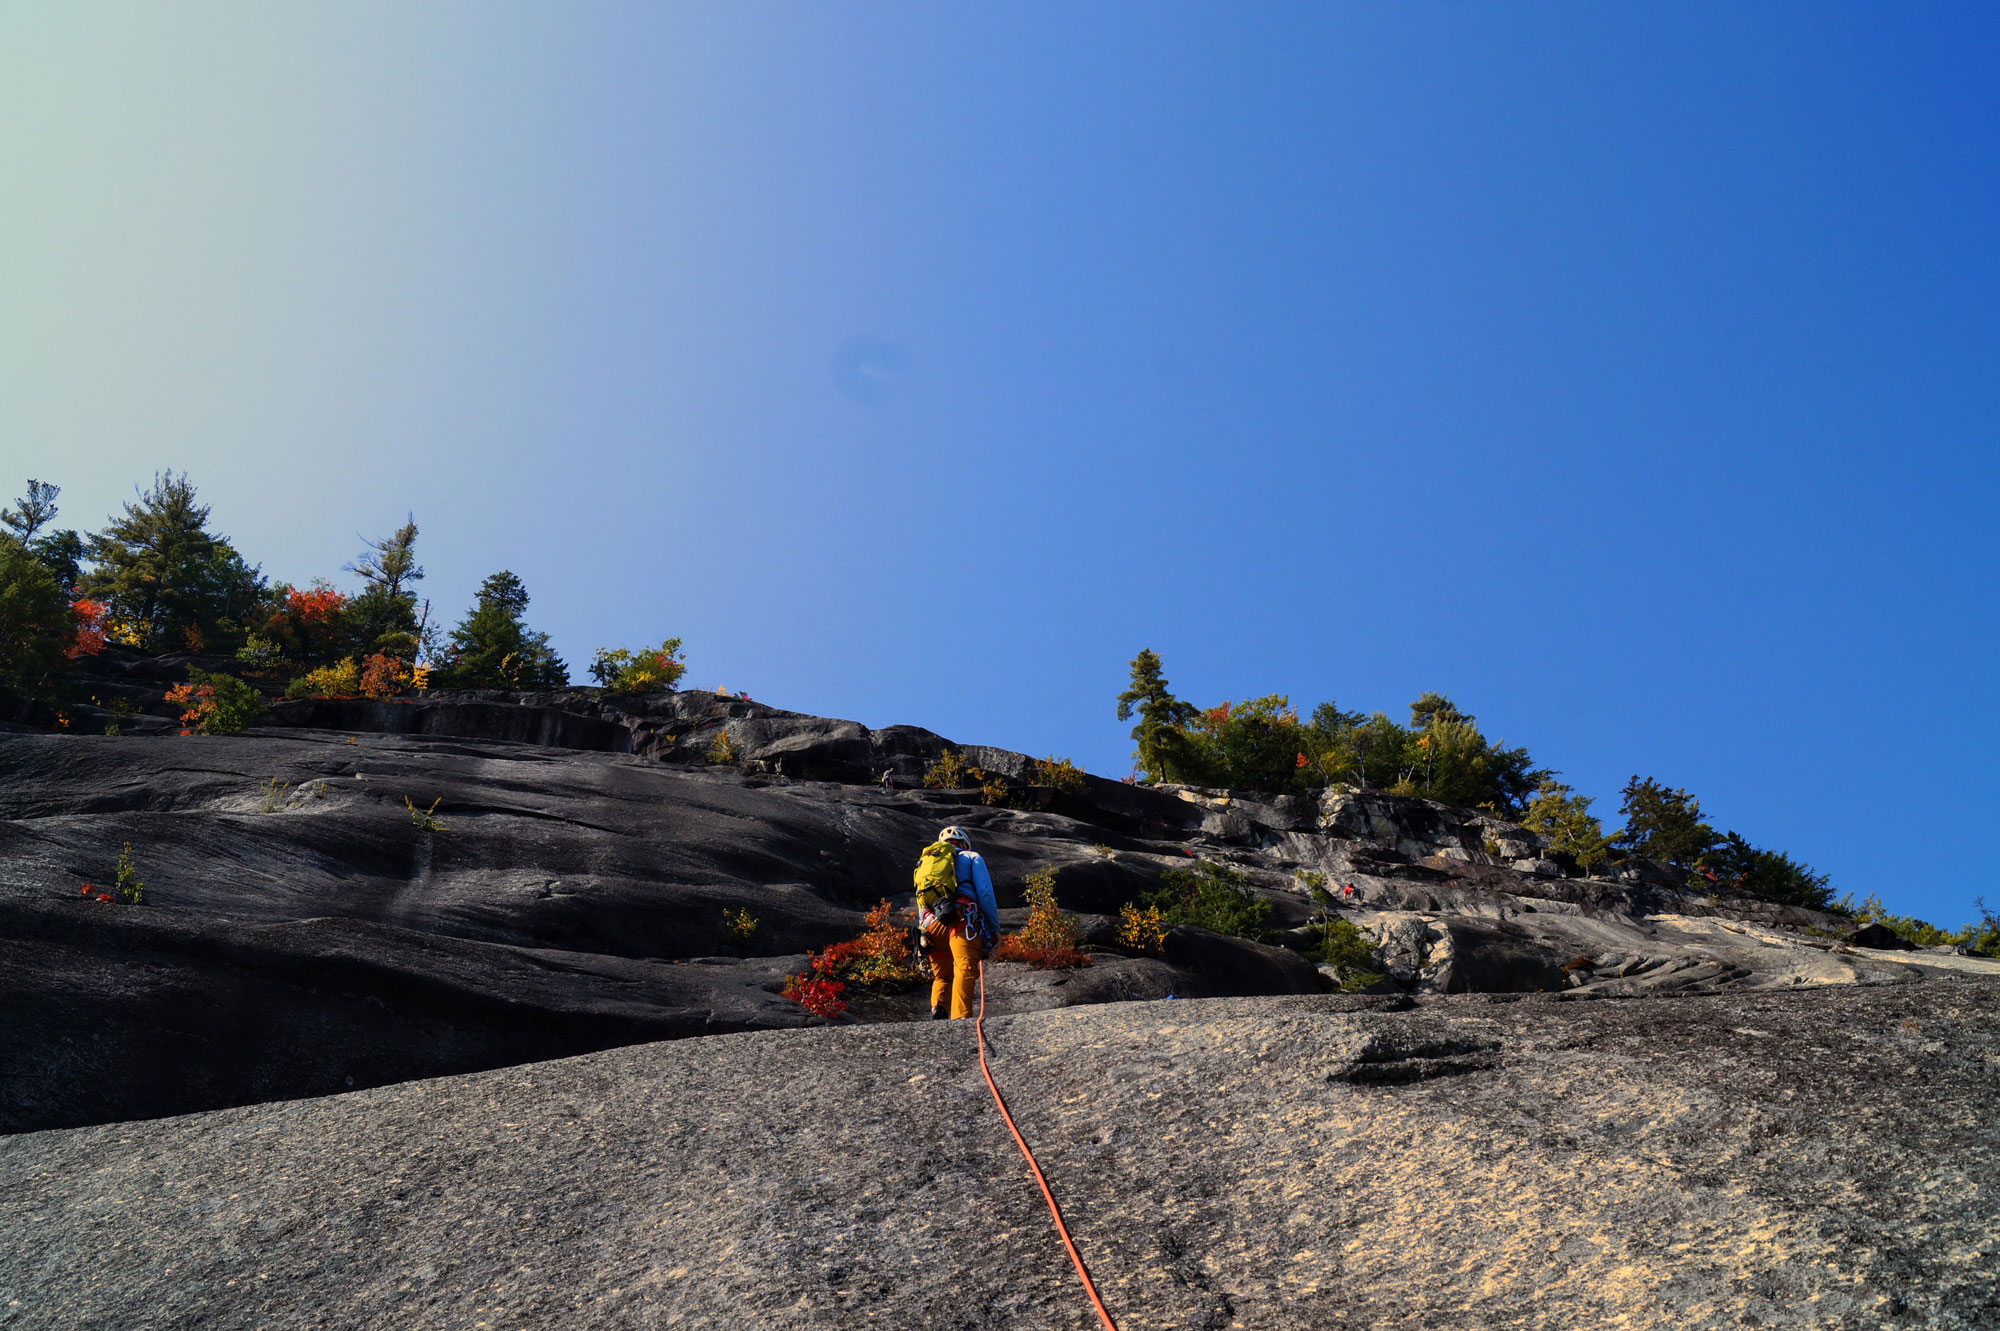
- There isn’t much protection from the sun on Whitehorse’s exposed slabs—a sun shirt offers simple, safe protection.
- A sticky-soled pair of approach shoes are invaluable at Whitehorse—many will scramble up to the Launch Pad (or even the first few pitches) in them while everyone appreciates them on the at-times-steep and scrambly descent.
- Feel like climbing more? Check out the North Conway Rock Guide for all the information needed to tackle other routes at Whitehorse, along with the area’s other crags.
Keys to the Trip
- Slab climbing on wet rock is terrifying. If the rock is wet, it’s raining, or rain is in the forecast, consider a different objective.
- The routes on the Slabs on Whitehorse (Sea of Holes, Sliding Board, Standard Route, Beginner’s Route, and Cormier-Magness) are extremely popular. Plan on an early start or climbing during the week to avoid crowds and traffic jams.
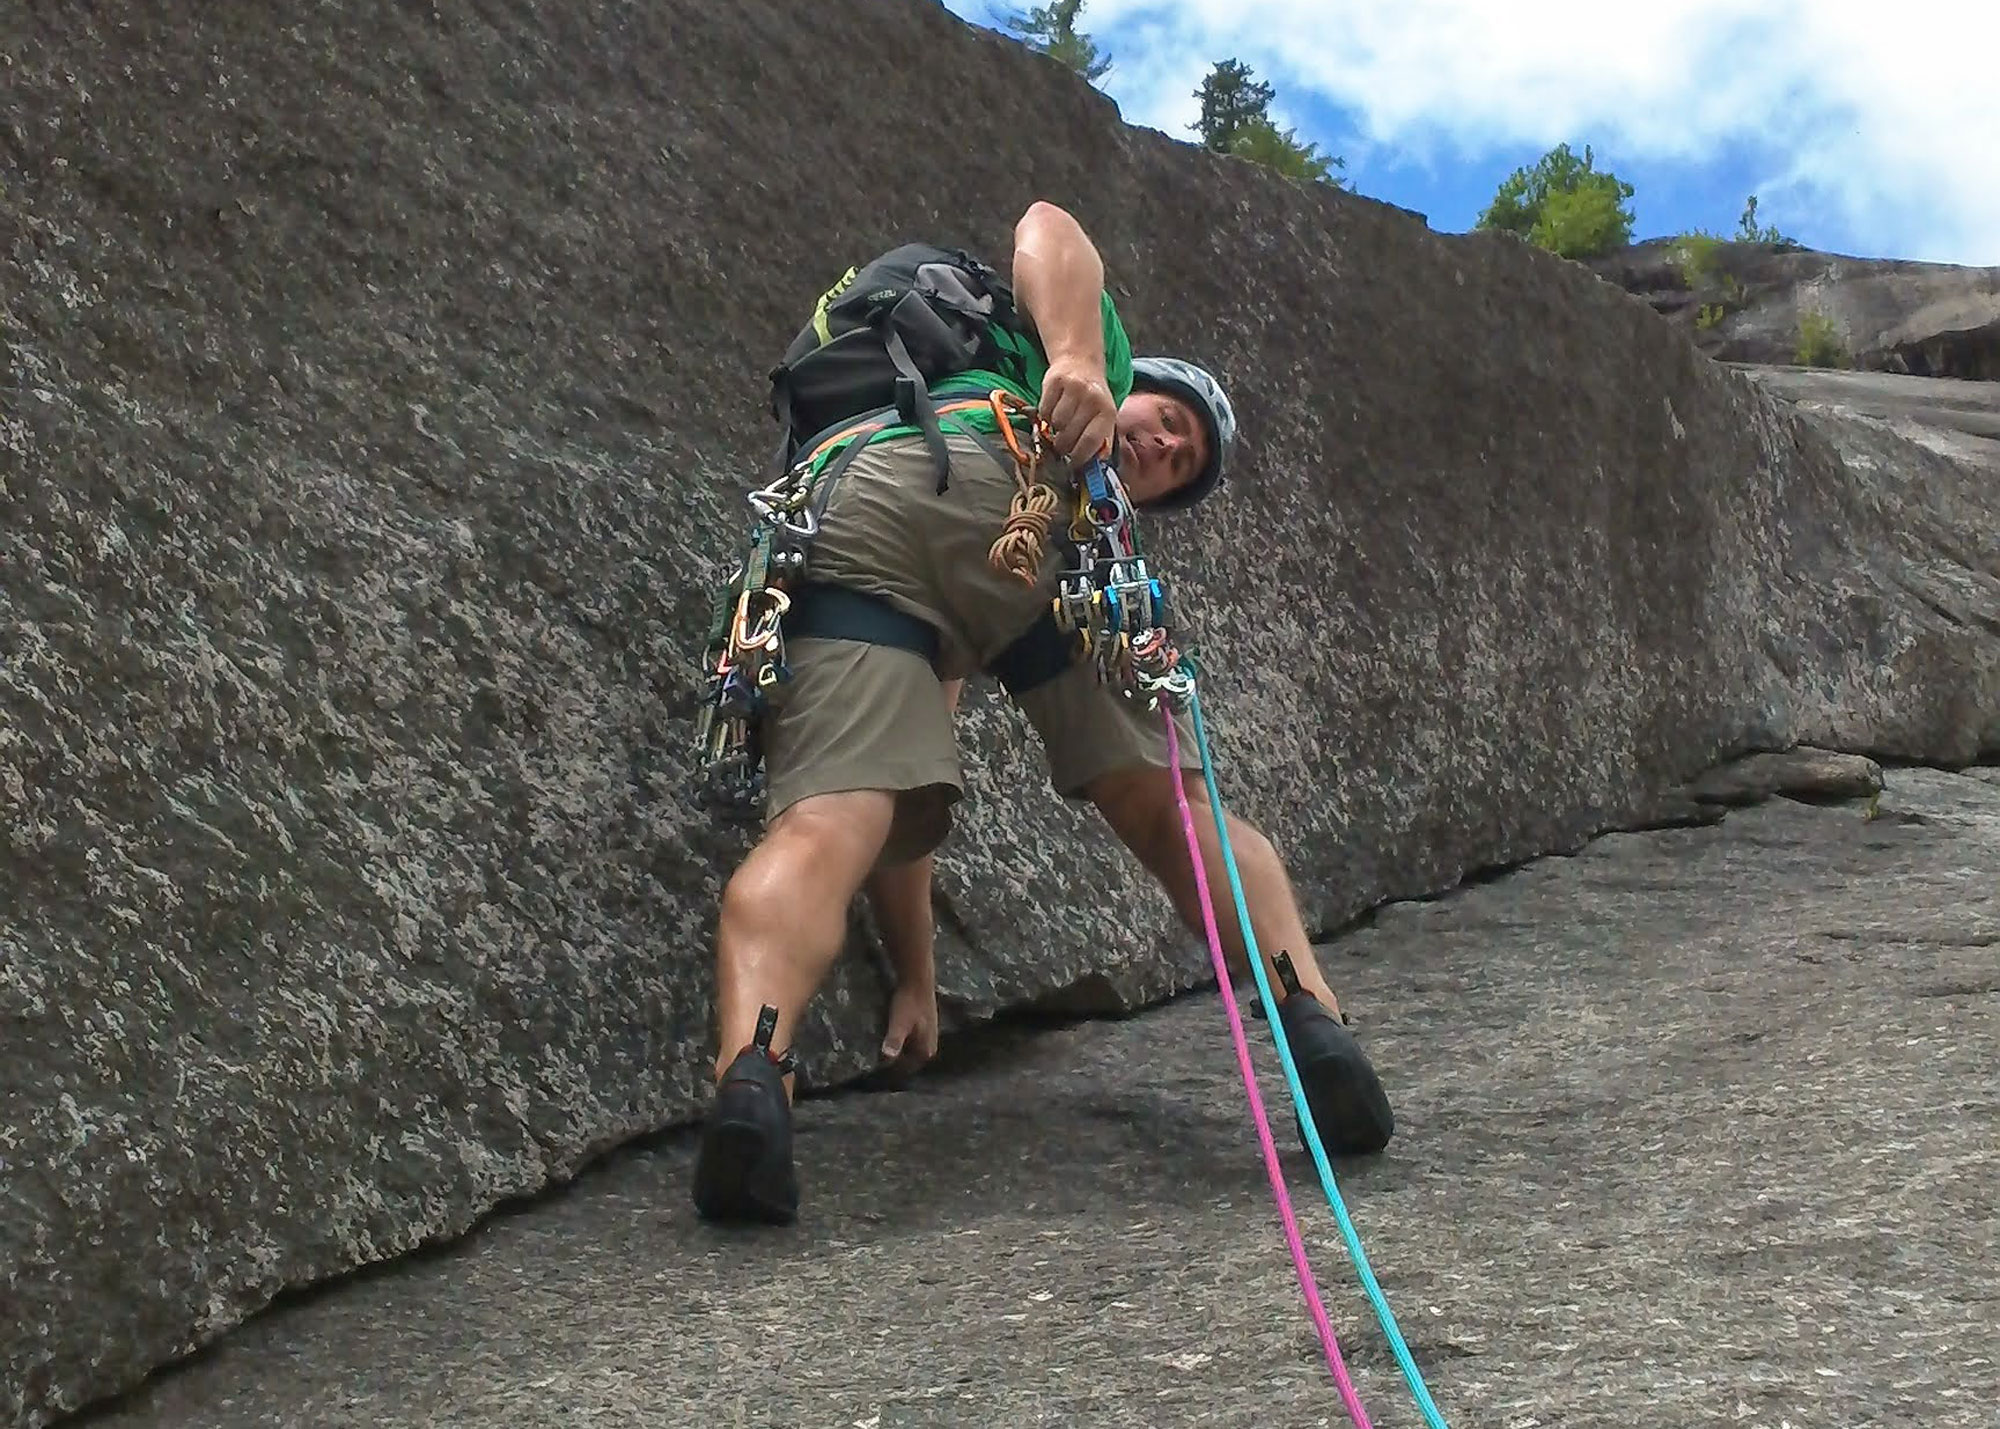
- There aren’t a lot of placements on several pitches of Standard Route. A normal rack for the route might be 9 cams (0.3, 0.4, 0.5, 0.75, 1, 2 with doubles of 0.5, 0.75, and 1), a size run of nuts (5-13), a few small tri-cams, and 8 alpine draws.
- Sending Standard Route is an achievement worth celebrating. Flatbread Company in North Conway is only a few minutes from the cliff and offers the tastiest pizza around.
- Realized you were missing a key piece of gear on the route? Want to cruise for a deal on a new puffy? Just want to check out the latest and greatest in outdoor gear? Stop into our North Conway store before you head home!
- If you’re not sure you’re up for leading the route but really want to climb it, the Eastern Mountain Sports Climbing School will be happy to guide you up it.
Current Conditions
Have you recently climbed Standard Route on Whitehorse? What did you think? Post your experience in the comments for others!
Related Posts