

I love a proper après just as much as the next person. But, after a long day on the slopes, a good stretch can be just as satisfying as a good brew. Throwing in a few yoga poses before getting hydrated not only helps the body recover from the runs taken that day, but it will also help build strength in all the right places, so you’ll be as ready as ever for your next ski day.
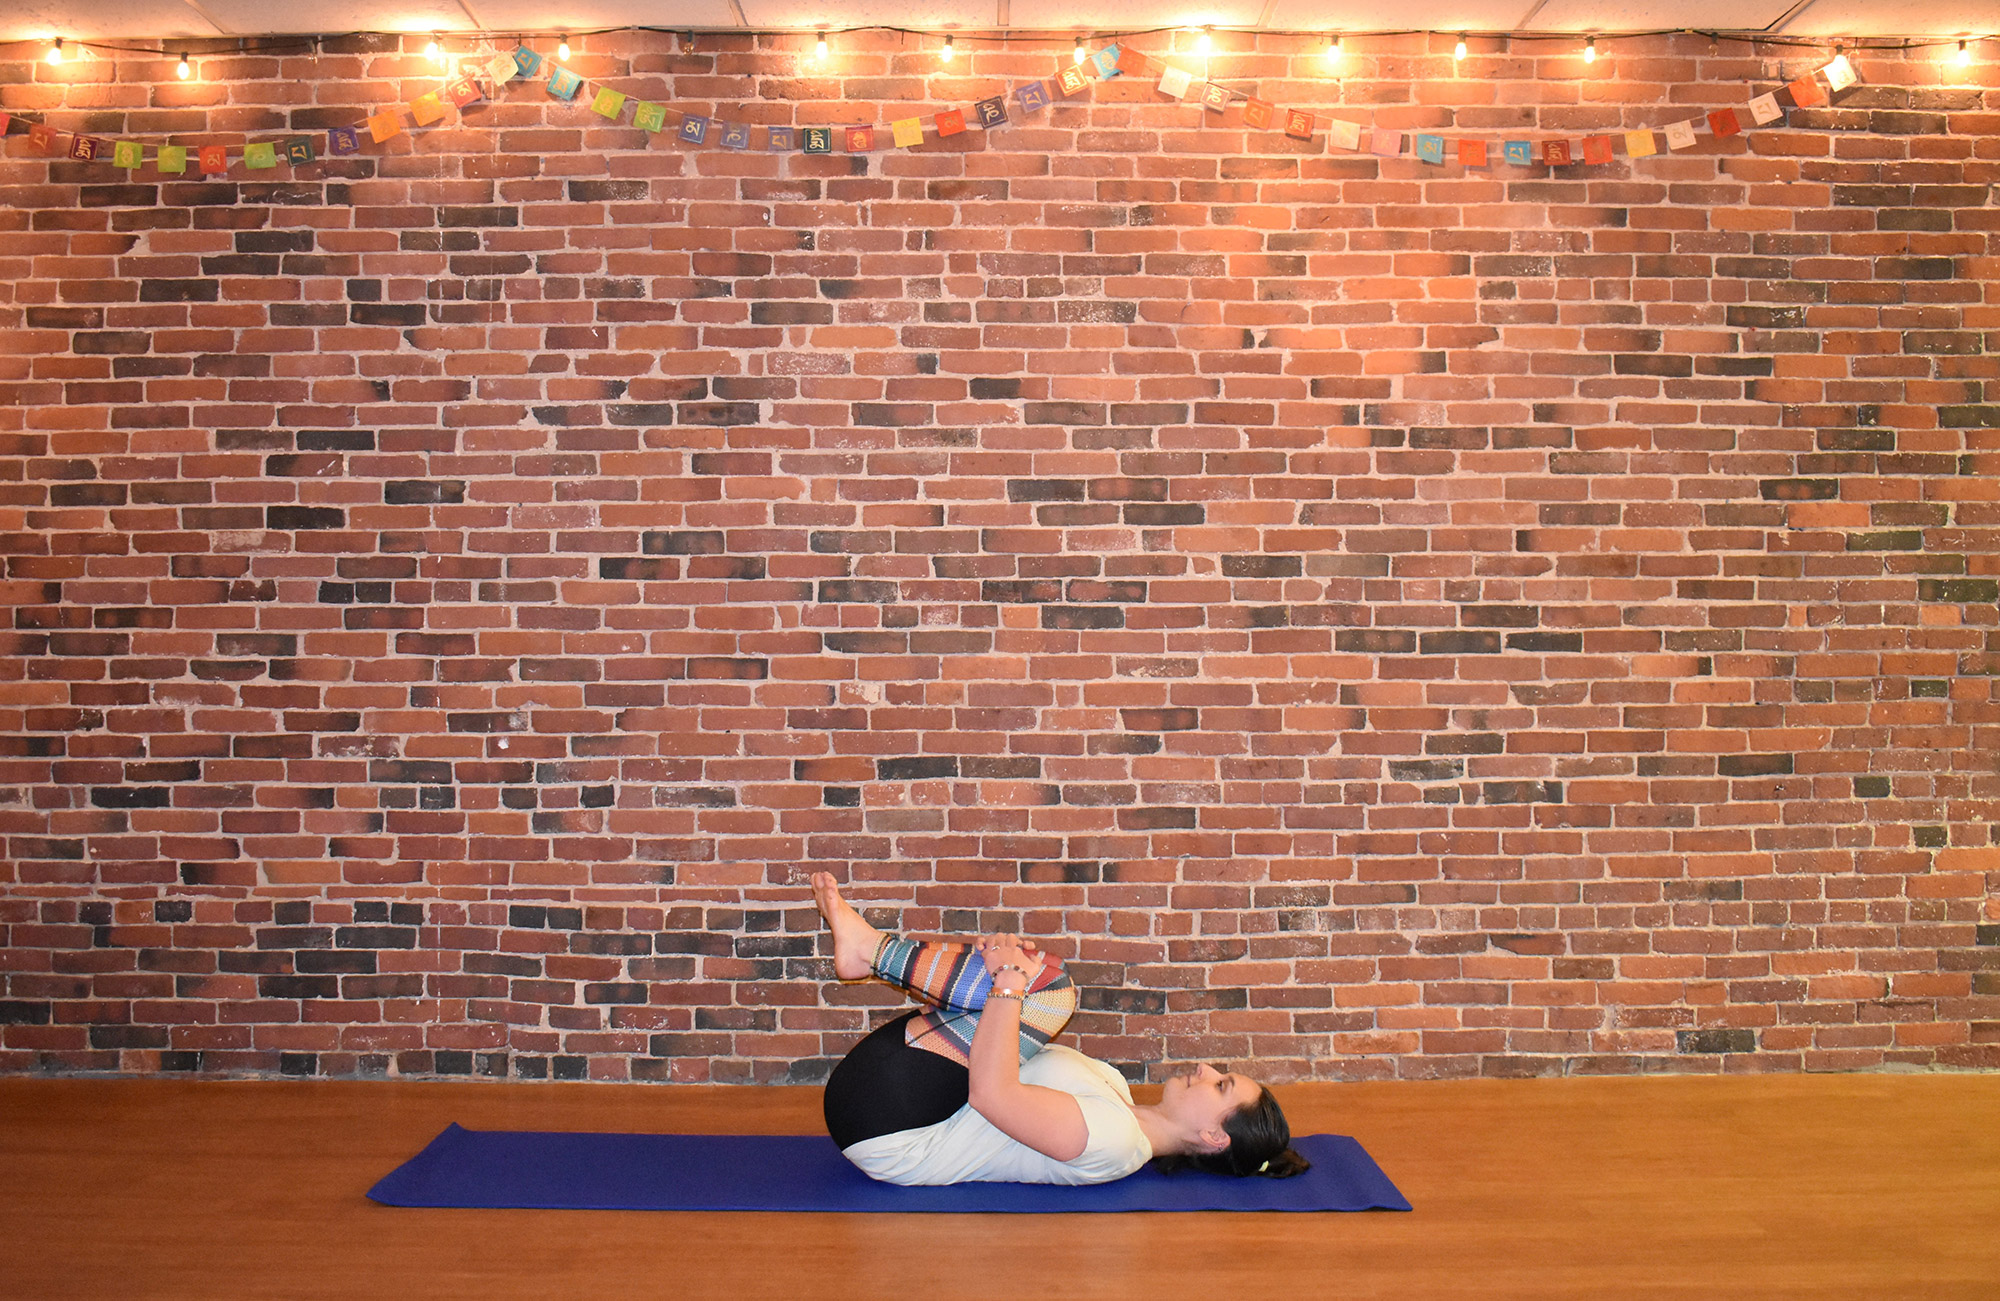
1. Reclined Child’s Pose
Skiing and snowboarding both ask a lot of your feet and ankles. So, let’s give them a break for a few minutes by lying down. Then, hug the knees in toward the chest, and slowly roll your feet around a few times in each direction to give the ankles some love. Your hips have also done a lot of work, so go ahead and “draw” circles in the air with your knees (one at a time or both together) to relieve some of the tension there, as well. If you’re still not quite ready to come up yet, take some time to gently roll back and forth for a nice little back massage first.
- Variation: If hugging the knees toward your chest is uncomfortable, try guiding them toward the armpits instead.
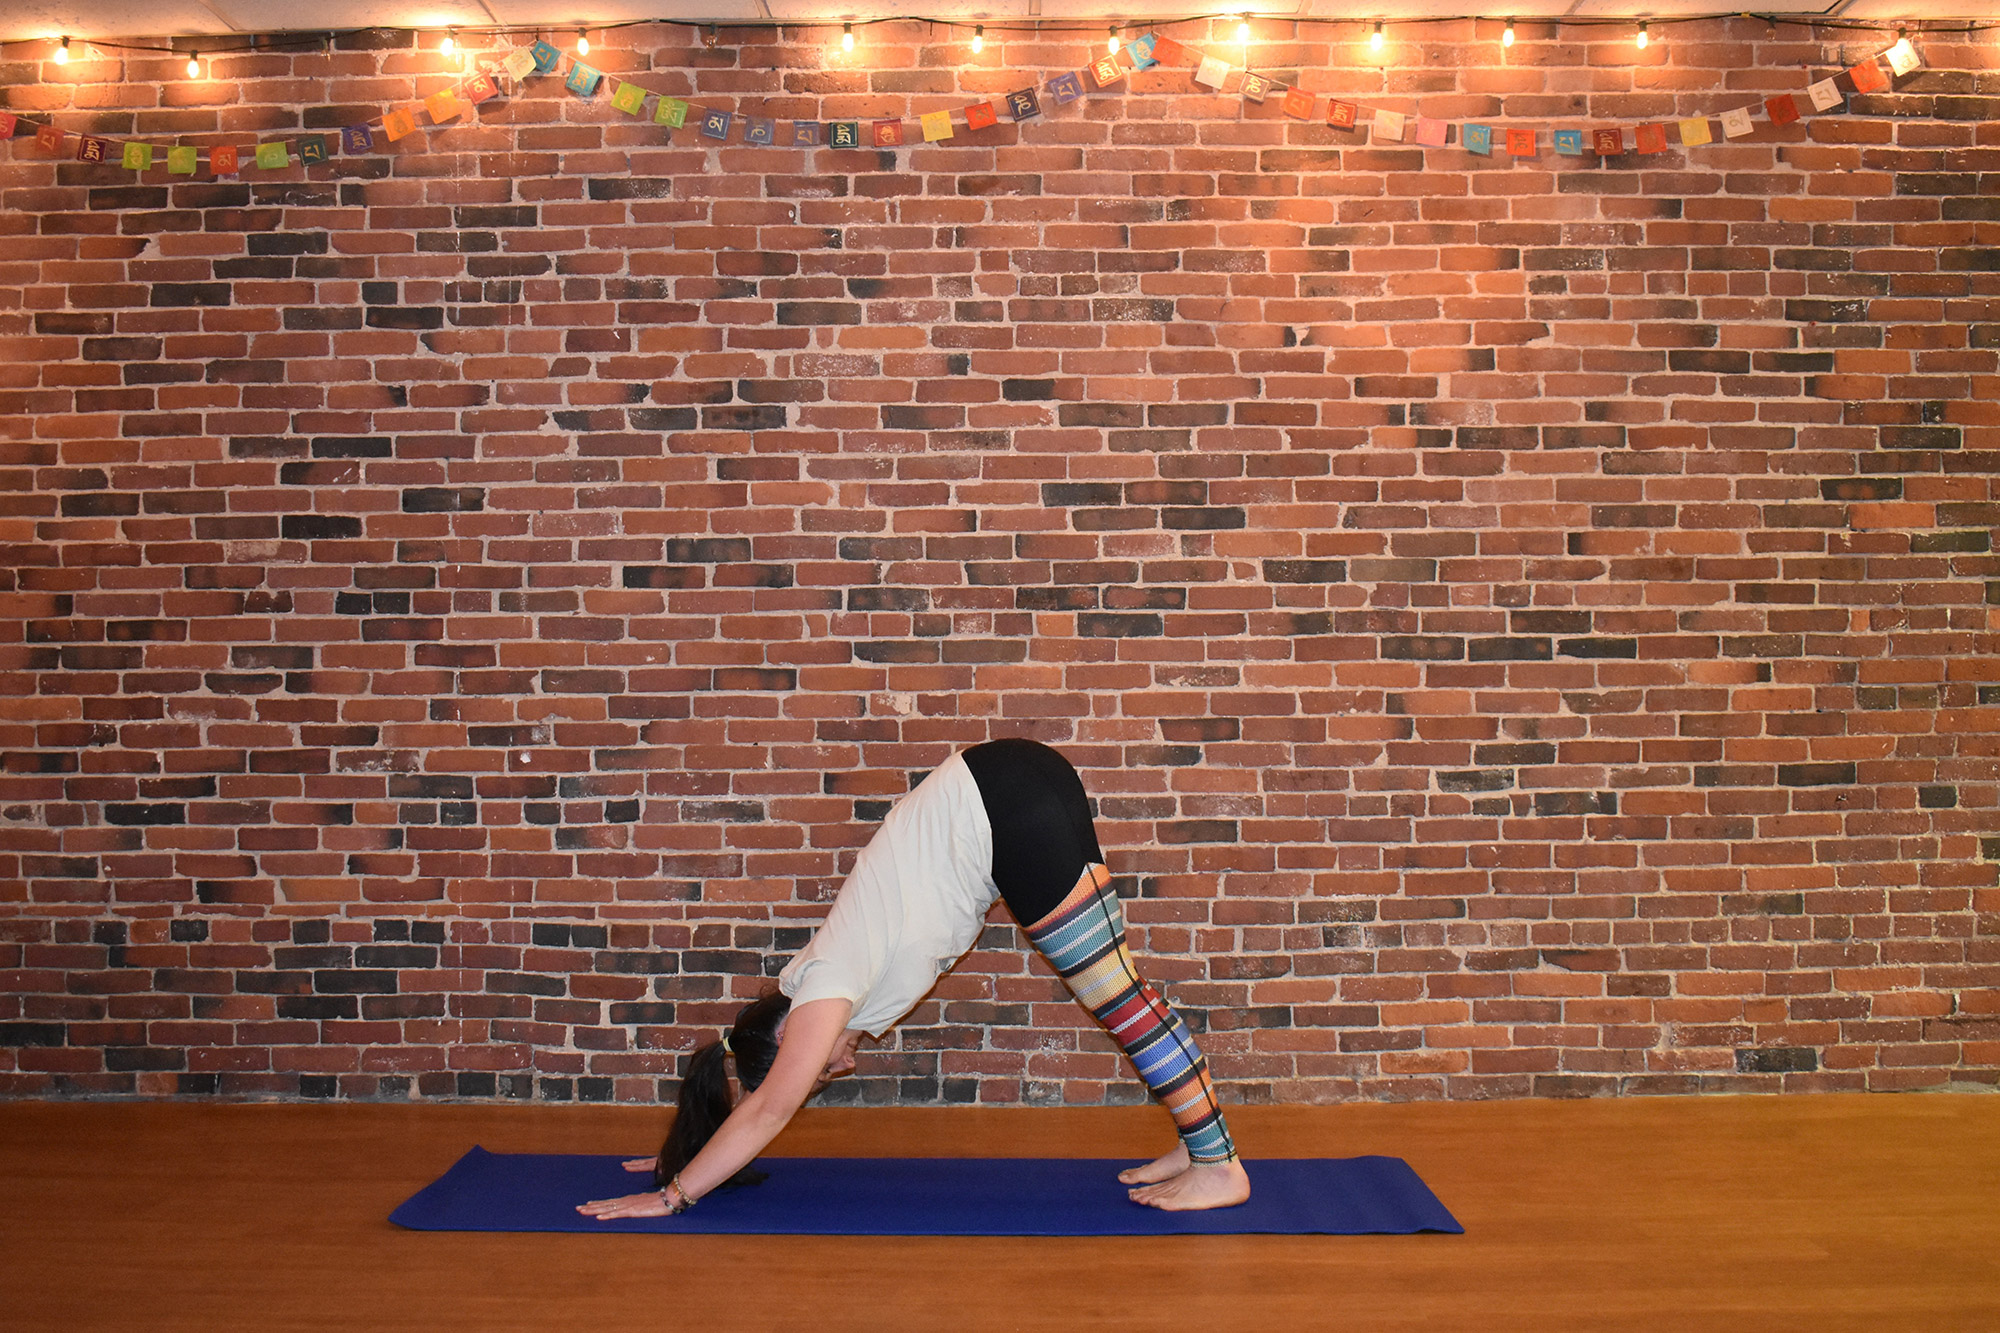
2. Downward-Facing Dog
There’s a reason yoga classes typically involve so many down dogs. Well, actually, there are a lot of reasons. For skiers and boarders, some of the more relevant benefits of this “basic” pose include stretching and toning hamstrings and calves, working the small stabilizer muscles in the feet and ankles, and strengthening the muscles in your back and core.
To come into your Downward-Facing Dog, start on your hands and knees, with your toes tucked under. On an exhale, press through your hands, and start to lift the knees off the floor while keeping them slightly bent. As your spine begins to lengthen, start to straighten the legs, pressing your heels toward the floor and being careful not to lock out your knees. Keep in mind that they don’t have to touch all the way down! Then, take a few moments to “walk your dog” by pedaling through the feet, before you settle into stillness. As you do this, still actively press through the hands, working the heels toward the floor and lifting the hips high. Hold the pose for as long as you are comfortable, ideally up to two minutes.
- Variation 1: With extra-tight calves or hammies, straightening the legs can feel not-so-great. Instead, try keeping a gentle bend in the knees to take some of the pressure off the backs of your legs.
- Variation 2: If your wrists get cranky in this pose, practice Dolphin Pose instead by lowering onto your forearms while keeping the rest of your alignment the same.
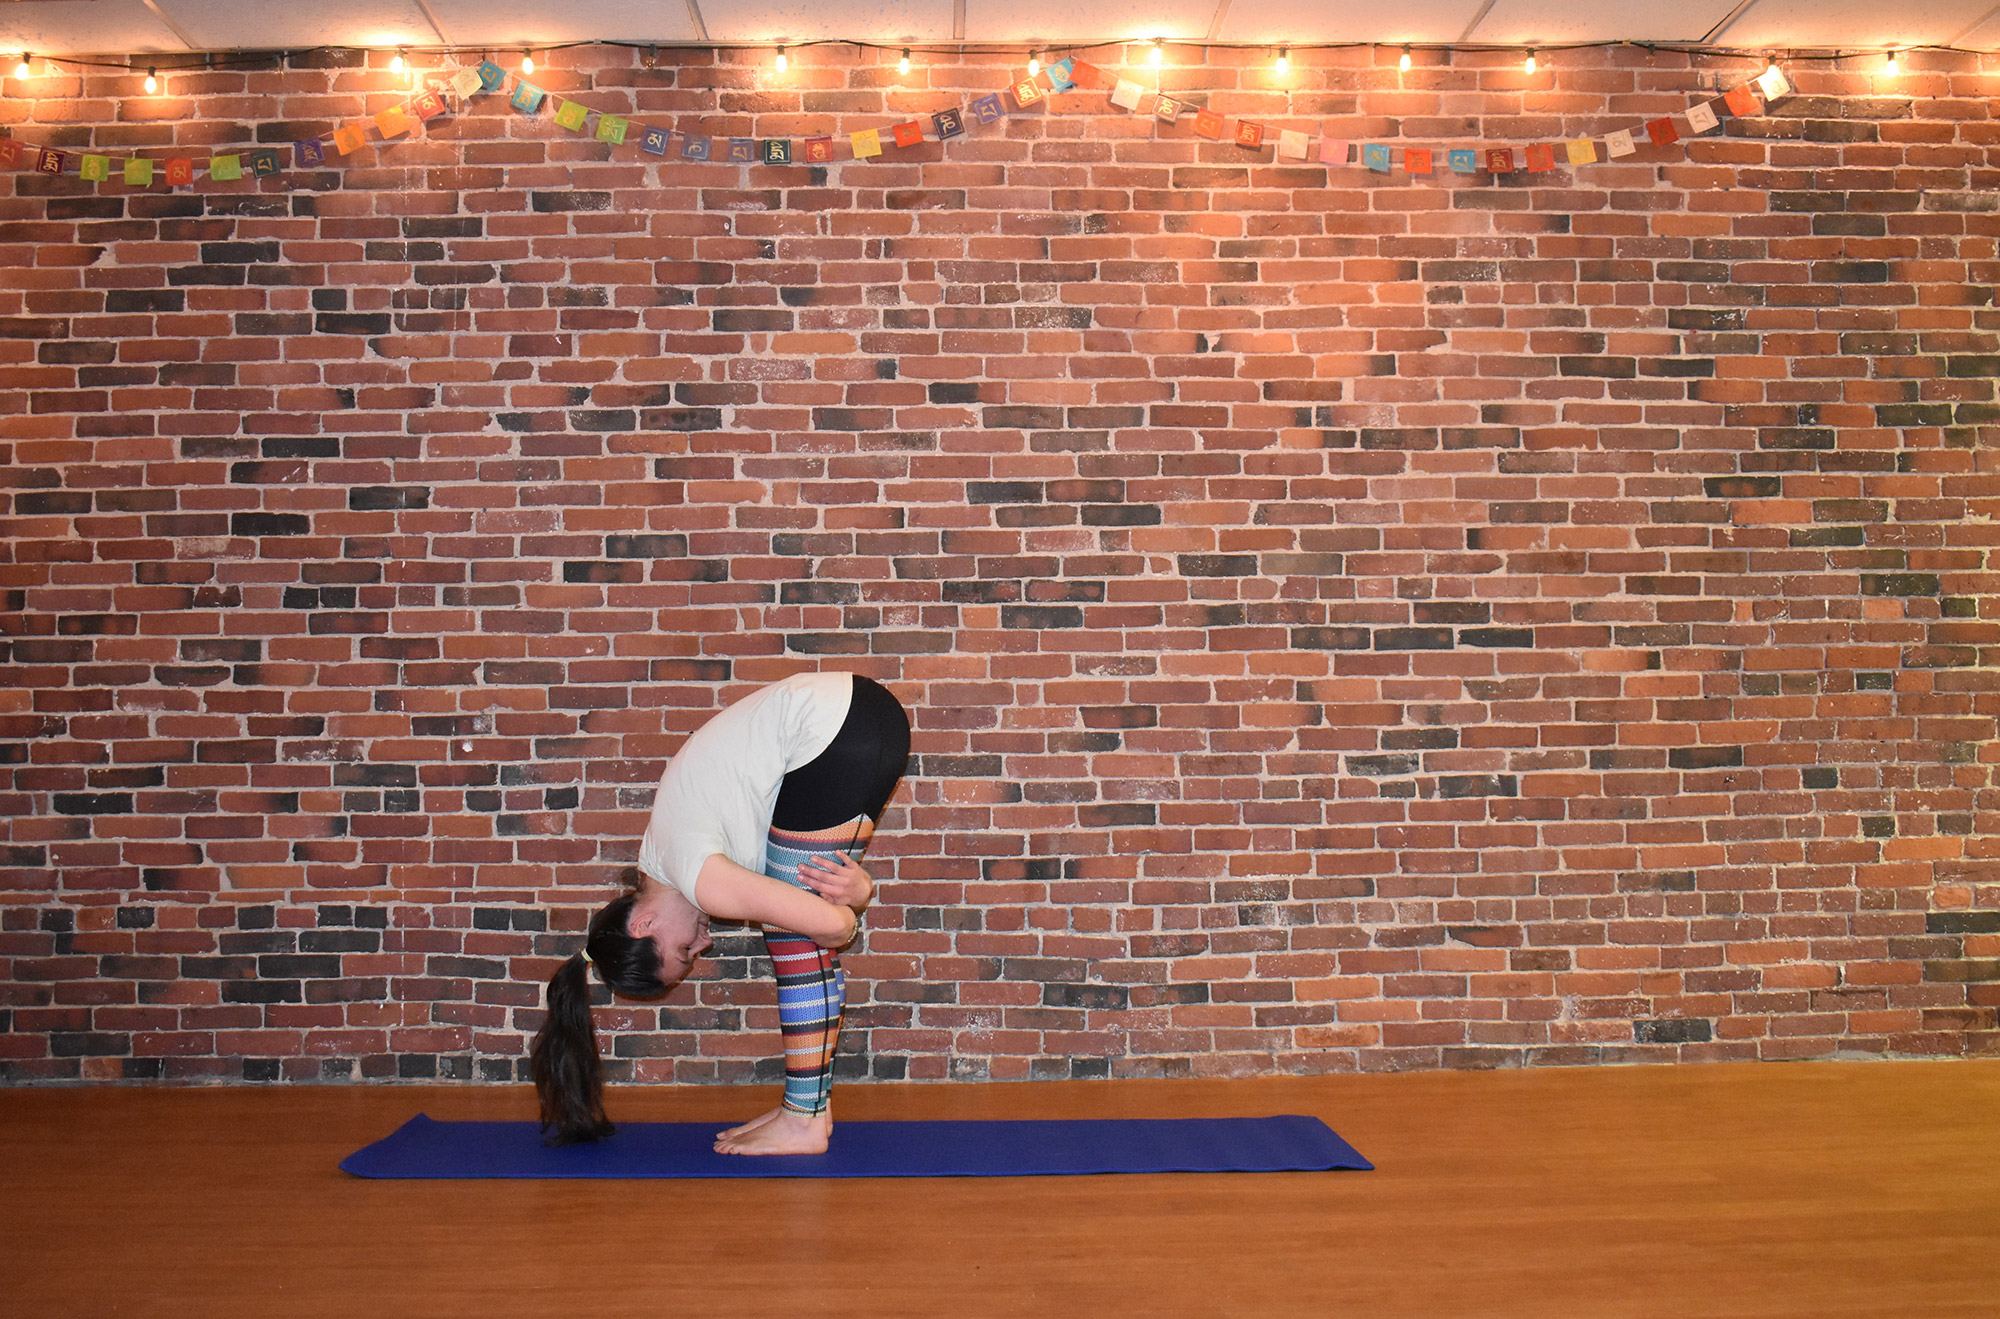
3. Standing Forward Fold
From Downward-Facing Dog, walk the feet up toward the hands on an inhale, keeping your feet about hip-distance apart and your knees as bent as they can stay comfortable. If possible, allow your palms or fingertips to rest on the floor. Otherwise, let your arms simply dangle, use the hands to clasp opposite elbows, or give yourself a hug by wrapping your arms around your legs. Spend anywhere from five to 10 breaths here to give your calves, hamstrings, and hips a well-earned stretch. This also makes it easier to buckle your boots or strap into your bindings without sitting down the next time you hit the slopes.
- Variation: If your shoulders and upper back are asking for some attention, try my favorite variation. Wrap your arms around your legs, cross the wrists behind your calves, and hold the shins with opposite hands: right hand to left shin, and left hand to right shin.
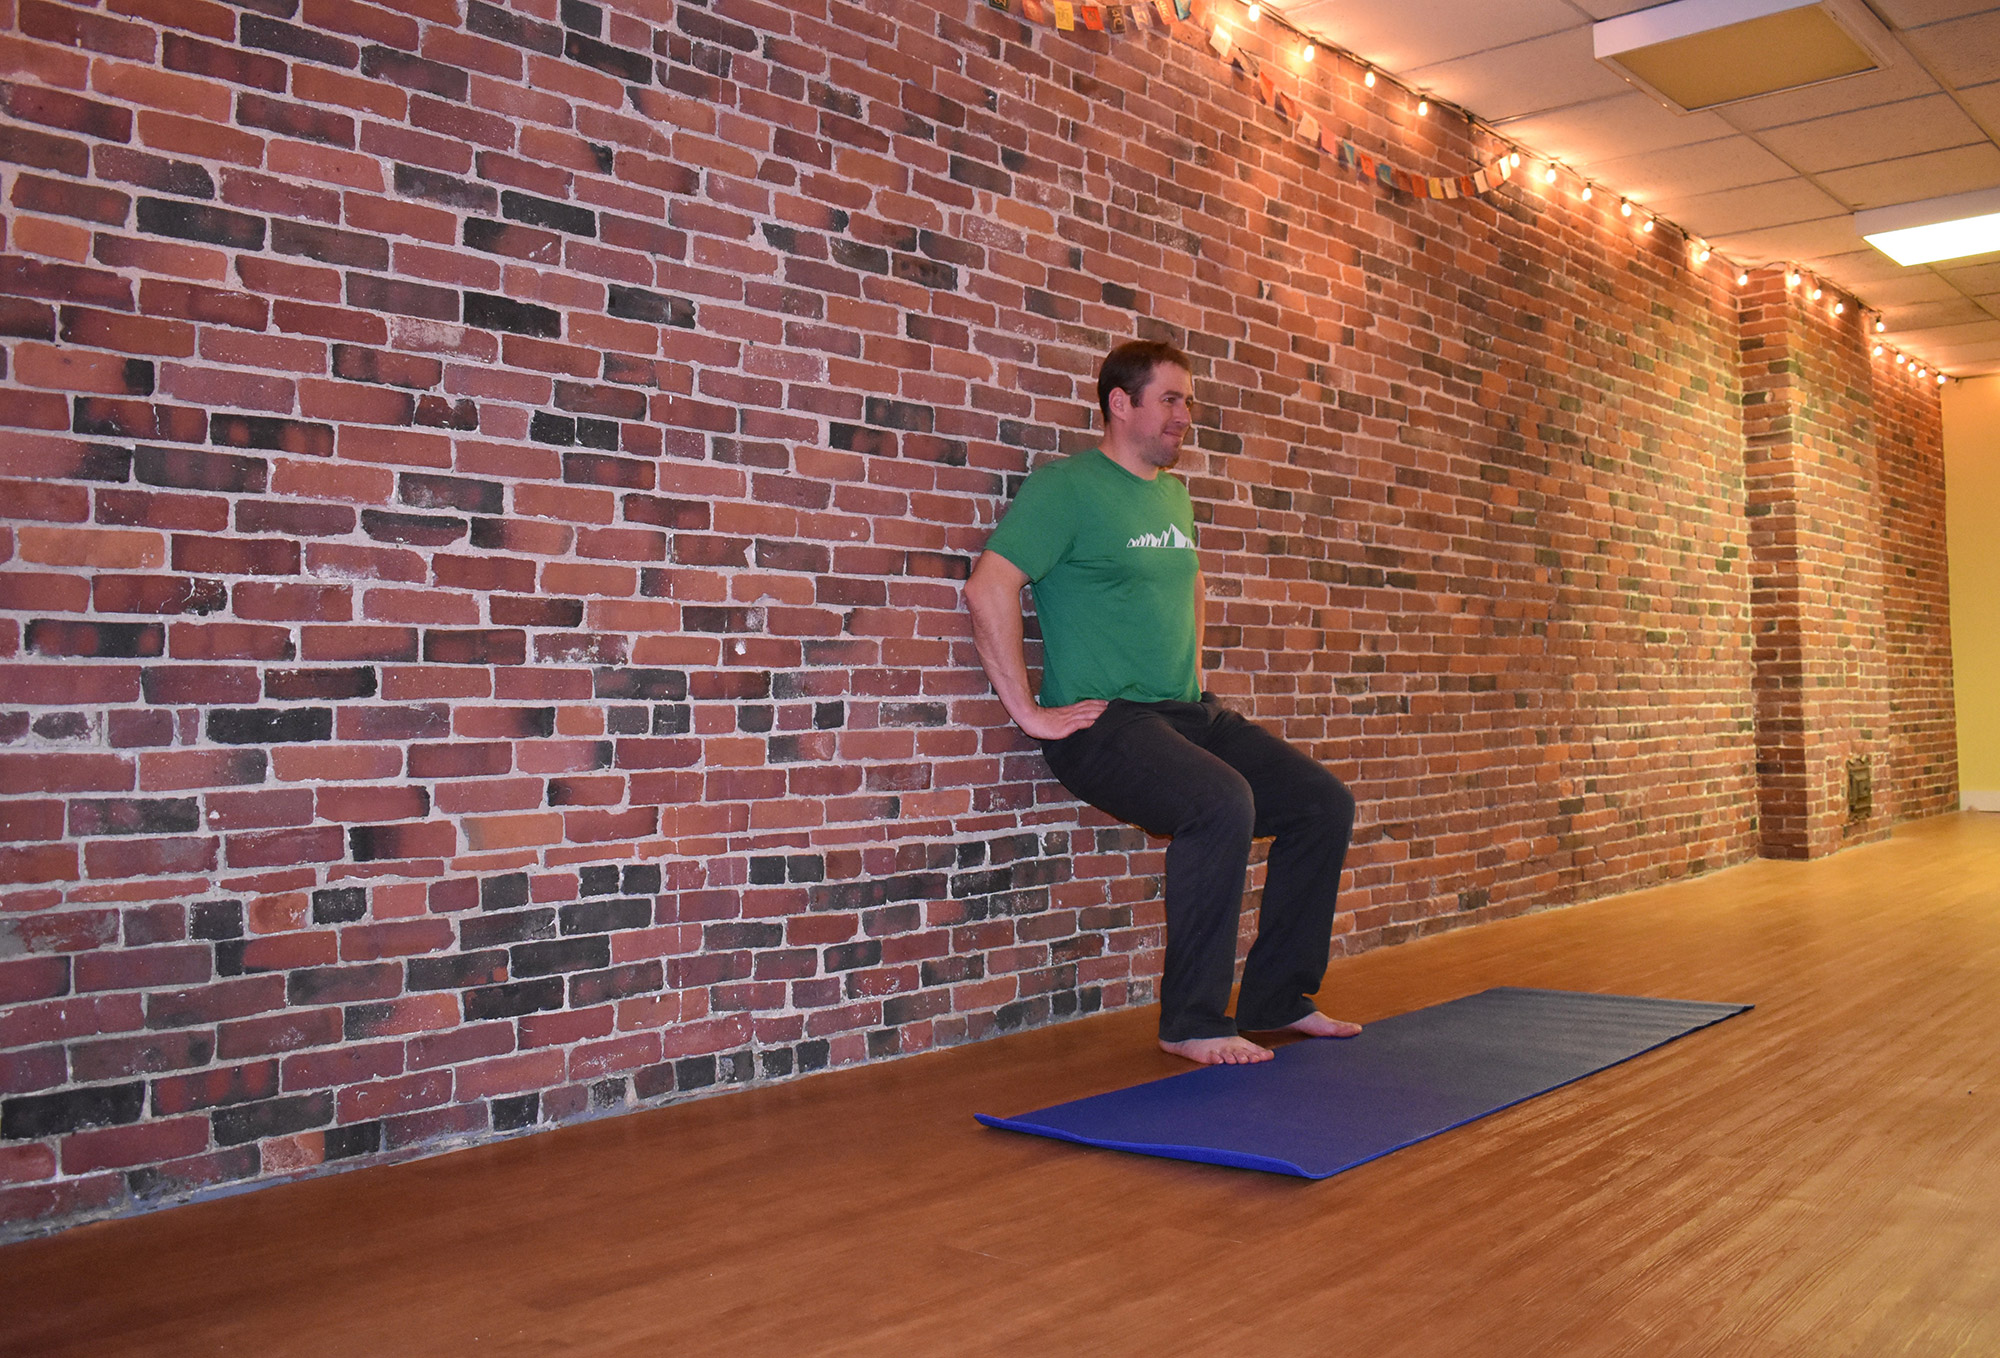
4. Chair Pose
I know, I know. You’ve basically been in this position all day, and now that you’re off the mountain, it’s the last thing you want to do. But, trust me. This is definitely a “hurts so good” kind of thing. By holding this variation of a squat, the entire leg, from ankle to thigh, gets stronger. Many sports injuries—and not just from snow sports—happen when muscles get fatigued and your form gets sloppy. The way I see it, if holding Chair Pose for 30 to 60 seconds now makes it easier to maintain proper form for an extra run or two on your next ski day, it’s worth the burn!
Come into Chair Pose from Standing Forward Fold by bending your knees and lifting the upper body, keeping your spine long and strong. Keep your hips as low as you comfortably can without letting your knees move past your toes. Ideally, your knees should be more or less in line with the ankles. So, try shifting your weight into the heels and lifting your toes to ensure all of the leg muscles are getting in on the action, rather than making your quads do all the work. You can reach your arms overhead, and bring the palms together at heart center. Or, if you haven’t already put them away, hold onto your ski poles for extra “authenticity.”
- Variation: If you shredded the gnar a little too hard today and can’t possibly hold yourself up in this pose, do a wall sit instead. You’ll still reap the benefits of Chair Pose, but the wall will take out some of the work for you.
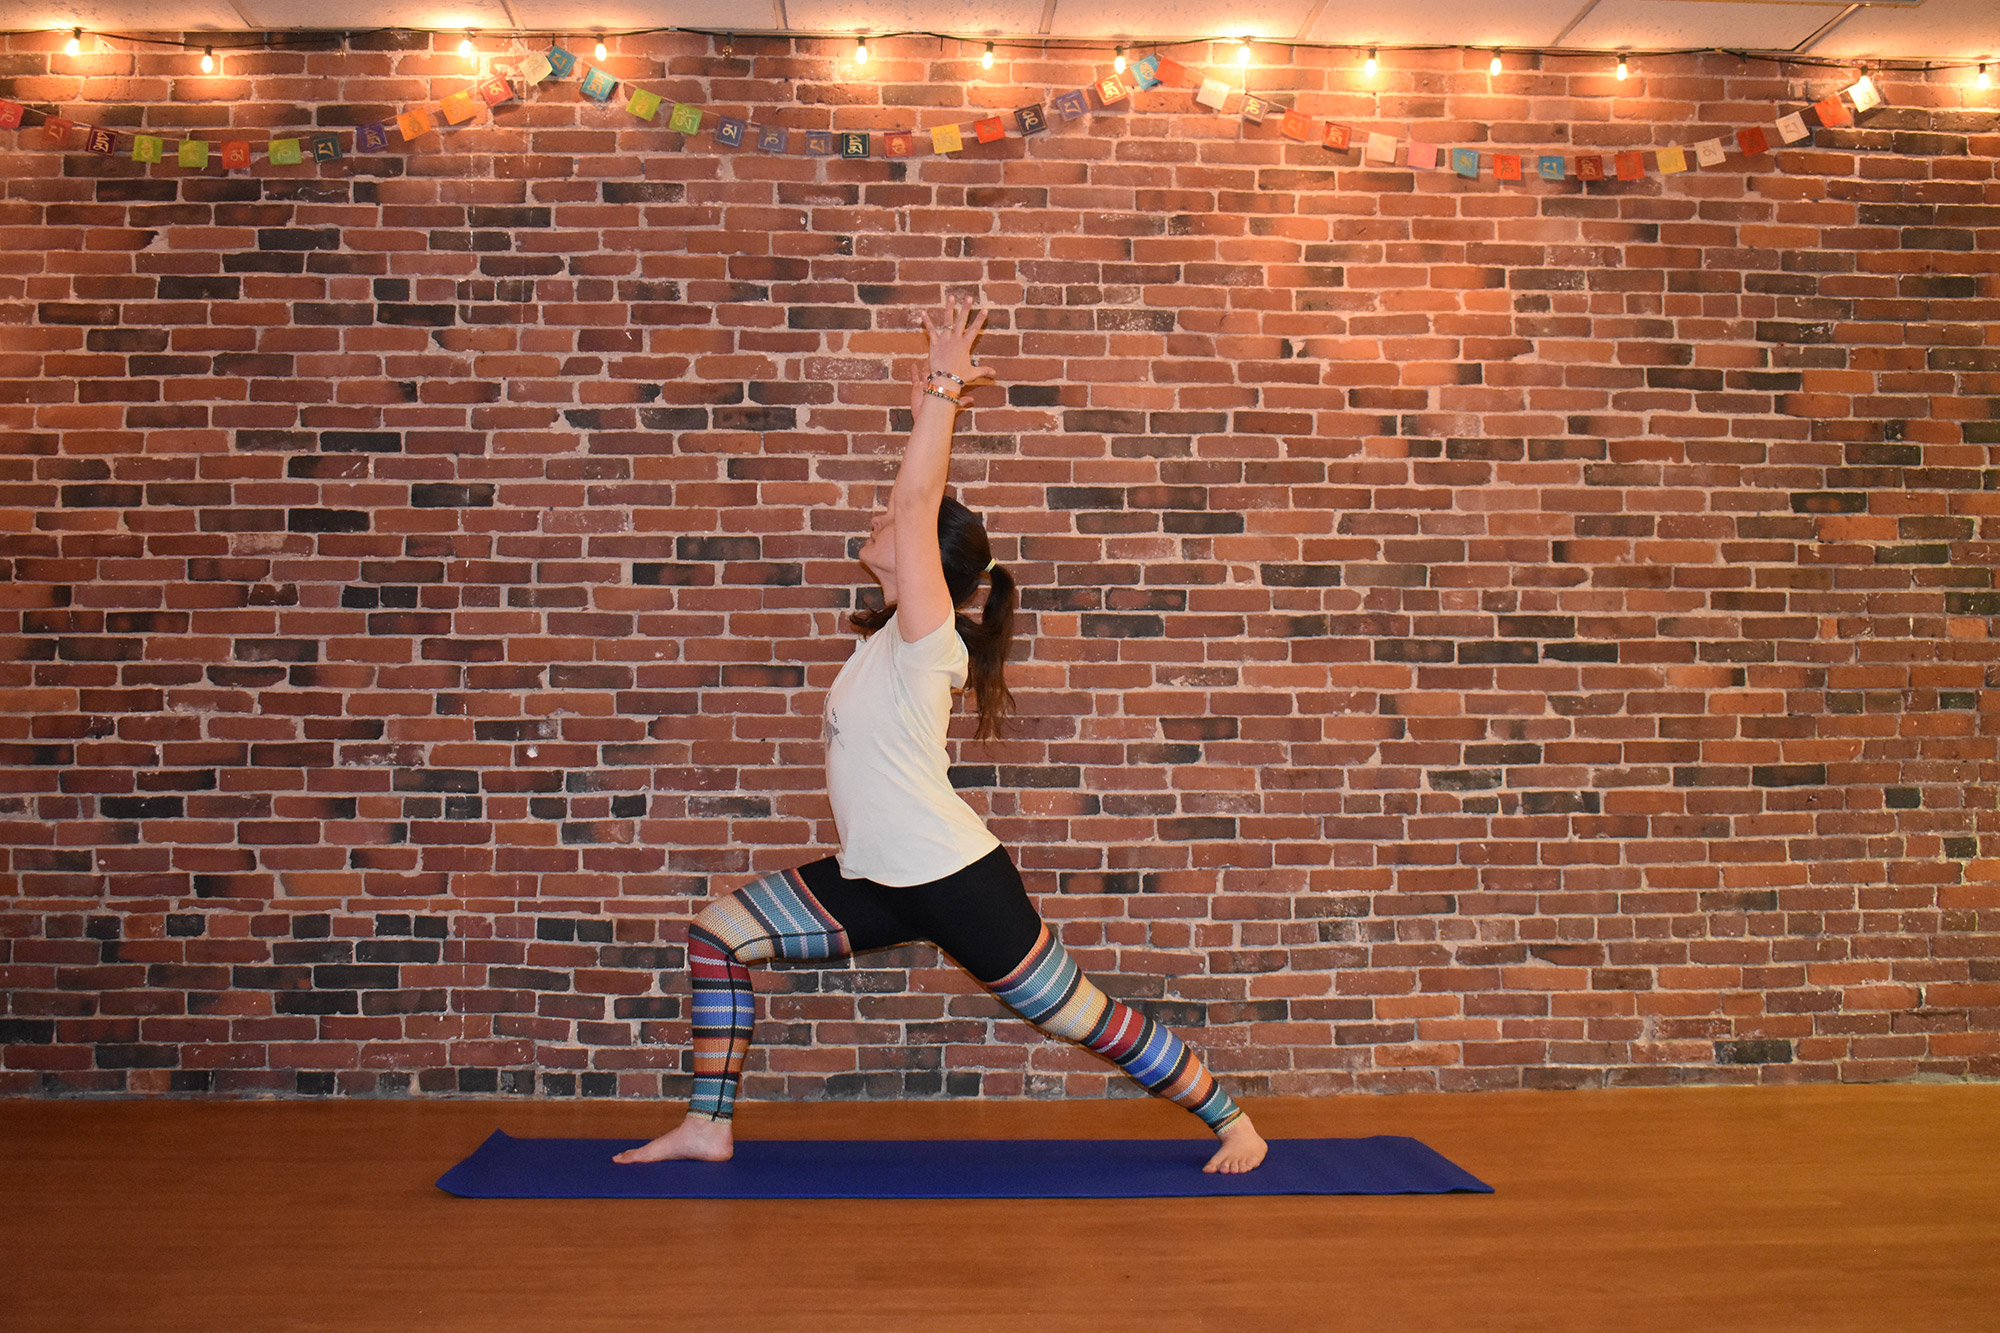
5. Warrior I & II
The first two Warrior Poses are just about as common as downward-facing dog in a typical yoga class, and for just as many reasons. These poses have a sneaky way of working almost every part of the body—just like skiing and snowboarding. Not only do Warrior I and II stretch and tone your thighs, calves, and ankles, but they also strengthen your shoulders, chest, and back, work the psoas (deep-core muscles responsible for, among other things, maintaining good posture and stabilizing your spine), and help increase stamina.
To come into Warrior I, first settle into a high lunge by stepping your right leg back about three to four feet and bending into the left leg, so that the knee is over the ankle and your thigh is almost parallel to the floor. Once you’ve adjusted your stance and are comfortable, spin your right heel down, so that the foot is somewhere between 45 and 90 degrees, while keeping your hips and upper body facing forward.
- Variation: Stay in high lunge with the back heel lifted, if taking it to the floor puts too much strain on the back leg.
Reach your arms overhead, and gaze up at your fingertips— only if it’s comfortable for your neck.
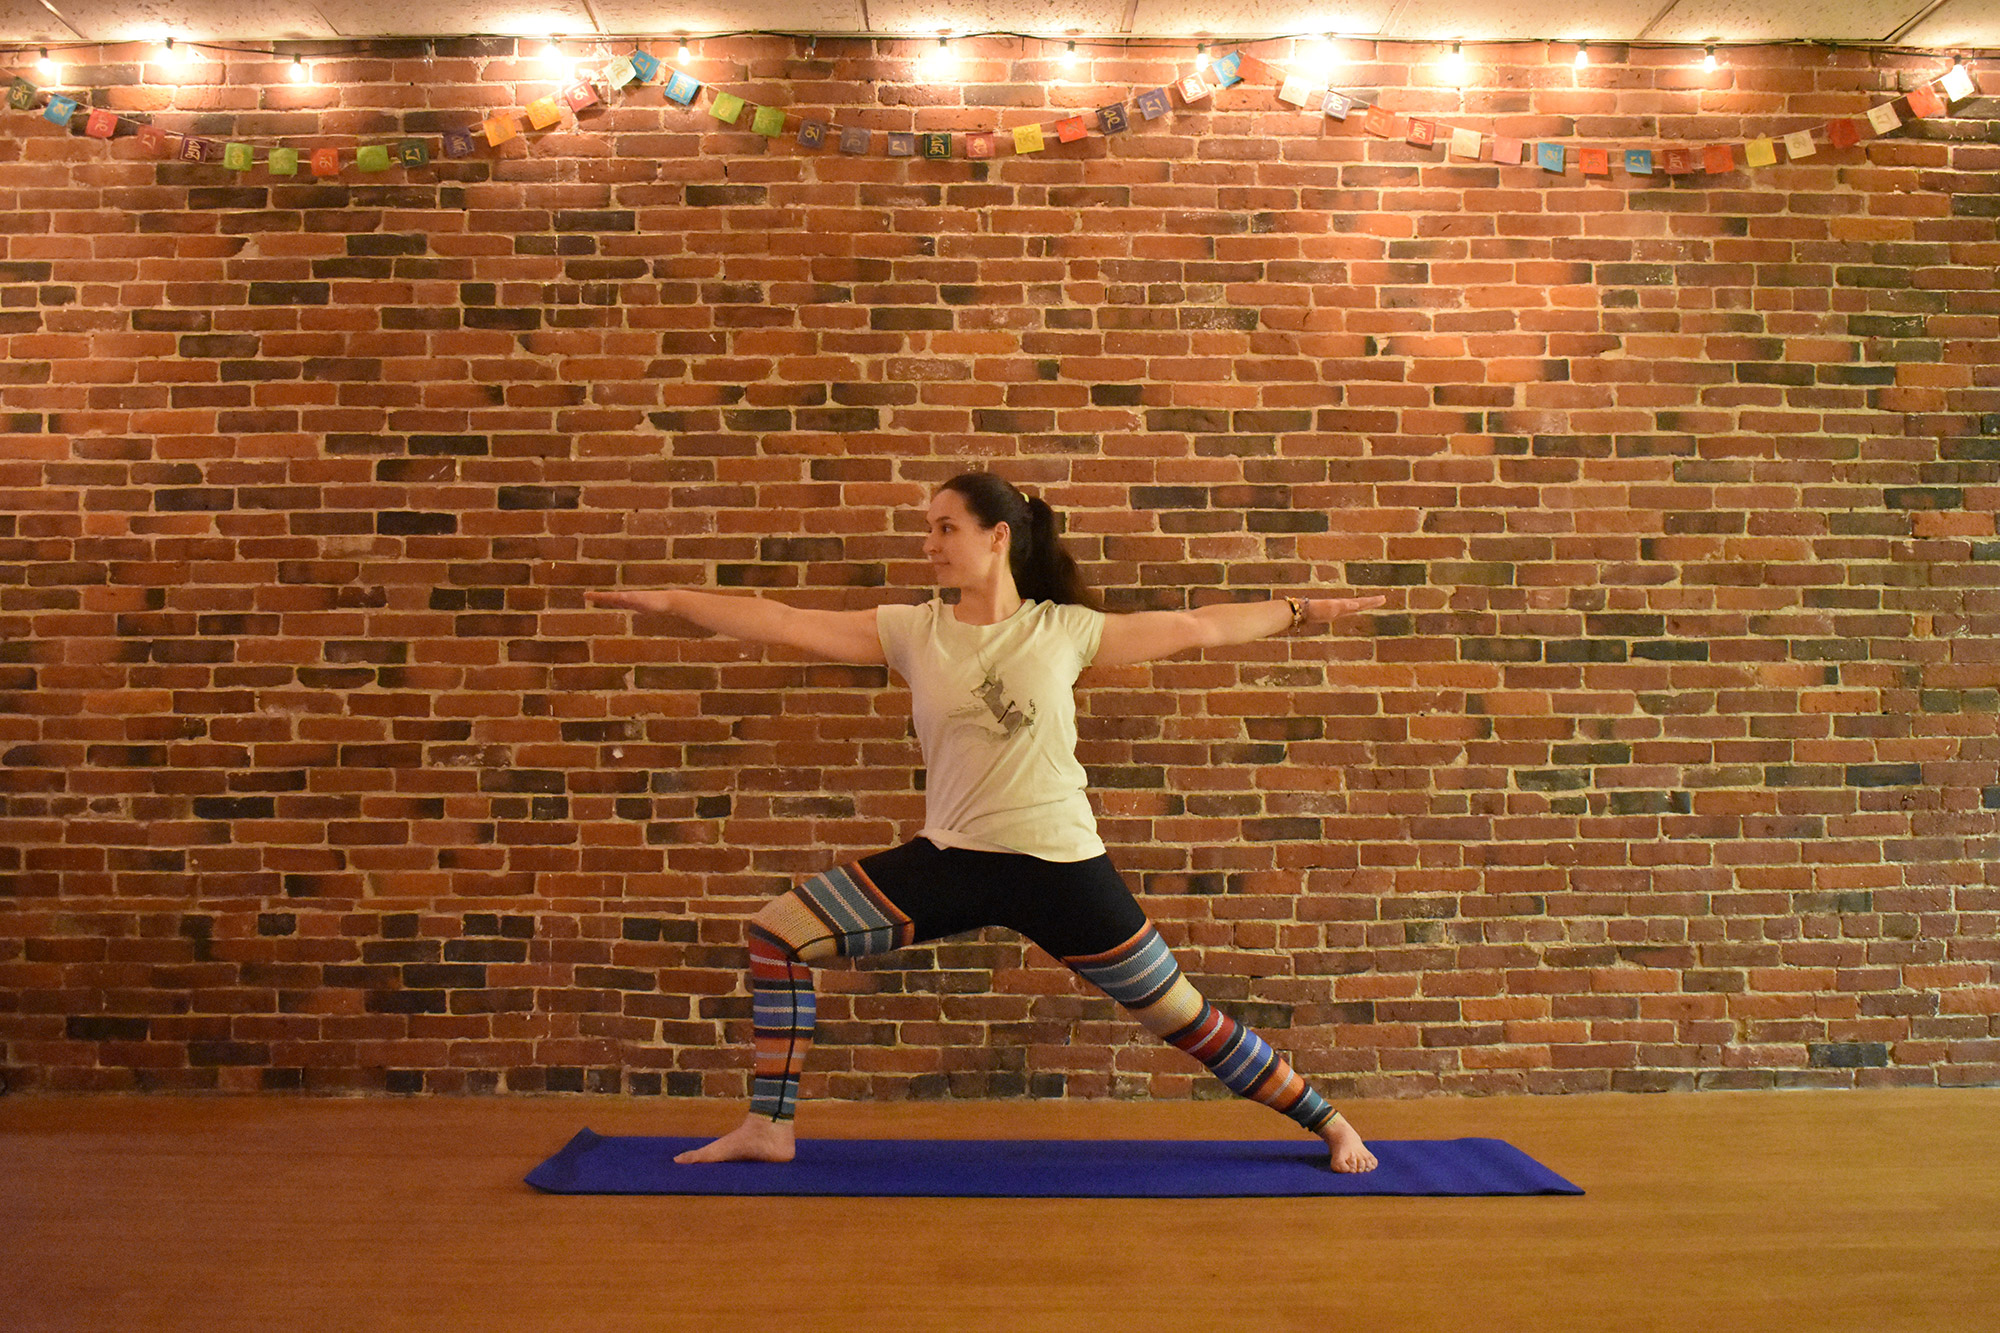
Hold Warrior I for five to 10 breaths, and then, transition into Warrior II on an exhale by rotating your torso to the right, opening your arms out to the sides and parallel to the floor, and resting your gaze wherever is most comfortable. Traditionally, this is over the left fingertips. Stay in Warrior II for five to 10 breaths, and then, repeat both poses on the opposite side.
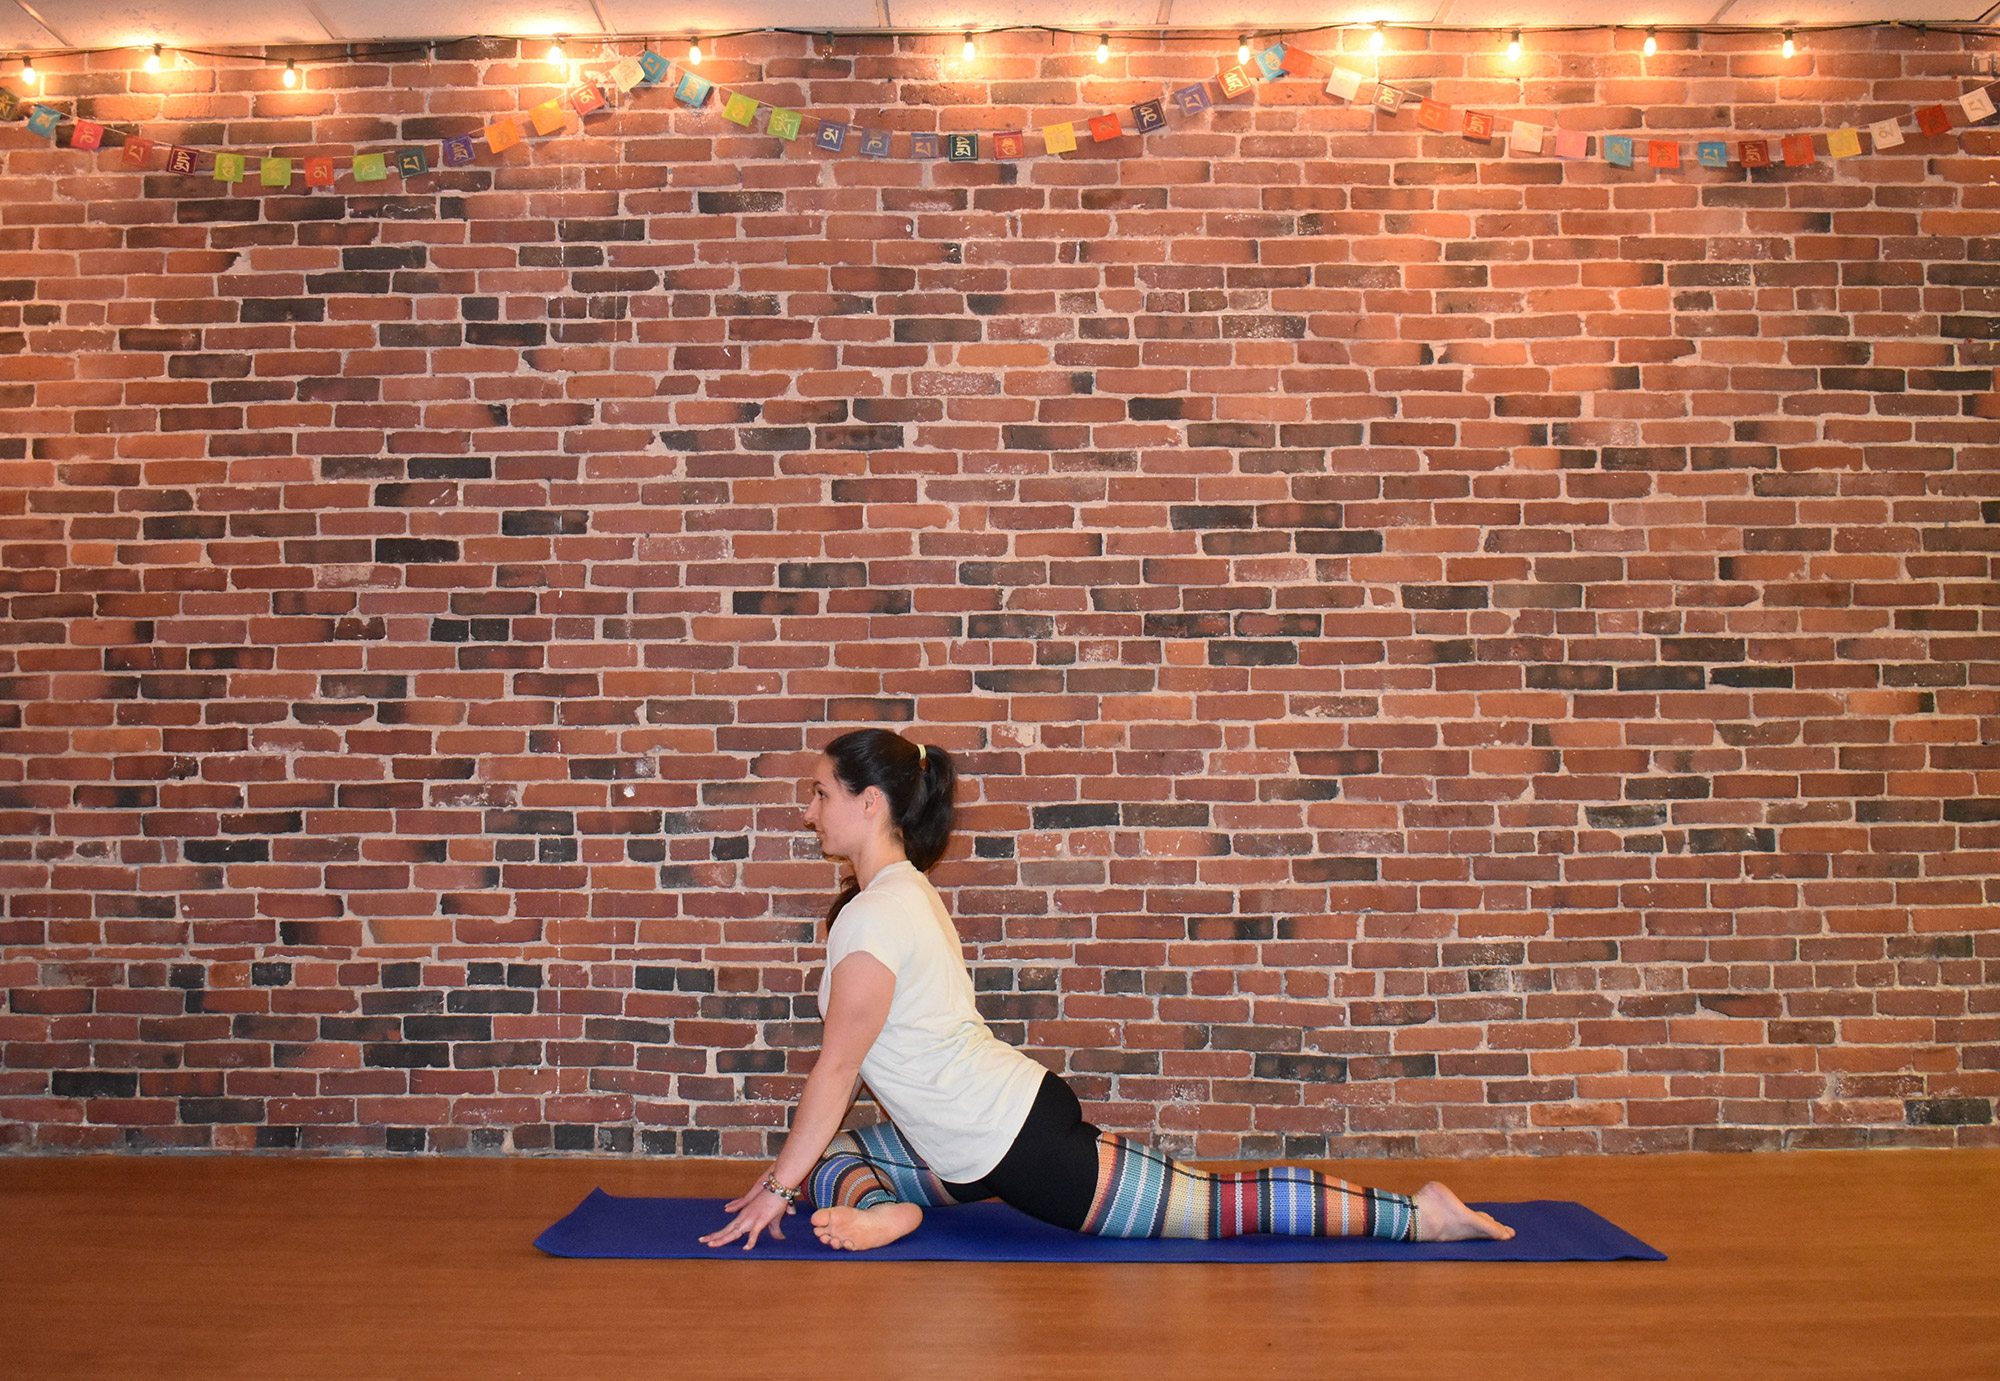
6. One-Legged King Pigeon Pose
You may not notice it at the time, but while you’re busy having the best day ever sliding downhill, your hips are working overtime—especially if you’re skinning or booting up the mountain to earn those turns. Now that you’re done for the day, it’s time to reward those hips for their hard work with Pigeon Pose. Start in Downward-Facing Dog, lift your right leg, and shift your weight forward while hugging the right knee into the chest. Then, set the right leg down, resting the right knee behind the right wrist and the right ankle near the left wrist. Press your palms or fingertips into the floor to keep the spine long, and rest here for 30 to 60 seconds to help lengthen your hip flexors, increase your hips’ range of motion, and stretch the hamstrings. Repeat on the left side.
- Variation 1: If it feels okay, walk the hands away from you. Then, fold the upper body down to also work into the lower back.
- Variation 2: If your quads could use a deeper stretch, bend the back knee, and reach for the foot, ankle, or shin with your hand.
- Variation 3: If this expression of Pigeon Pose causes too much stress, strain, or pain anywhere in your body, try performing a Figure 4 stretch while sitting in a chair or lying on your back instead.
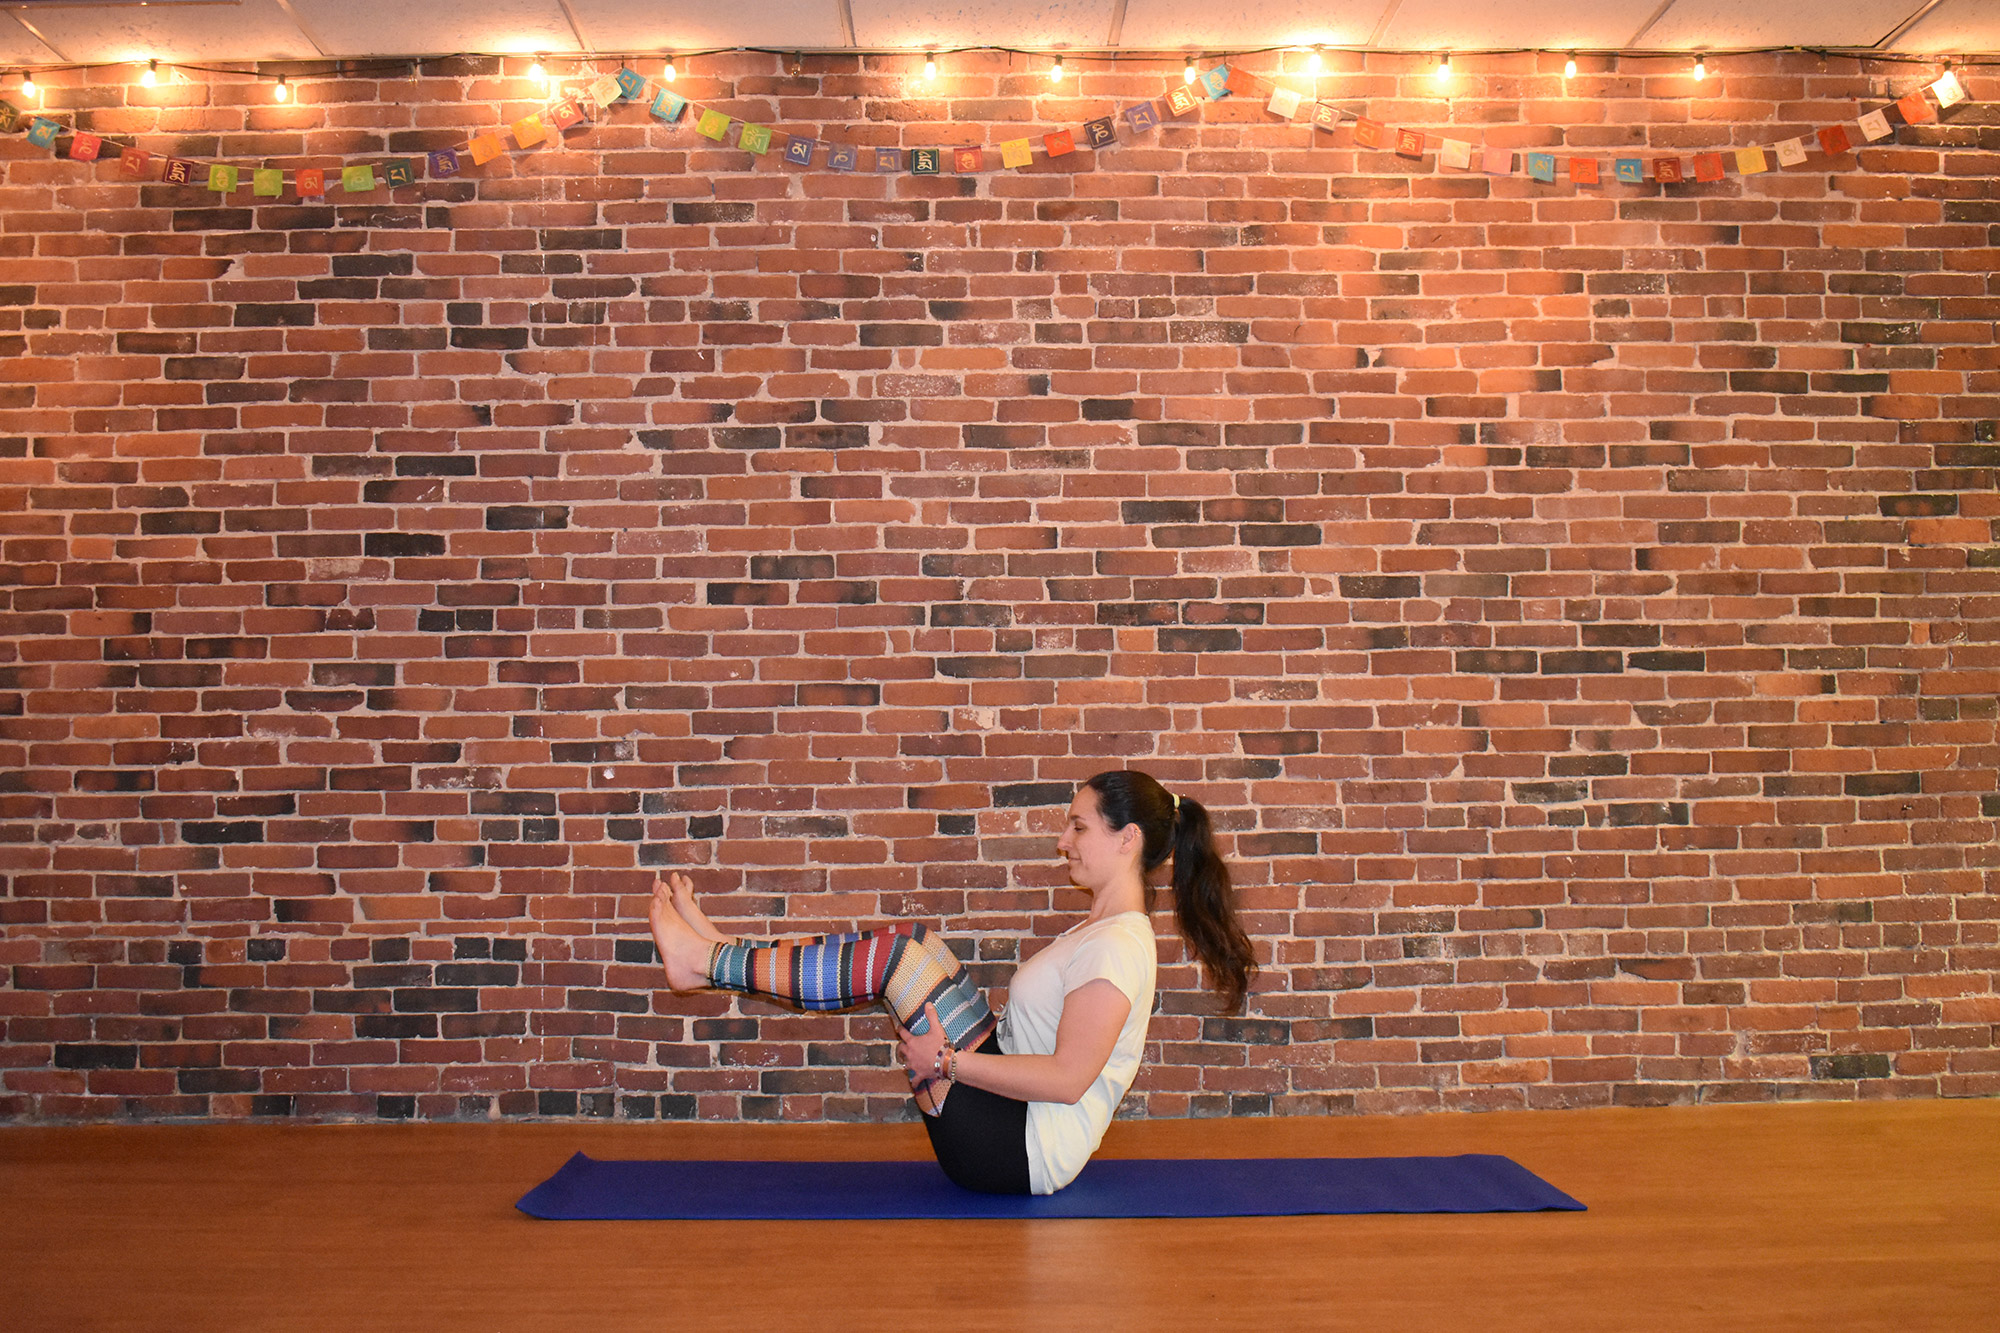
7. Boat Pose
To wrap up your post-ski or snowboard yoga session, spend some time in Half Boat Pose to strengthen your core, including the psoas, spine, and hip flexors, and to stretch out the hamstrings a little bit more. Start by coming into a seated position with your knees bent and feet flat on the floor. Engage the core, and lift your arms out in front of you. Then, without rounding the spine, slowly start to lean back and lift the legs, until they’re in line with the arms and your calves are parallel to the floor. Hold for three to five breaths, release, and repeat one or two more times.
- Variation 1: Hold onto the backs of the thighs, instead of keeping the arms outstretched, for additional support.
- Variation 2: If you’re up for more of a challenge, begin to straighten the legs into “full” Boat Pose.


Really the Yoga tips are very helpful.. Thanks a lot for sharing the useful tips.