Landscape shots are beautiful, but action shots are just cool. In the ever-growing age of social media, everyone wants photos of themselves skiing, climbing, hiking, or otherwise in-motion, either for new profile pictures, their next Instagram post, or just to have as a memory of an incredible day spent in the outdoors.
The first thing to keep in mind is that it doesn’t necessarily matter what you’re taking the pictures with, whether that be a high-end DSLR, a point-and-shoot, or your iPhone. If you know how to use it, you’ll be able to capture quality images while you’re out on the trail. As long as you remember three basic rules, you can supply your adventure partners with action shots worthy of their Tinder profiles.
1. Avoid staging your shots
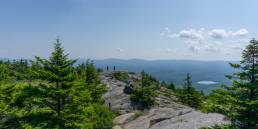
The first thing to keep in mind is that usually, unstaged photos turn out better than those that are staged. This means that you shouldn’t be asking your friends to pose a certain way, or go to a certain spot (most of the time, since you will want them to occasionally), because this could end up with the pictures looking unnatural. Some tricks to capture natural-looking photos are to hang back from your friends as you hike (or speed up and get ahead of them), and snap photos of them on the trail. If there are multiple lookouts, find a unique vantage point from one that’s nearby and capture a fantastic photo of your friends. If there’s only one lookout, try to find a vantage point from the side or behind that will give you a nice composition of both your friends and the view that you can put together for a nicely framed shot.
2. Use silhouettes to your advantage
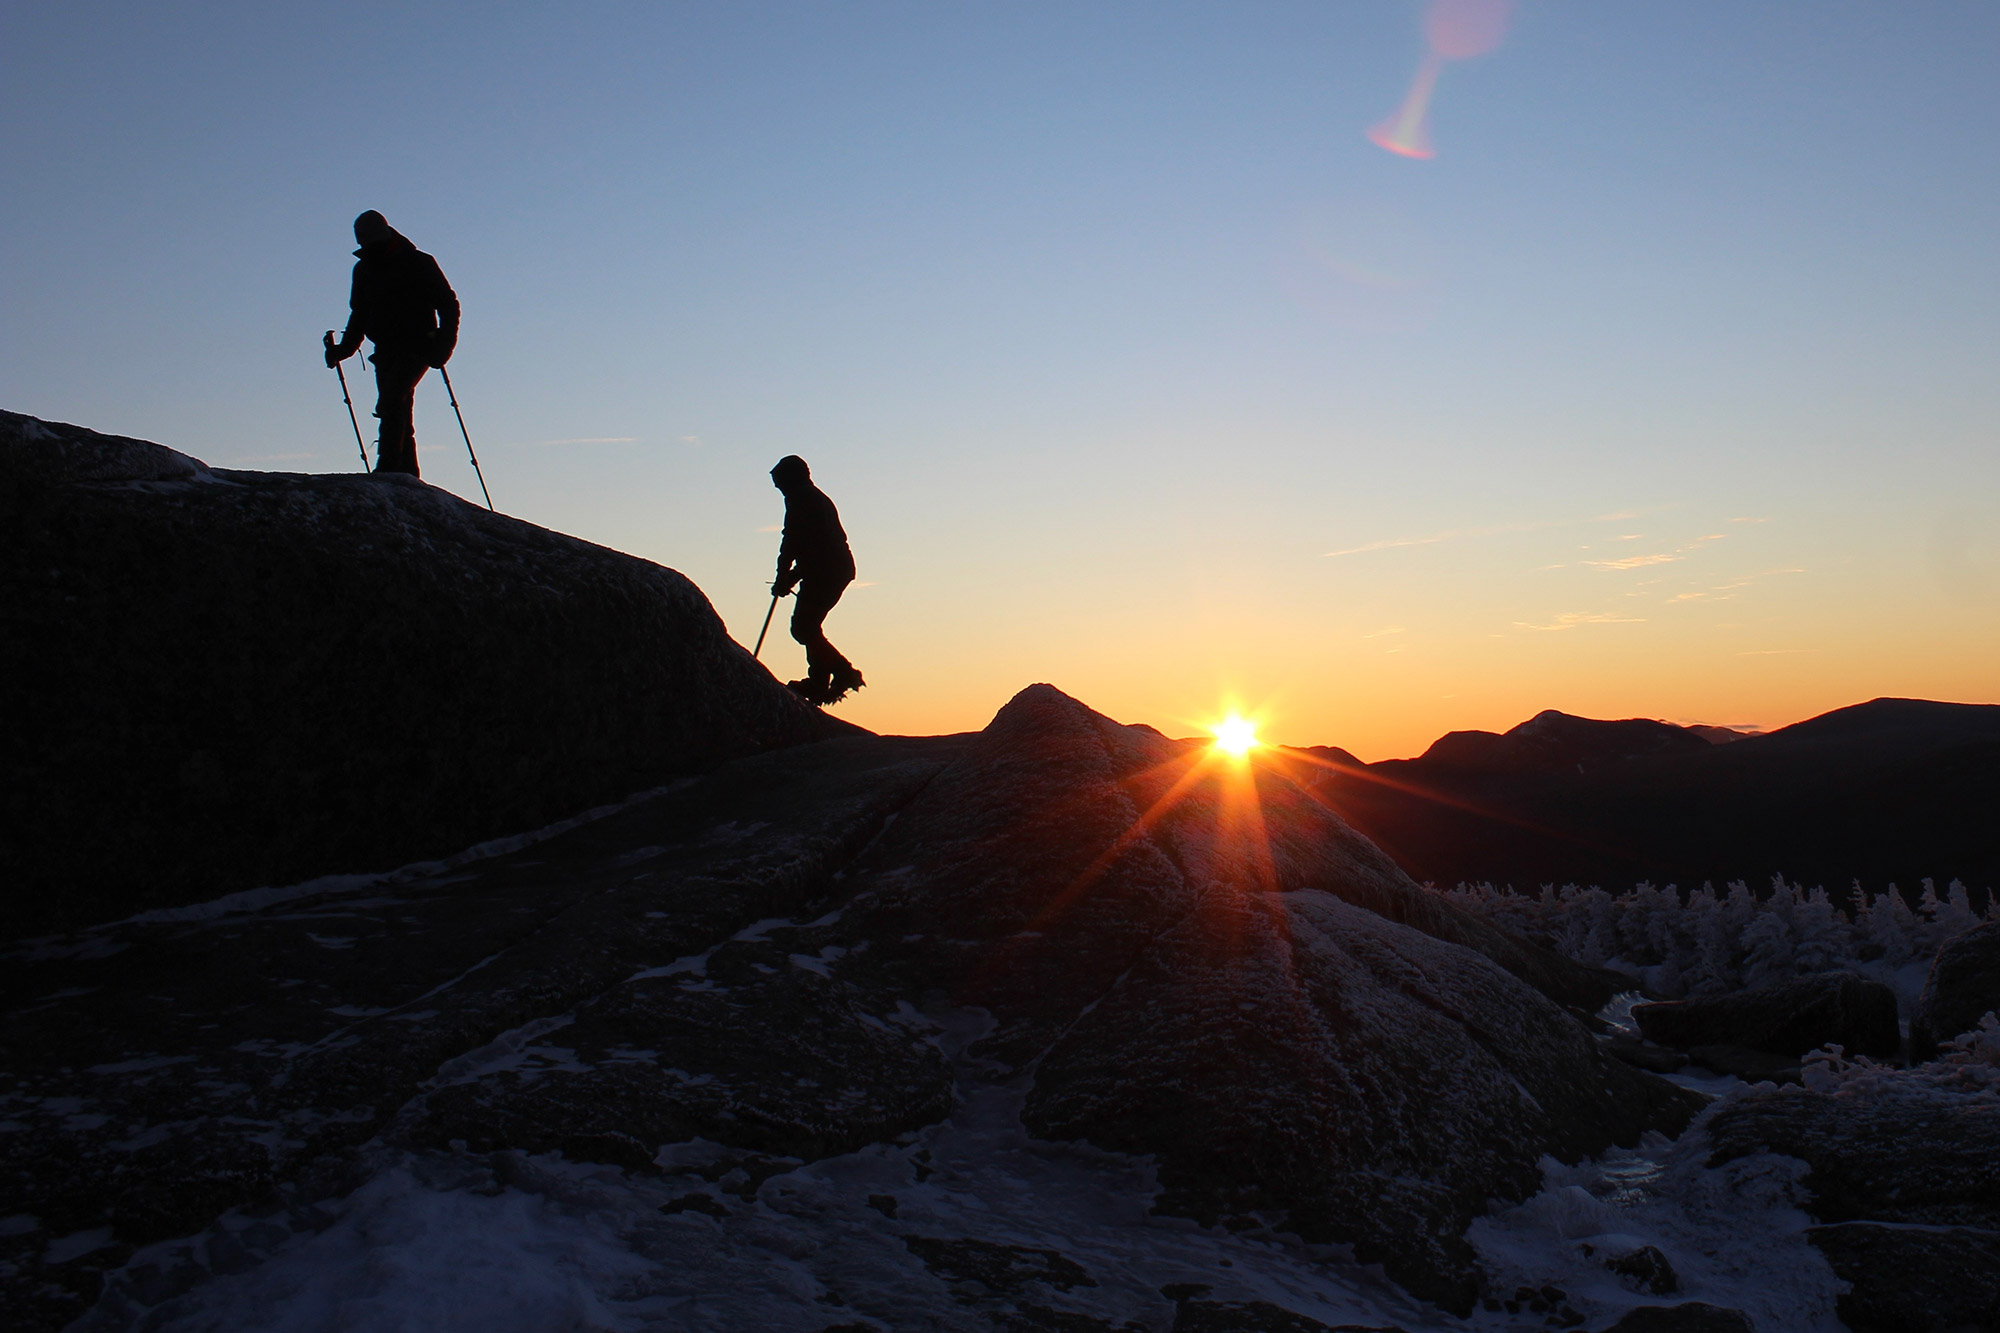
A silhouette can definitely be your friend. Due to a camera’s inability to expose both the light and darker areas of a photo simultaneously, you may not be able to have both the subject of your shot and the background exposed at the same time (if one is dramatically brighter than the other, like at sunrise or sunset, or when the side of your subject facing you is shaded). While most modern phones have an HDR (high dynamic range) mode or setting that will try to even this out, you can still end up with an image that looks slightly cartoon-y with color and lighting. Other than using photoshop to combine multiple images with varying exposures, if you want to capture the background scenery clearly (especially at sunrise or sunset), you’ll end up with an incredible scenery shot, and a distinctive silhouette of your friend(s) that they can cherish forever.
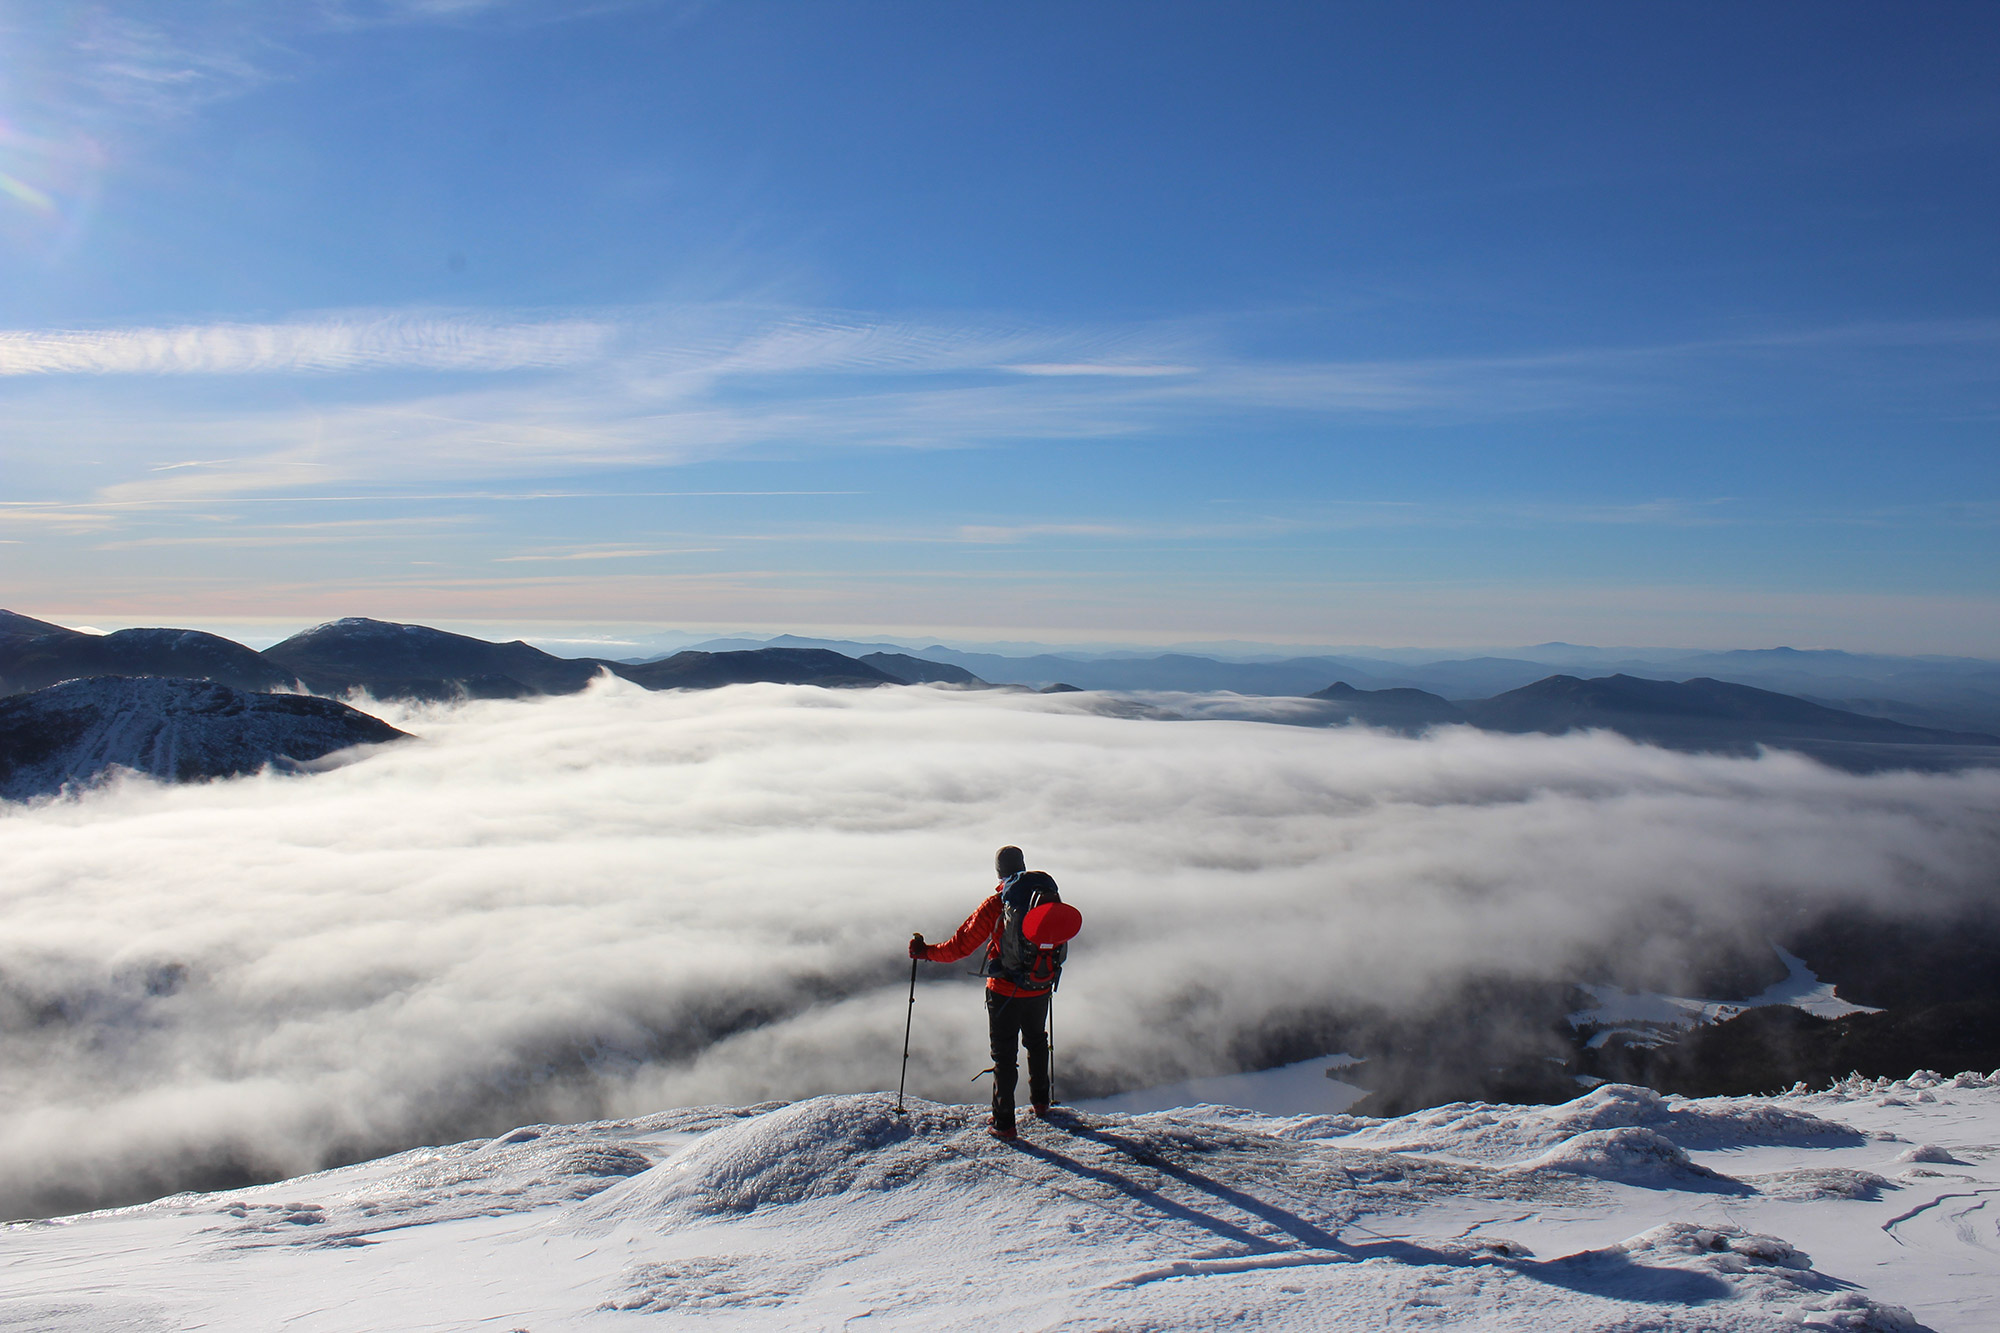
3. Vary your composition
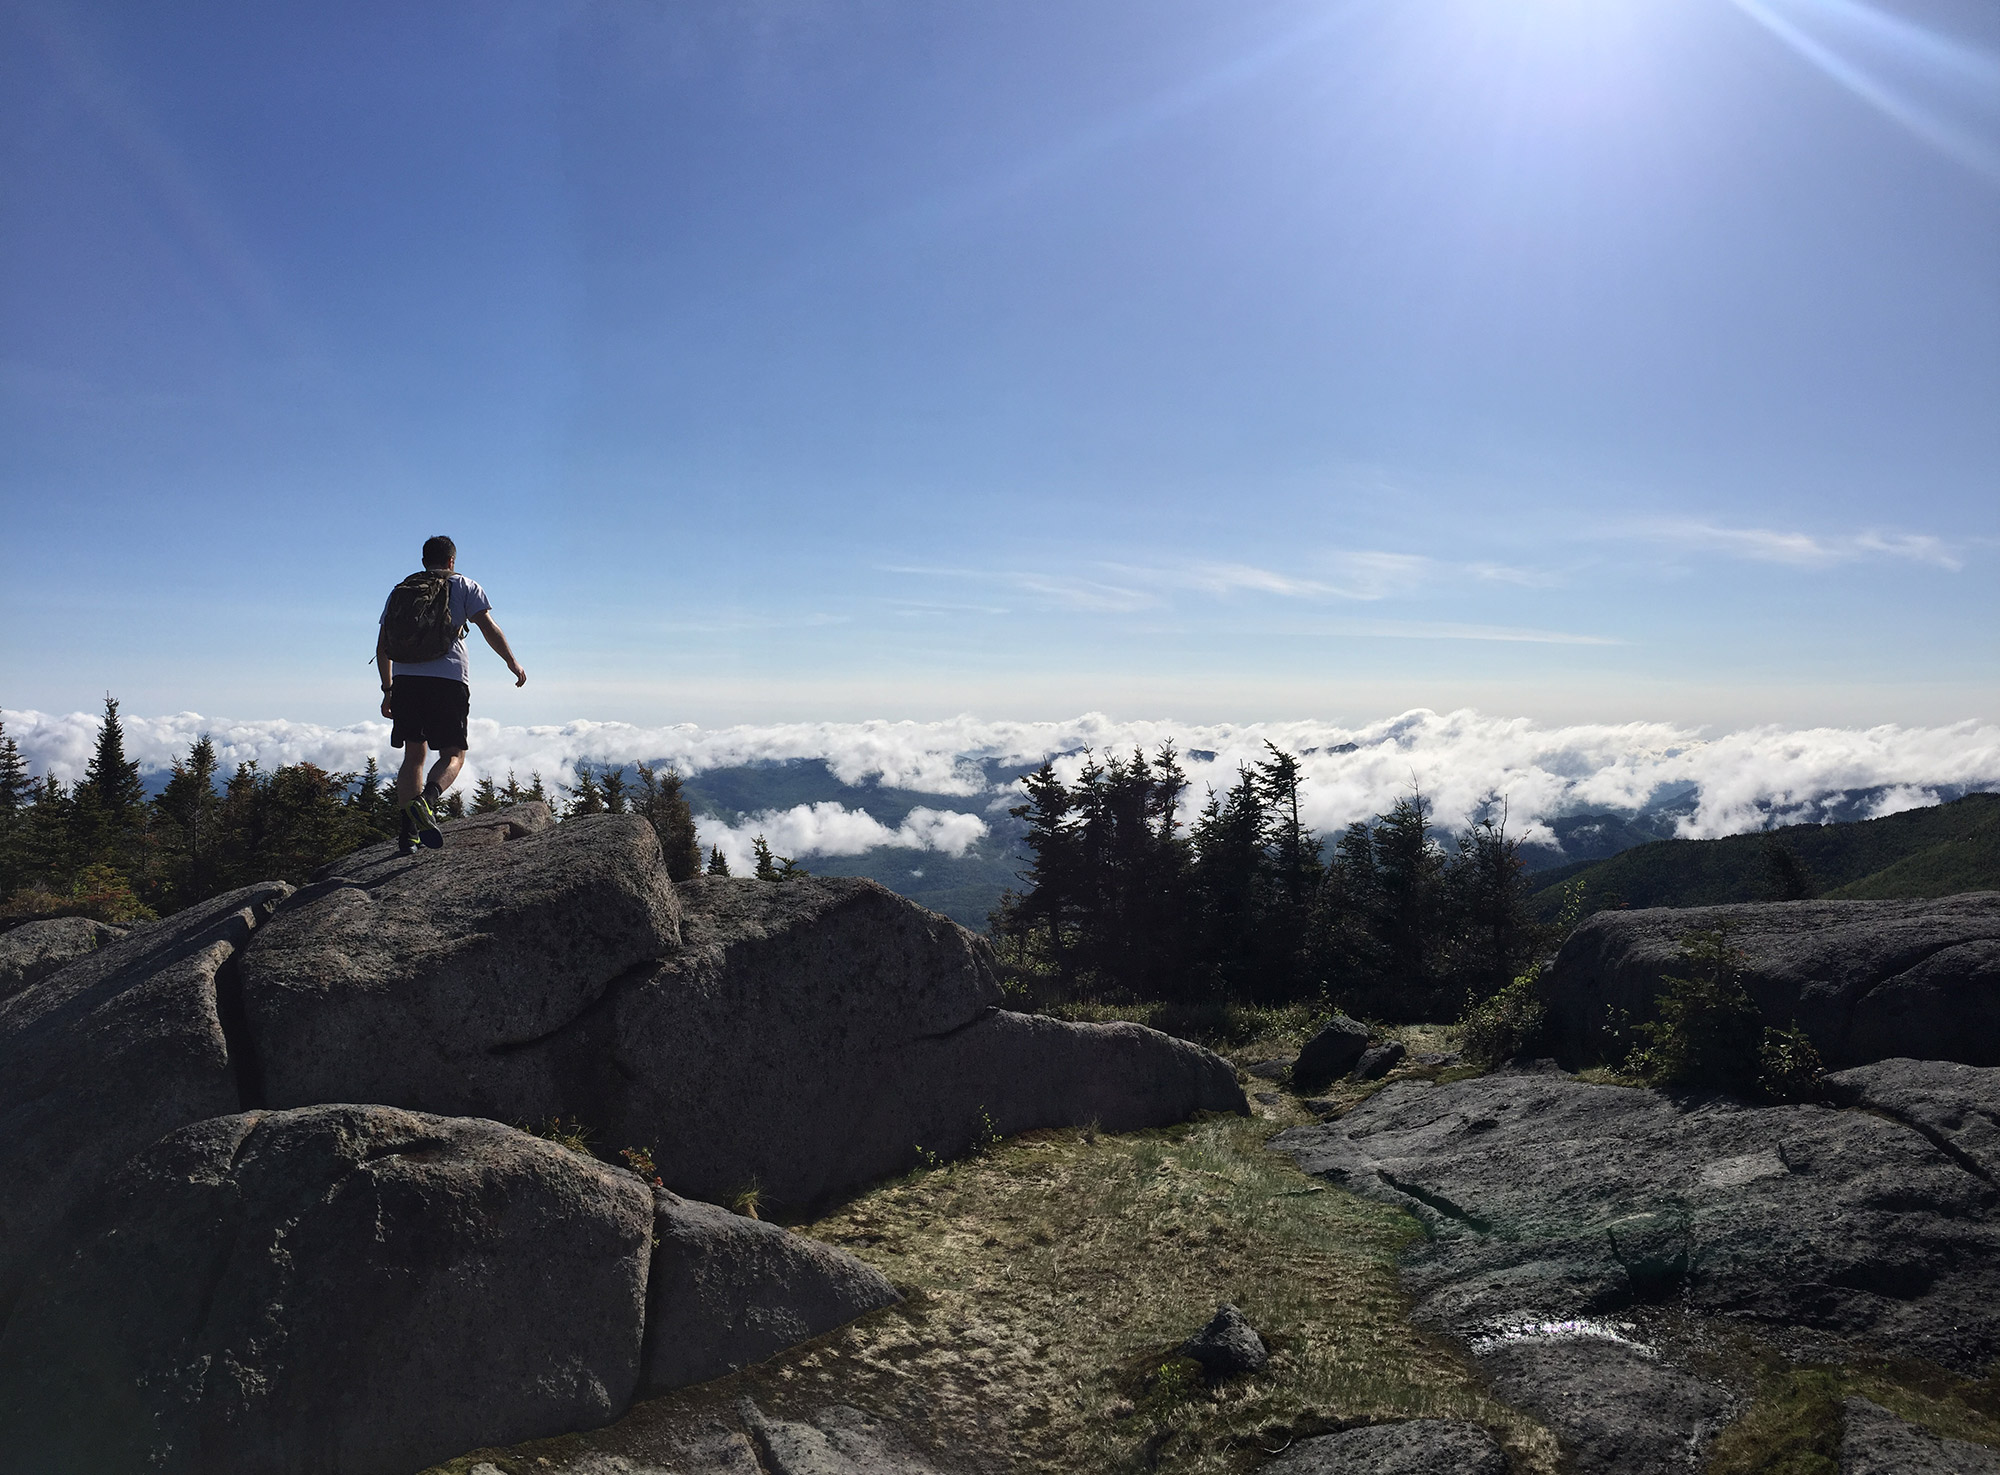
Finally, keep in mind that you essentially have two ways to compose your photos. You can either make your hiking companions the main subject of your photos, where they take up the majority of the frame, or you can have them be a much smaller (yet still recognizable) portion of a much larger image, capturing more landscape. This can sometimes be a tough call to make depending on the situation. If you can’t decide which one will be better, try to capture both from a few different angles to really give your friends a wider variety of photo options. Don’t forget to share this article with your friends as well, so they’re not forgetting to take great photos of you while you’re out there on the trail with them!